Looking for a quick, affordable, and stylish manicure solution? This Ardell Press-On Nails review dives deep into the application process, product quality, and overall value. We'll explore whether these press-ons live up to the hype and provide a professional-looking finish without the salon price tag. From preparation tips to application techniques and the final results, this comprehensive review covers everything you need to know before purchasing your own set.This review details a step-by-step guide to applying Ardell press-on nails, highlighting crucial preparation steps for optimal longevity. We'll examine the included tools, the effectiveness of the adhesive, and the overall ease of application. Discover how to achieve a seamless blend between your natural nails and the press-ons, minimizing any visible gaps for a flawless, long-lasting manicure. Ultimately, we'll determine if Ardell press-on nails are a worthwhile investment for your next at-home mani.
Pros And Cons
- Look pretty and professional
- Come with a double-sided file, glue, and extra nails in a zip baggie
- Have more nail size options than most other brands
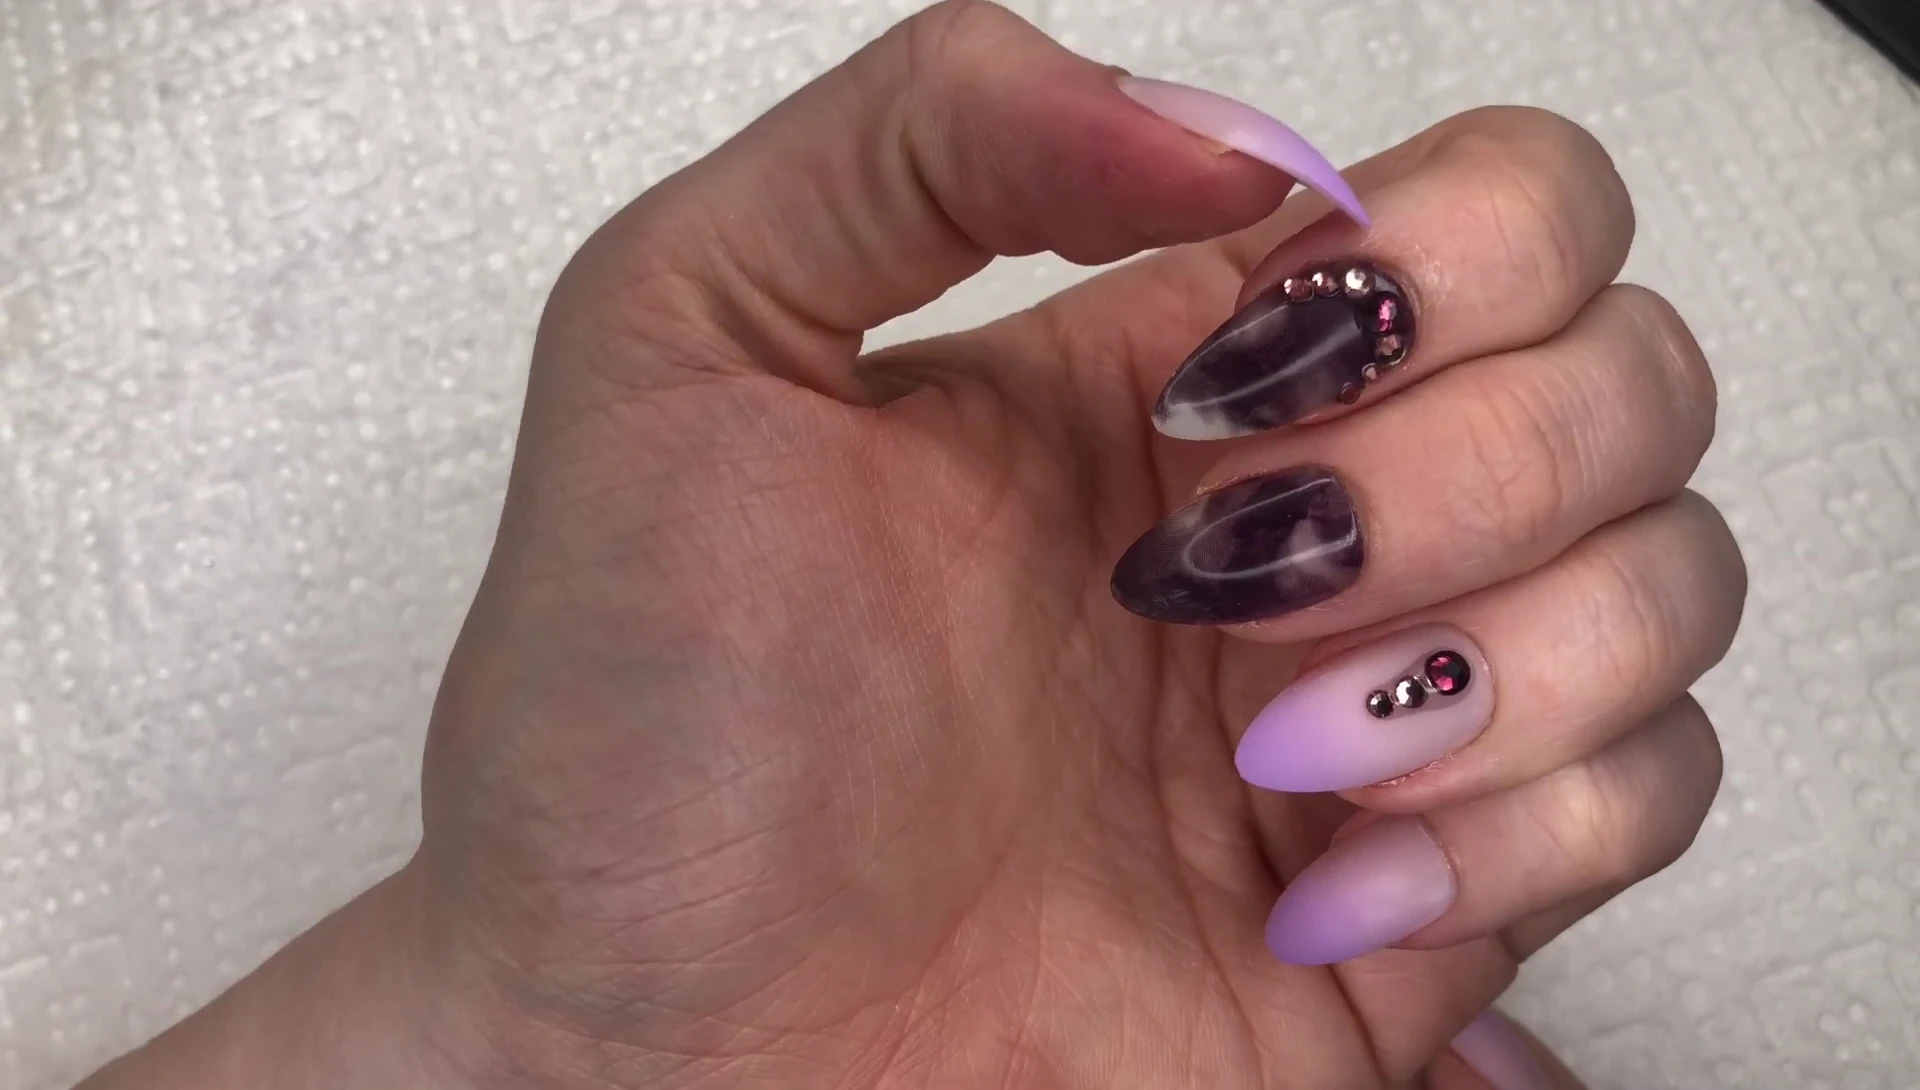
- Nails feel durable and have a perfect shape
- Look natural
- File is flimsy and may not last more than a couple of uses
- Glue dries very fast, making precise placement crucial
Read more: 10 Fun & Festive False Nails for Kids
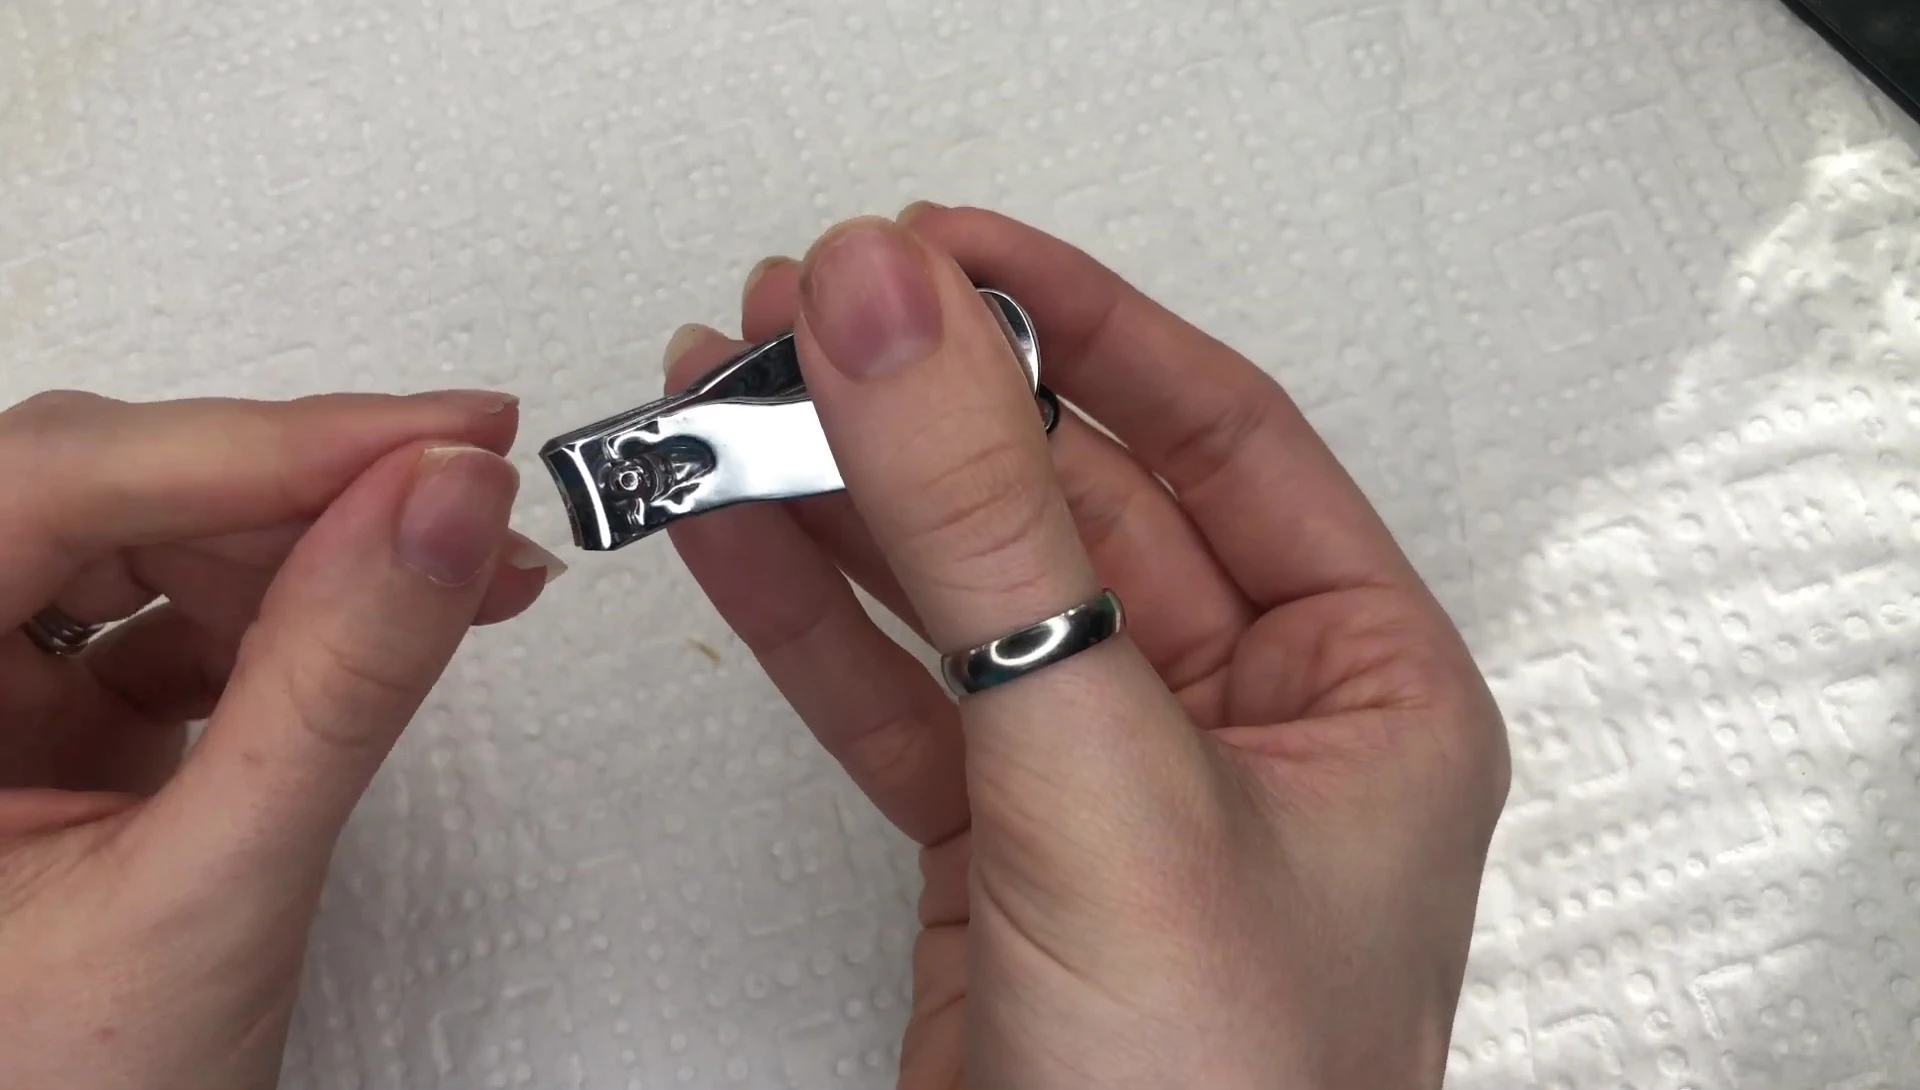
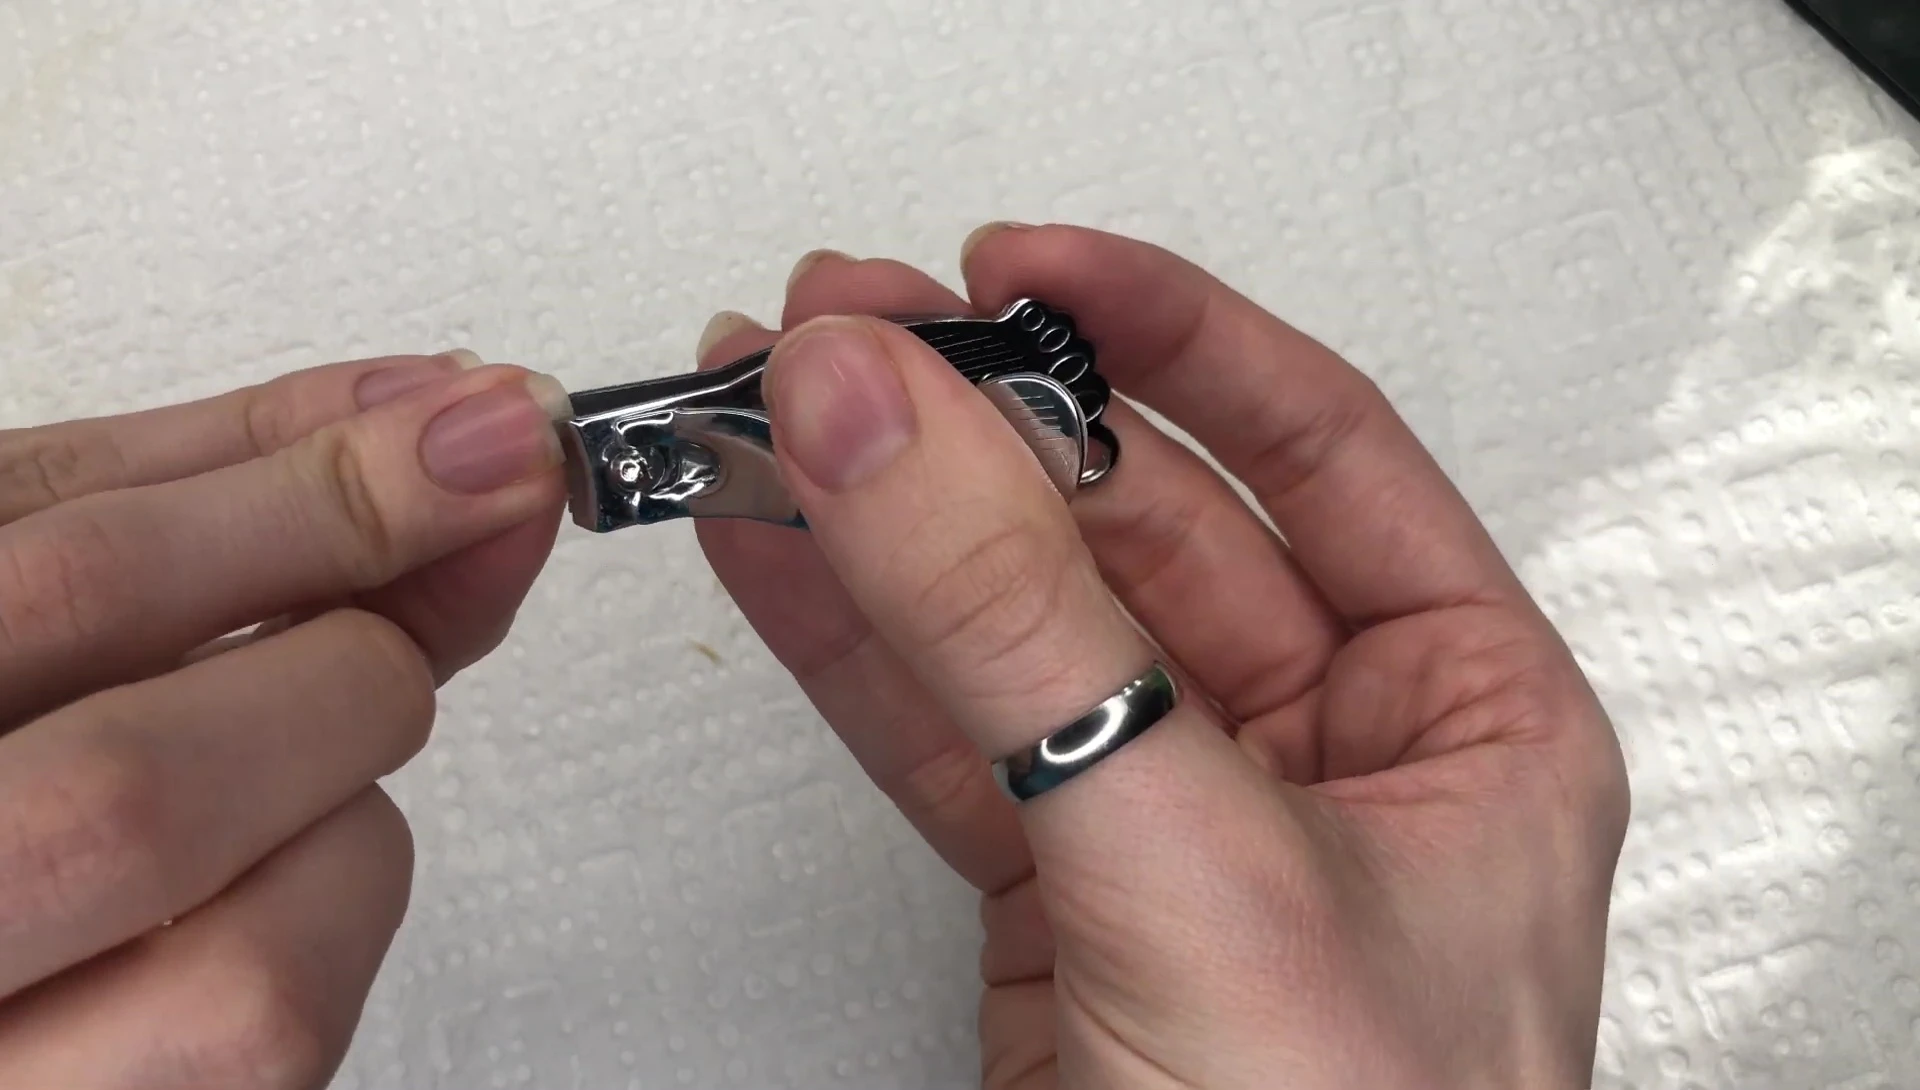
Nail Prep and Cutting
Before applying any press-on nails, proper preparation is crucial for longevity. Start by trimming your natural nails to a length that complements the chosen press-on style. This step prevents the natural nail from growing out too quickly, ruining the look.
For almond-shaped press-ons, carefully file down the corners of your natural nails. This ensures a seamless blend between your real and artificial nails. The goal is to minimize visible natural nail underneath the artificial nails.
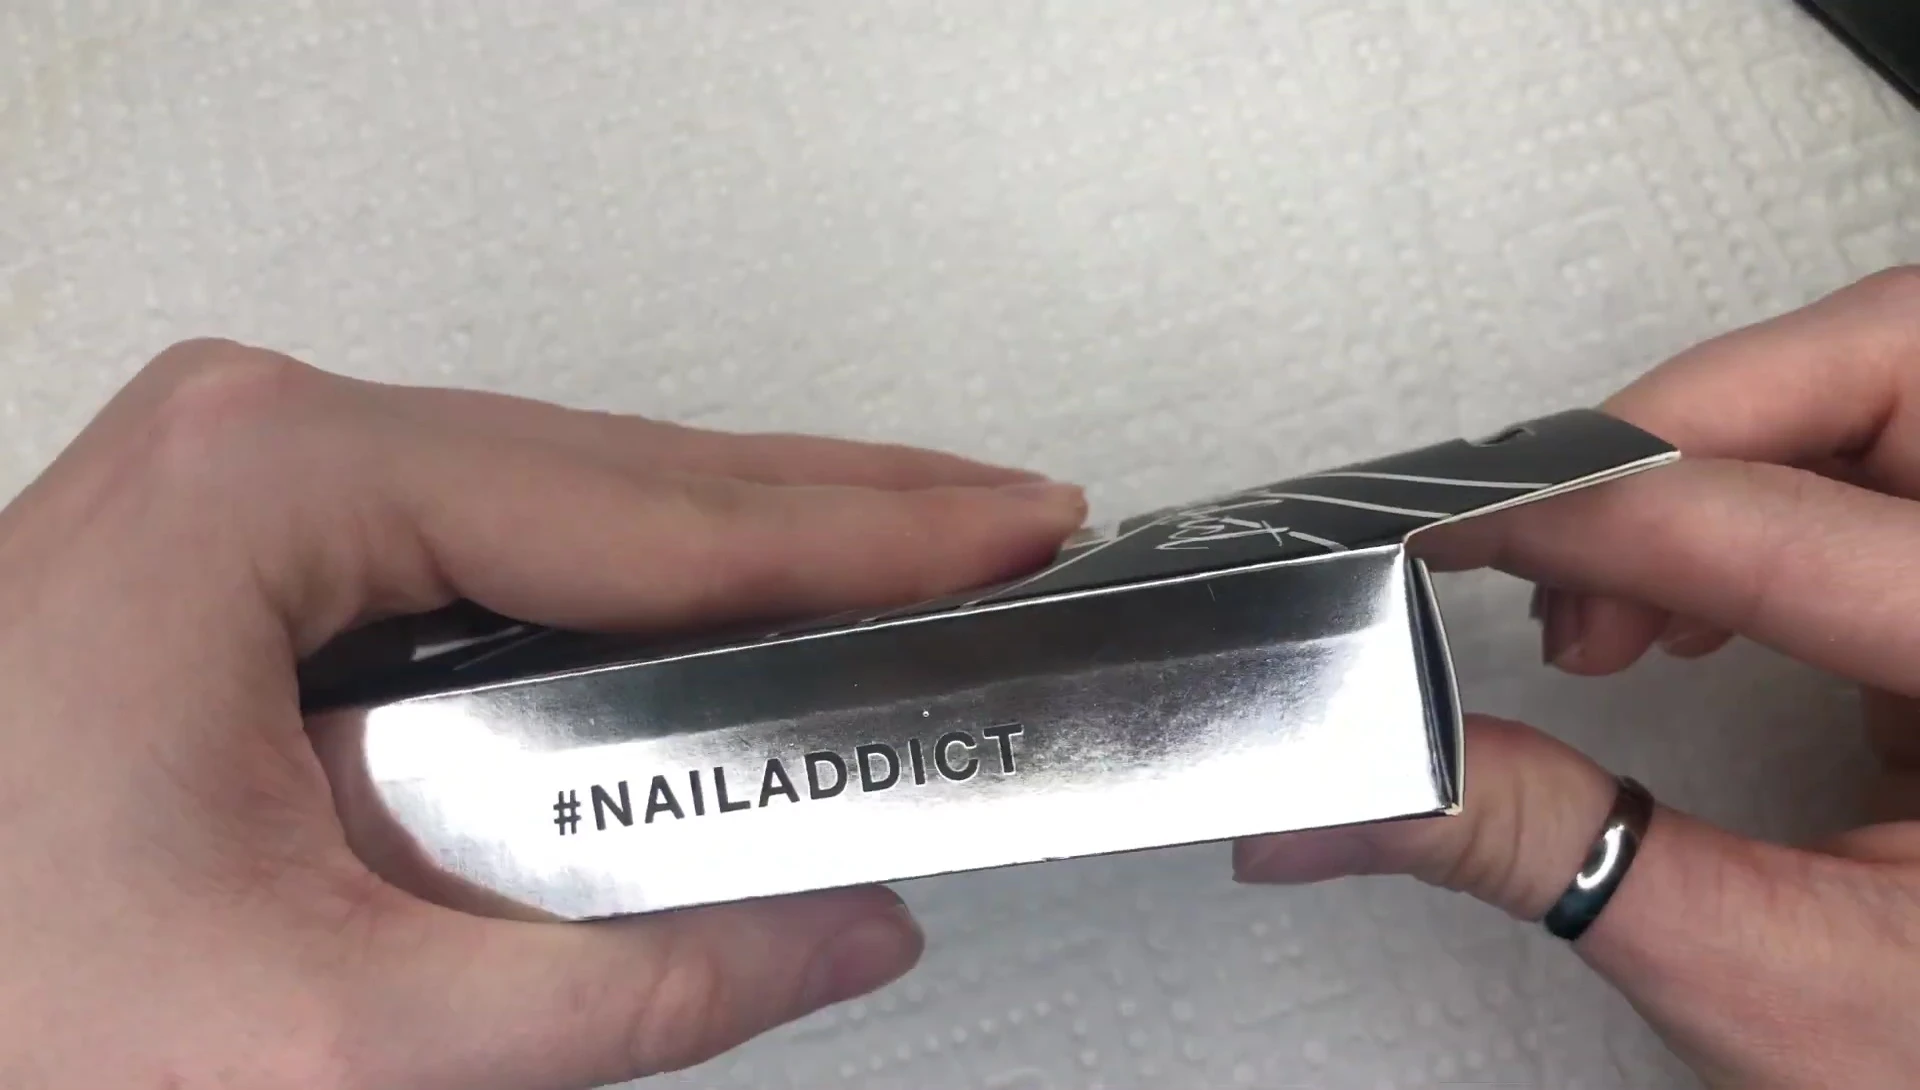
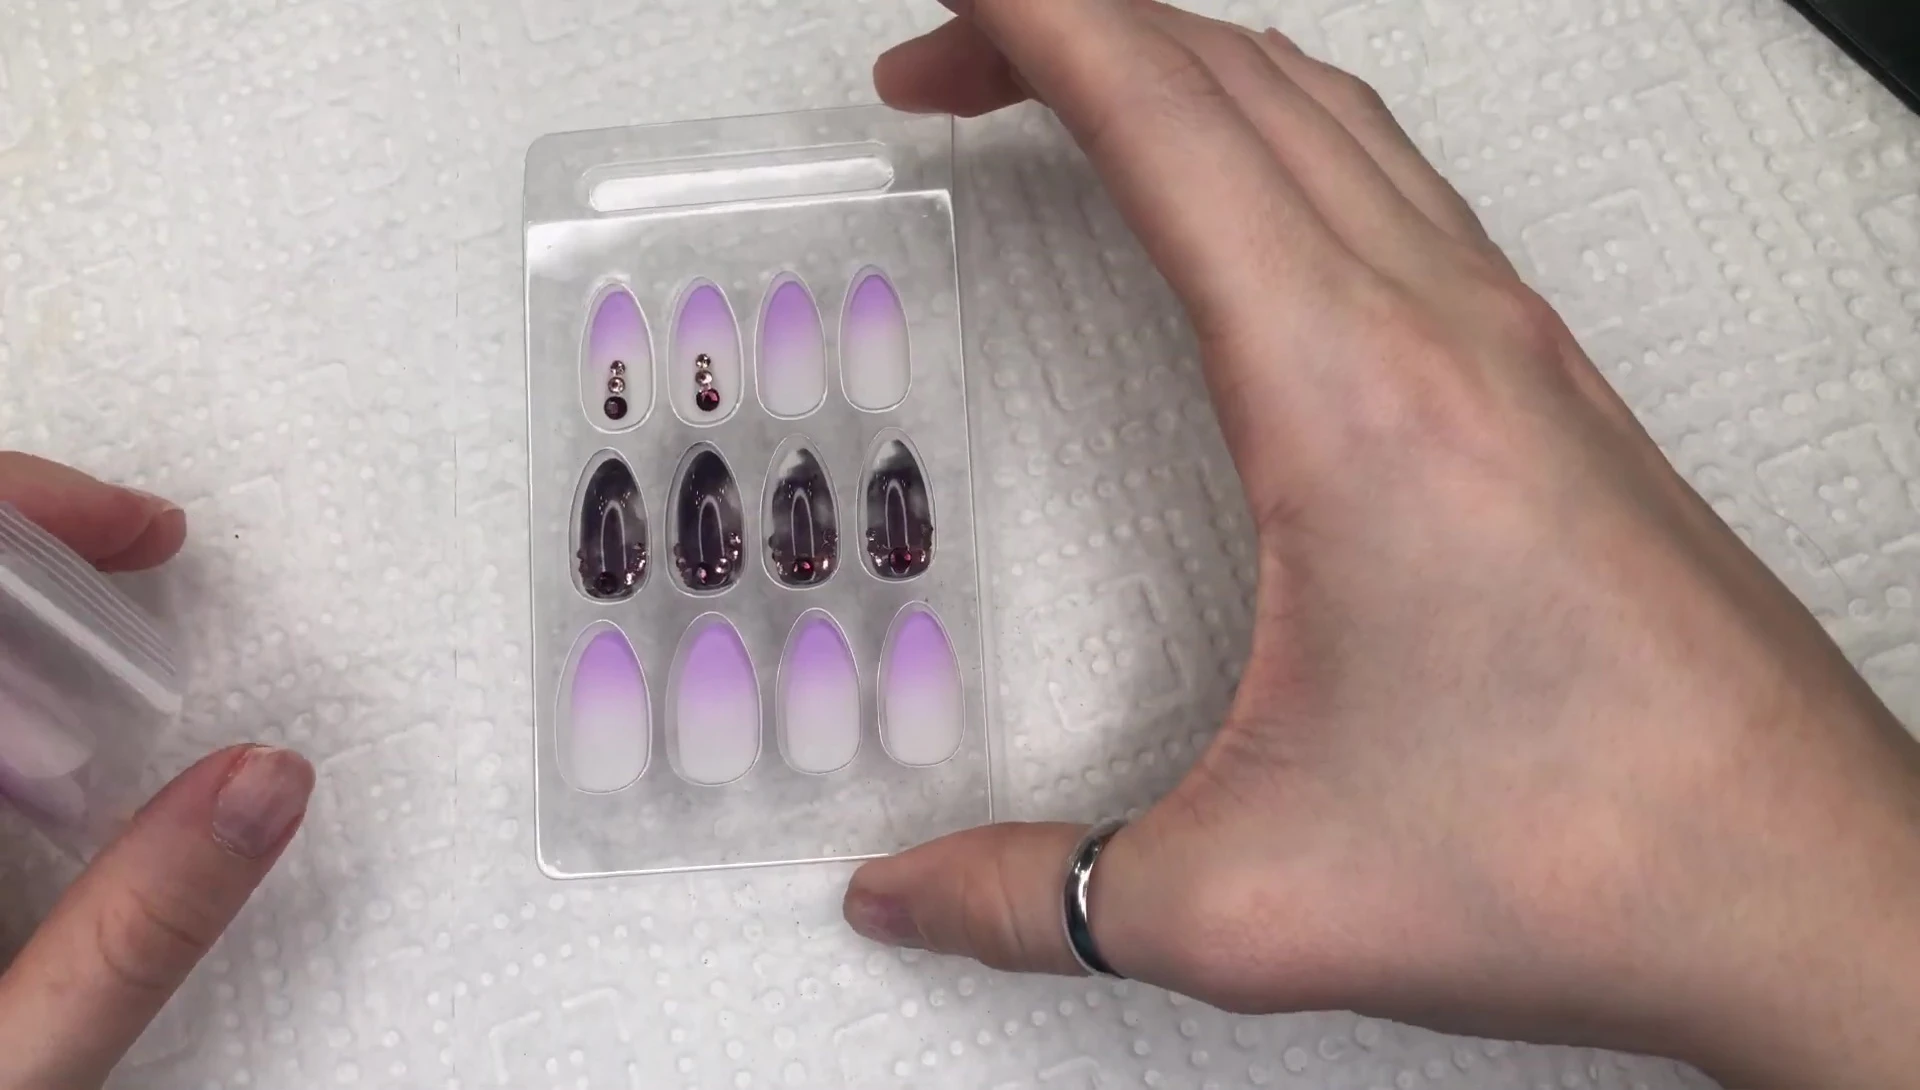
Ardell Press-On Nails: First Impressions
I purchased these Ardell press-on nails from Target for a reasonable price. Initially, I was looking at Kiss brand nails, but these caught my eye immediately.
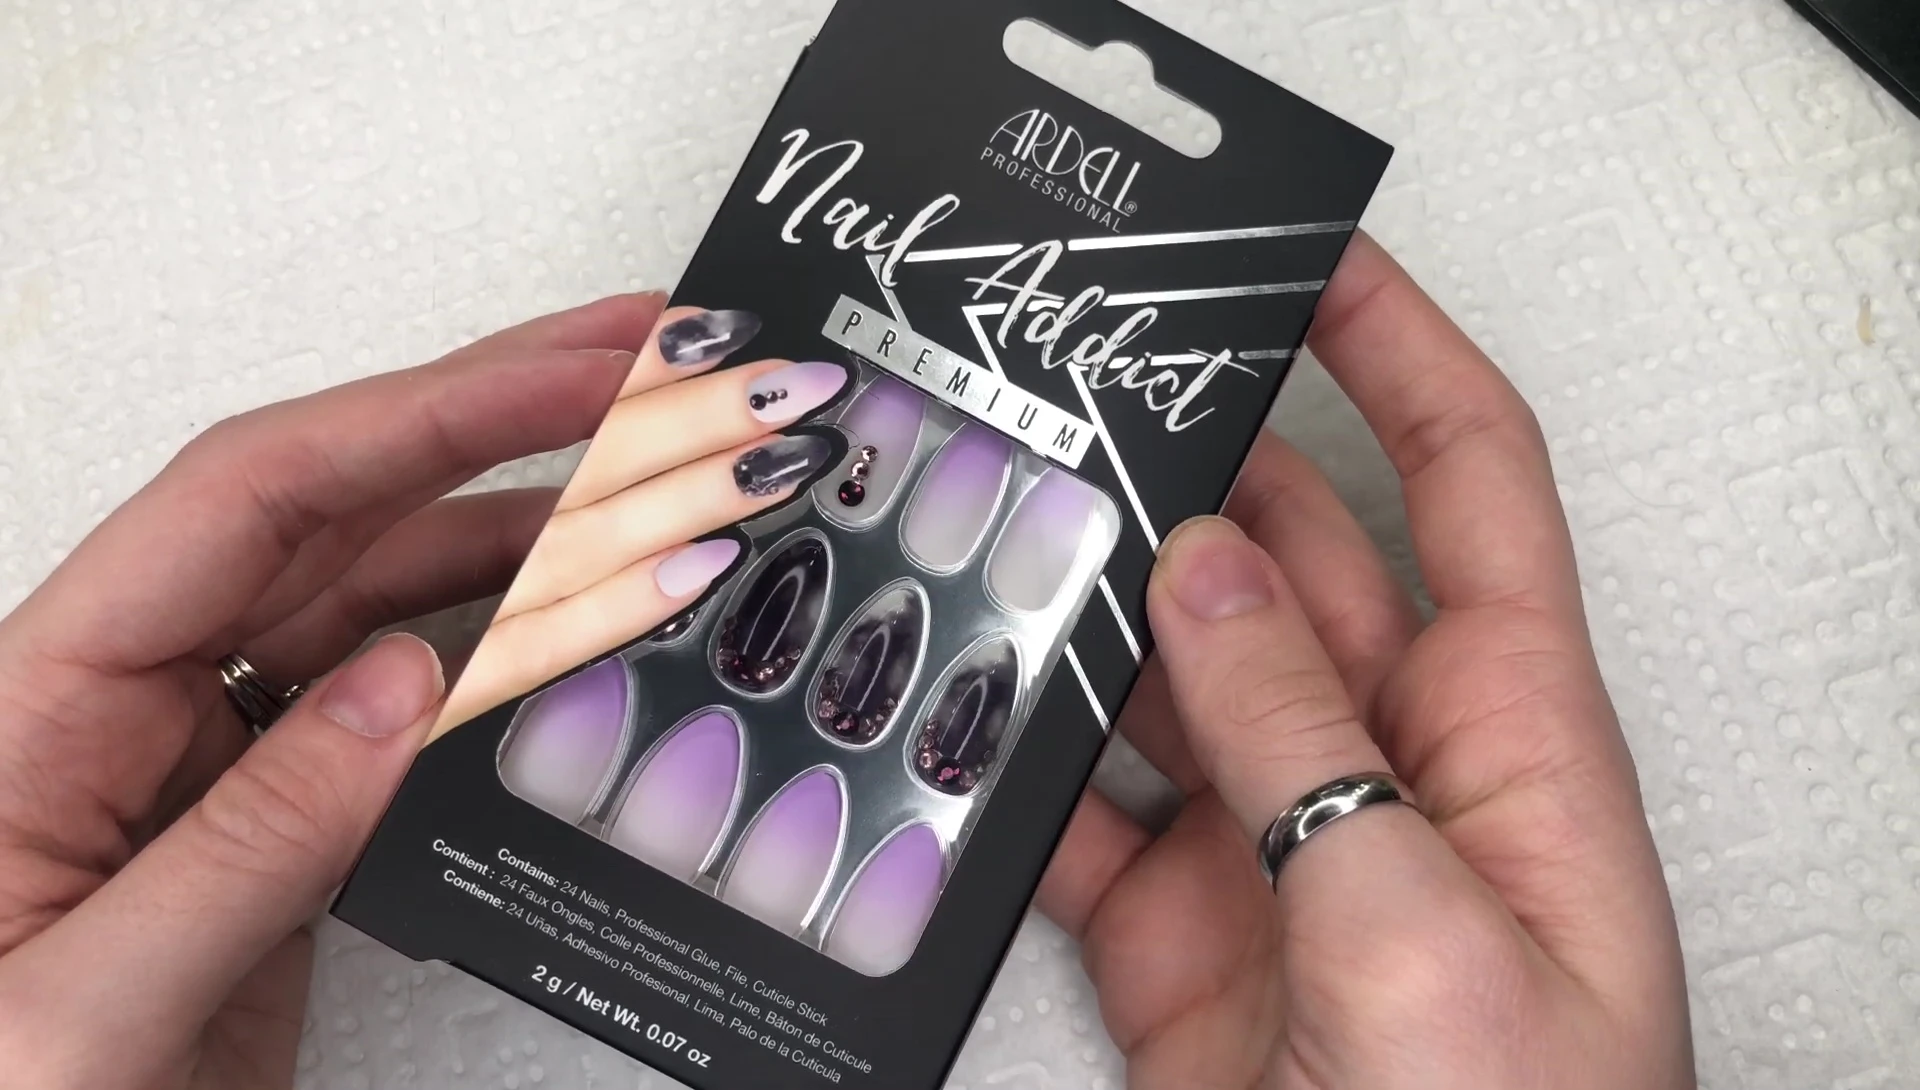
Ardell offers a wide variety of stylish designs. The quality and professional look surpassed my expectations; they're much more diverse than I initially anticipated.
Tools and Contents
The Ardell kit includes essential tools for a smooth application. A double-sided file helps prep natural nails and achieve a perfect fit. The kit also provides glue, necessary for secure adhesion.
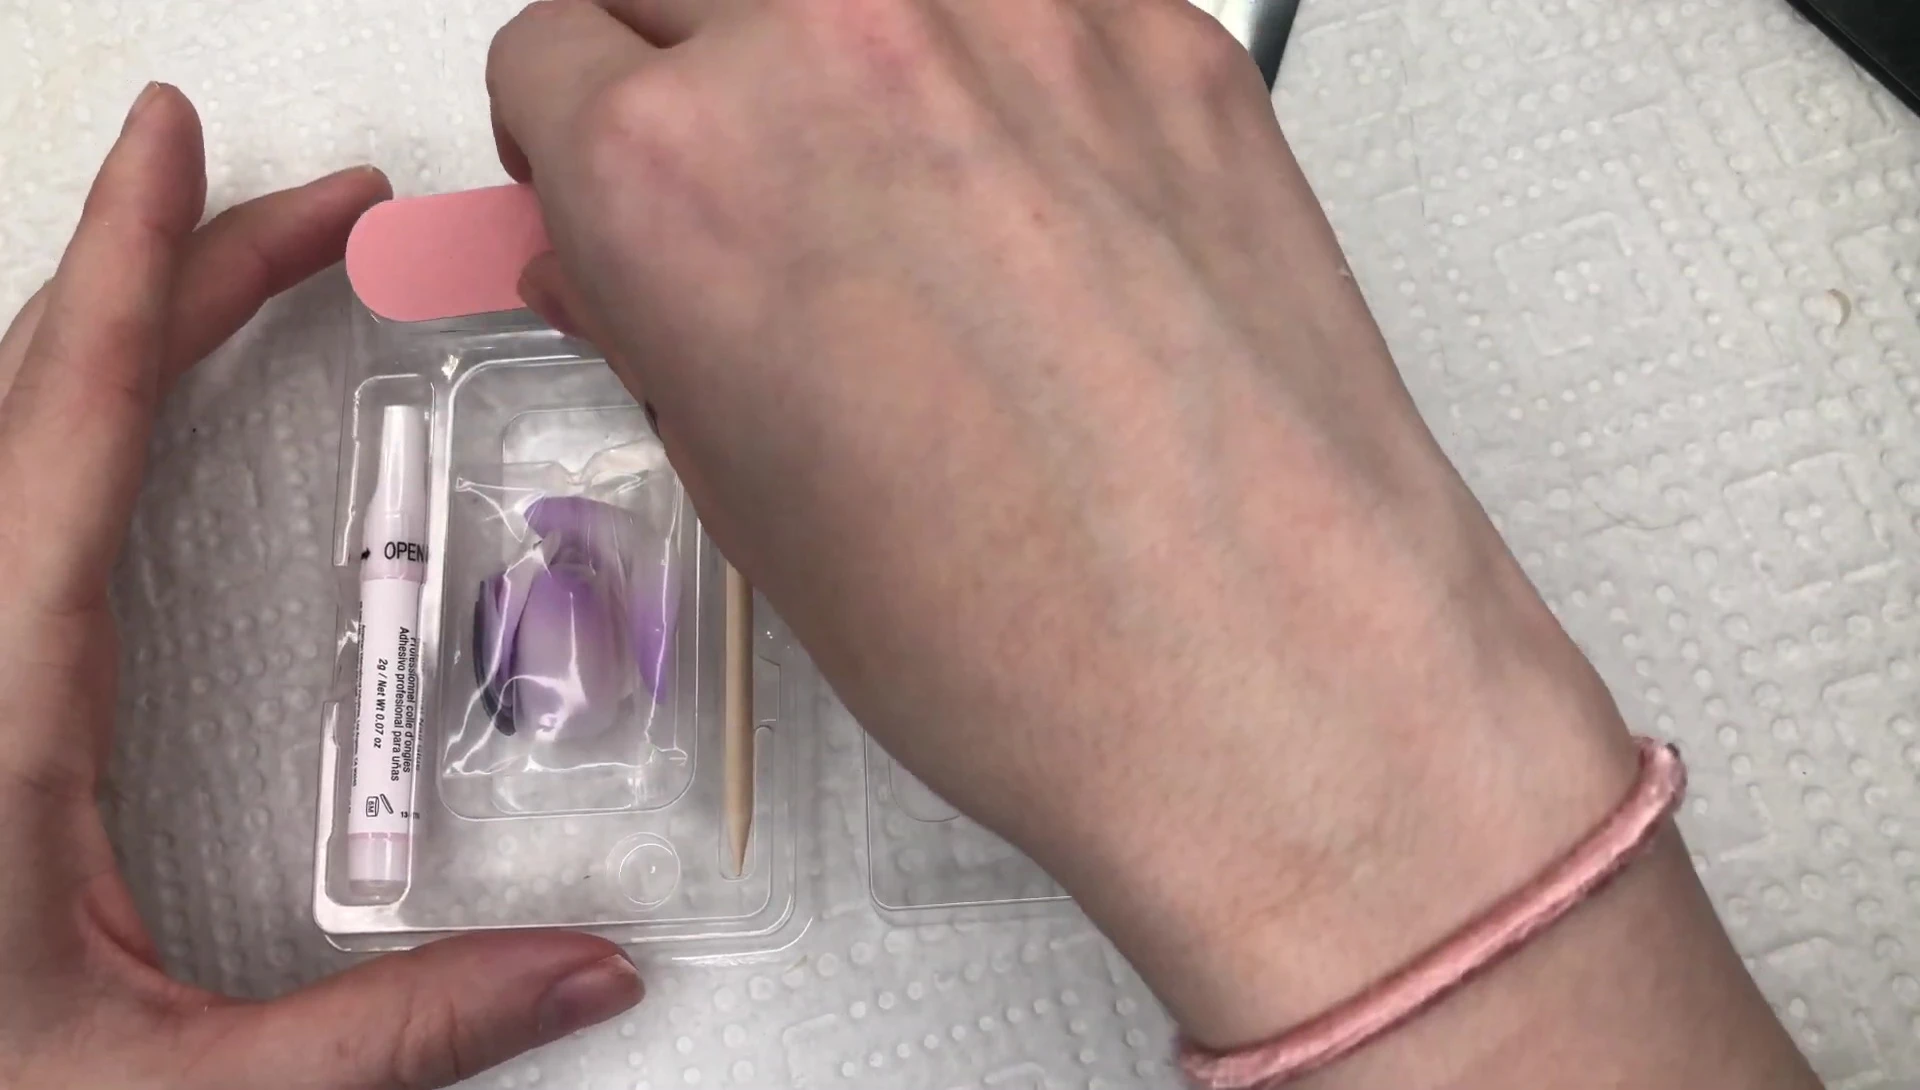
The extra nails are neatly packed in a zip-lock bag. This smart packaging prevents nails from scattering and getting lost during the application process, which is a huge plus for organization.
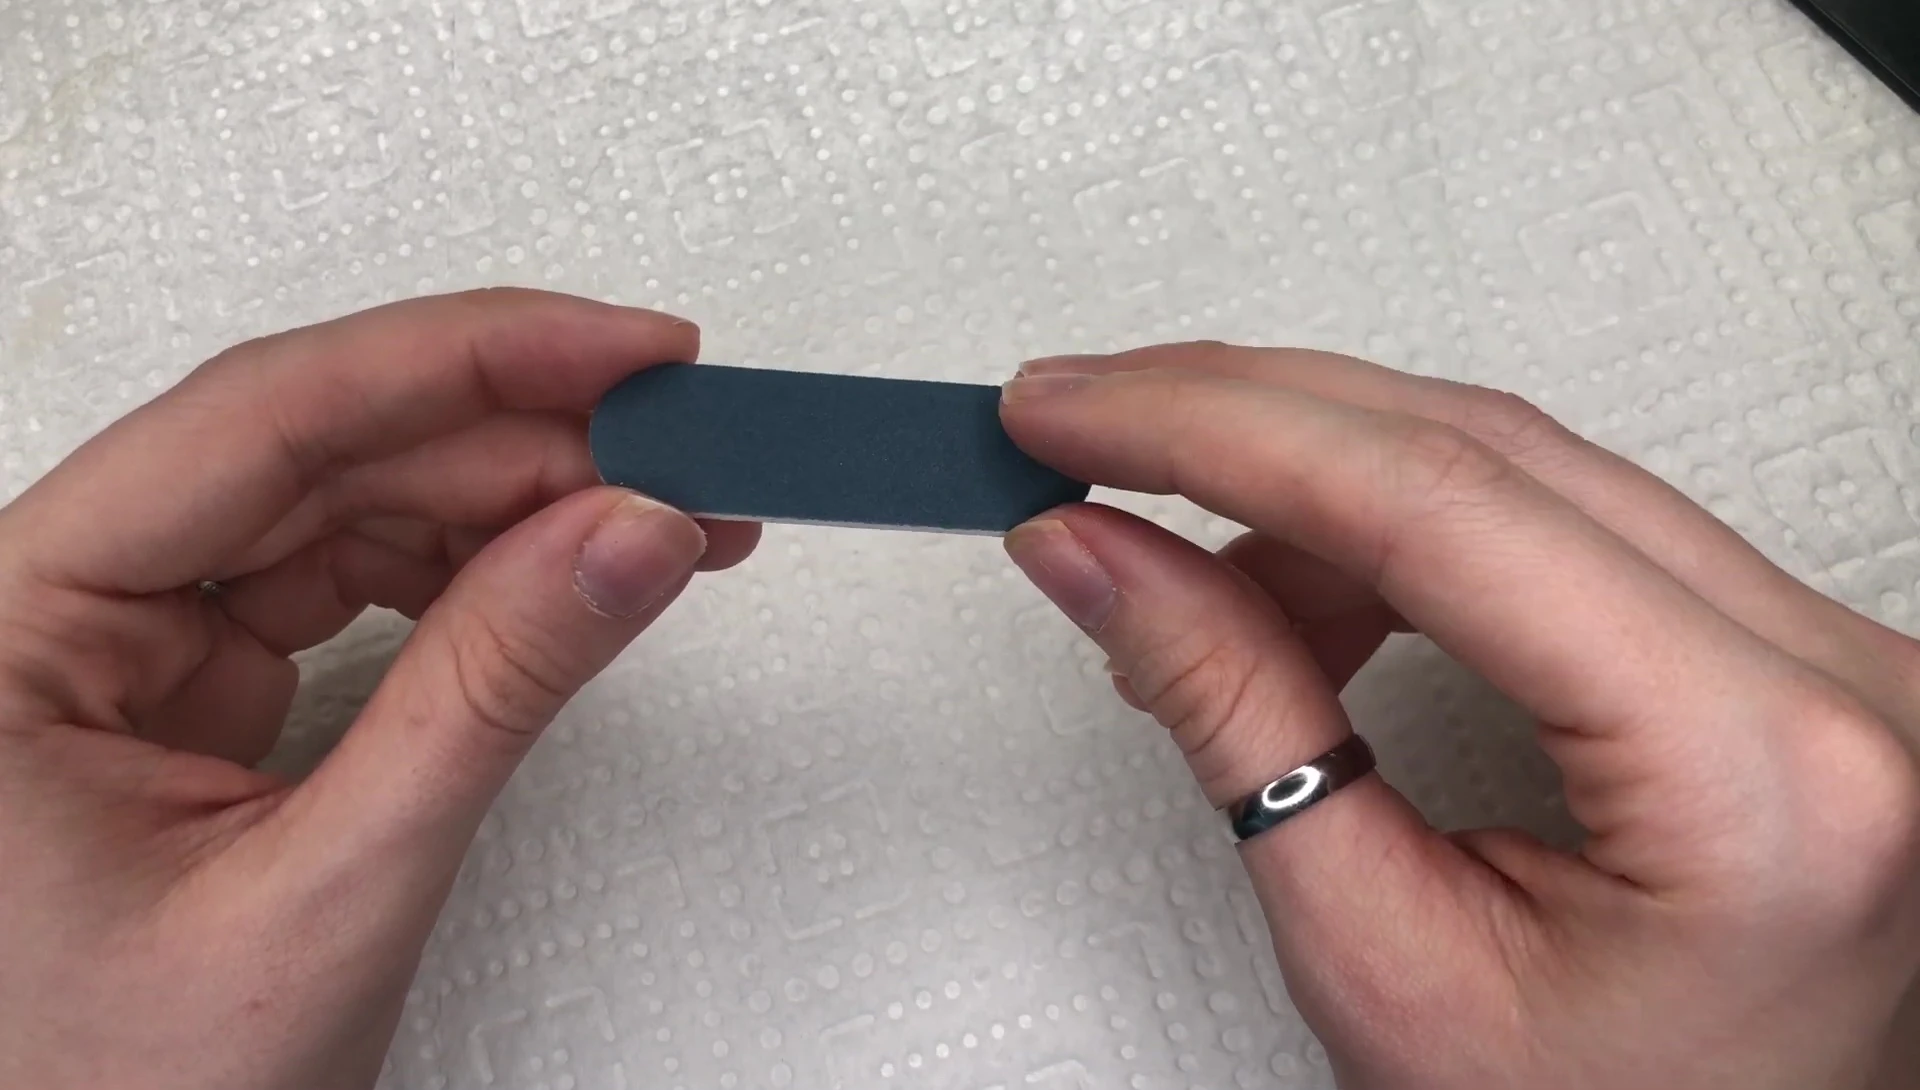
Pushing Back Cuticles and Filing
Using the provided tool, carefully push back your cuticles for easier nail application. This step improves the adhesive surface and potentially increases longevity.

The double-sided file offers different levels of roughness. Use the rougher side to file the tips of your nails to remove any rough edges. Focus on the corners to create a flawless look.
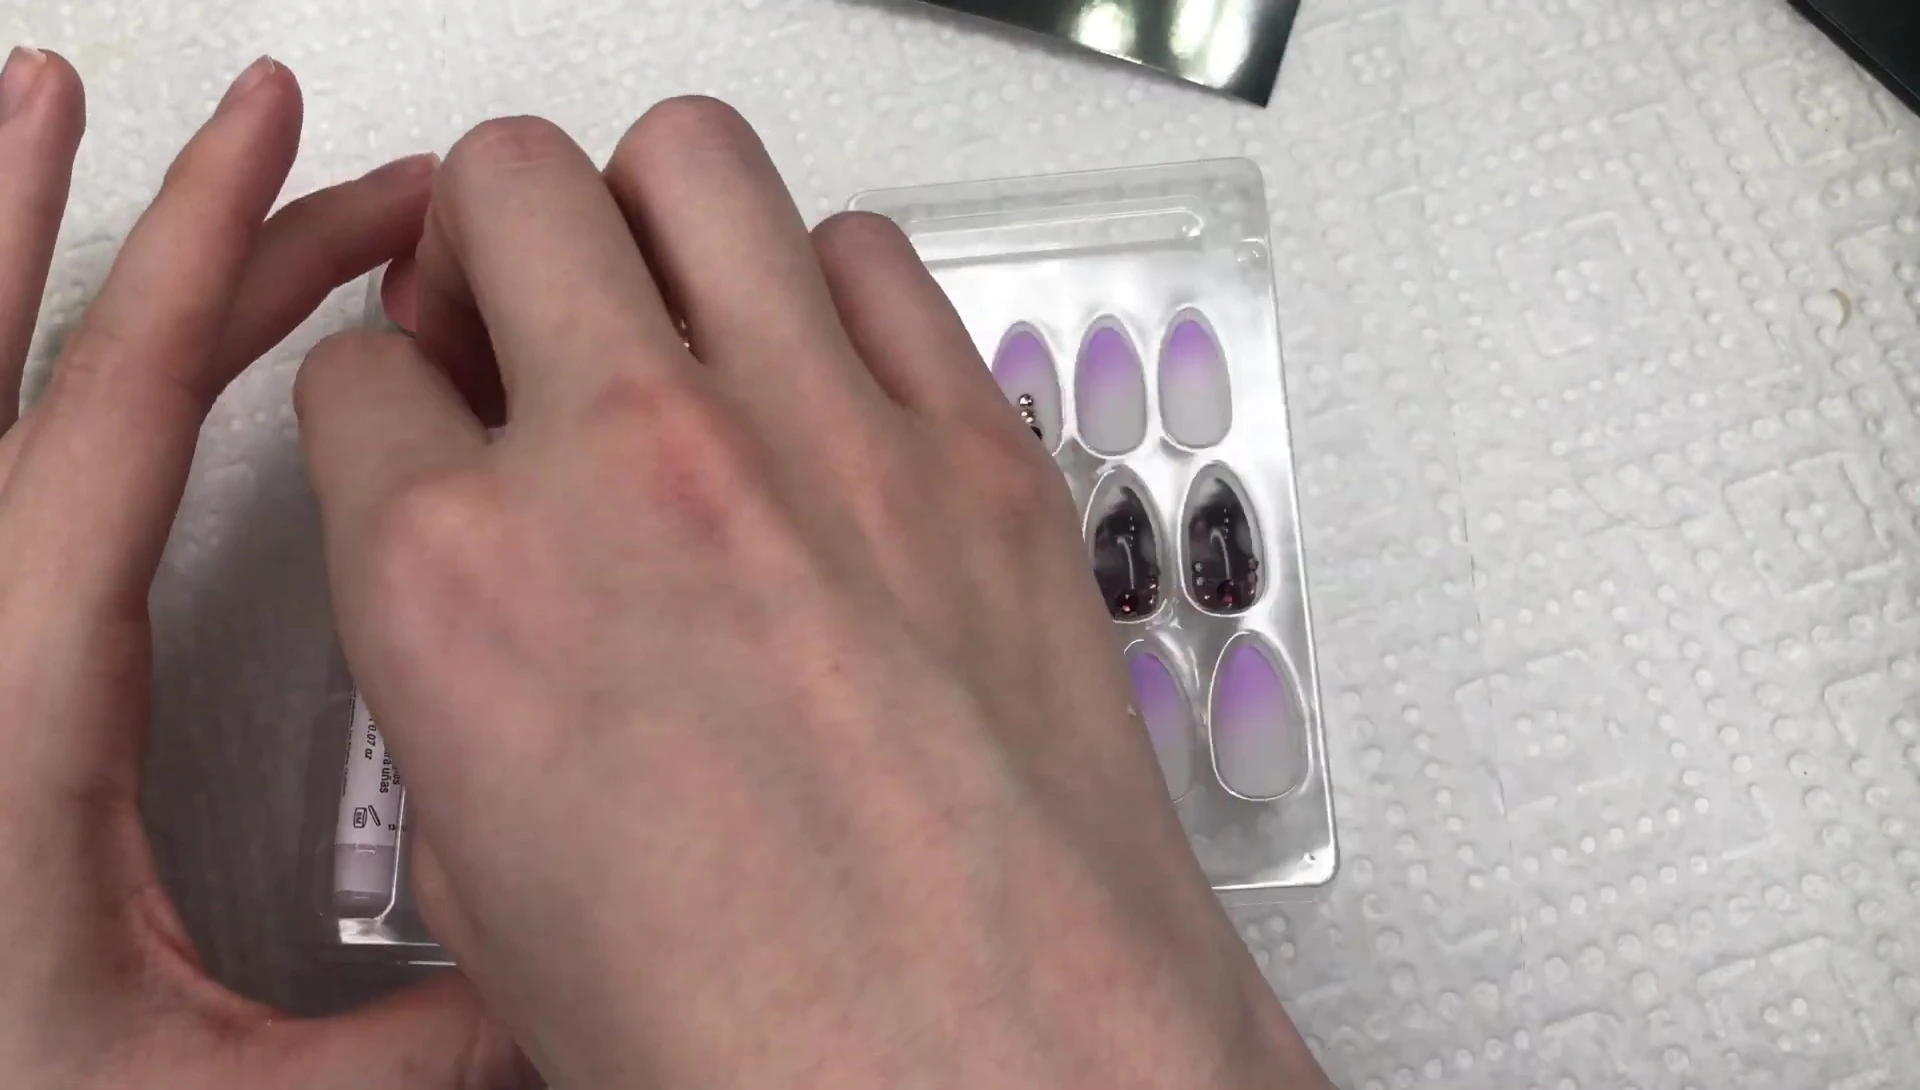
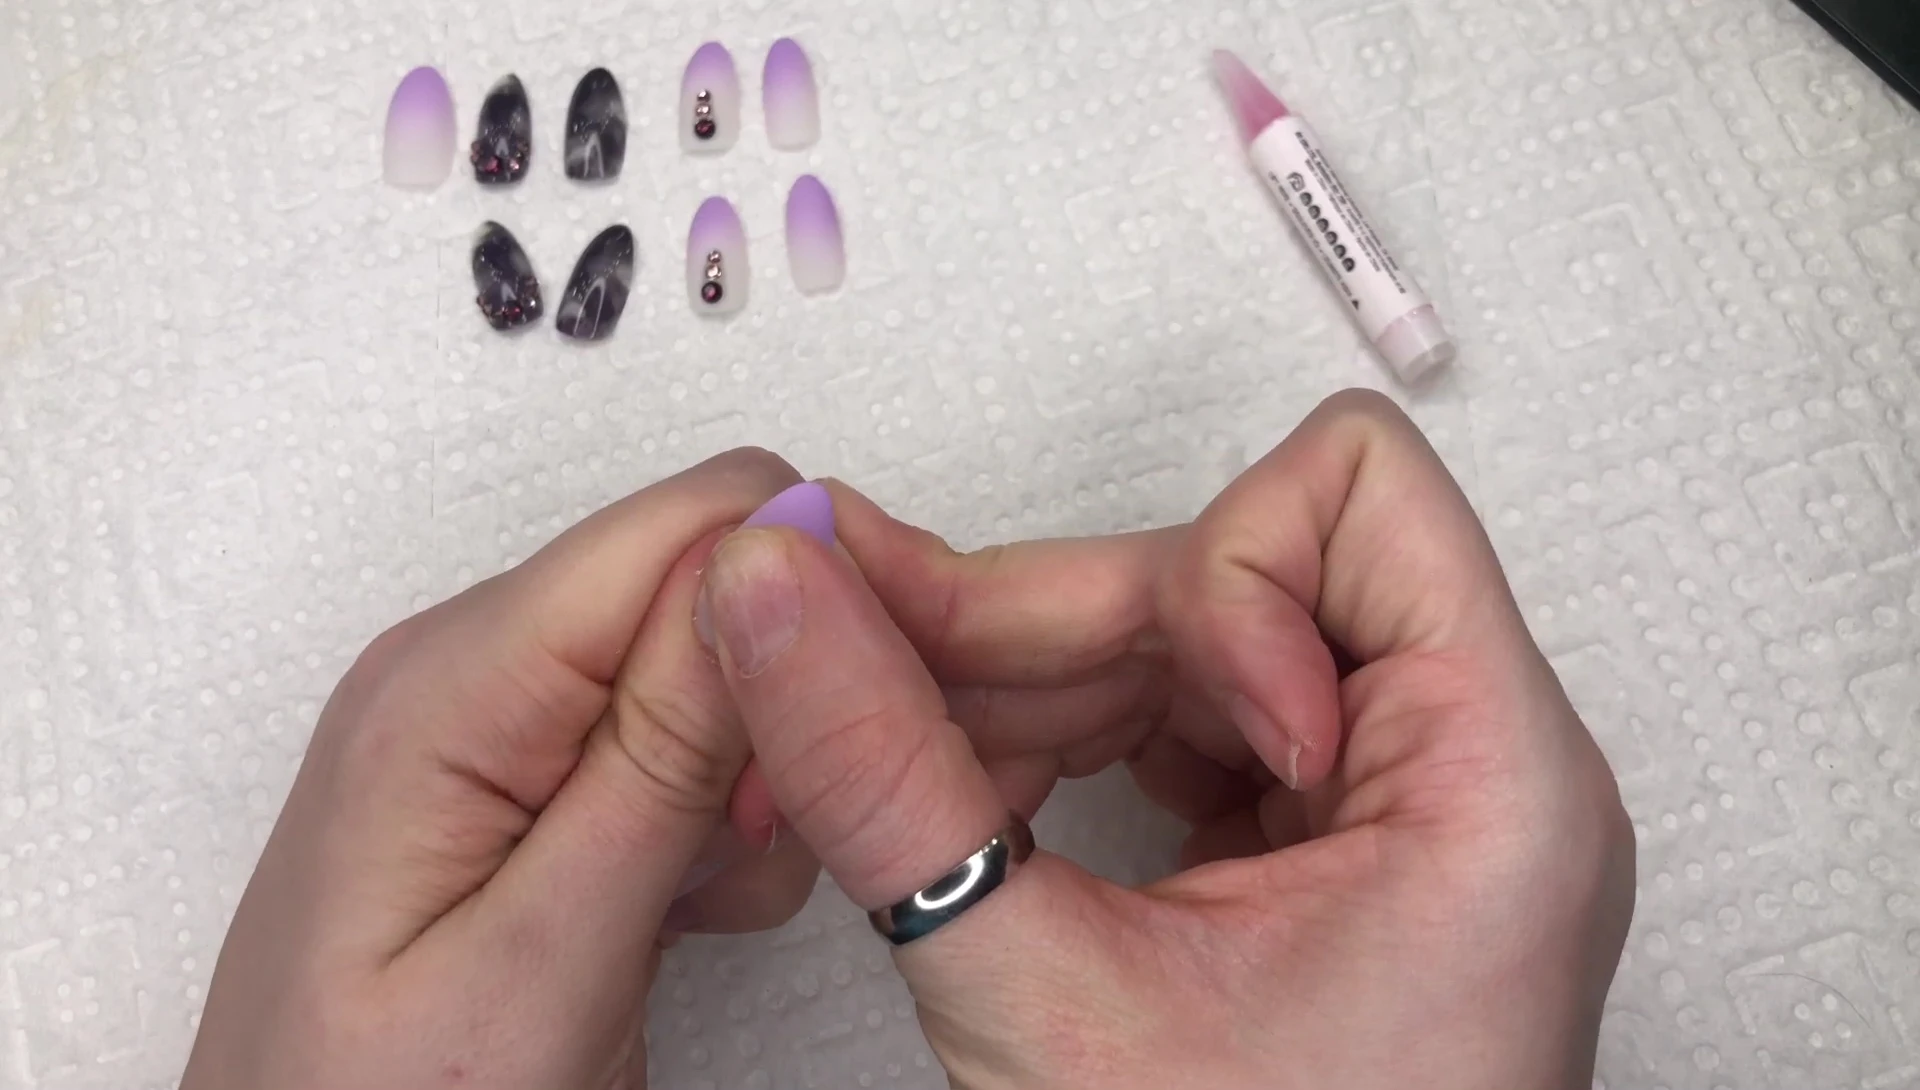
Nail Selection and Application
Match the press-on nails to your natural nails by comparing their size. The numbers printed on the inside of the nails facilitate this step and matching pairs.
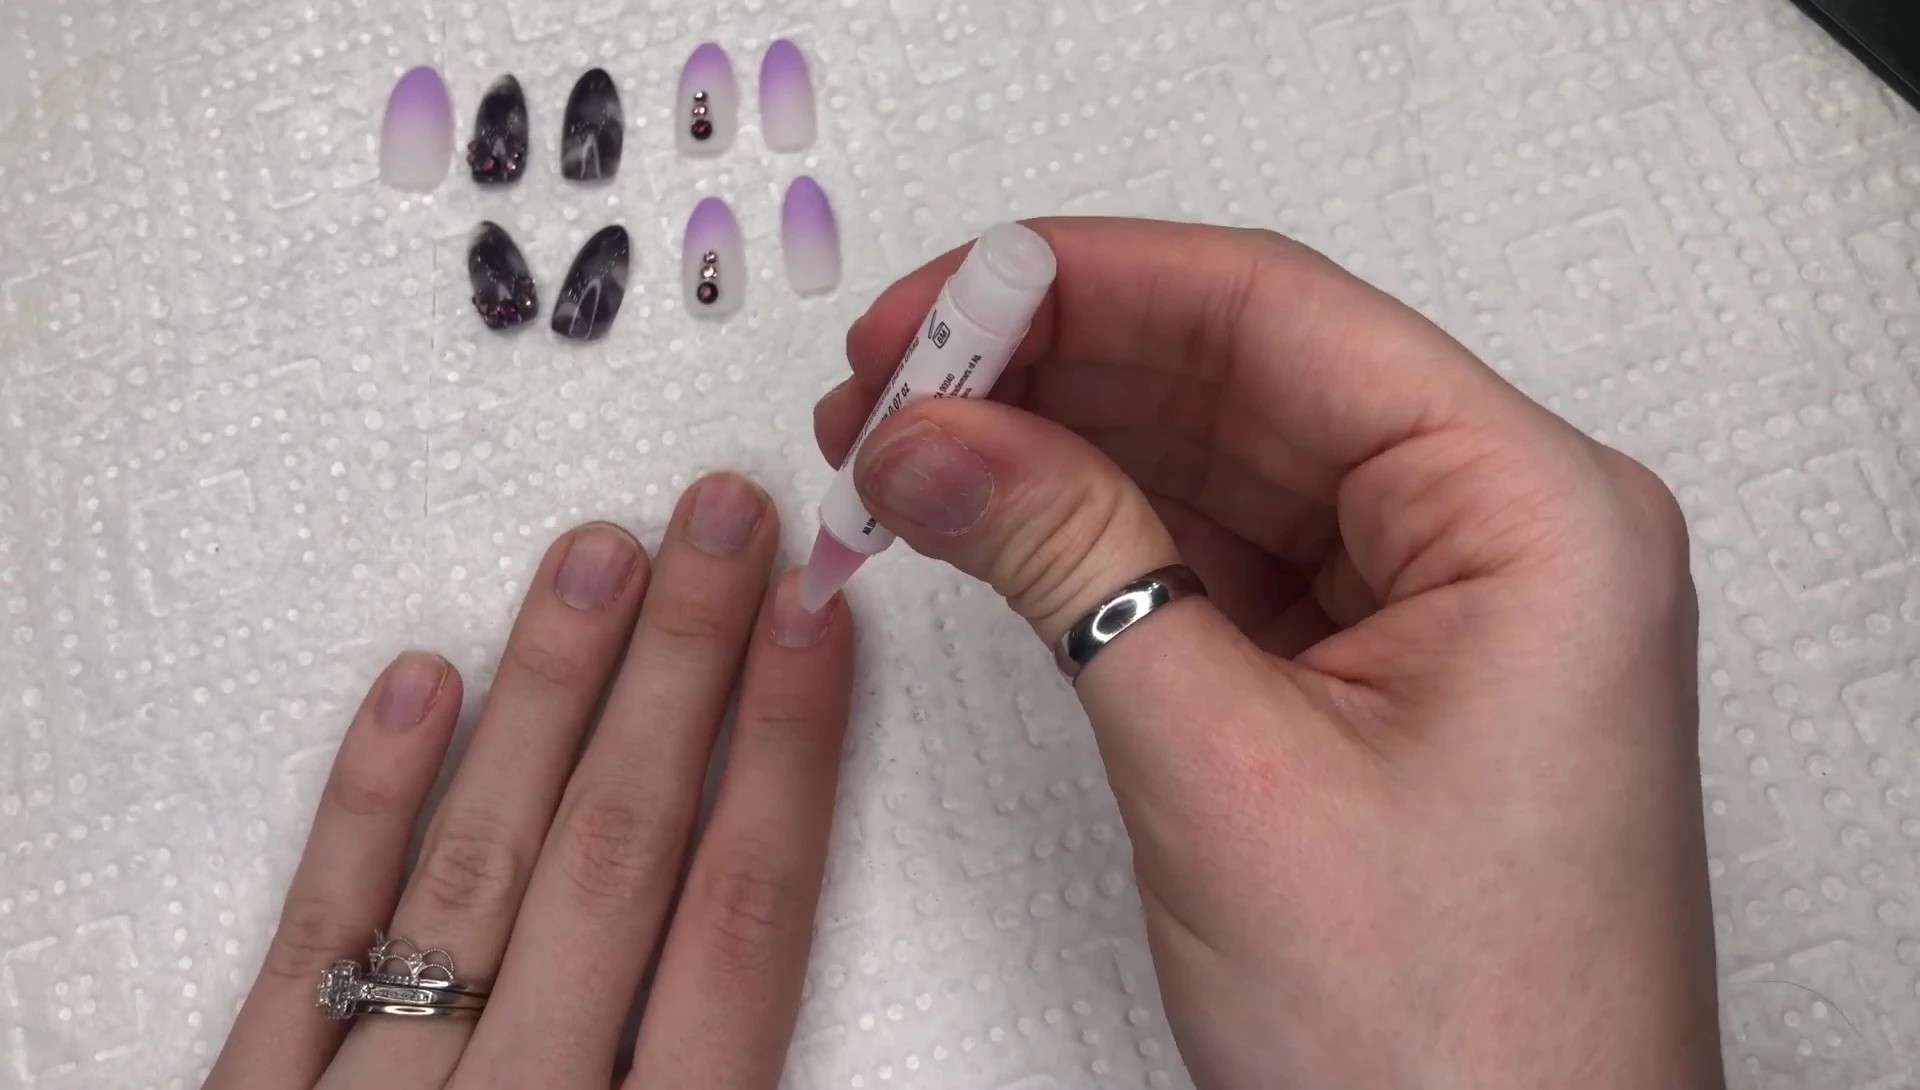
Gently buff your nails with the smoother side of the file before applying the glue to enhance adhesion. Apply a small amount of glue to each natural nail; too much glue can create a mess.

Glue and Final Thoughts
The glue included in the Ardell kit is remarkably effective. It dries quickly, creating a strong, long-lasting bond between your natural and artificial nails.
Hold each nail firmly for 5-10 seconds to ensure the glue sets completely. I highly recommend this glue, it is superior to other nail glues I have used. The nails stick instantly and feel very durable.
Final Verdict
The Ardell press-on nails provide excellent quality and value. They look and feel surprisingly natural and durable. The diverse design options and multiple sizes make them a great choice.
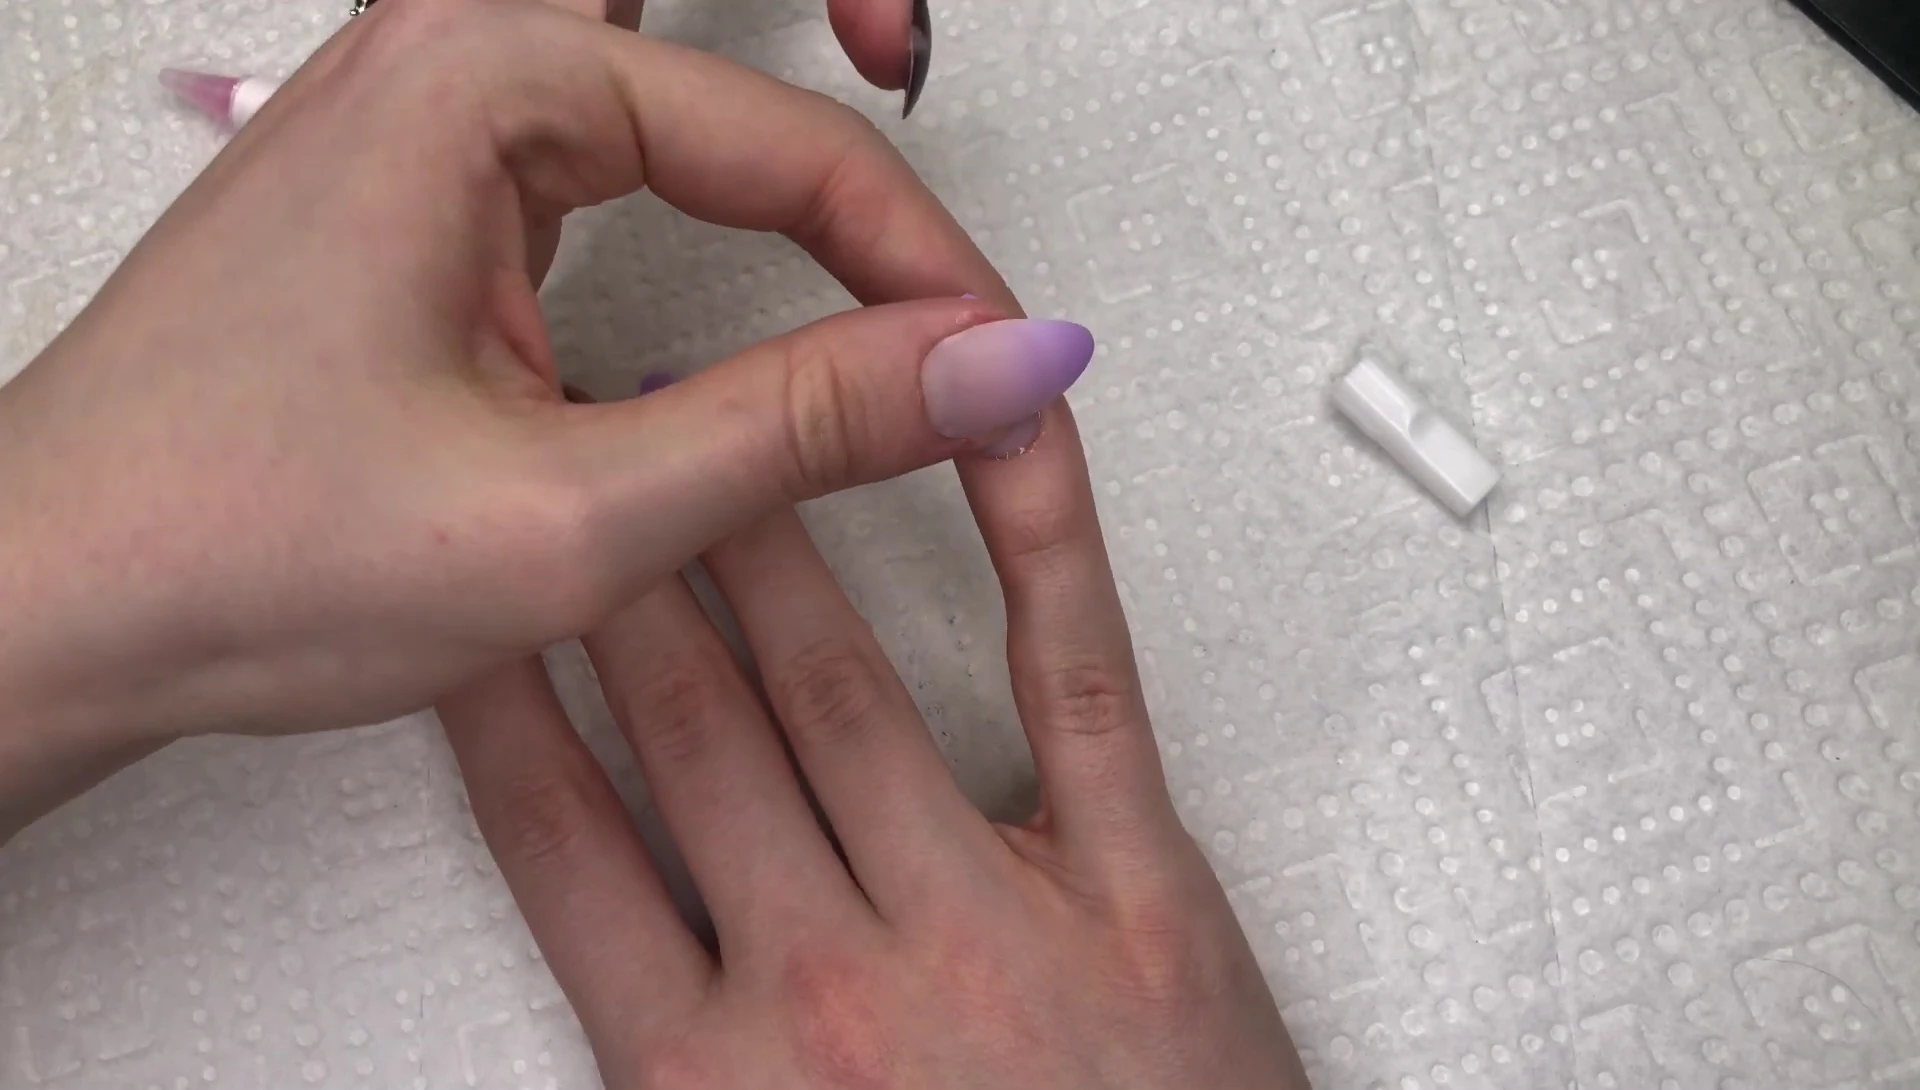
The strong adhesive and easy application process make them a convenient alternative to salon manicures. Overall, these press-on nails are highly recommended for a professional look at an affordable price.