Achieve salon-worthy gel manicures from the comfort of your home with this comprehensive review of Beetles gel polish and the JELPC UV lamp. This guide details a step-by-step process for creating a long-lasting, vibrant manicure, using high-quality products designed for ease of use and professional results. Learn how to master the art of at-home gel application, avoiding common mistakes and ensuring your manicure lasts for weeks. We'll explore the benefits of investing in premium products like Beetles' long-lasting gel polish and the convenience of the JELPC UV lamp's automatic sensor and timer functions.Discover how to flawlessly apply base coats, color coats, and top coats for a smooth, even finish. This review will equip you with the knowledge and confidence to create stunning gel manicures without the expense of professional salon visits. Get ready to experience the luxury of a perfect manicure, every time, all while saving time and money with this effective and efficient at-home gel manicure system. From selecting the right products to mastering the curing process, we’ll cover everything you need to know for a flawless, long-lasting result.
Pros And Cons
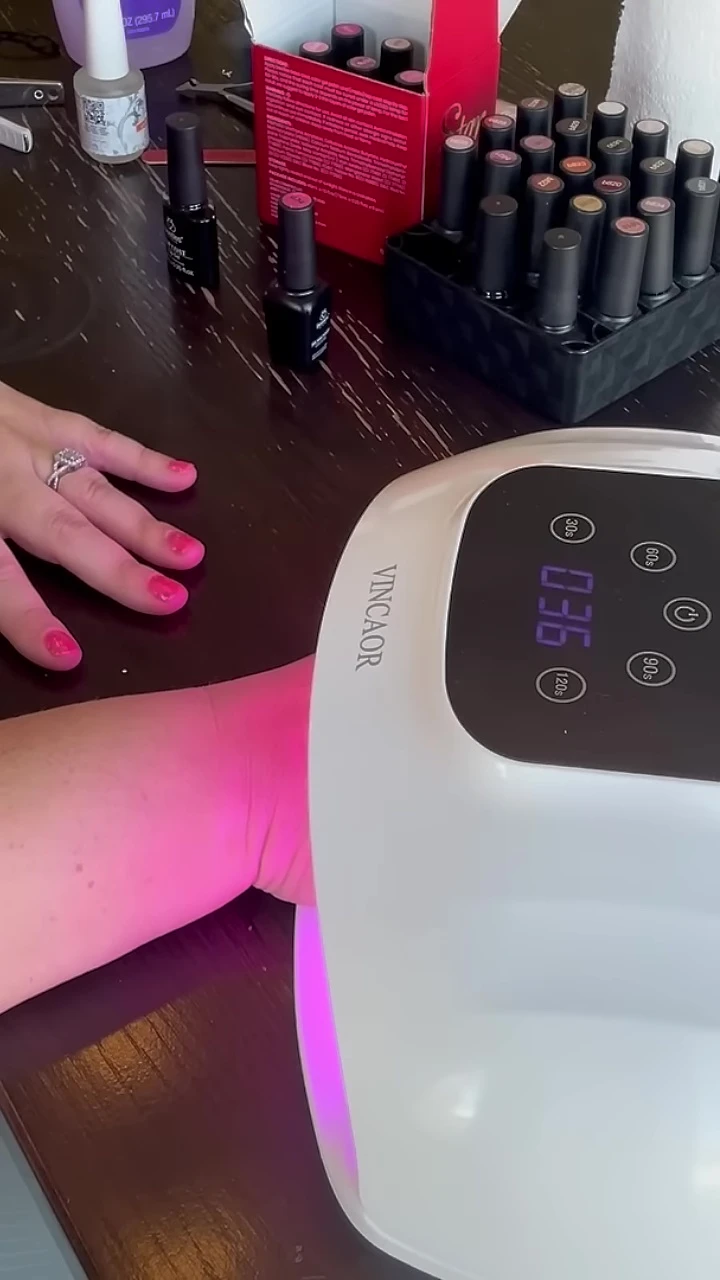
- Turns on and off automatically when hand is inserted or removed.
- Has preset timers (30, 60, 90, and 120 seconds).
- Can burn fingers if too thick a layer of gel polish is applied.
Read more: Top 10 UV Nail Lamps: The Ultimate Guide
Choosing the Right Gel Polish
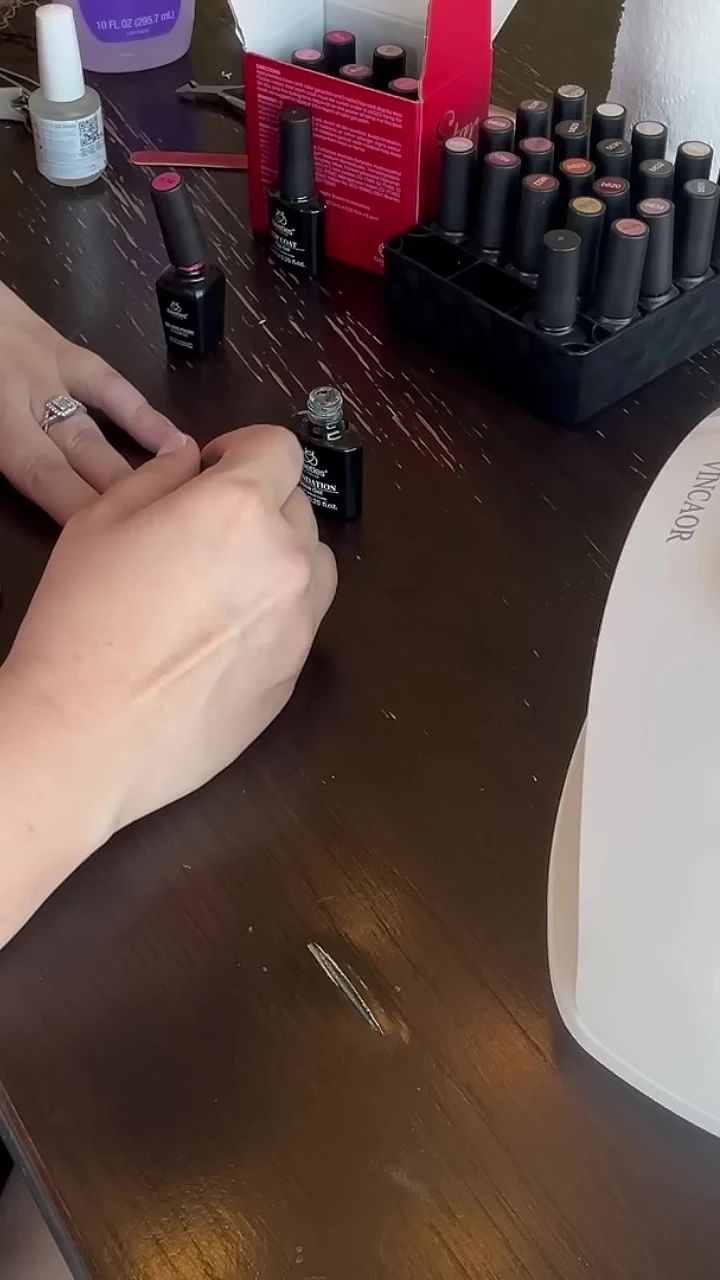
For a DIY gel manicure that lasts, selecting high-quality products is crucial. I opted for Beetles gel polish, a brand known for its vibrant colors and long-lasting wear. This system includes a base coat, a color coat, and a top coat—all essential for a professional-looking finish. Remember, investing in quality products will significantly impact your final results and the longevity of your manicure.
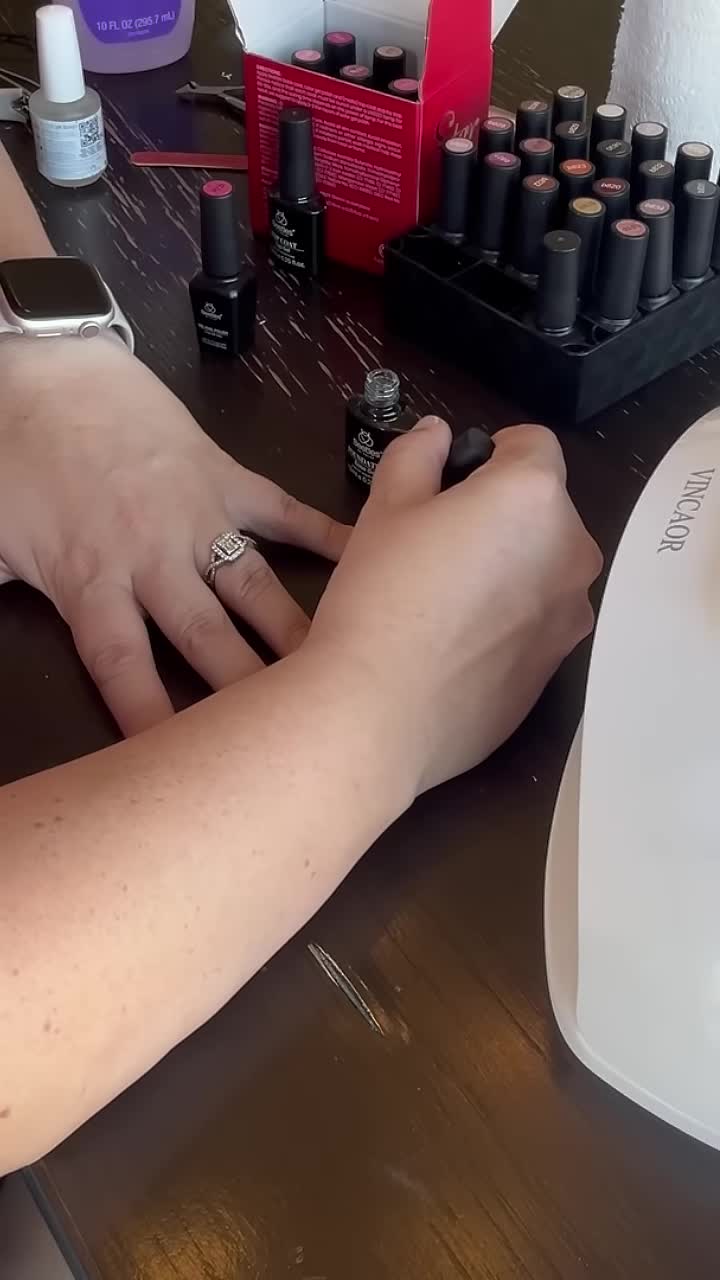
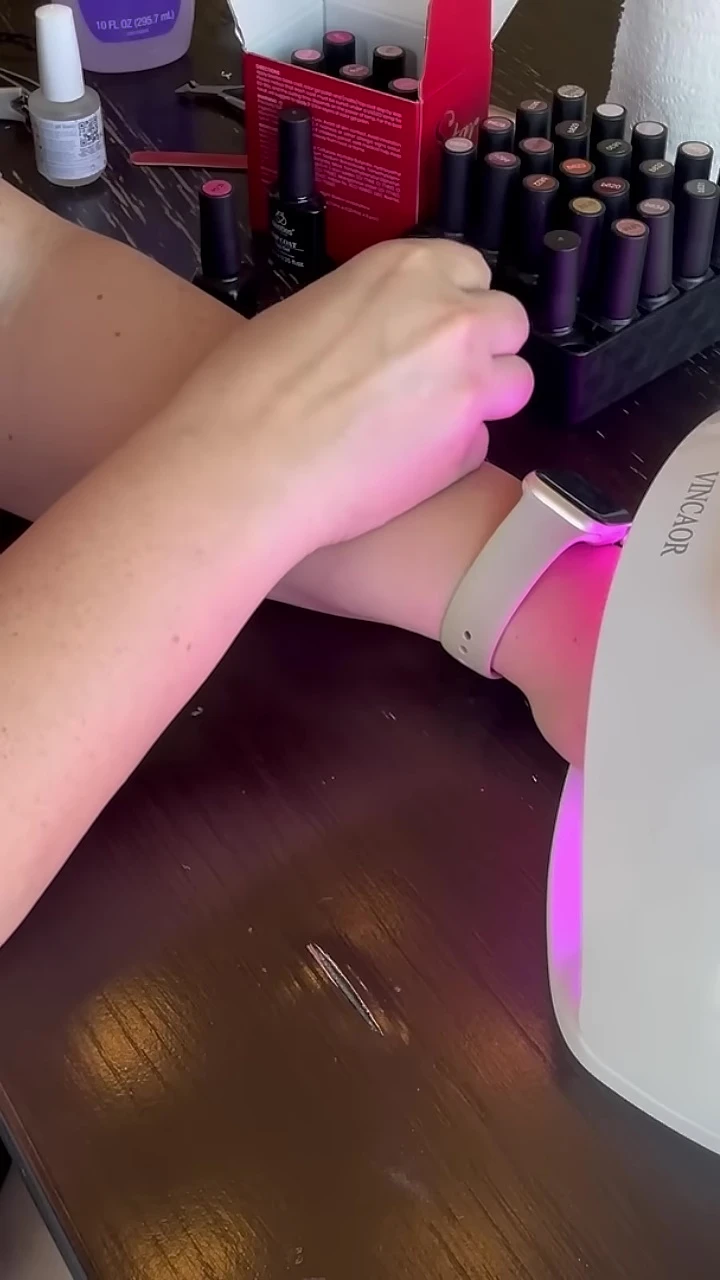
Applying the Base Coat and Curing with UV Light
Begin by applying a thin layer of the base coat to each nail. Avoid thick application to prevent burning under the UV lamp. Then, cure the base coat under a UV lamp for the recommended time; I used the JELPC UV light. A thin, even application will help the color adhere better, ensure a smooth finish, and avoid issues during the curing process.
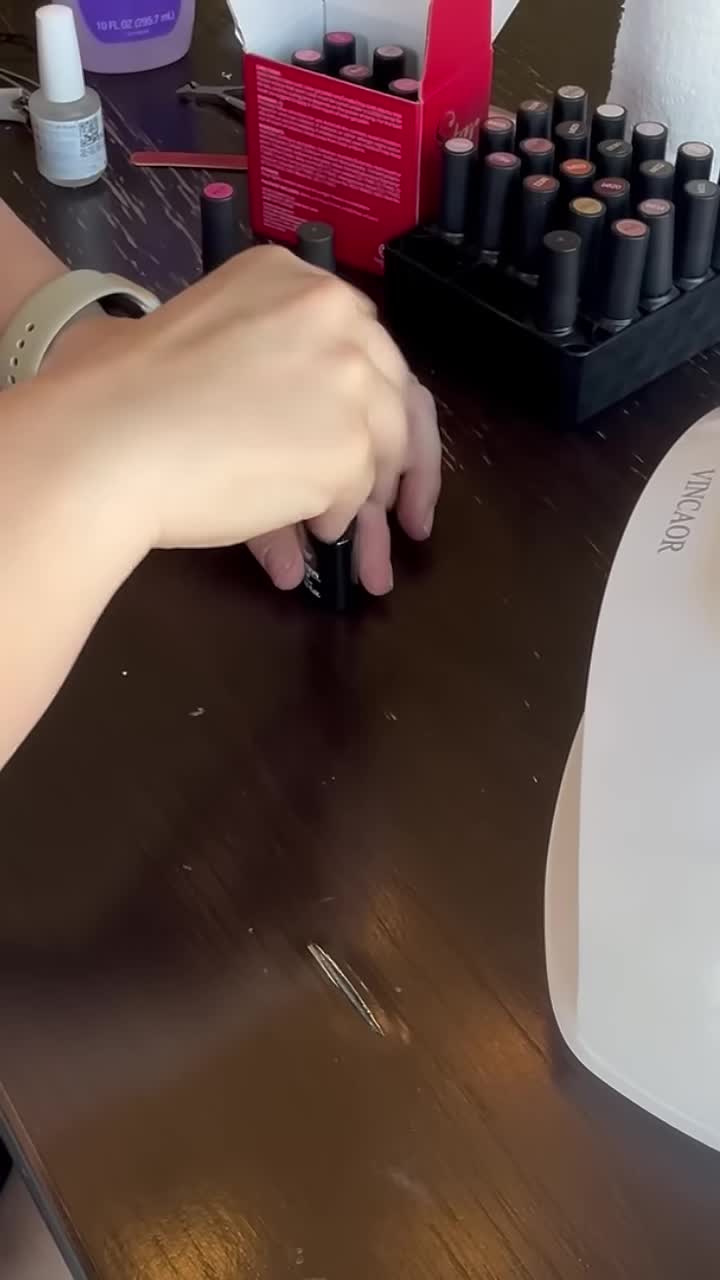
Applying Color and Top Coats
Once the base coat is cured, it’s time for color! I chose a sparkly pink for this manicure. Apply two thin coats of your chosen color, curing each coat under the UV light for 60 seconds. Finish with a thin layer of top coat and cure it, following the same process. This ensures the color is vibrant and protected, creating a beautiful and long-lasting manicure.

JELPC UV Lamp Review
The JELPC Professional UV light is a game-changer. Its automatic on/off sensor based on hand placement is incredibly convenient. The timer function with 30, 60, 90, and 120-second increments ensures precise curing. The ease of use and the efficiency of this lamp make it a valuable addition to any at-home gel manicure setup. This makes the whole process significantly easier and more efficient.
Conclusion: Is It Worth It?
Creating a salon-quality gel manicure at home is achievable with the right tools and techniques. Beetles gel polish delivers impressive results with its vibrant colors and lasting power. The JELPC UV lamp simplifies the curing process with its user-friendly features. The combination of these two products provides a professional-quality gel manicure experience from the comfort of your home, offering great value for the price. Definitely worth the investment for long-lasting, beautiful nails.