Unleash your inner artist with this easy-to-follow water sticker nail art tutorial! Perfect for beginners, this guide will walk you through creating stunning nail designs without the need for advanced nail art skills. We'll show you how to achieve professional-looking results using readily available water decals, adding a touch of sparkle and sophistication to your manicure. Forget complicated techniques – this method is quick, simple, and surprisingly effective. Get ready to transform your nails from drab to fab in minutes!This step-by-step tutorial provides clear instructions, from preparing your nails with a base coat to sealing your masterpiece with a top coat. Learn how to expertly apply water stickers, add intricate details with a fine brush, and incorporate dazzling silver accents for extra glamour. We'll cover everything you need to know to create beautiful and long-lasting nail art that will turn heads. Prepare to be amazed at how easily you can achieve salon-quality results at home!
Pros And Cons
- Protects natural nail
- Makes design last longer
Read more: 9 Stunning 5D Nail Stickers for a Perfect Manicure
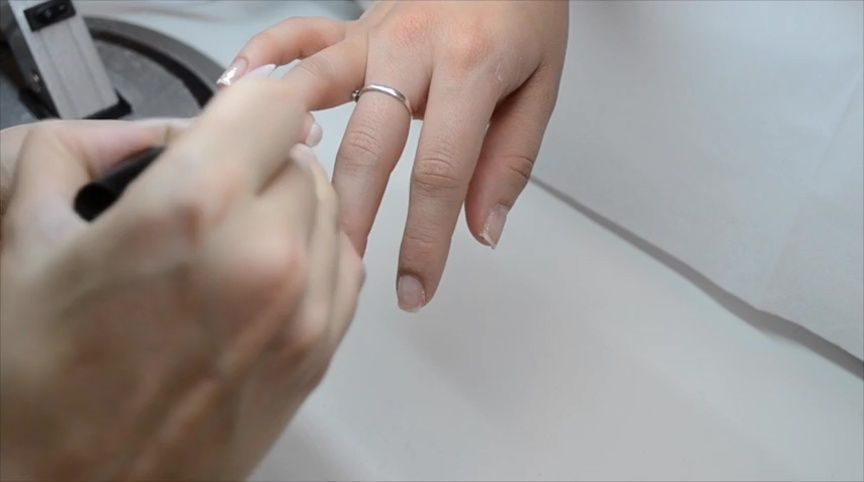
Base Coat and Nail Prep
Start with a base coat to protect your natural nails and ensure long-lasting nail art. This creates a smooth surface for the stickers and other designs to adhere to.
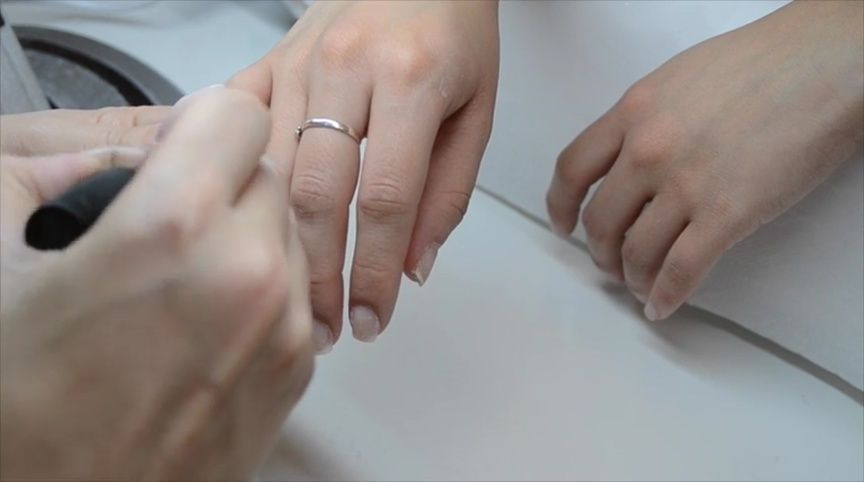
Next, apply two coats of your chosen nail polish colors, allowing each coat to dry completely before applying the next. This ensures a vibrant, even color base.
Acrylic Painting Details
Using a fine nail art brush, carefully paint the intricate details of your design. Take your time and breathe deeply to maintain control and create crisp lines.
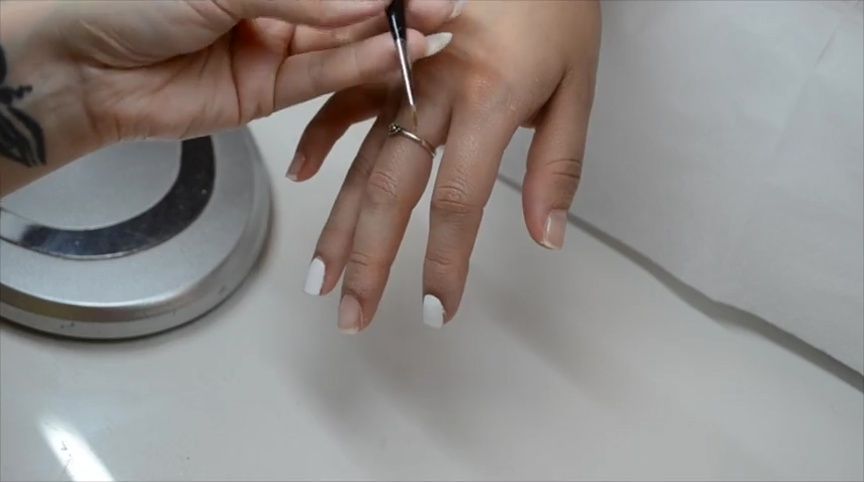
Start with the black details, then move onto the white elements, layering carefully to achieve your desired look. Remember to let each layer dry before applying the next.
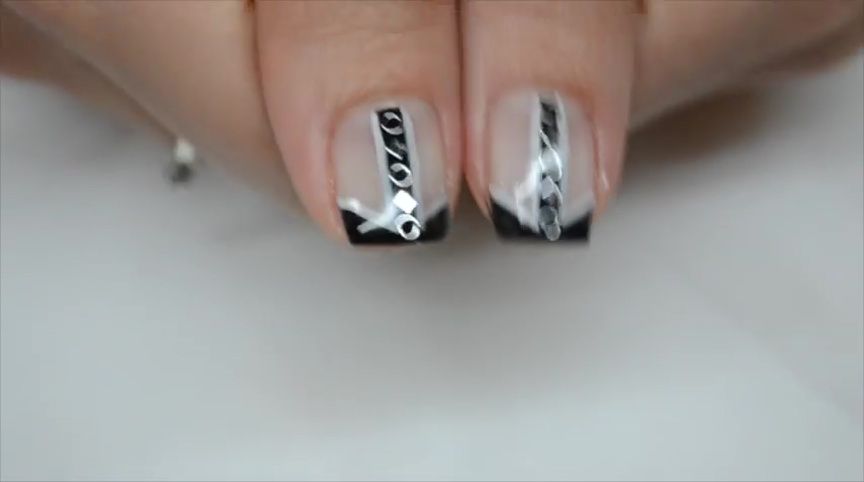
Applying Water Stickers
Select your desired water stickers and carefully cut them out. Submerge the sticker in water for about 30 seconds until it softens.
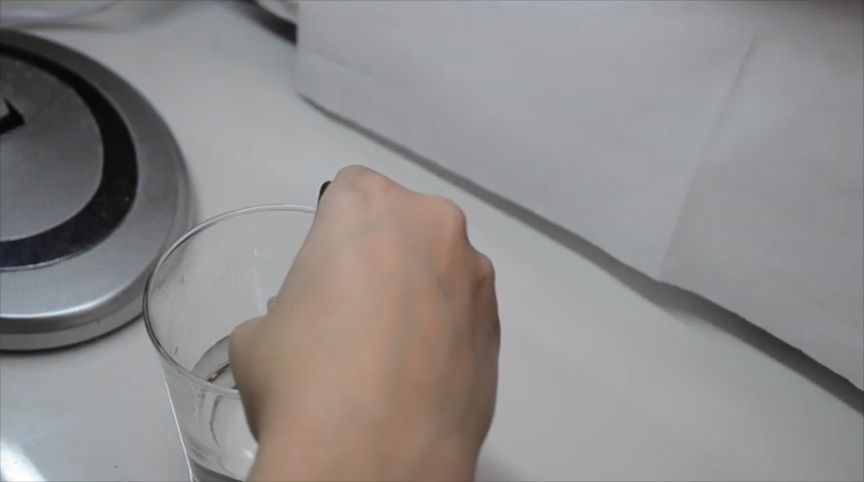
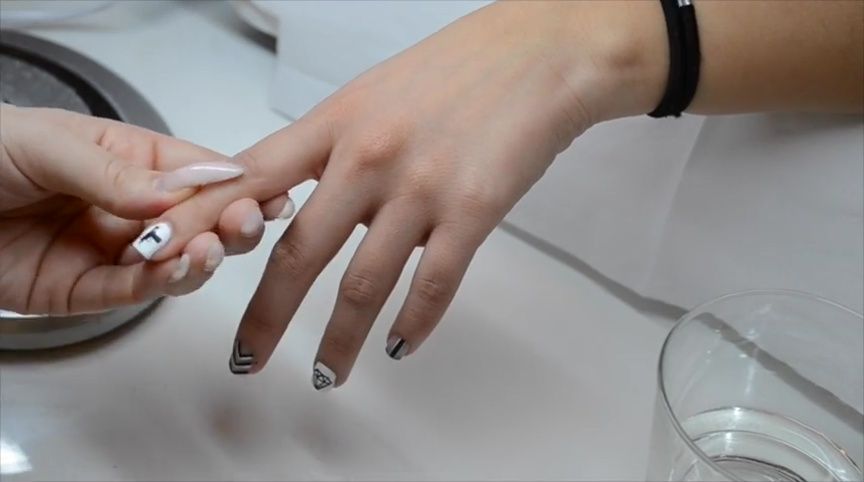
Using tweezers, gently place the sticker onto your nail, using a thick piece of paper to help position and remove the backing. Press firmly to remove any excess water and ensure adhesion.
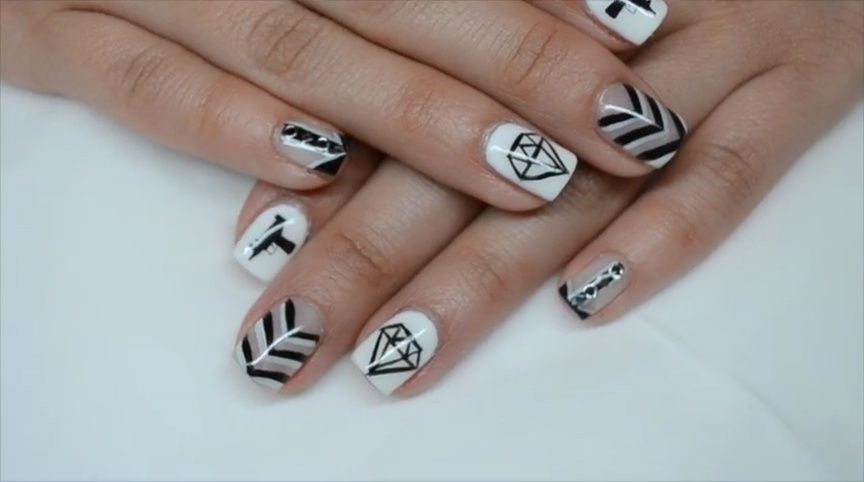
Adding Silver Decorations and Top Coat
Add your chosen silver decorations to a layer of top coat for a dazzling effect. These flat decorations provide a comfortable finish.
Finally, apply one or two layers of top coat to seal the design and protect your nail art, ensuring a long-lasting and glossy finish.
Conclusion
Creating stunning nail art with water stickers is surprisingly simple! The tutorial demonstrates an easy-to-follow process perfect for beginners.
Remember to explore different designs and colors to unleash your creativity. Don't hesitate to share your creations using the suggested hashtag for a chance to be featured.