Looking for an easy and affordable way to elevate your manicure? Born Pretty holographic nail stickers offer a simple solution for achieving stunning, shimmering nails without the fuss or expense of a salon visit. This review dives into the application process, highlighting the pros and cons of these budget-friendly nail decals. We'll explore how well they adhere to different nail shapes and discuss the overall look and longevity of the design. From packaging and initial impressions to application techniques and removal, we'll cover everything you need to know before purchasing.This comprehensive review provides a detailed account of the Born Pretty holographic nail sticker experience. We'll examine the product's value for money, the ease of application, and the final result, paying particular attention to how the stickers perform on various nail shapes. Discover whether these shimmering stickers are the perfect addition to your nail art arsenal, whether you're a seasoned pro or a complete beginner. Get ready to add some holographic sparkle to your life!
Pros And Cons
- Inexpensive ($1.50 for 8 different sizes, 2 of each)
- Variety of designs (holographic, cream, printed)
- Easy to apply (peel and stick)
- Easy to remove (peels off easily)
- May not fit well on curved nails
- Requires careful cutting and placement to avoid gaps
Read more: 9 Stunning 5D Nail Stickers for a Perfect Manicure
Unboxing and First Impressions
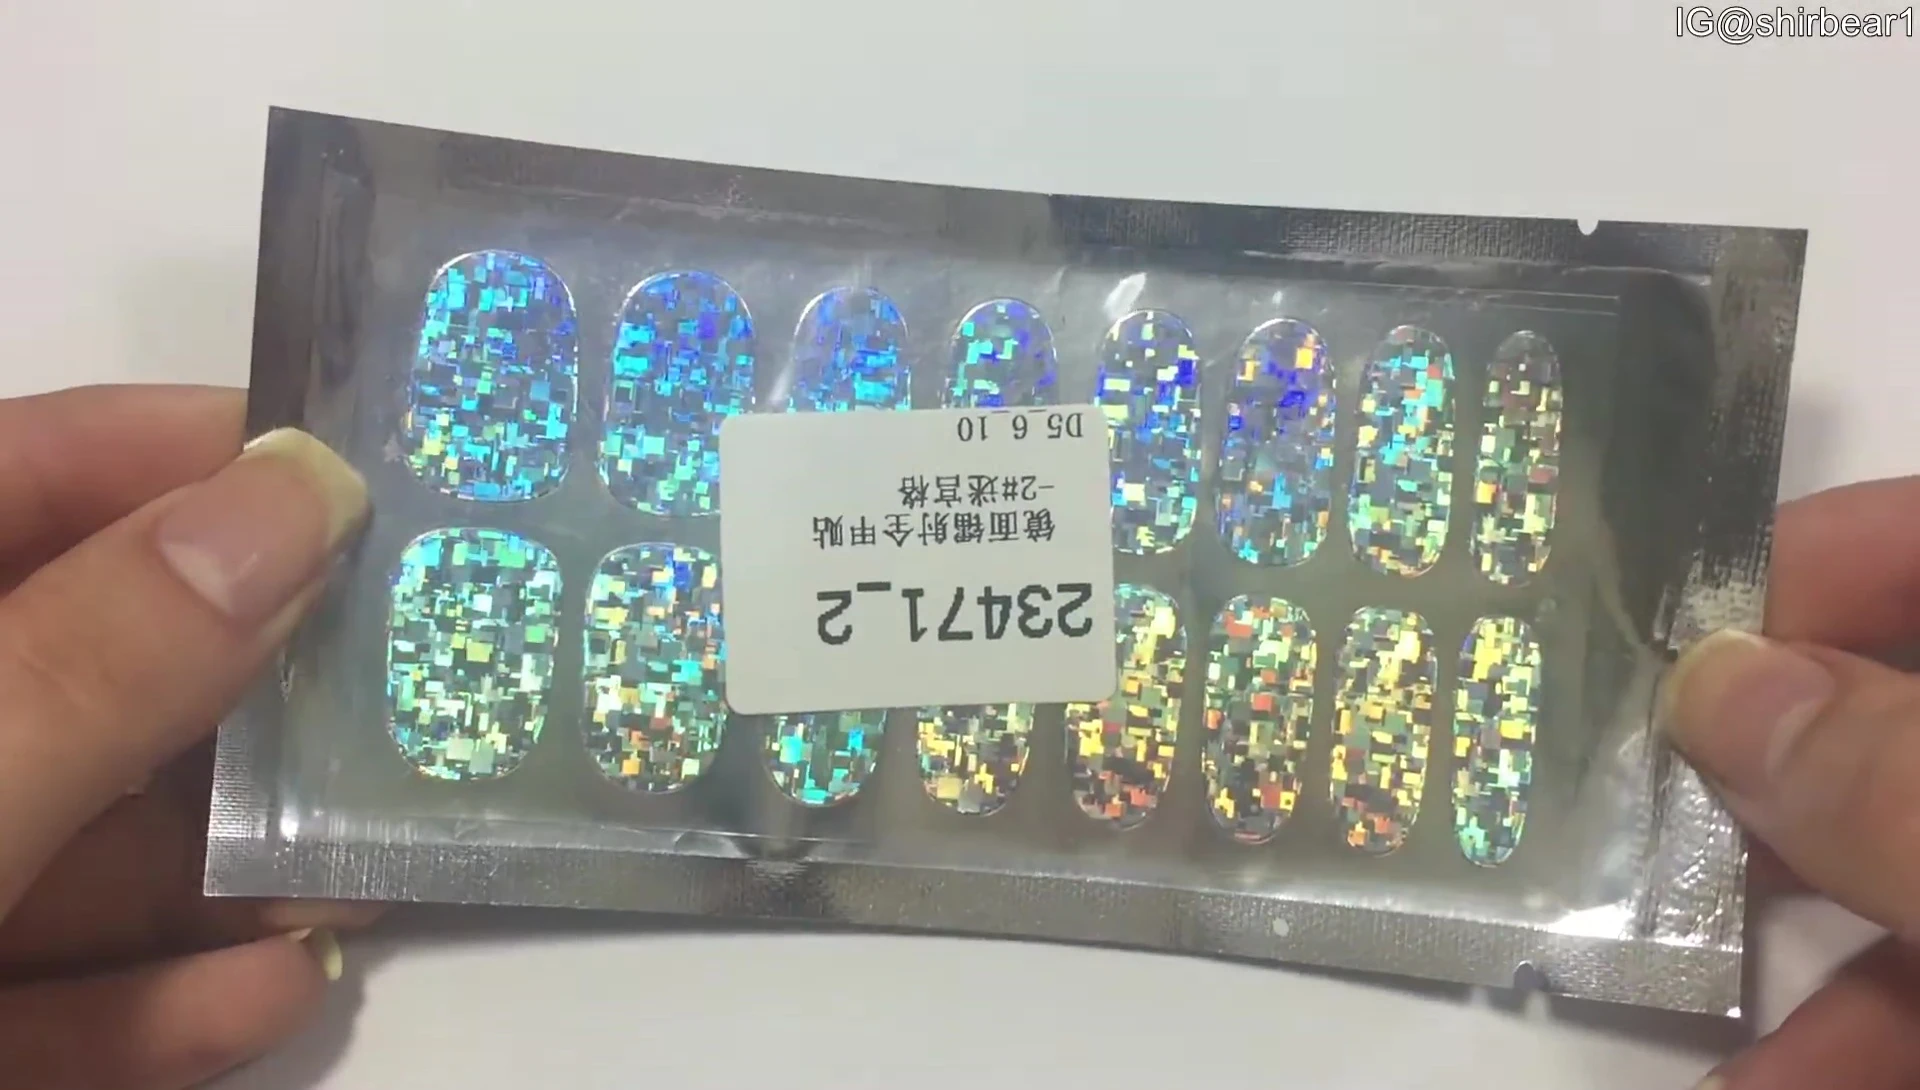
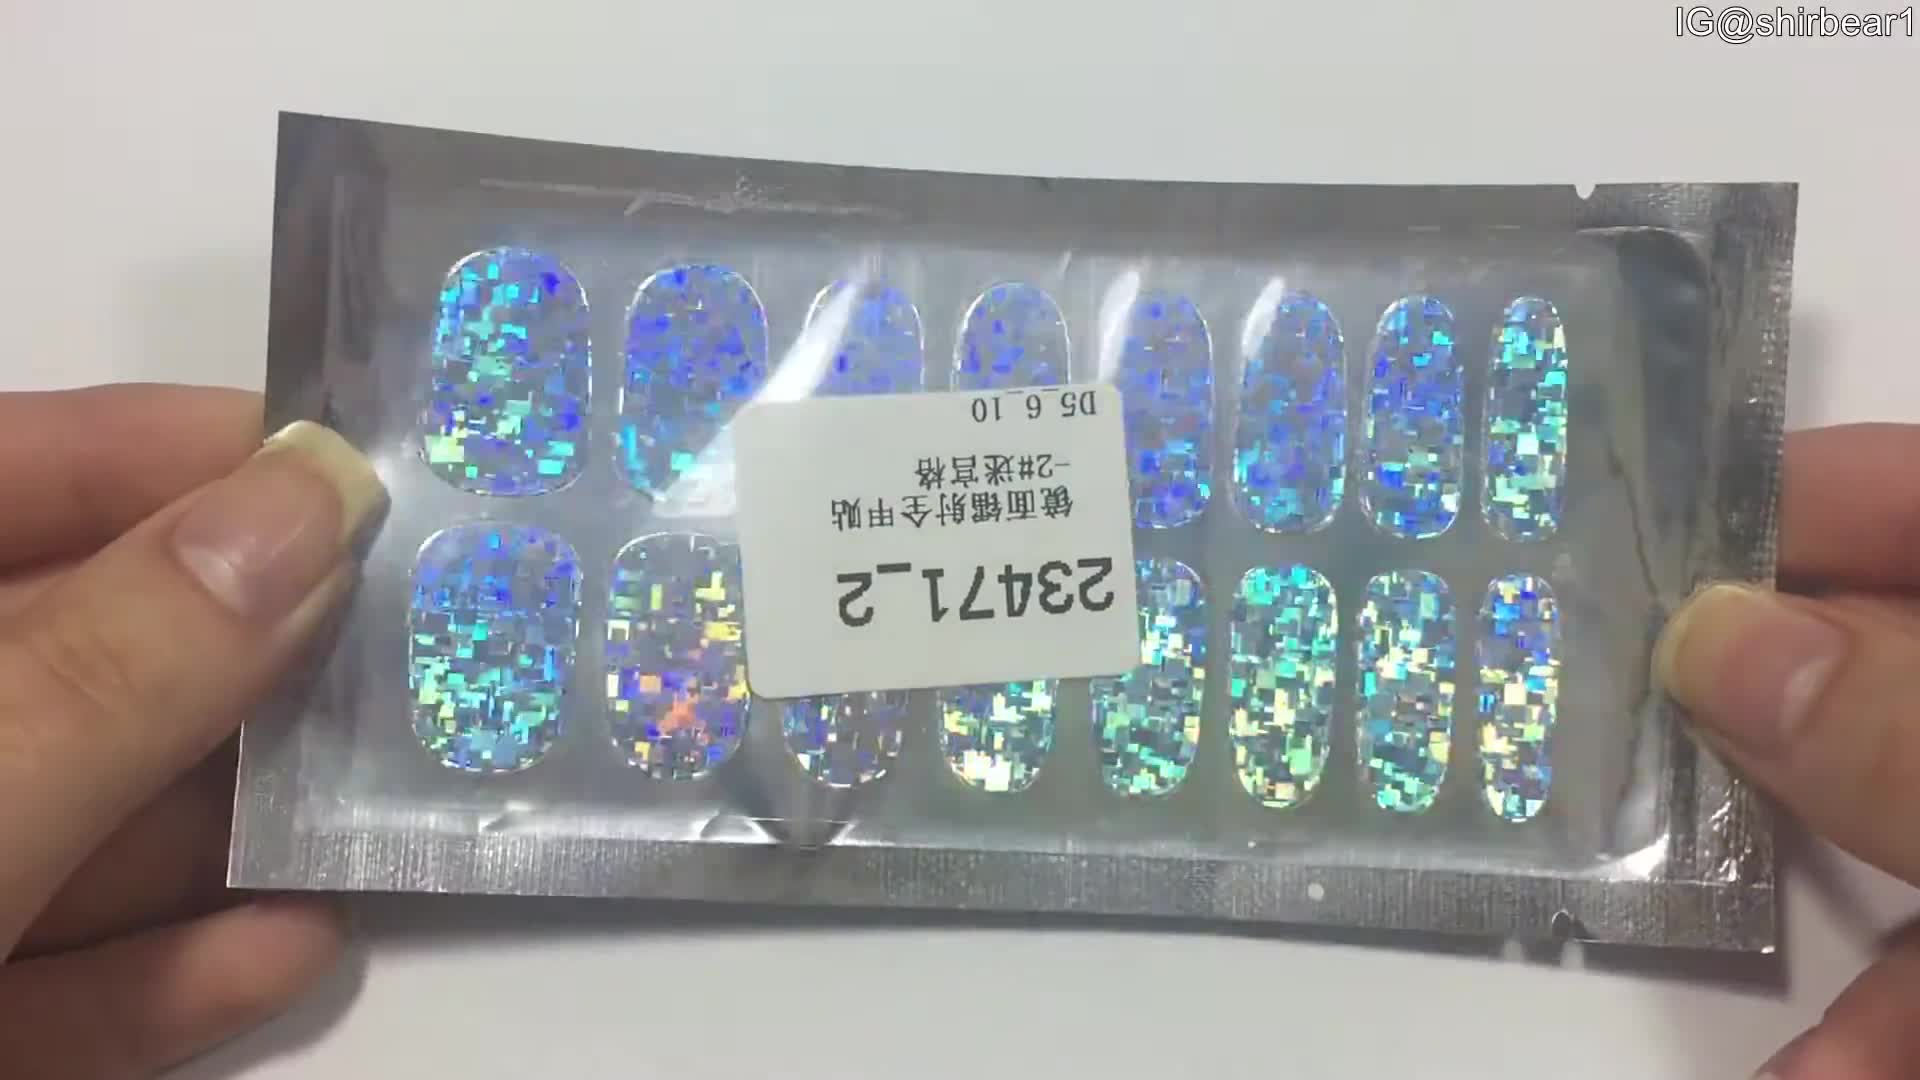
The Born Pretty nail stickers arrived in a simple package. The set included eight different sizes, with two of each, providing a good variety to accommodate different nail shapes and sizes. The holographic design was immediately eye-catching, and the stickers felt thin and flexible. The price point of $1.50 for the entire set is quite affordable, making them a budget-friendly nail art option.
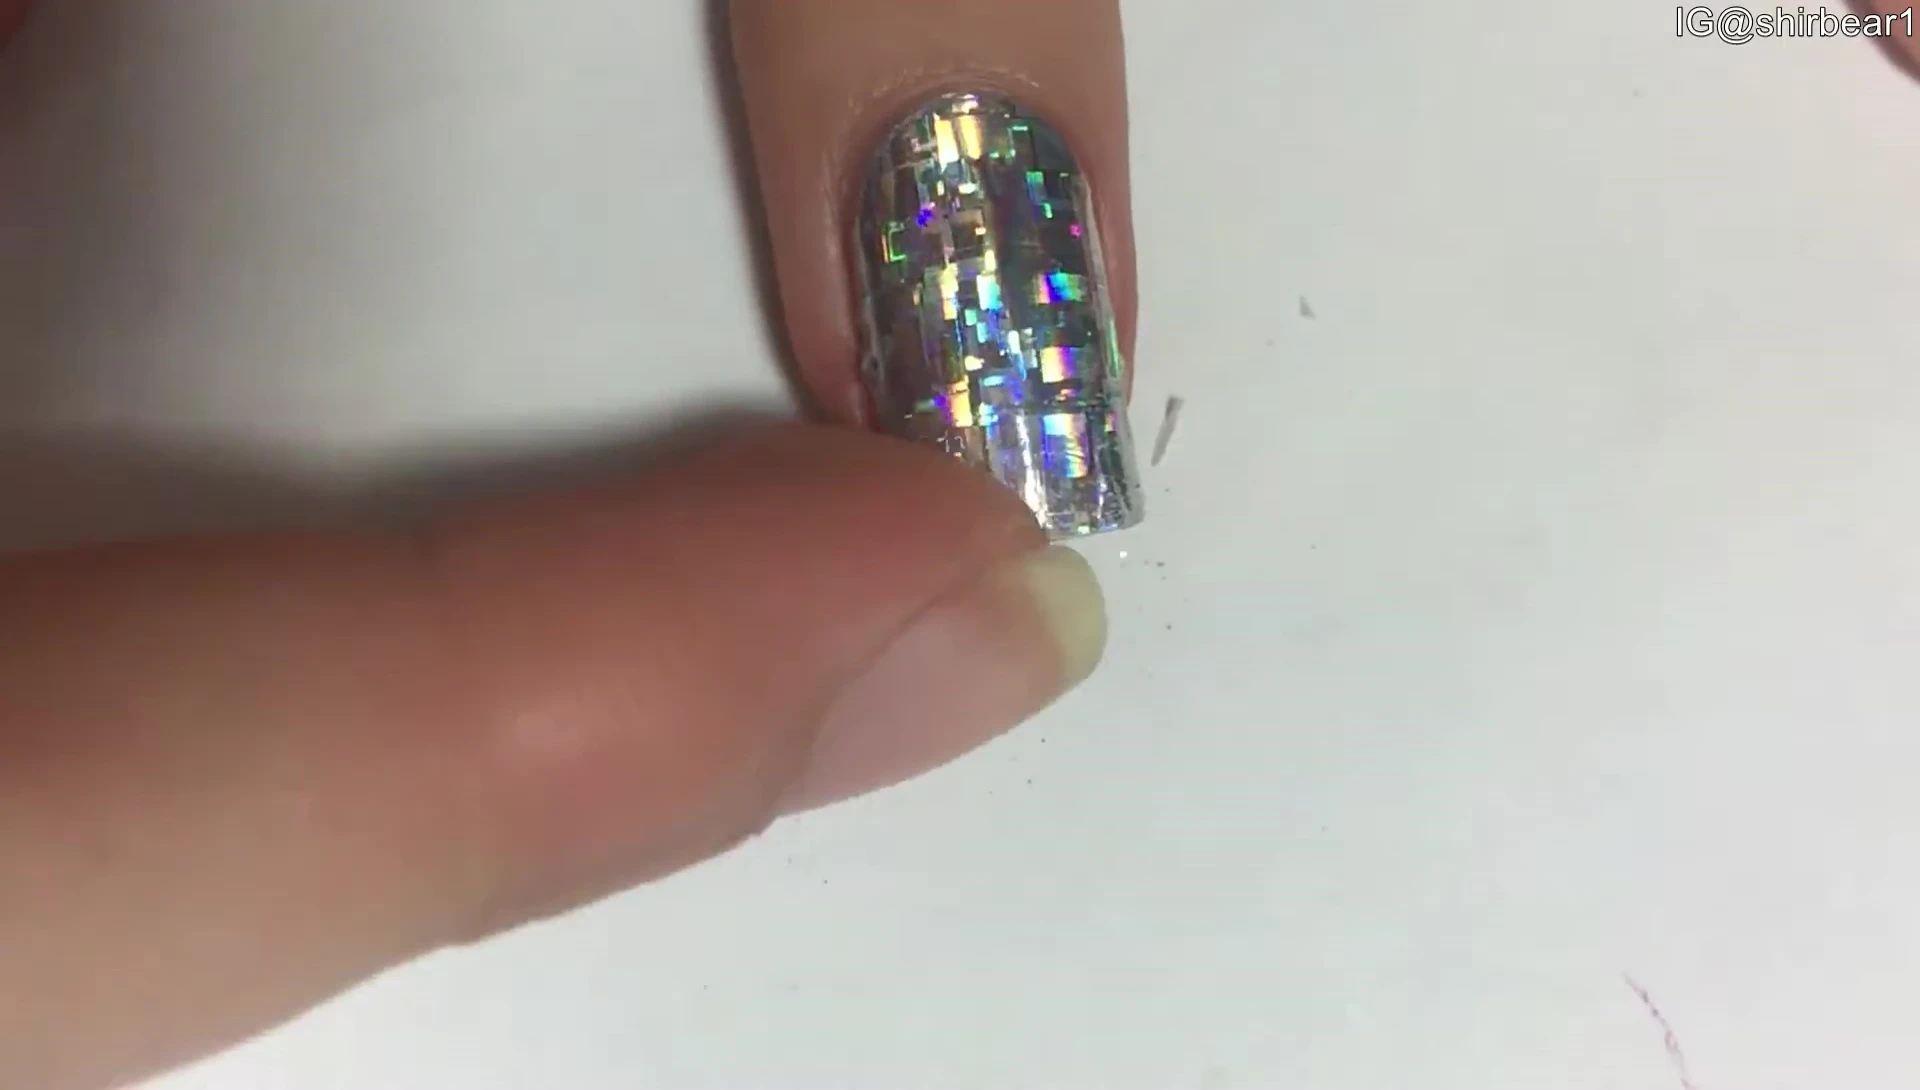
Application Process
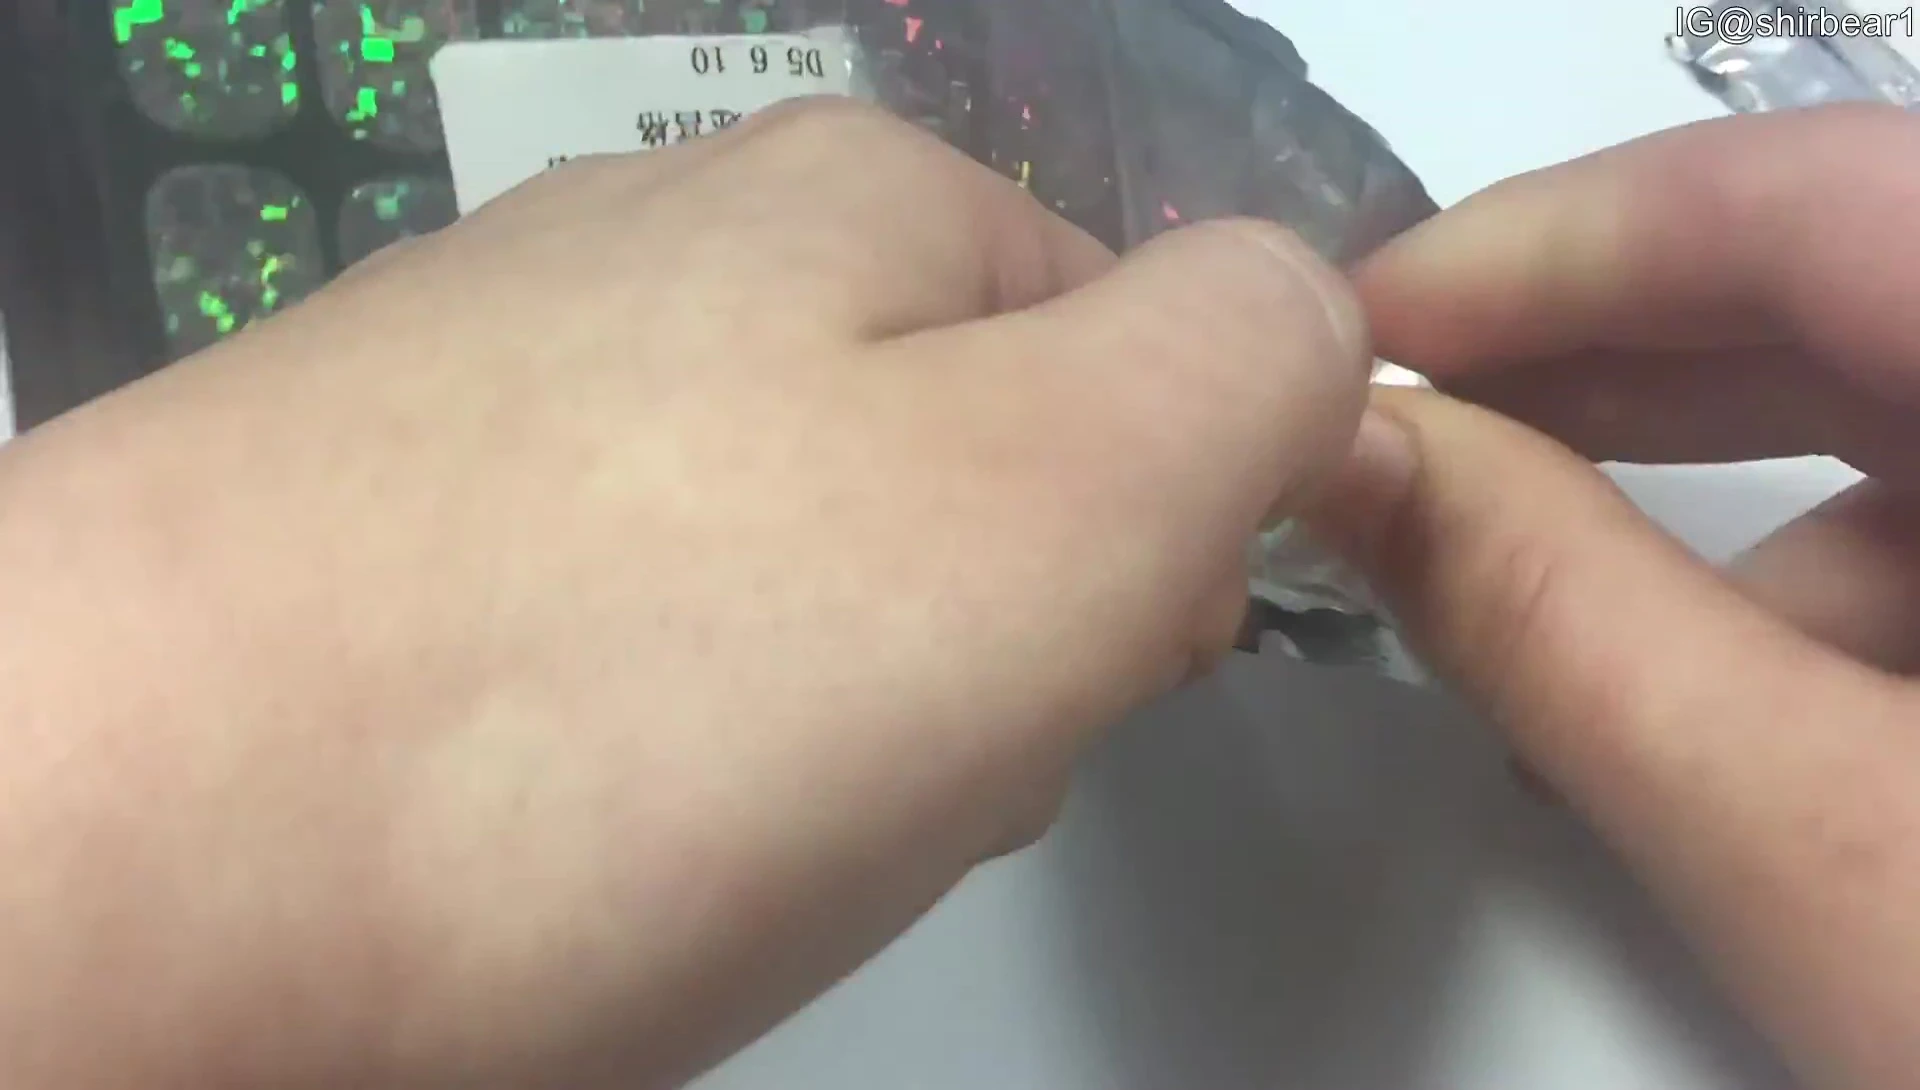
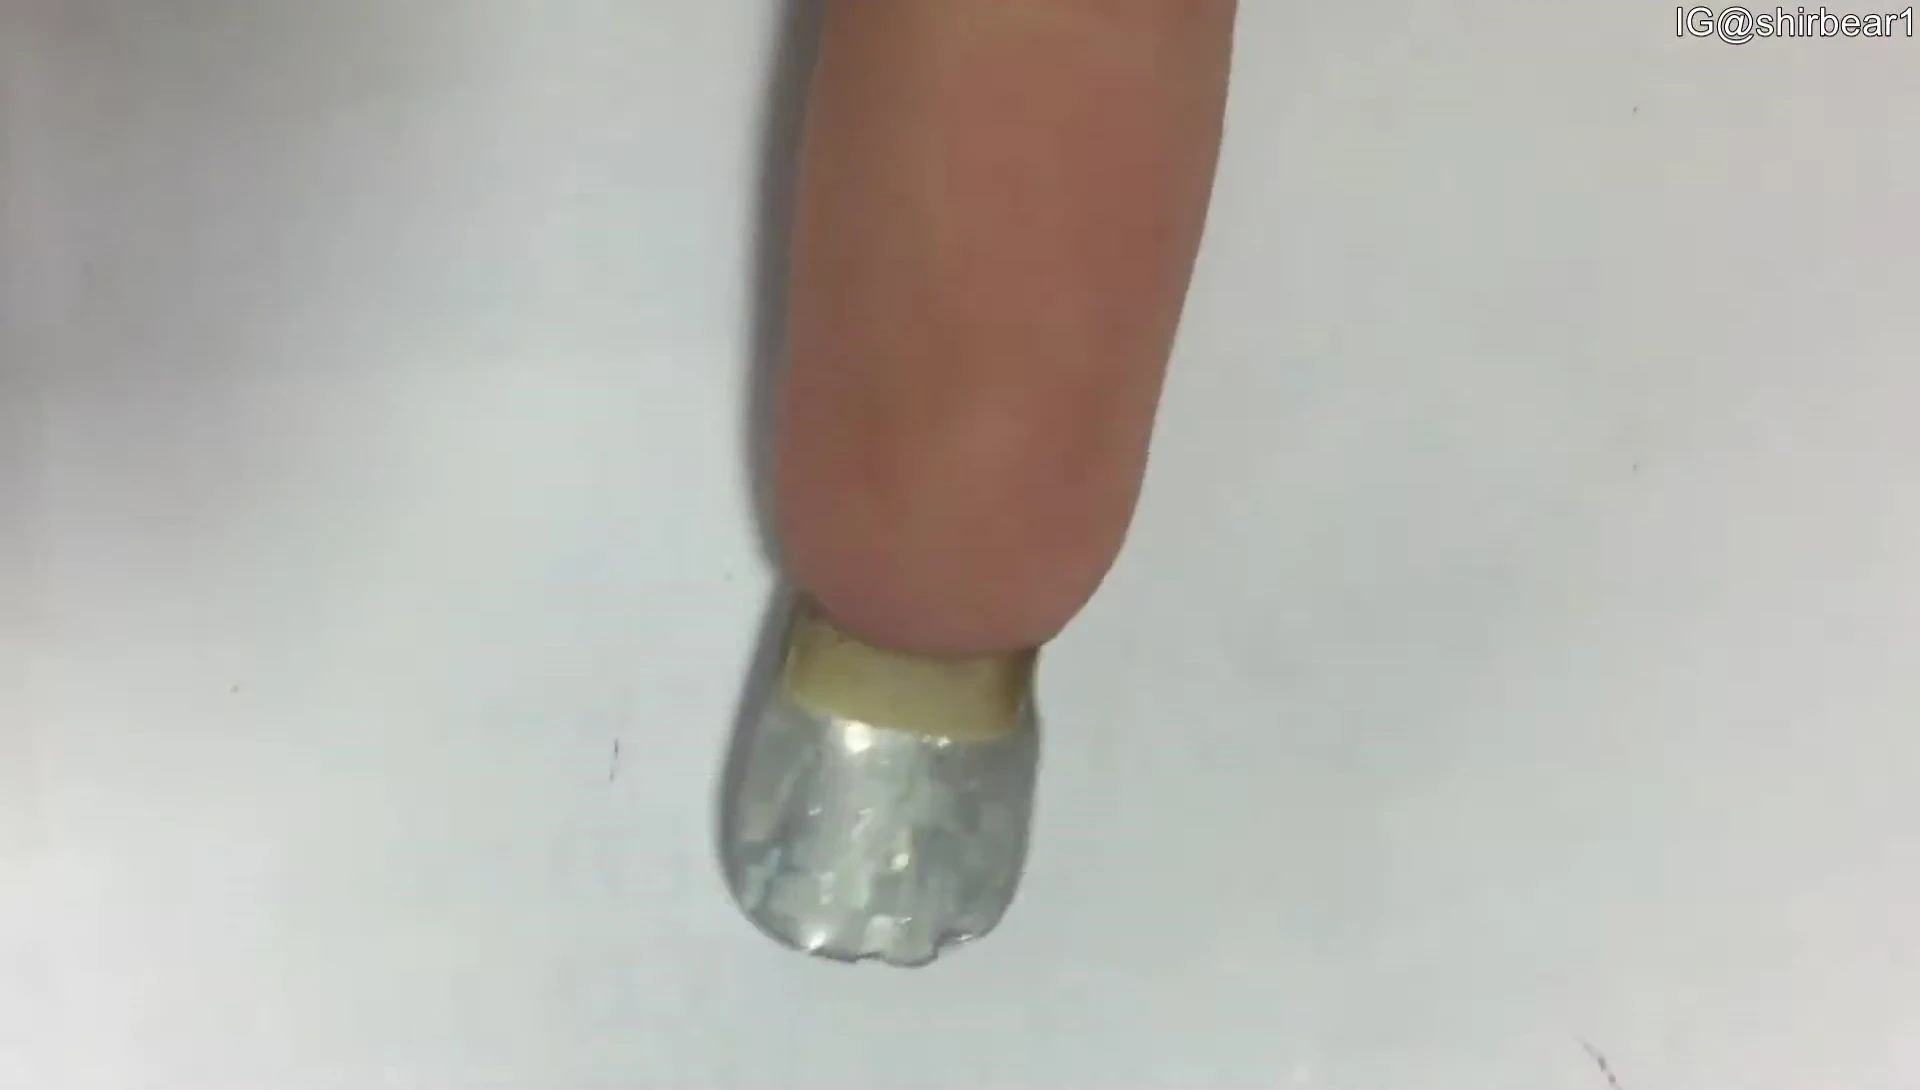
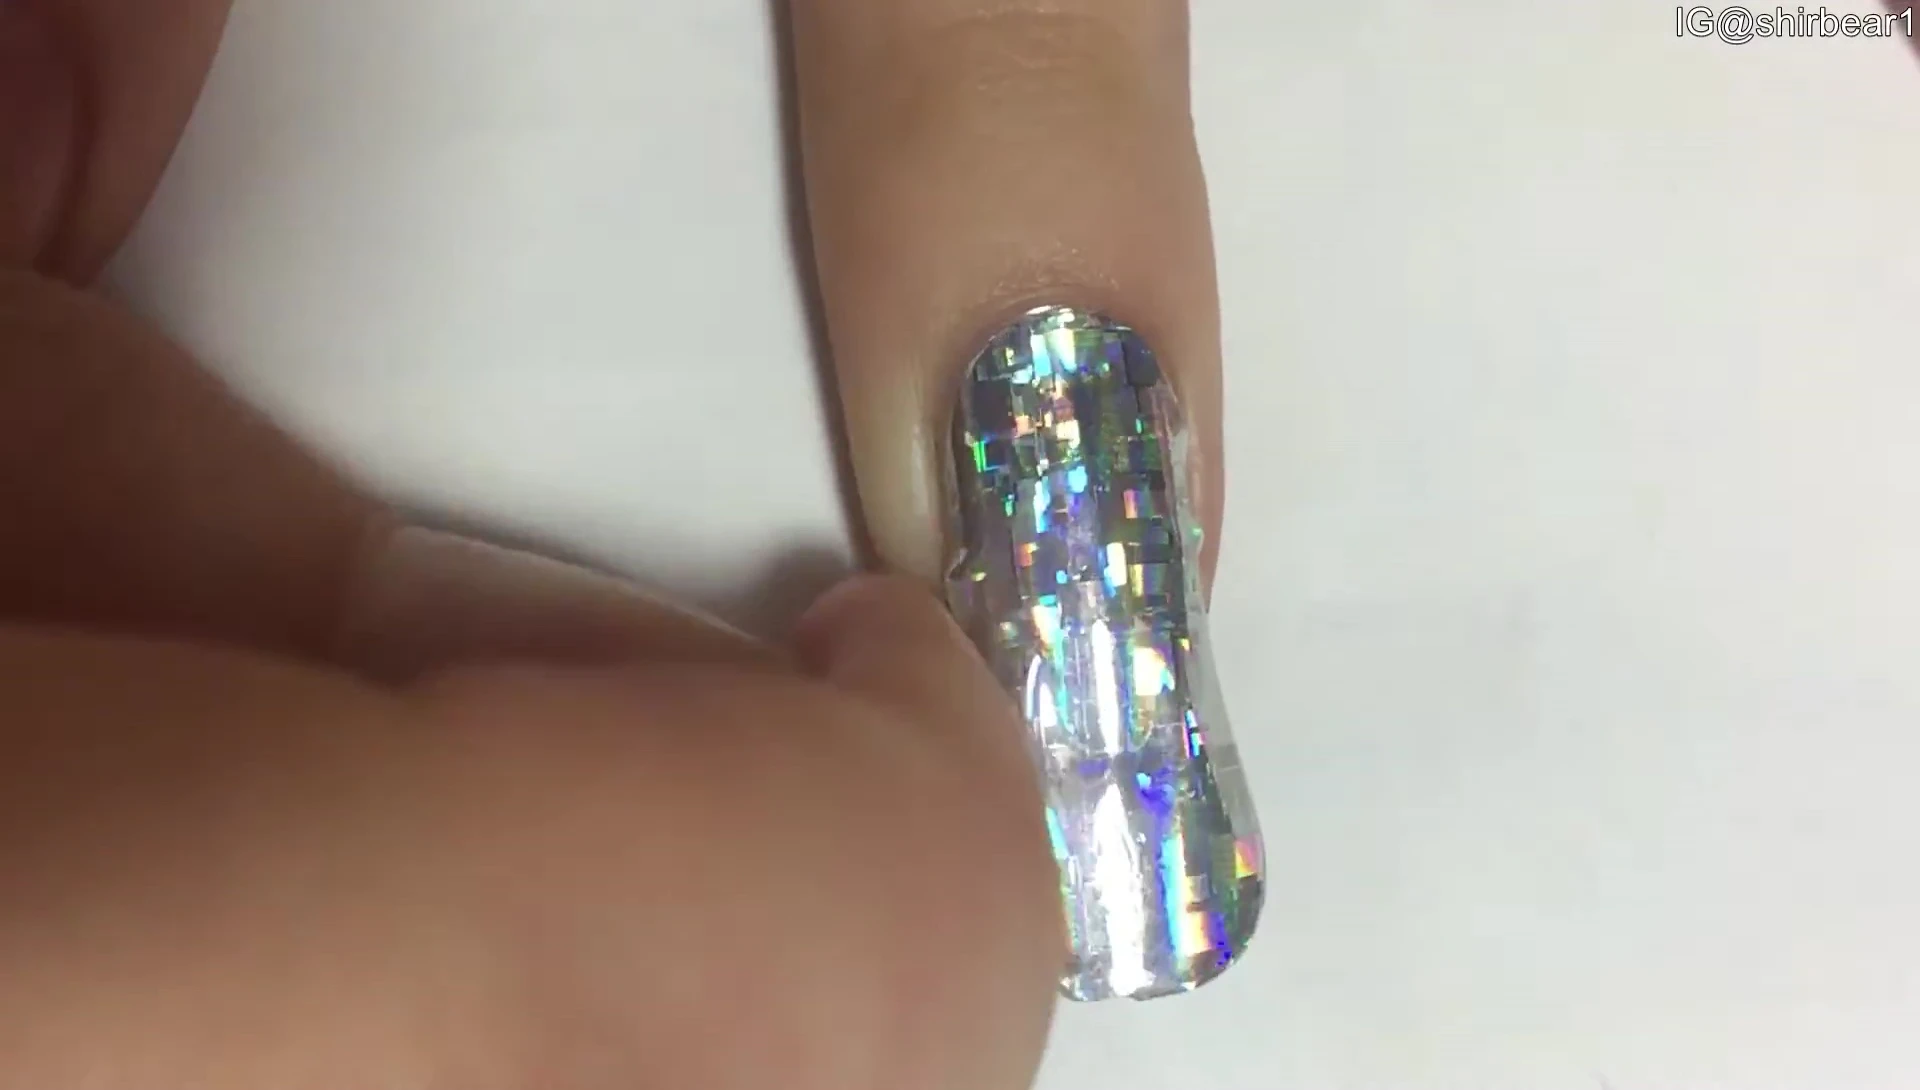
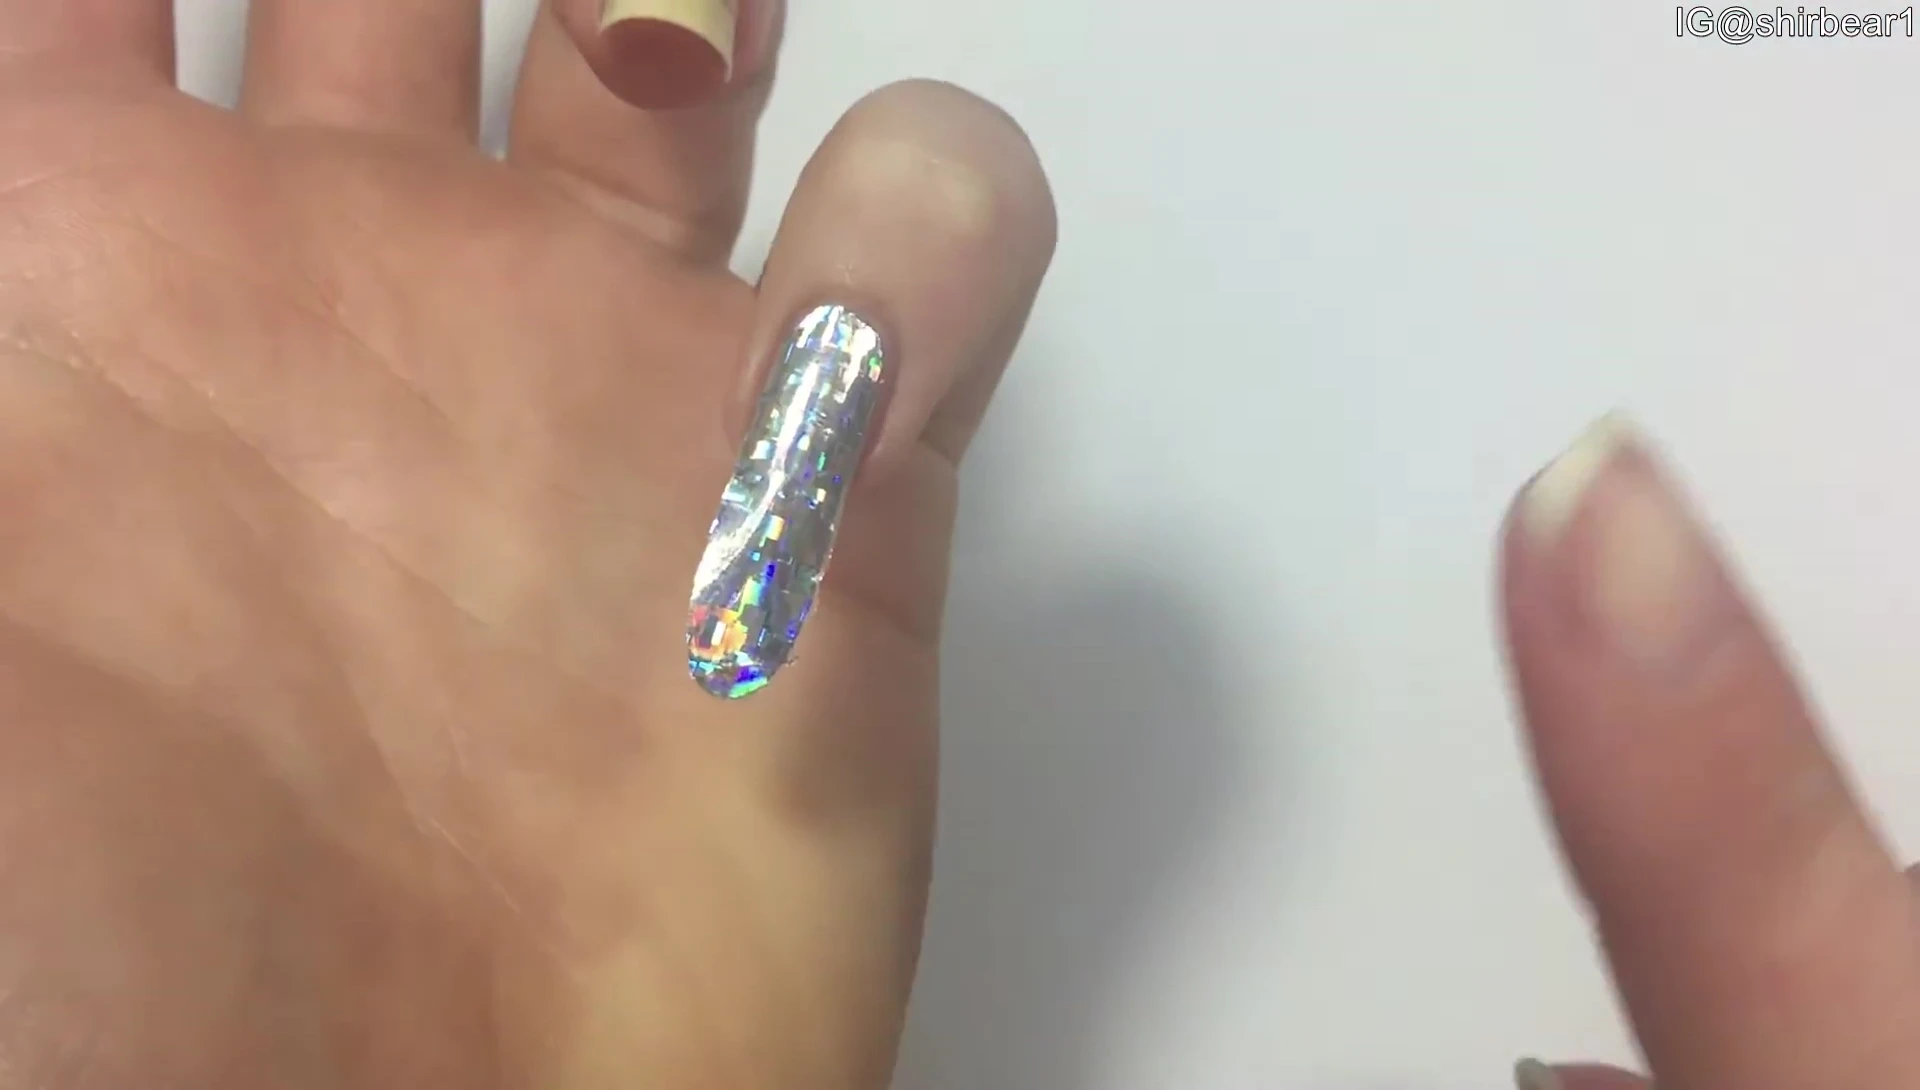
Applying the stickers is straightforward. First, you carefully cut out the desired size using scissors. It's crucial to ensure the cut is precise for a seamless look. Next, peel away the protective plastic layer and gently press the sticker onto the nail, smoothing out any air bubbles. Finally, use scissors to trim the excess sticker at the tip of your nail, and then file it down with a fine file for a perfect finish.
Size and Fit Considerations
One important factor to consider is nail shape. These stickers, while flexible, may not perfectly conform to significantly curved nails. Before fully removing the backing, it's advisable to test the sticker's fit on the nail to ensure it's the right size and adjusts to your nail's curvature. For those with flatter nails, applying the stickers will likely be easier and result in a more seamless appearance.
Final Look and Removal
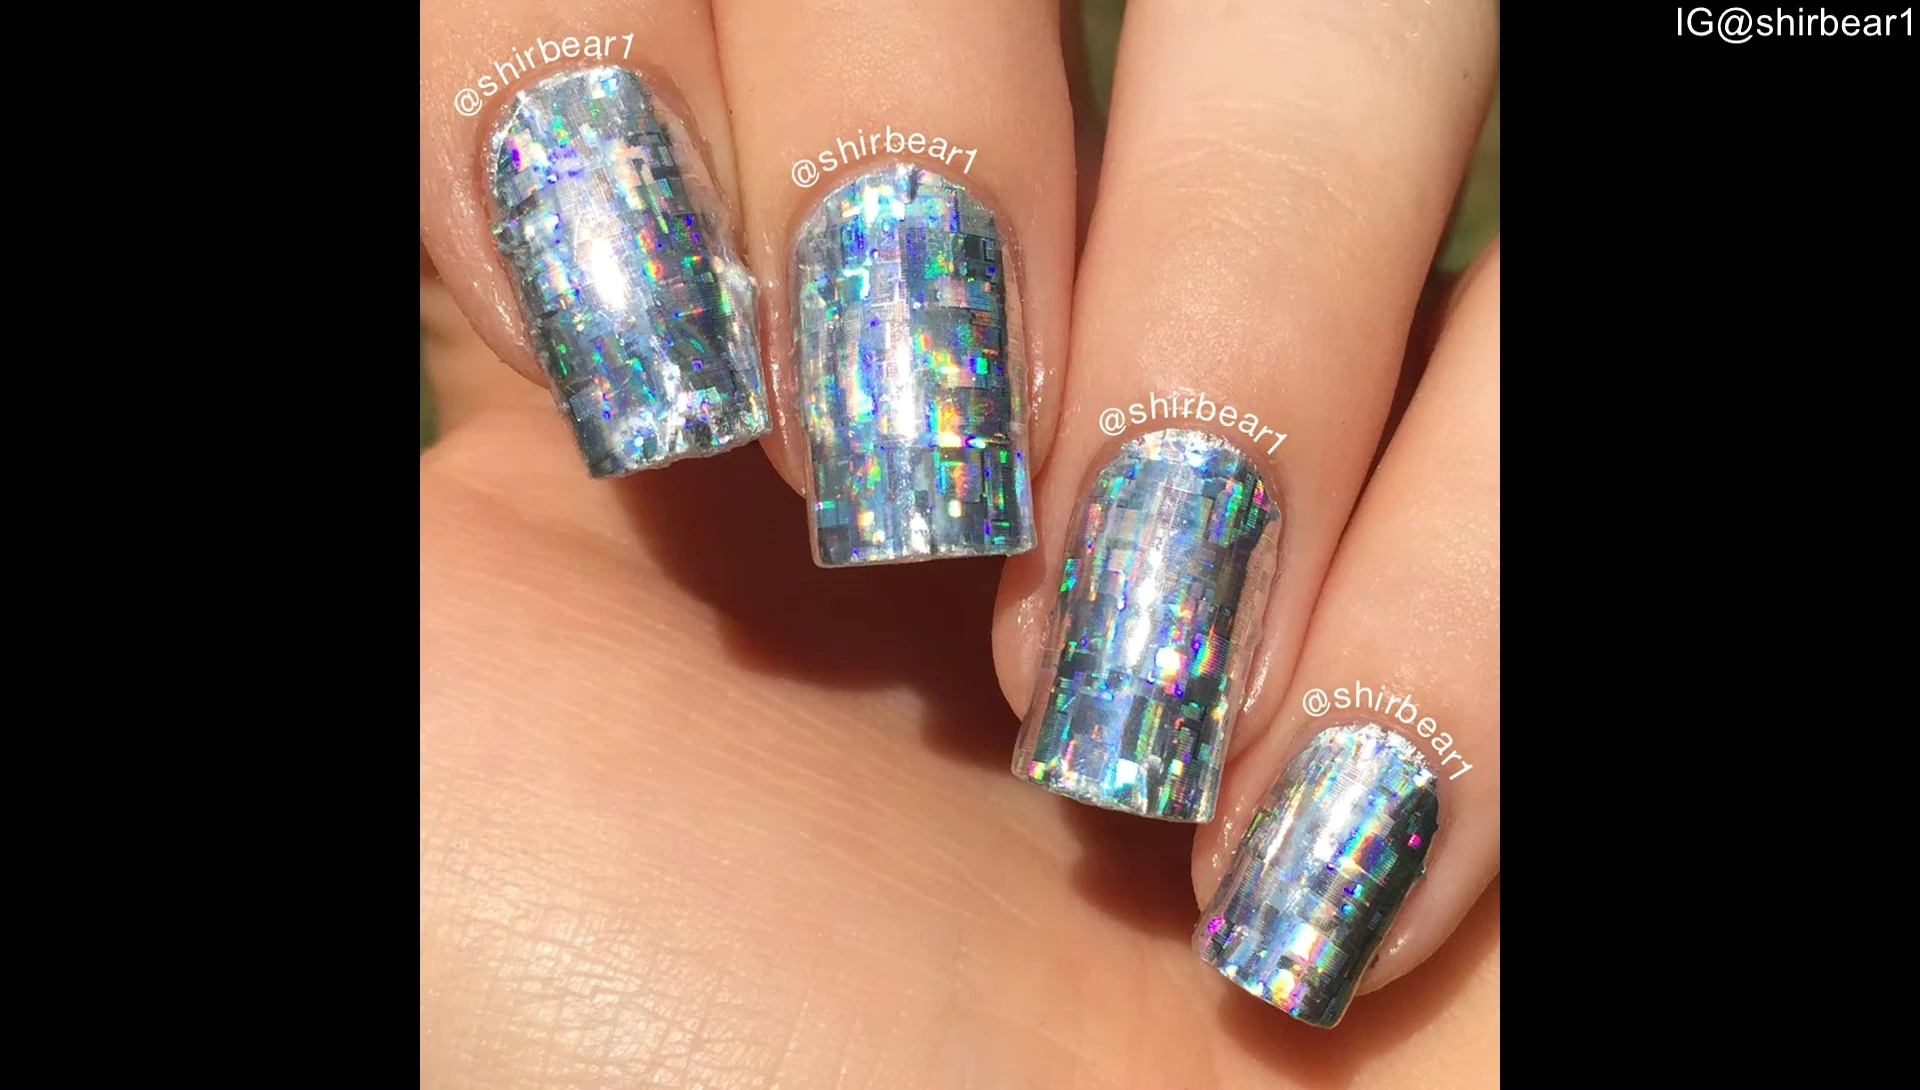
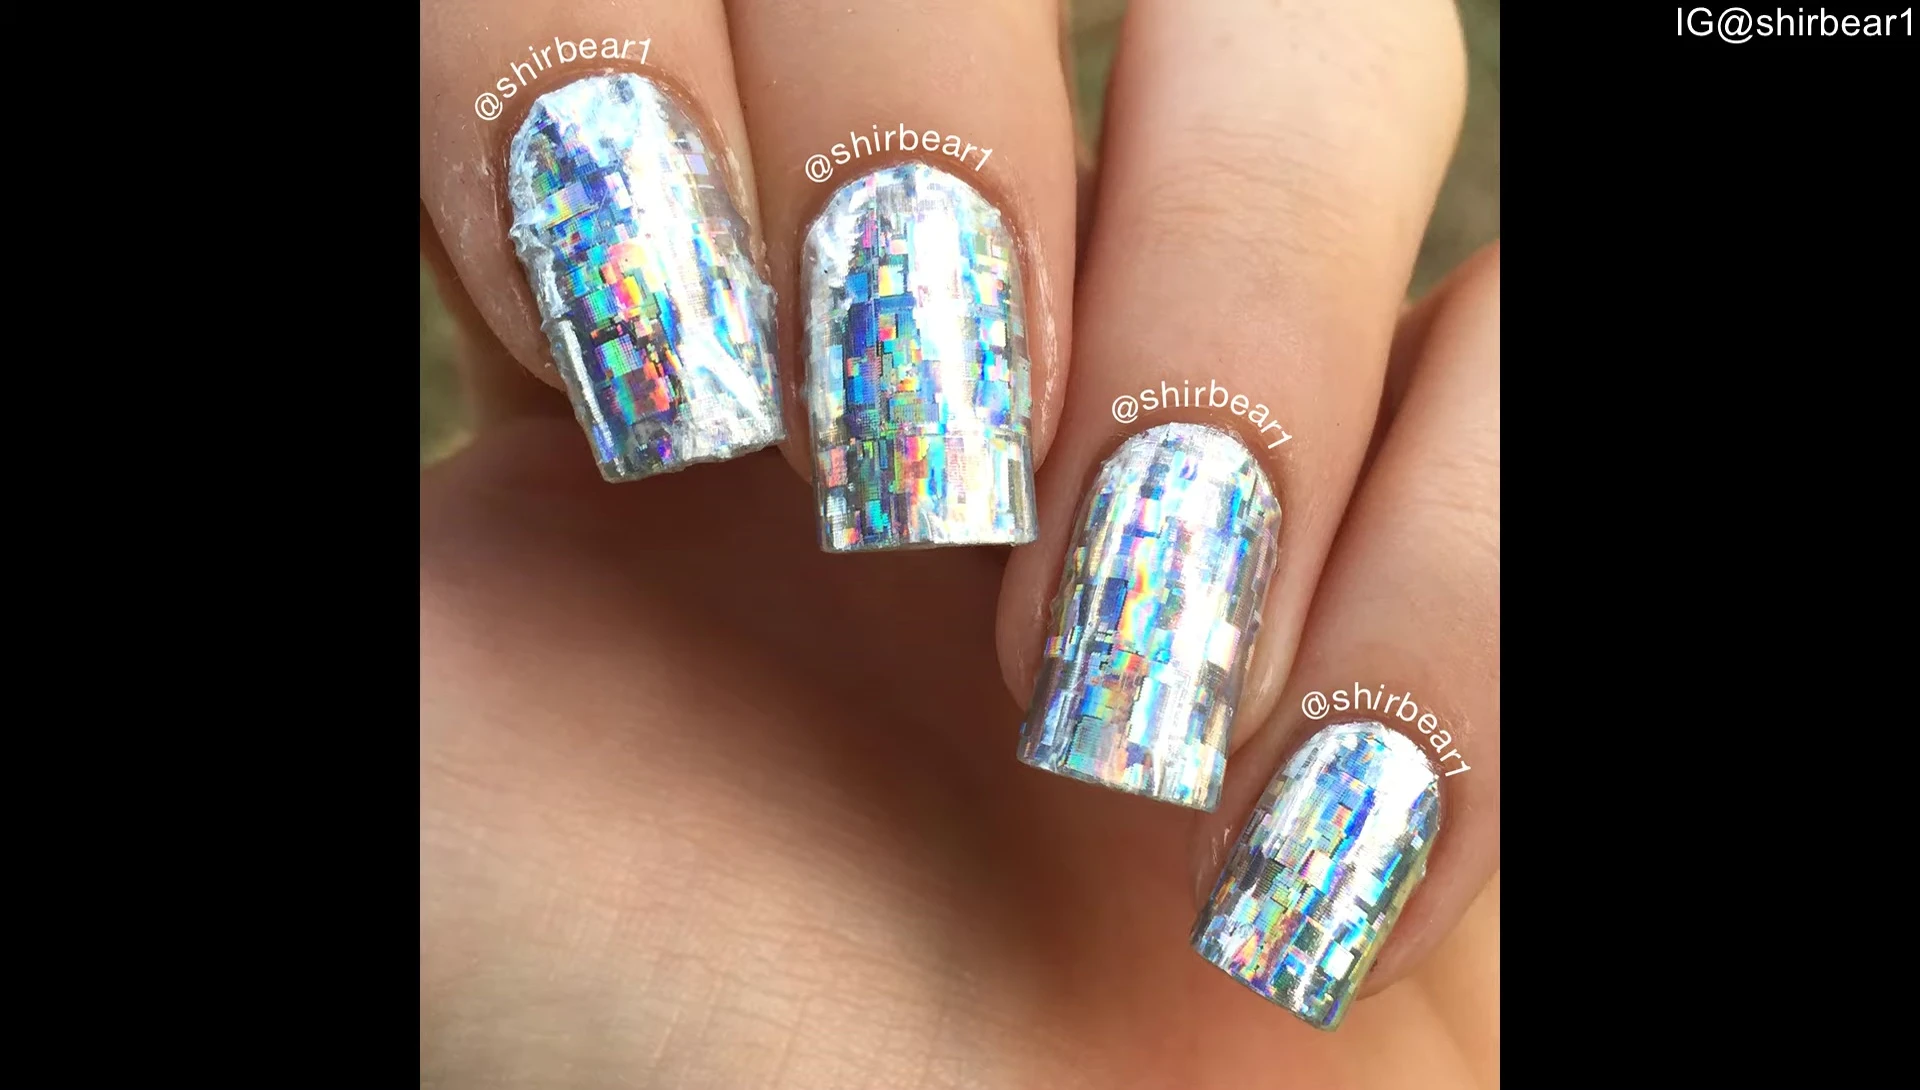
Once the stickers are applied and trimmed, it's recommended to finish with a top coat for added protection and shine. The holographic effect is quite striking. Removing the stickers is as easy as peeling them off with a cuticle pusher or orangewood stick, leaving no residue behind. This makes them a great option for a temporary nail design change.

Overall Conclusion
Born Pretty holographic nail stickers offer a fun, affordable way to add some sparkle to your nails. The ease of application and removal is a major plus. However, individuals with significantly curved nails might encounter challenges achieving a flawless finish. Despite this, the overall beauty and low cost make them worth trying. I recommend these stickers especially if you are a beginner in nail art or want a quick and easy manicure.