Want gorgeous, salon-worthy nails without the salon price tag? This DIY guide shows you how to achieve a perfect manicure at home using press-on nails. We'll walk you through a simple, budget-friendly process that delivers stunning results in minutes, saving you time and money. Forget expensive appointments and complicated techniques; this method is perfect for beginners and seasoned nail enthusiasts alike. Learn how to prep your nails for optimal adhesion, select the right press-on size for a natural fit, and even add a touch of personalized flair with decorative polish.Get ready to transform your nails with this easy-to-follow tutorial. We'll cover everything from cleaning and shaping your natural nails to applying the press-ons and adding optional embellishments. Discover the secret to achieving a long-lasting, professional-looking manicure without the fuss or expense. This guide provides a step-by-step approach, ensuring a flawless finish every time. Whether you’re preparing for a special occasion or simply want to treat yourself to a pampering session, this DIY method offers a quick, convenient, and affordable solution for stunning nails.
Read more: 10 Fun & Festive False Nails for Kids
Nail Preparation
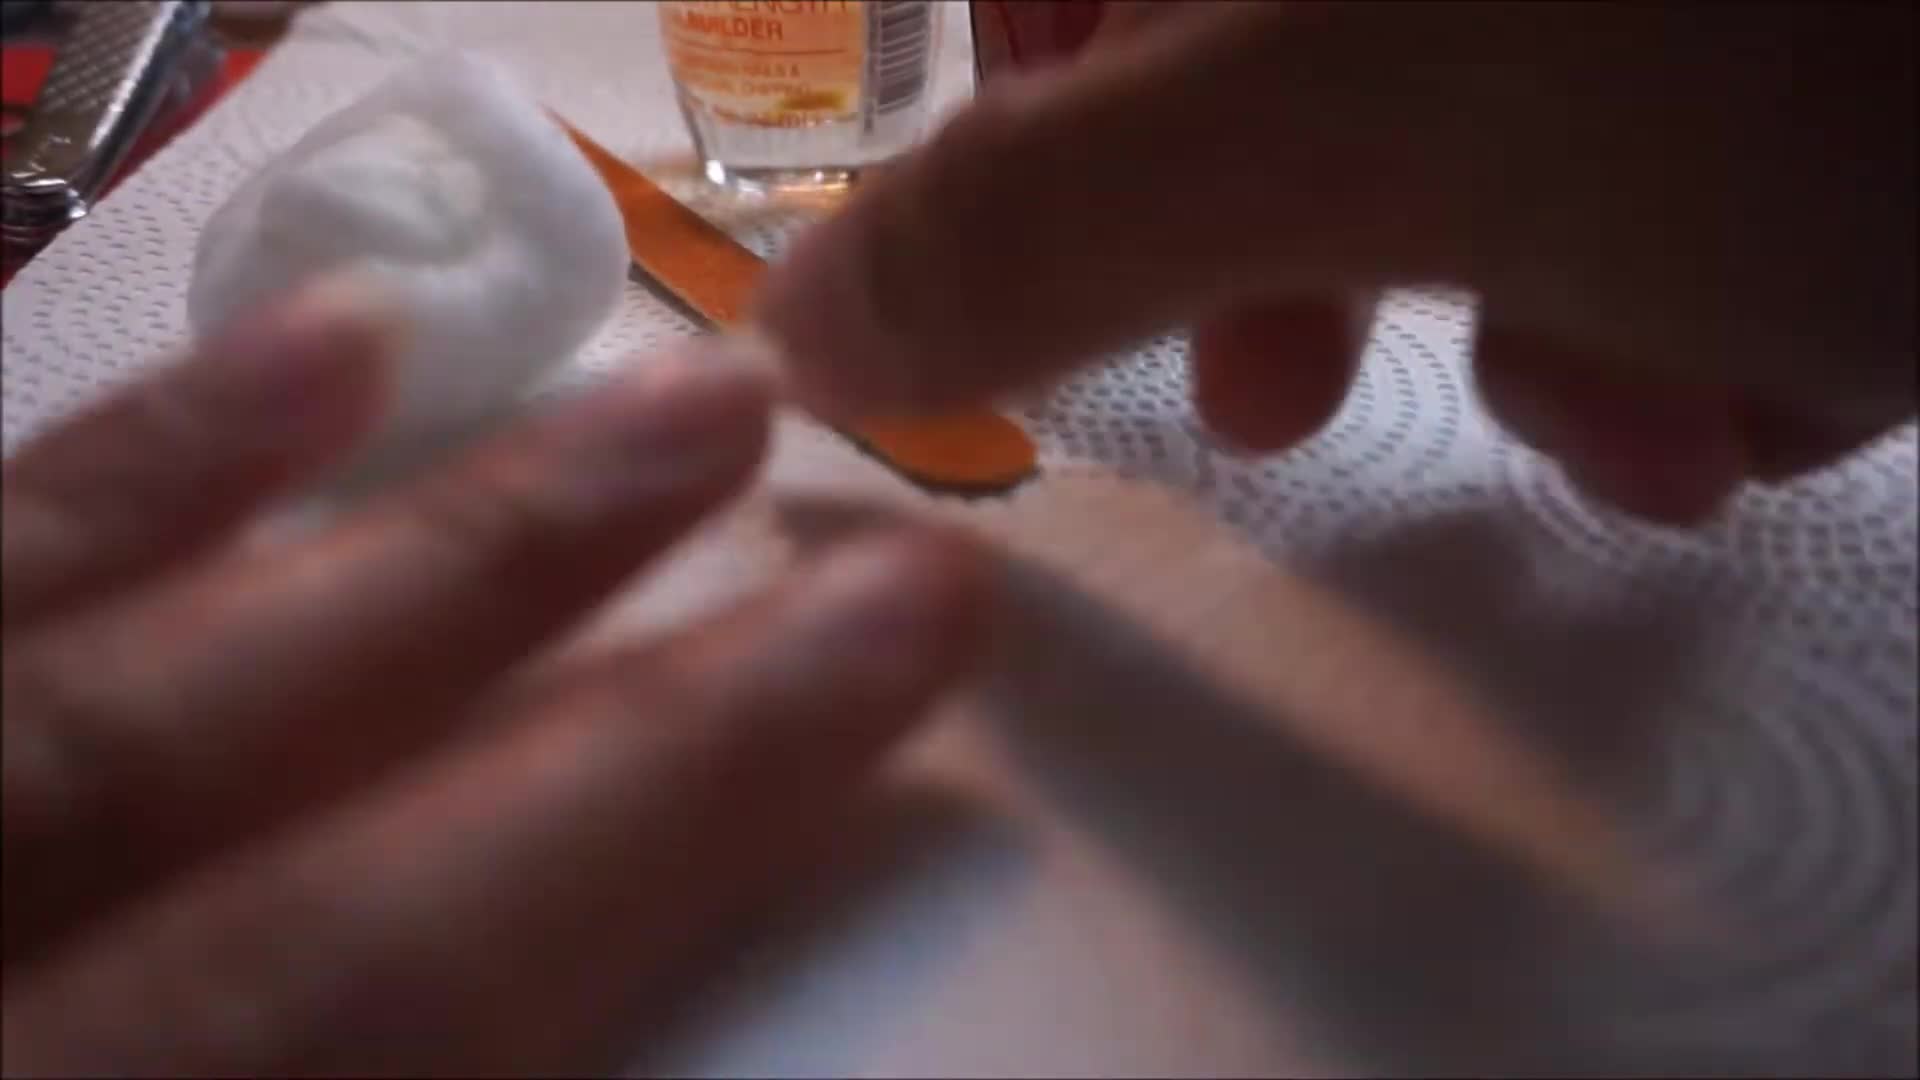
Before applying the press-on nails, it's crucial to prep your natural nails. Start by cleaning your nails with nail polish remover and a cotton ball to remove any oils or residue. This ensures better adhesion for the fake nails. Then, trim and file your nails to your desired length and shape. I prefer not to file the top of my nails as I have strong nails, but this step helps with better glue adhesion for those with weaker nails.
Selecting and Fitting the Nails
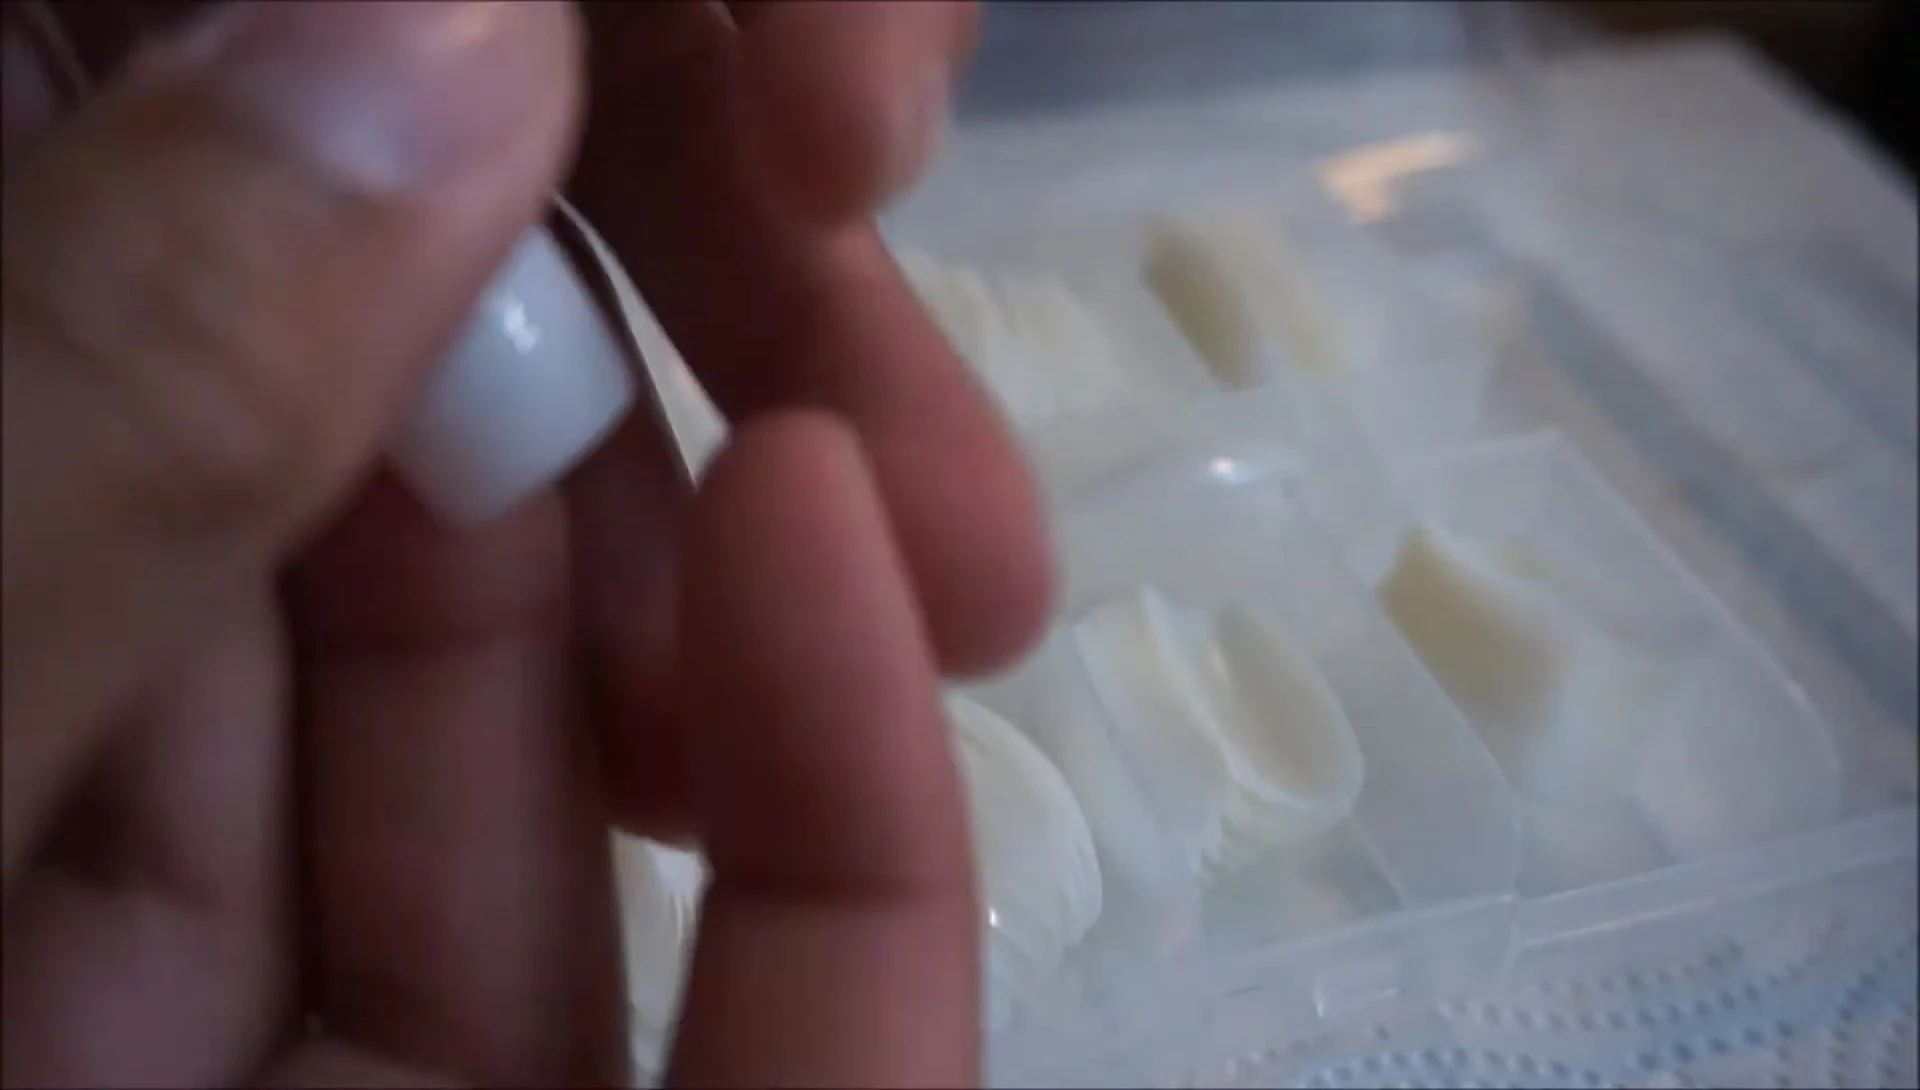
I used Kiss brand full press-on nails for this tutorial. Begin by separating the nails into sections corresponding to each finger. Check the fit of each nail; if it's too large, gently file it down until it's comfortable. It's important to find the right size for each finger for a natural-looking fit. Remember to check the fit before applying any glue, it's much easier to make adjustments before adhering them to your nails.
Shaping and Applying the Nails
To create a more natural look, I cut and filed the sides of the nails to match the shape of my natural nail bed. I prefer to shape the nails before applying the glue, but it is also possible to glue them on and then shape them. Once you're happy with the shape, apply a thin layer of nail glue to your natural nails or the press-on nails, then firmly press the press-on nails onto your natural nails, holding for a few seconds to ensure proper adhesion. Ensure you press down thoroughly for optimal coverage.
Adding Optional Glitter
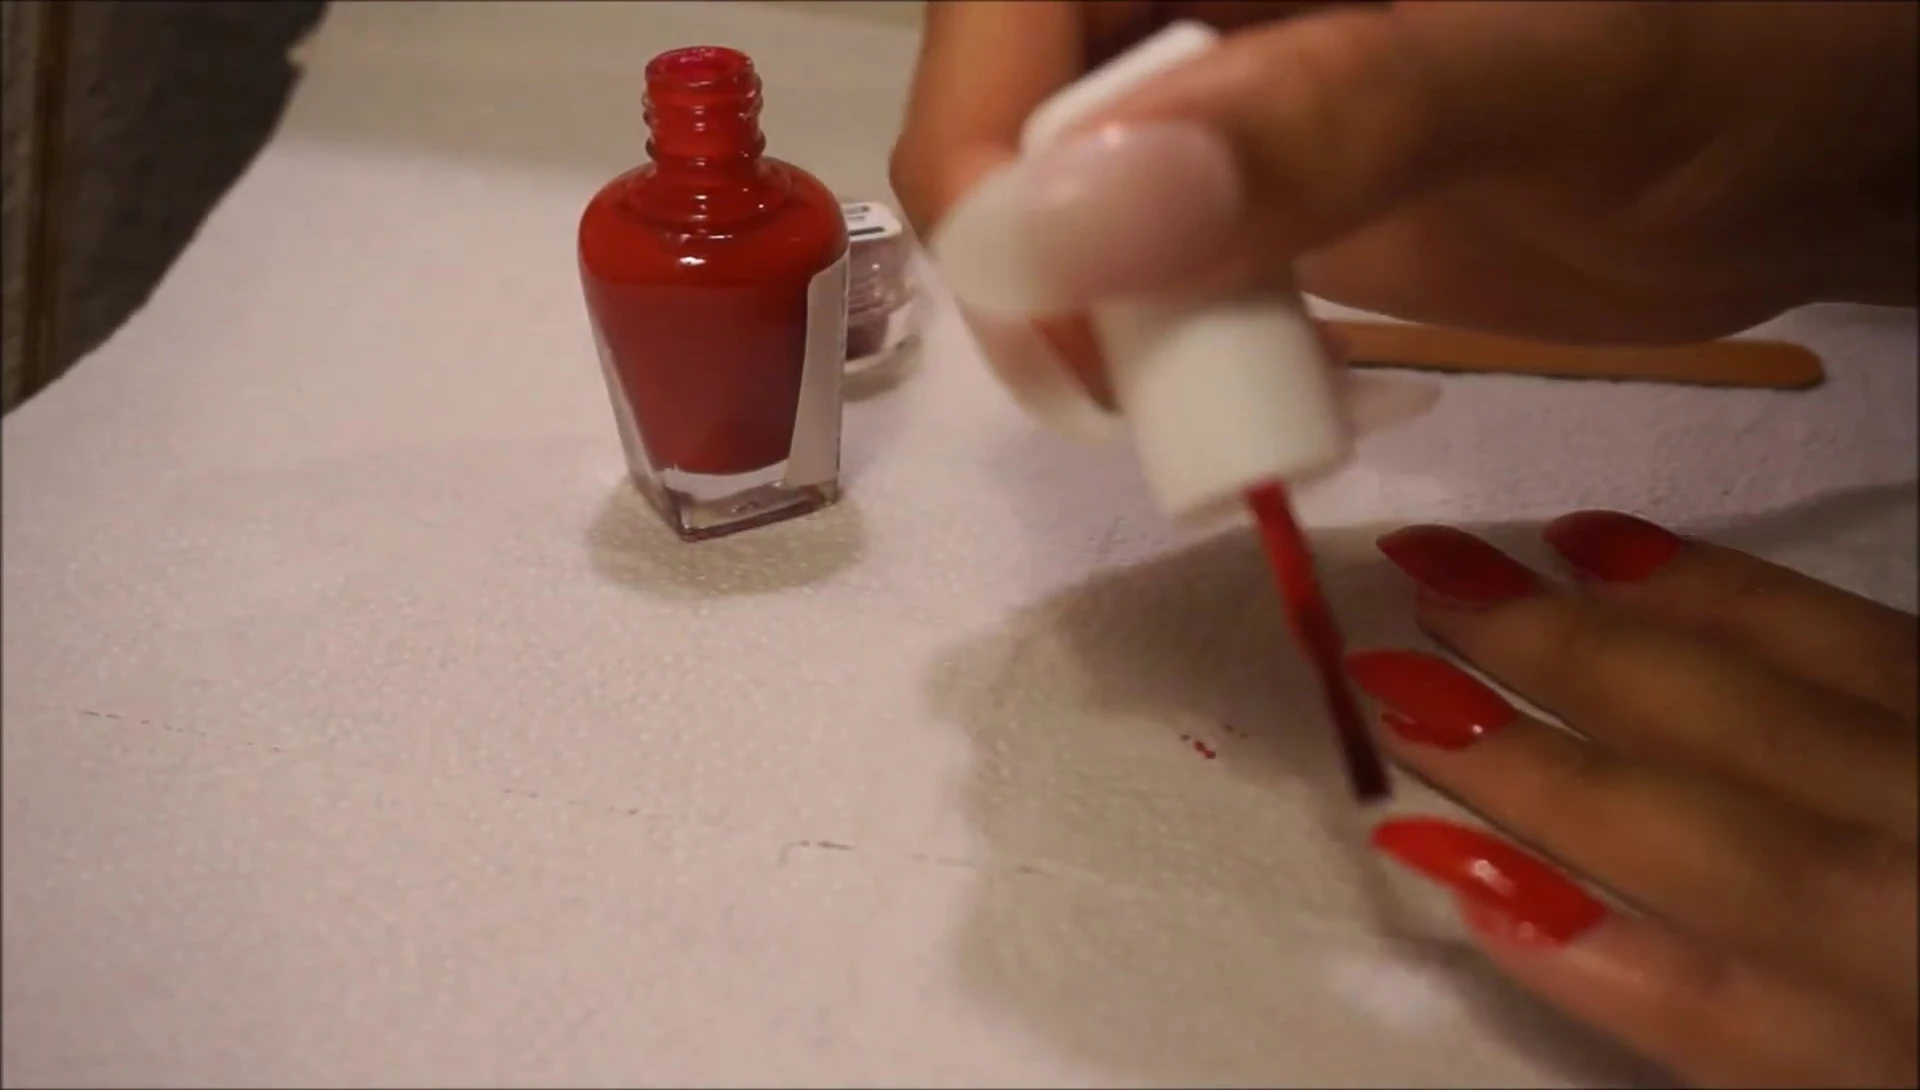
For an extra touch, I added some glitter nail polish to my ring finger. This step is completely optional, but I found it added a nice touch. I used a straw for precision, but a spoon would work just as well. Remember to work over a napkin or container to avoid making a mess.
Conclusion
This DIY fake nail method is a budget-friendly and convenient way to achieve a salon-quality manicure at home. The Kiss press-on nails provided a good base for customization, and the application process was relatively straightforward. While shaping before glue application is recommended, it’s possible to adjust after application. The longevity of the nails is approximately seven days depending on your activity level and care. Overall, this is a great option for a quick and easy manicure.