Achieve salon-quality nail extensions at home with this comprehensive guide to applying CND Plexigel. This step-by-step tutorial provides a detailed walkthrough of the entire process, from preparing the nail bed to achieving a flawless, long-lasting finish. Whether you're a seasoned nail technician or a beginner looking to master the art of gel extensions, this guide will equip you with the knowledge and techniques needed to create beautiful, durable nails. We'll cover each stage meticulously, highlighting crucial steps and emphasizing the importance of proper curing times for optimal adhesion and strength.This guide utilizes CND's Plexigel system with forms, ensuring a precise and controlled application. Learn how to properly apply bonder, shaper, and top coat, mastering the layering techniques essential for achieving a natural-looking apex and strong free edge. We also detail the use of a file for refining the shape and the application of color, offering options for both Vinylux and Shellac systems. By the end of this guide, you'll be confident in your ability to create stunning, professional-looking nail extensions using CND Plexigel.
Read more: Nail Form Review: EasyFlow App and Diverse Nail Shapes
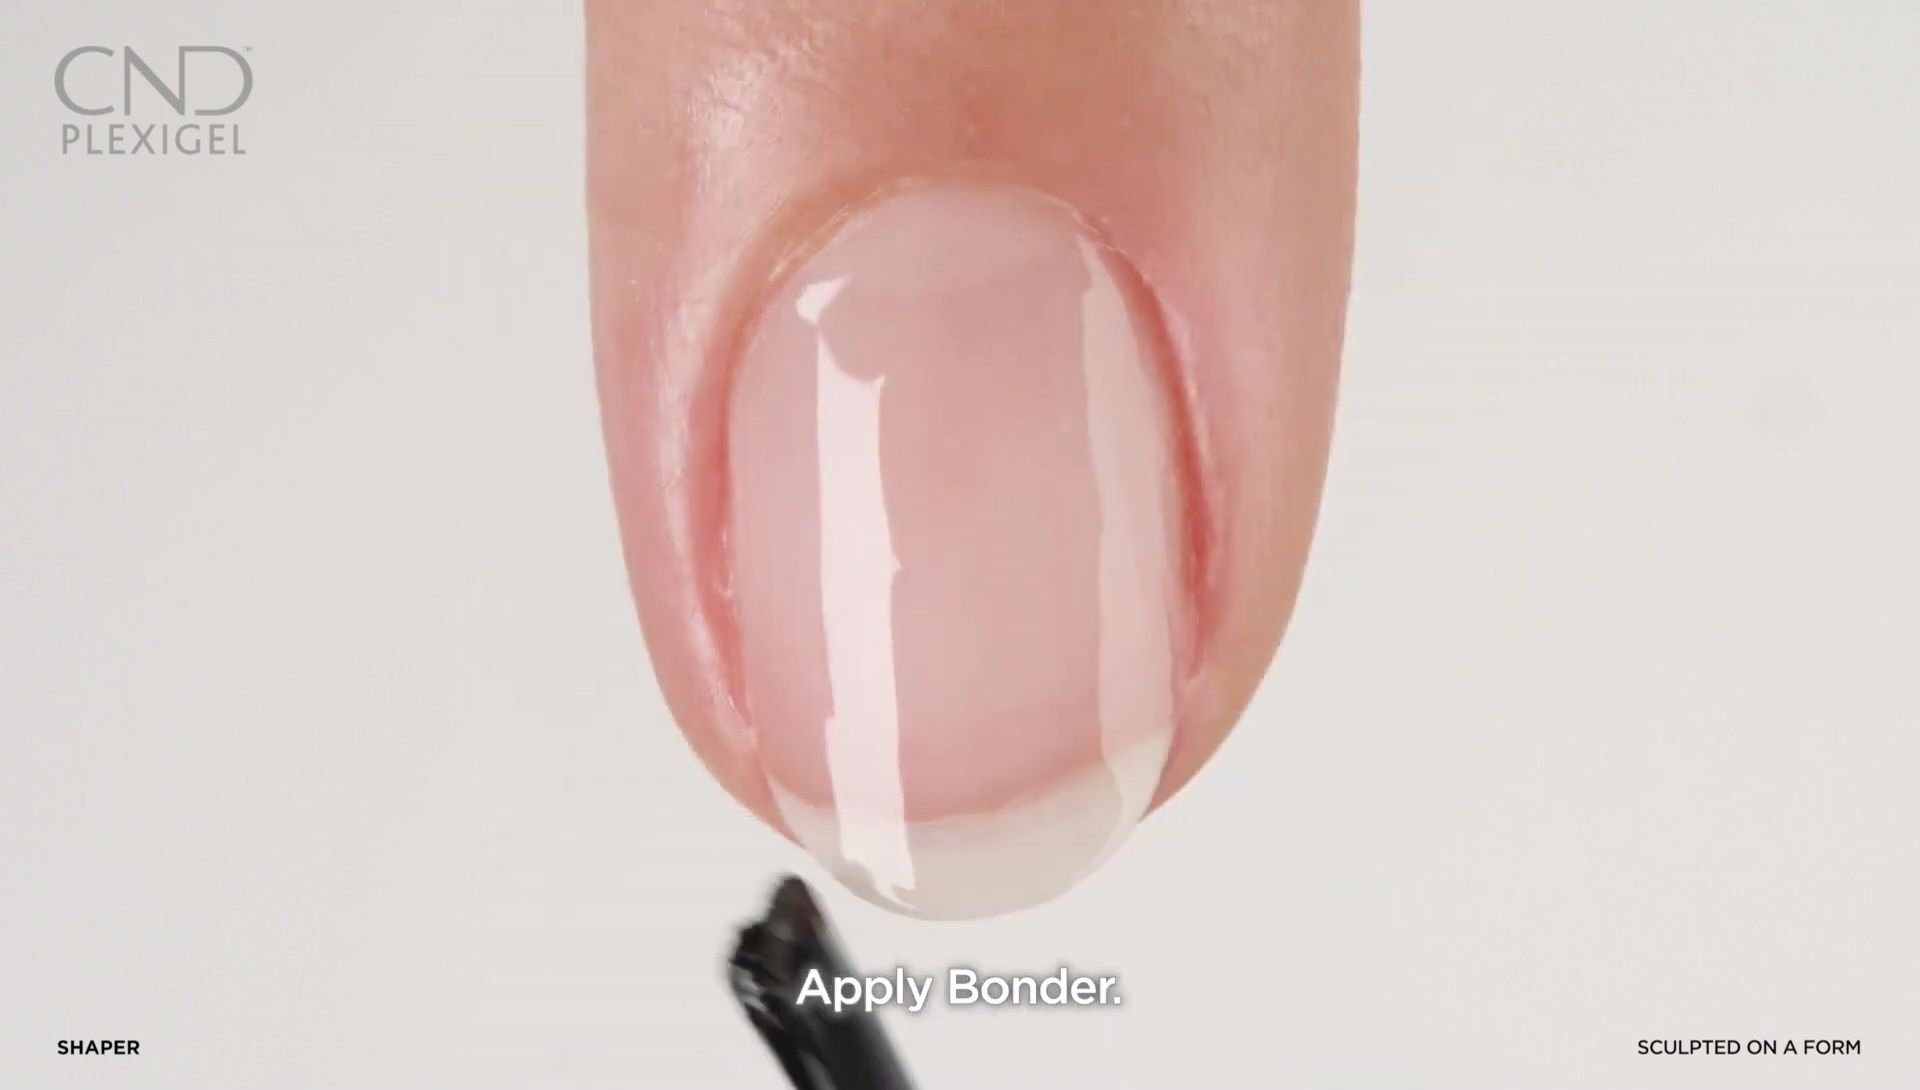
Preparing the Nails
Begin by applying a thin, even layer of bonder to all five nails, ensuring the edges are sealed. This crucial first step helps the Plexigel adhere properly and provides a strong foundation for the application.
After applying the bonder, cure it for 10 seconds under a CND LED lamp using the preset button one. This brief curing process sets the bonder, creating an ideal surface for the next layer.
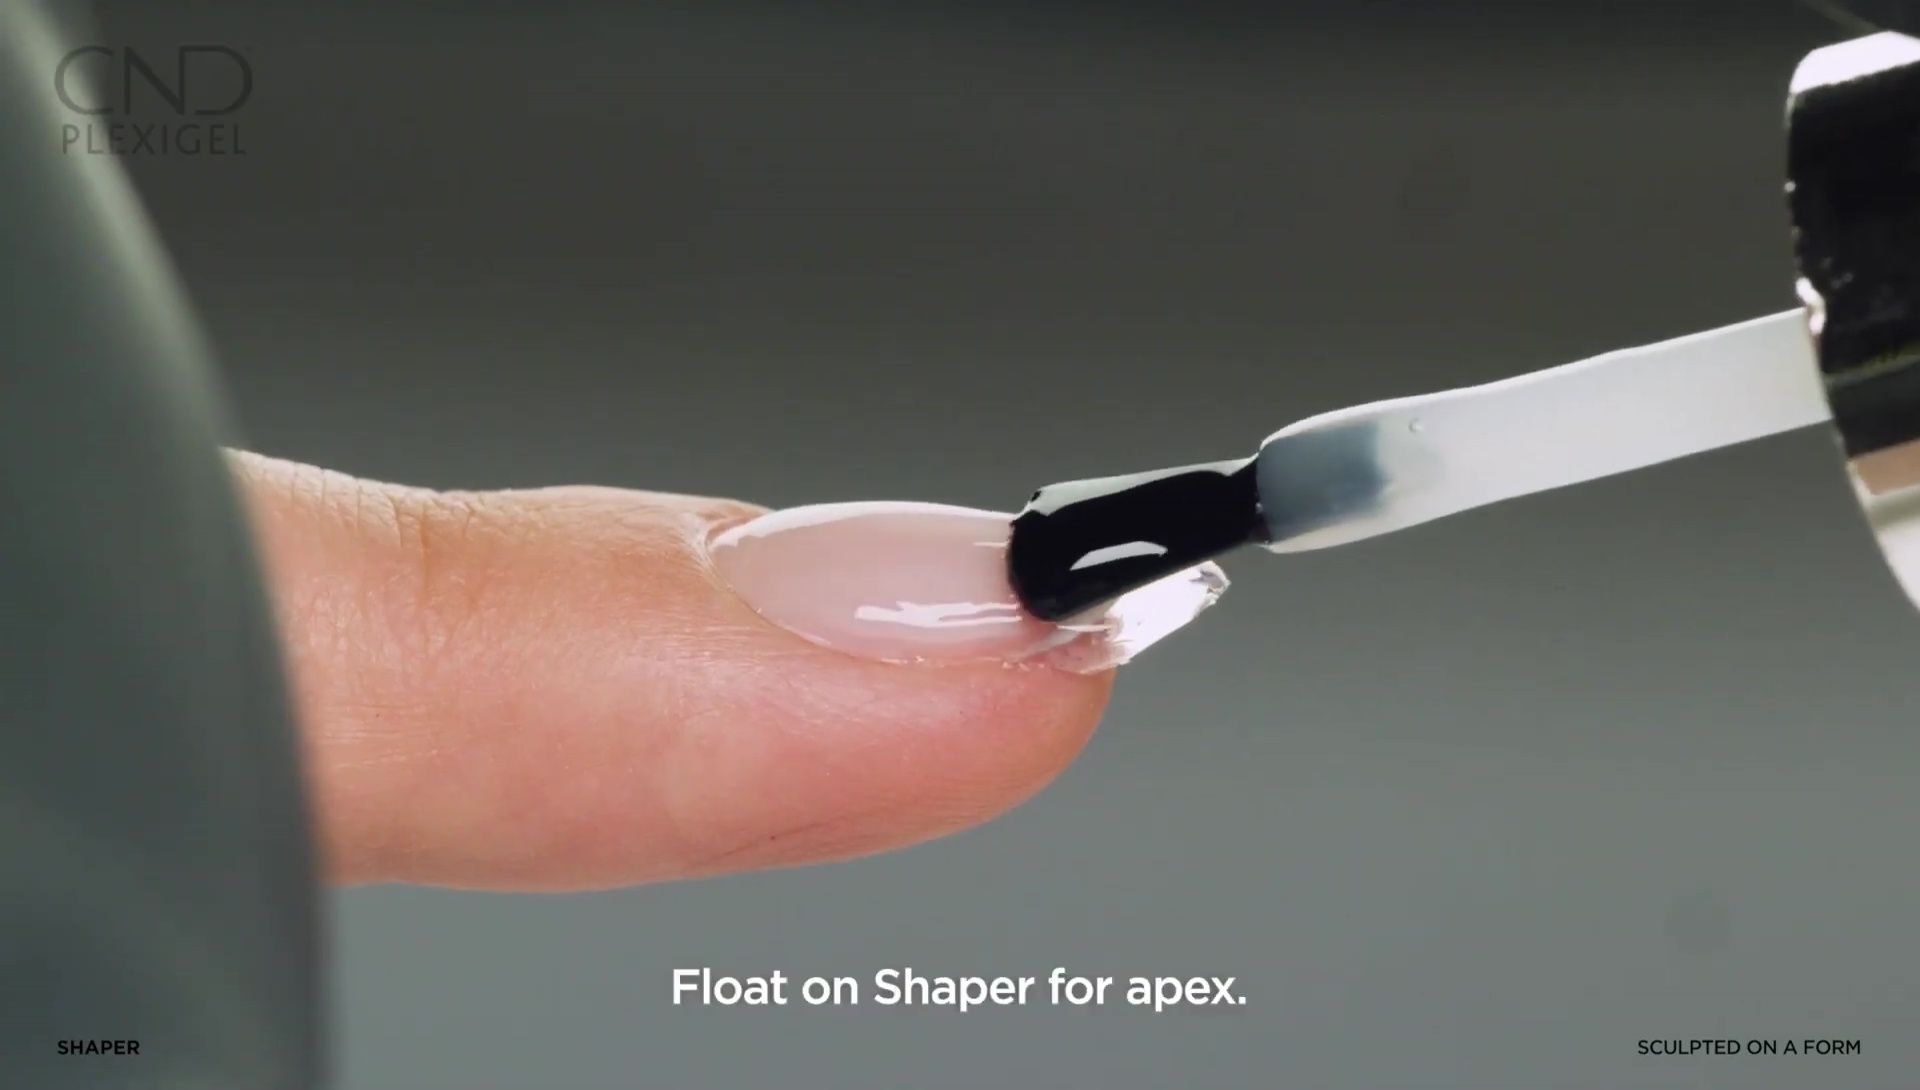
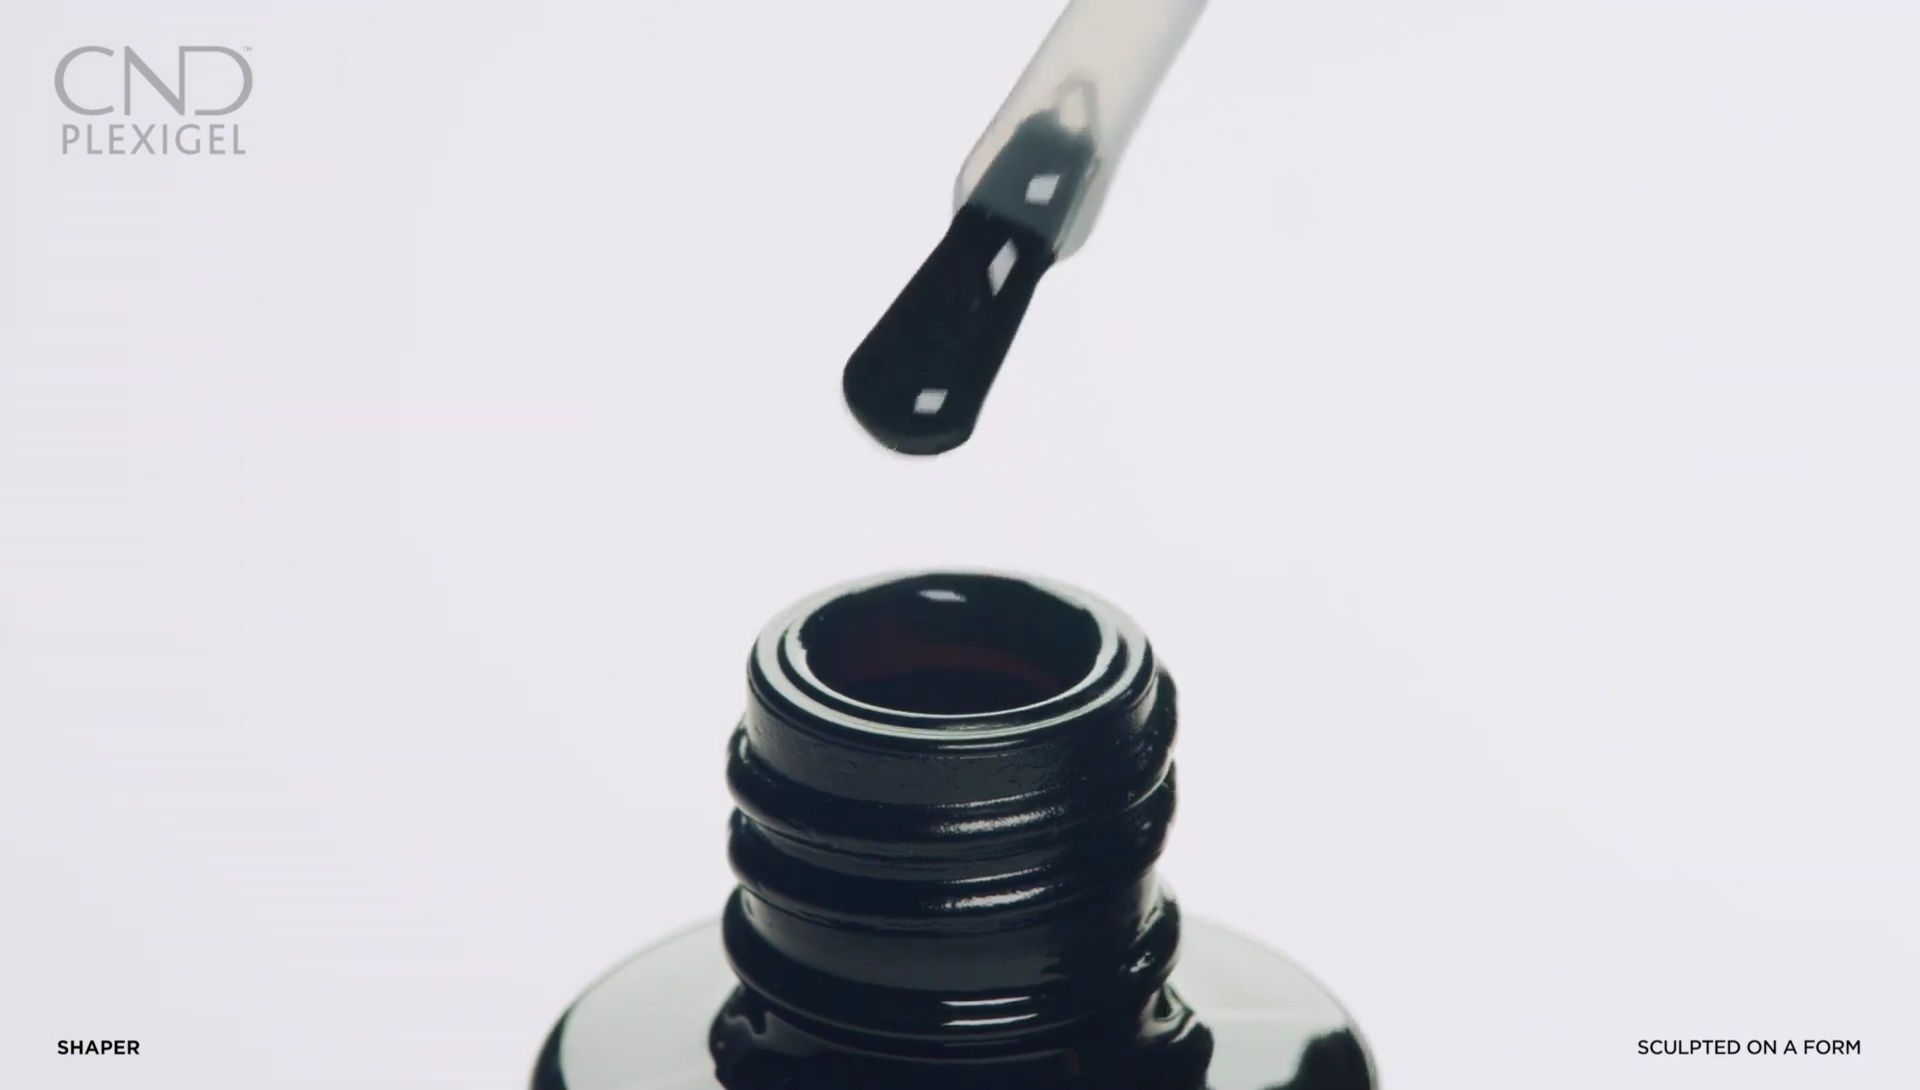
Creating the Free Edge with Shaper
Apply a thin layer of shaper to one nail at a time, extending it onto the form to construct the desired free edge length and shape. It's crucial to avoid getting any product on the skin.
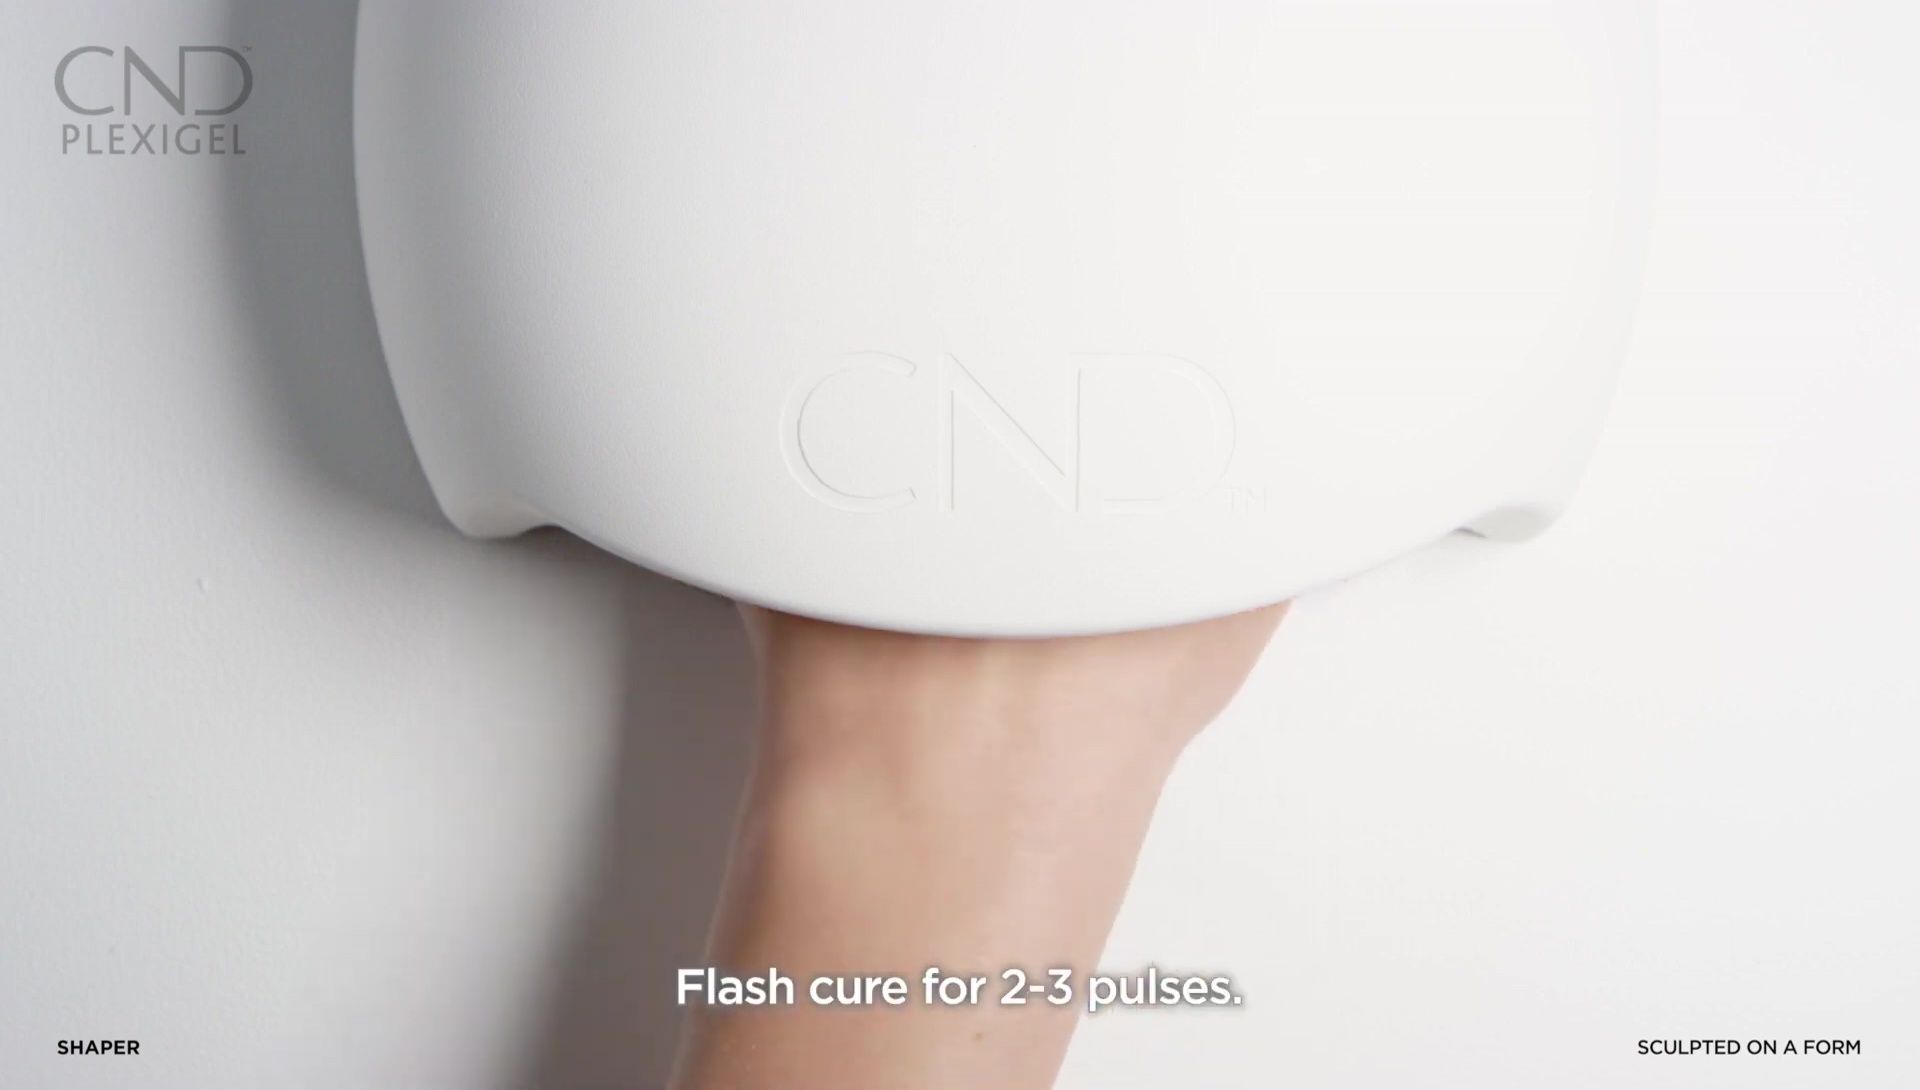
Leave a small margin around the perimeter. Flash cure for two to three pulses on button one until the shaper is set enough to remove the form carefully.
Building and Shaping the Nail
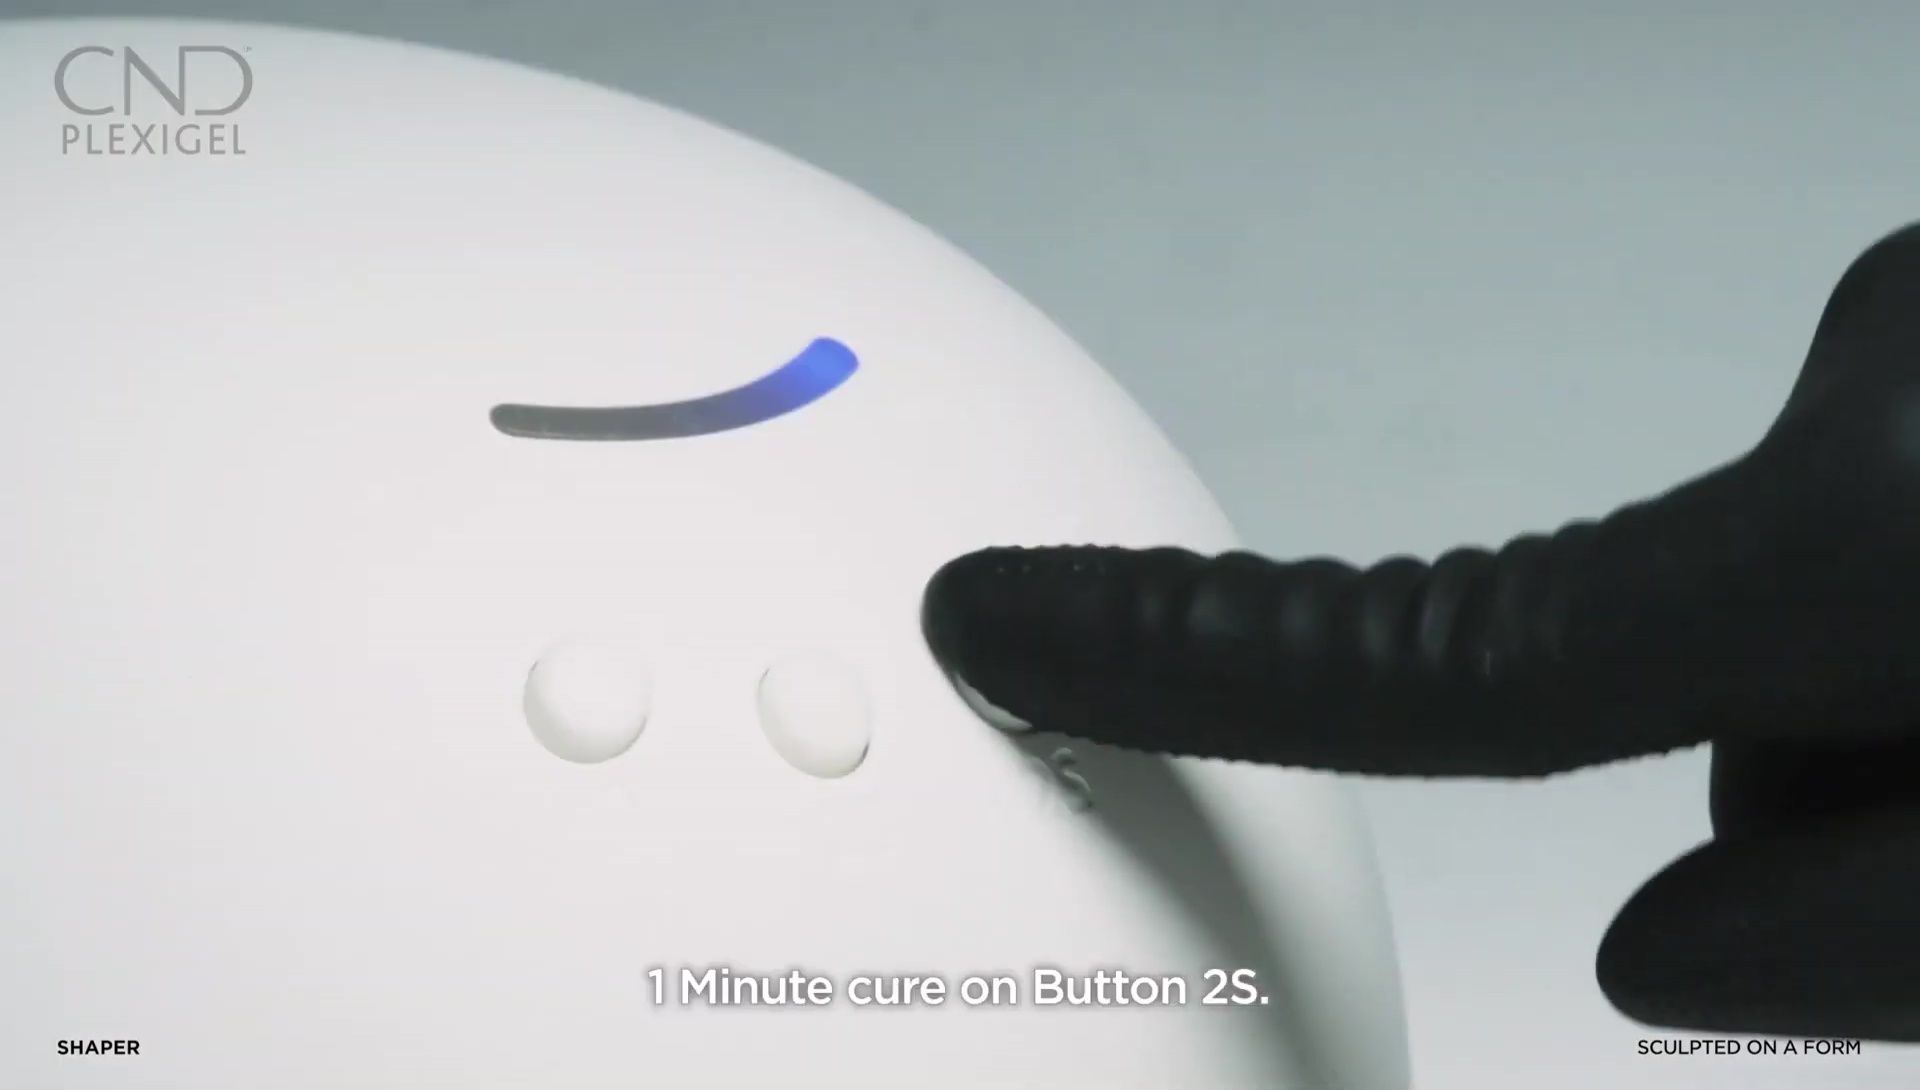
Apply shaper to all five nails and cure for 1 minute using preset button 2B in the CND LED lamp. Do not remove the top film.

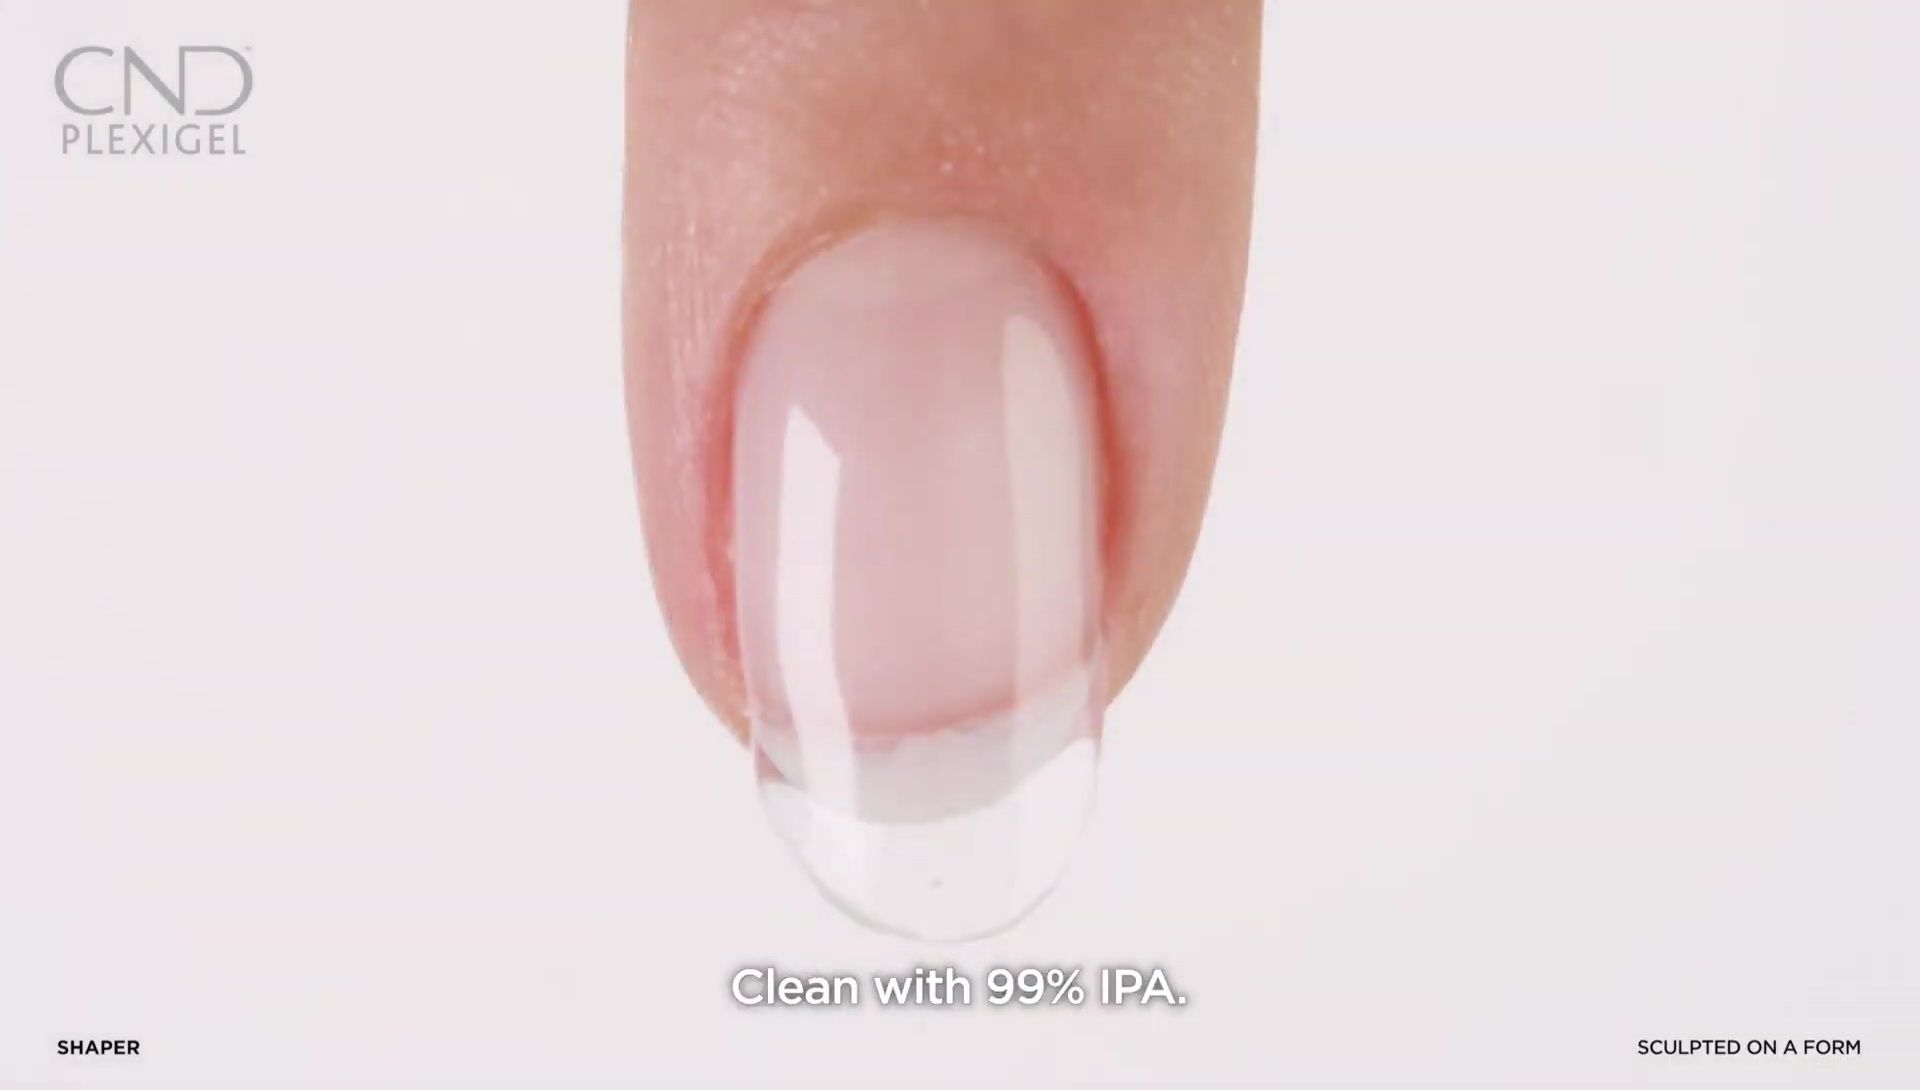
Next, apply a second layer of shaper gel to build the apex and refine the nail shape. Cure again for 1 minute using preset button 2B. Cleanse with 99% IPA.
Refining and Finishing
Refine the nail shape using a 180-grit file or a medium-grit diamond bit with an e-file at half speed. Cleanse again with 99% IPA after filing.
Apply a layer of protector top coat to all five nails, curing for 1 minute using preset button three. Lightly wipe to remove the top film with 99% IPA.
Color Application and Final Touches
Apply two layers of Vinylux color, allowing each layer to dry. If using CND Shellac, skip the protector top coat and base coat and apply two layers of Shellac color.
Apply one layer of Vinylux top coat or a layer of Shellac top coat and cure for 1 minute using preset button three. Lightly wipe to remove the top film with 99% IPA. Add a drop of solar oil to each nail.
Conclusion
This detailed guide showcases the application process of CND Plexigel using forms. The steps are clearly defined, emphasizing the importance of proper curing times and careful application techniques for a flawless finish.
Through precise layering and curing, you can achieve a durable and aesthetically pleasing nail extension. Remember to always follow the manufacturer's instructions for optimal results. CND Plexigel offers excellent strength and longevity compared to other gel systems.