Looking for a quick, easy, and stylish at-home manicure? Skip the salon and try Danni & Toni Semi-Cured Gel Nail Strips! This comprehensive review dives into the entire process, from unboxing the convenient kit to achieving a flawless, long-lasting finish. We'll explore the ease of application, the variety of chic designs available, and the overall quality of these innovative nail strips. Prepare to be amazed by how simple it is to achieve salon-worthy results in the comfort of your own home.This review details my experience using the Danni & Toni kit, which includes everything you need for a perfect manicure: a compact LED lamp, a meticulously packaged set of gel strips, and all the necessary tools for application. We'll cover each step, from nail preparation to the final cure, offering helpful tips and tricks along the way. Discover if Danni & Toni Semi-Cured Gel Nail Strips truly deliver on their promise of cute, easy, and long-lasting results.
Pros And Cons
- Top quality
- Gel formula for long-lasting wear
- Variety of designs for different occasions
- Easy application
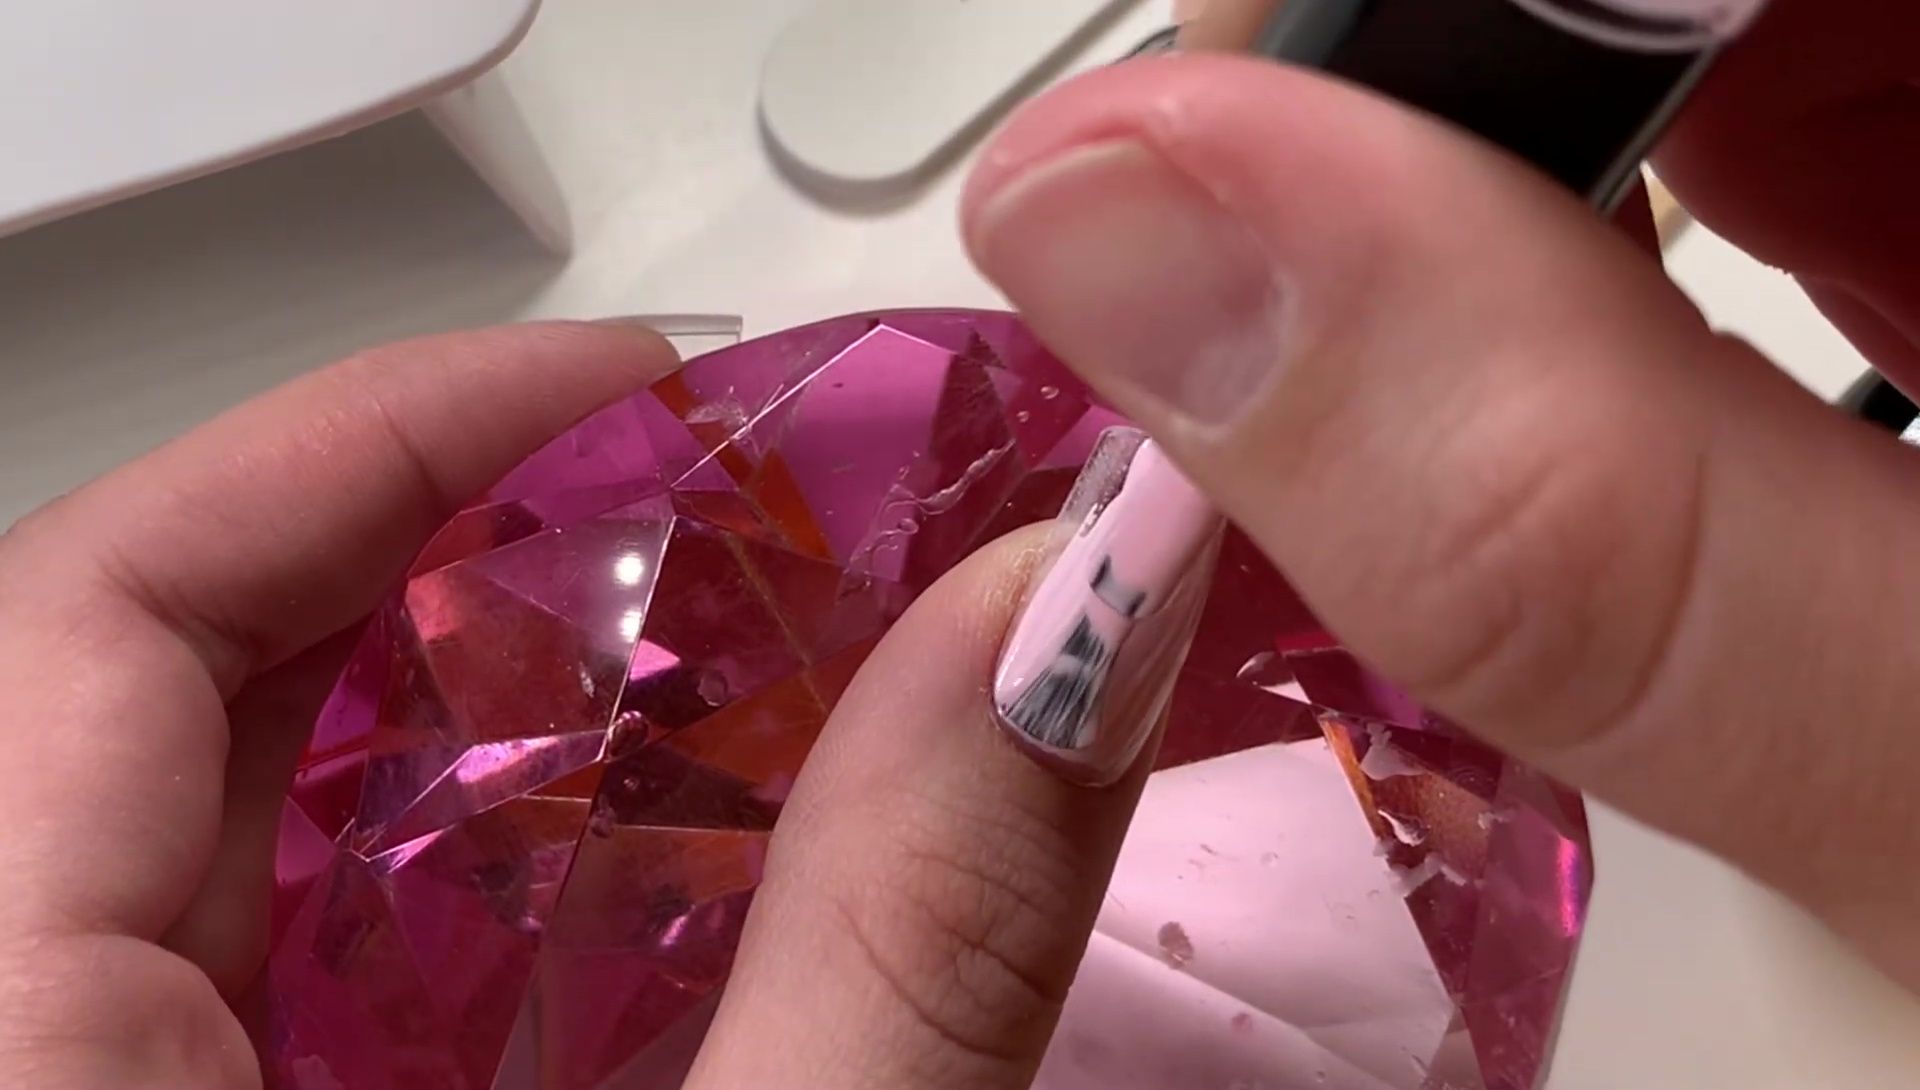
- Sensitive to UV light (prevents premature curing)
- Stretchy and durable
- Non-toxic and pet/kid friendly
- Lasts up to 14 days
- Some strips may have bubbles if not applied perfectly
- Alcohol pad may come dry
- Tweezers should not be used for application
- May require sizing adjustments
- Standard size
- Comes with USB charger
Read more: 9 Stunning 5D Nail Stickers for a Perfect Manicure
Unboxing the Danni & Toni Kit
The package arrived containing a 6-watt LED nail lamp – a standard size, perfect for at-home manicures. It's compact and comes with a USB charger, making it incredibly convenient. The design is sleek and modern, fitting nicely on any desk.
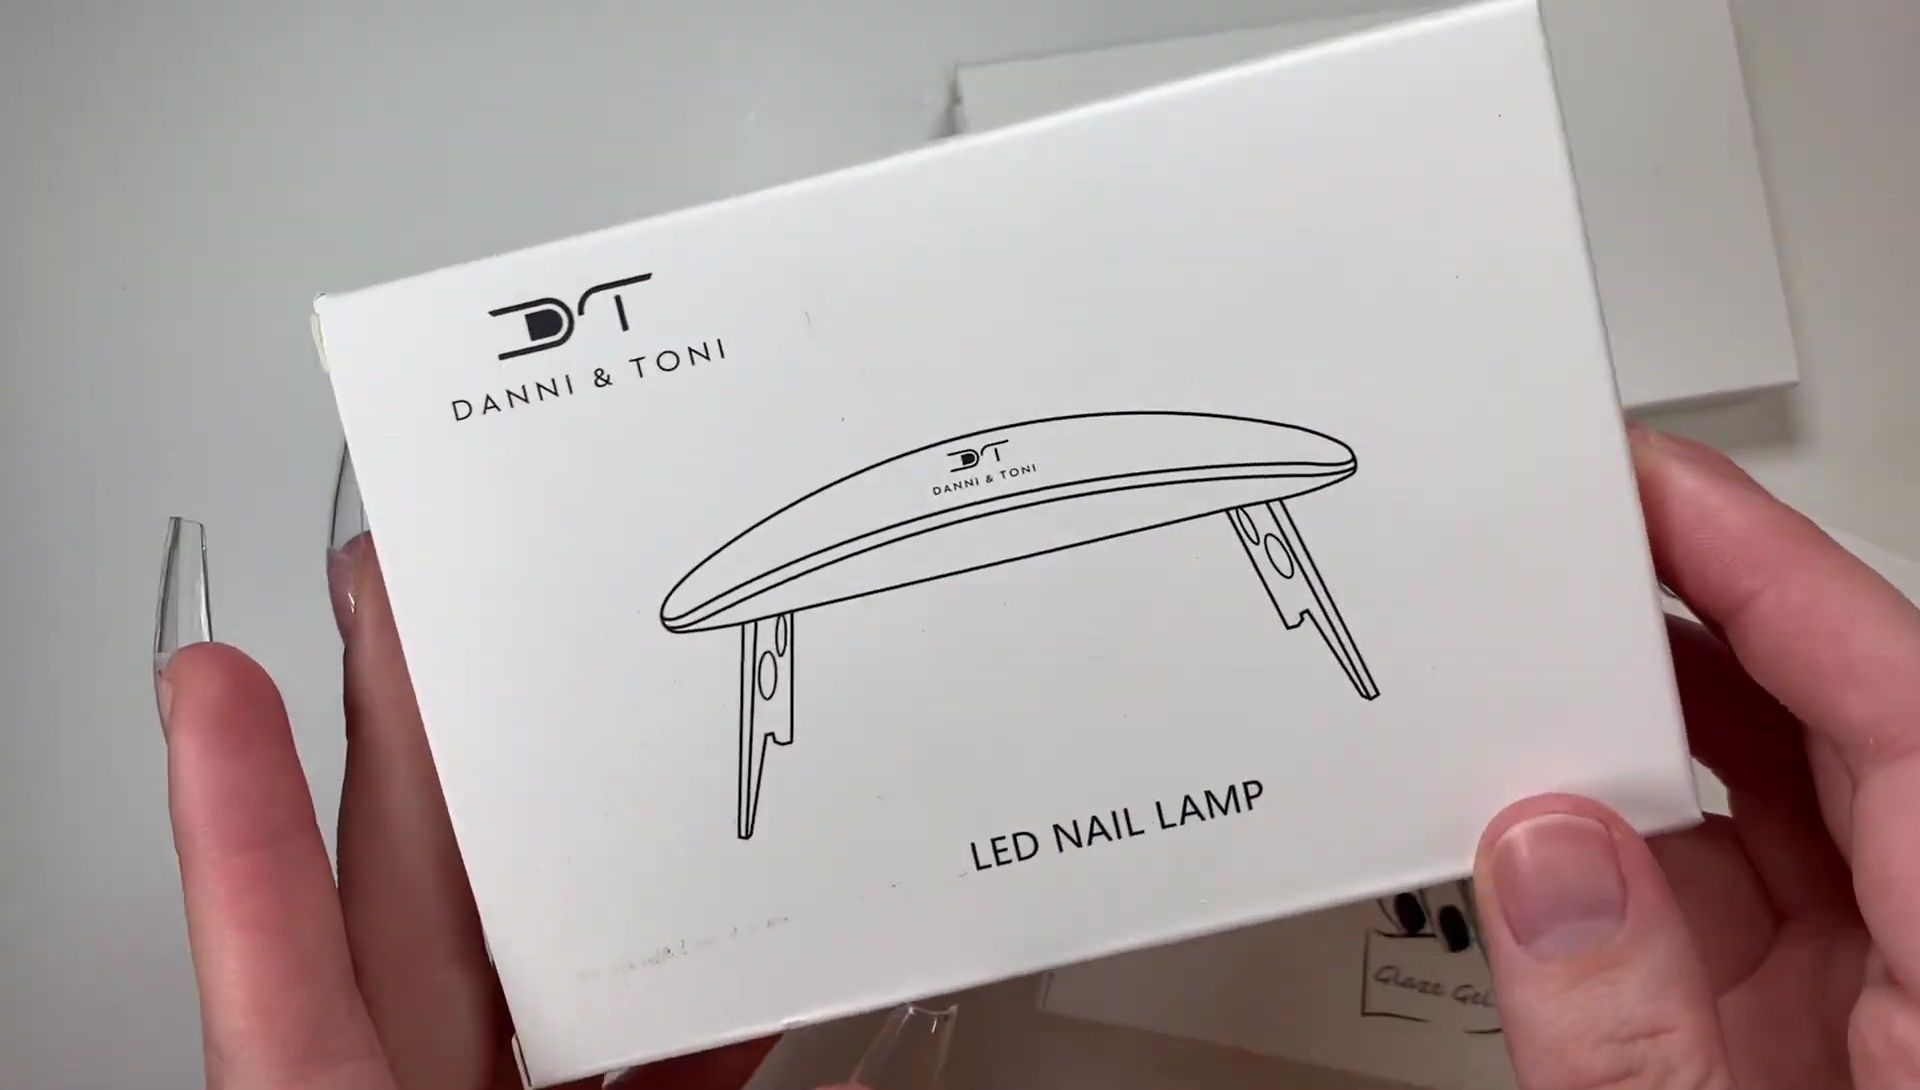
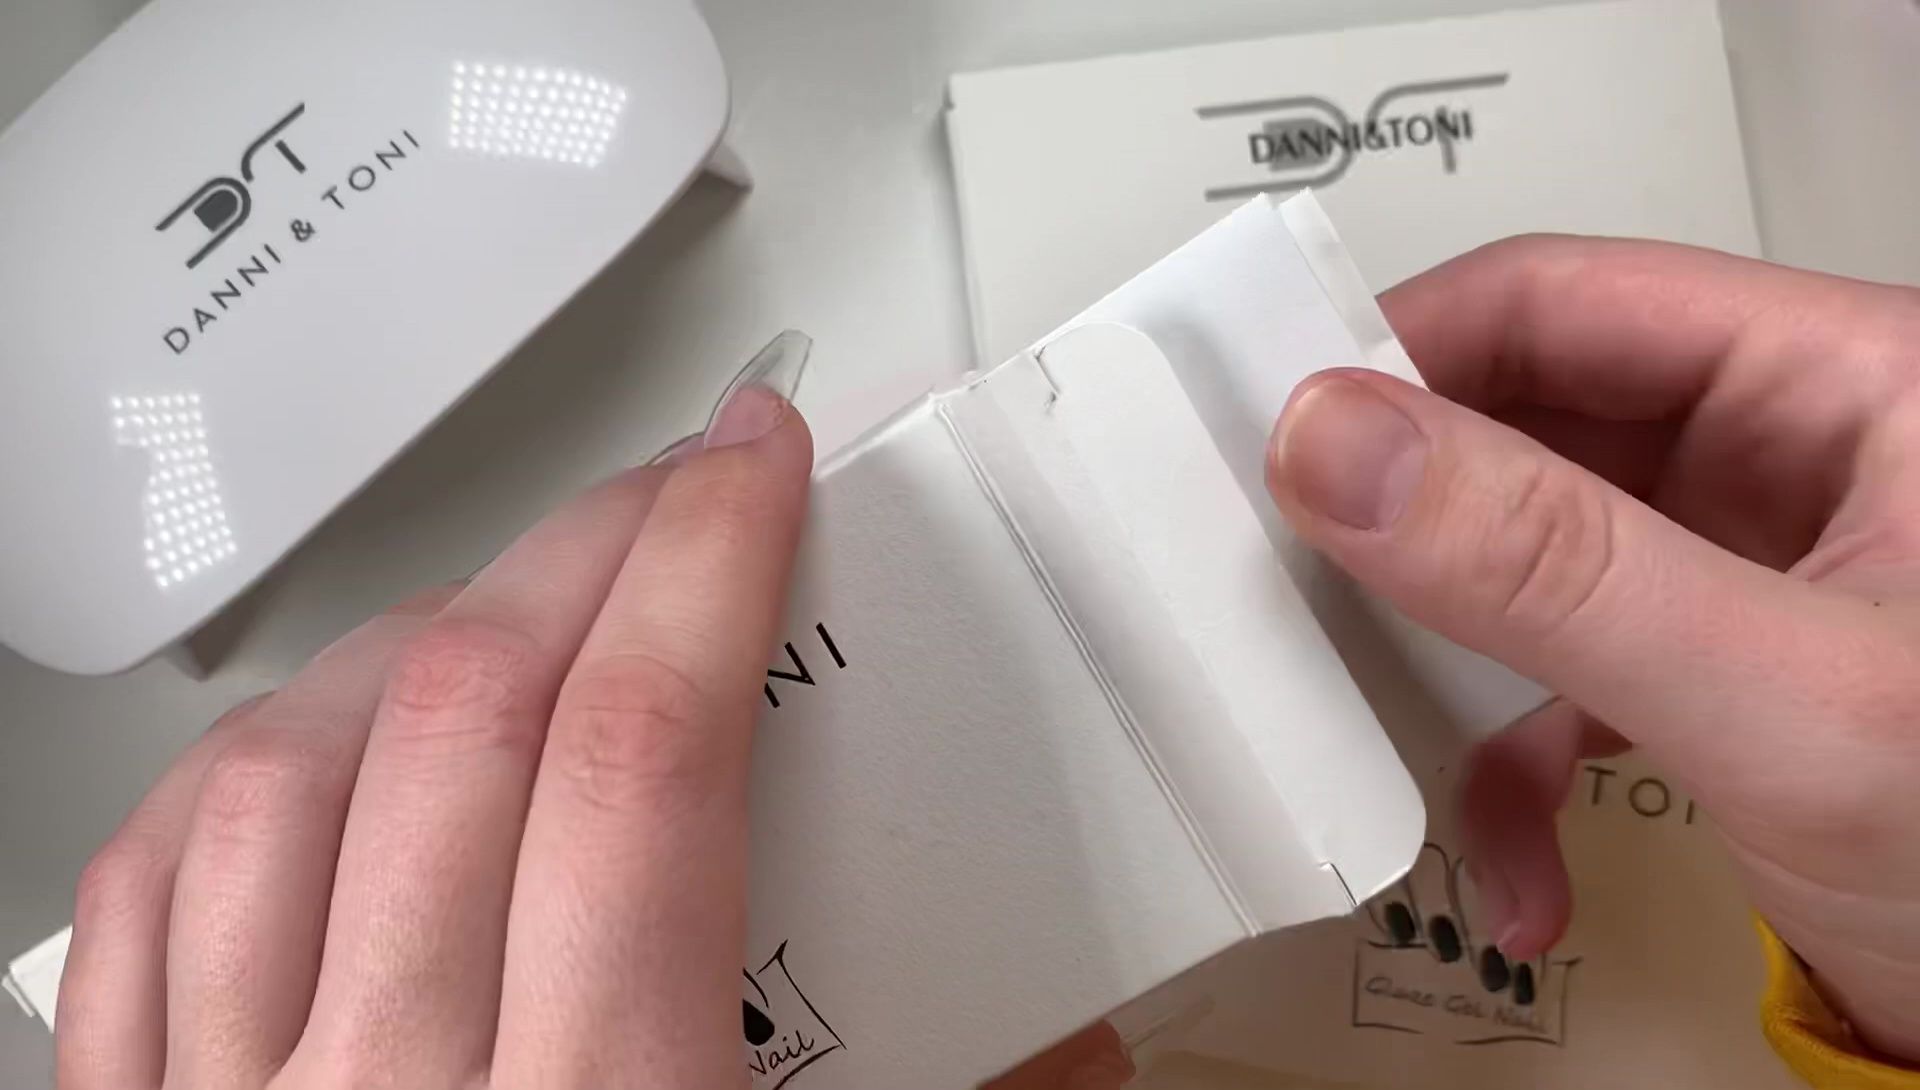
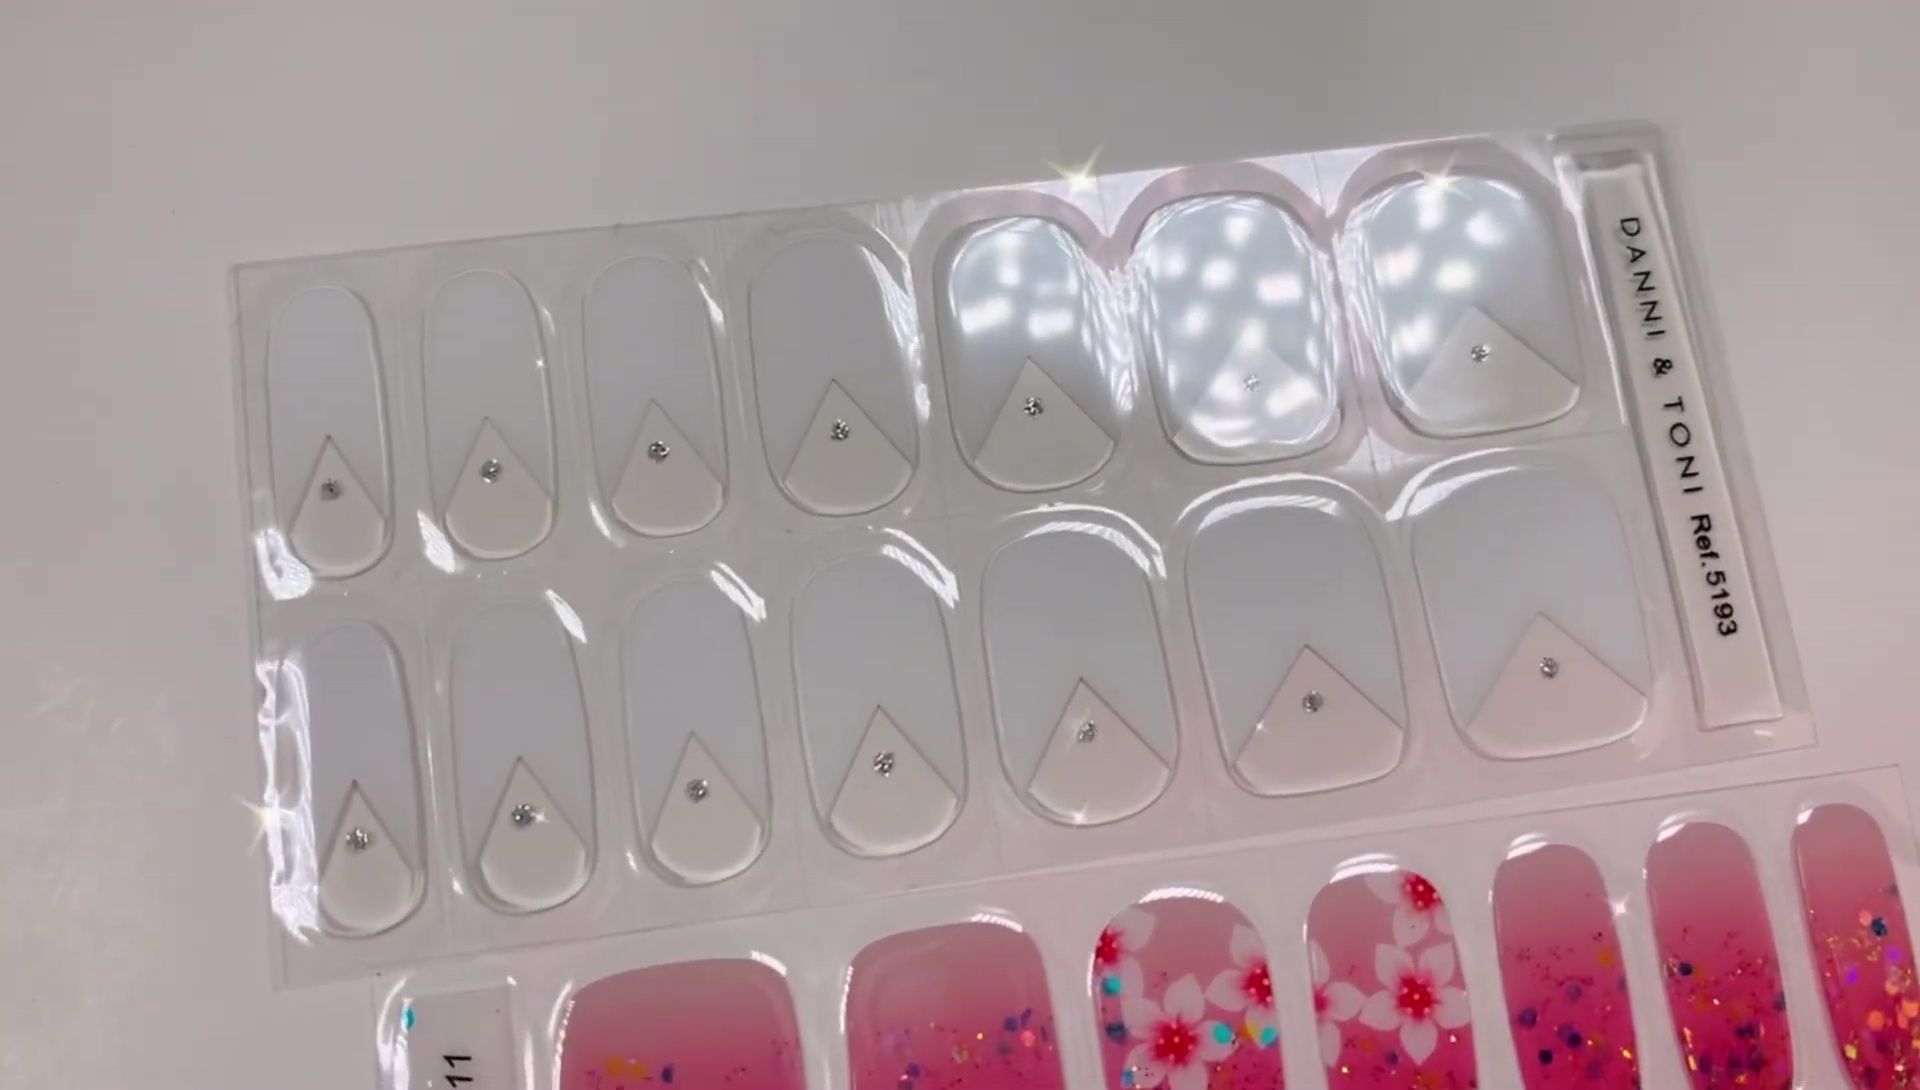
Along with the lamp, the box includes a set of gel nail strips, carefully packaged in a black case to protect them from light. This prevents premature curing and ensures the strips maintain their quality. The packaging also includes an instruction manual, an alcohol pad, a nail file, an orangewood stick, and a pair of scissors – everything you need for application.
Nail Strip Selection & Preparation
The Danni & Toni nail strips come in various designs suitable for various occasions. I chose three elegant and chic designs for this review. The variety in designs ensures there's something to suit any style or preference.
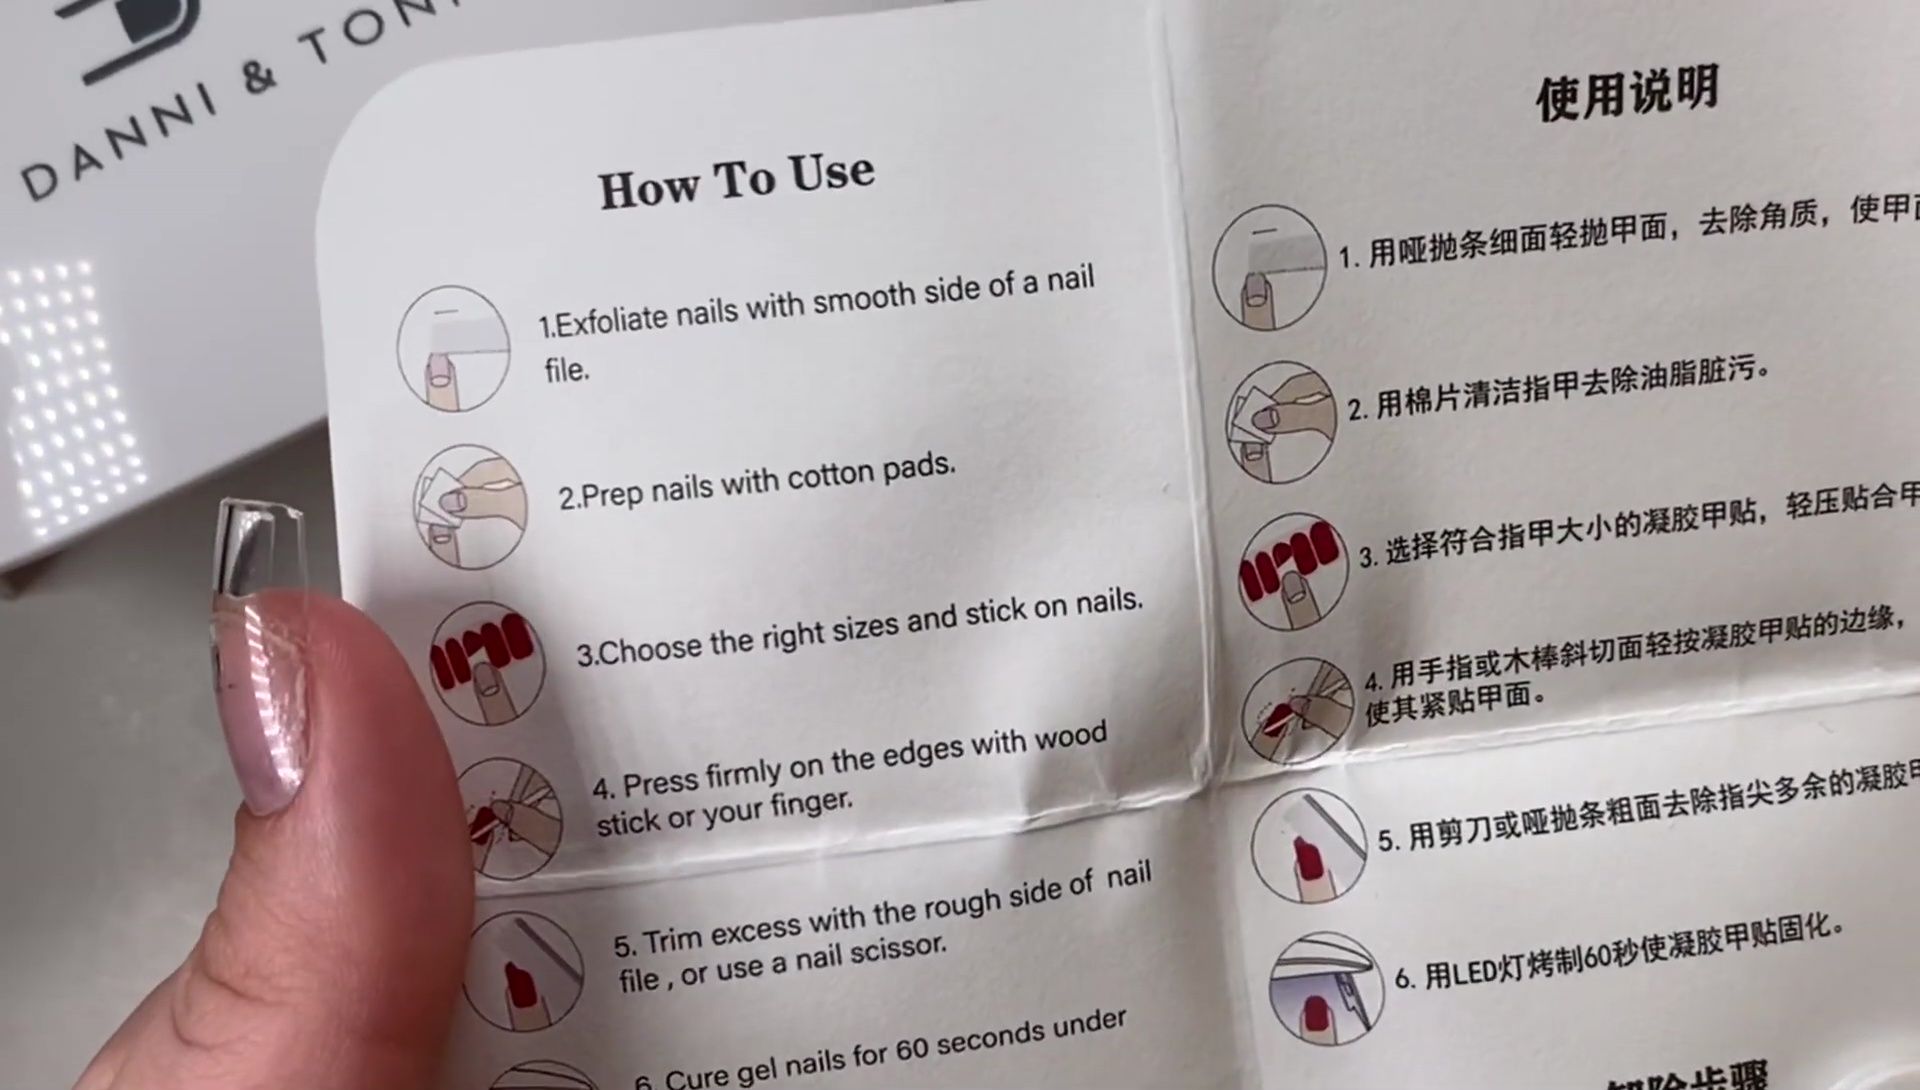
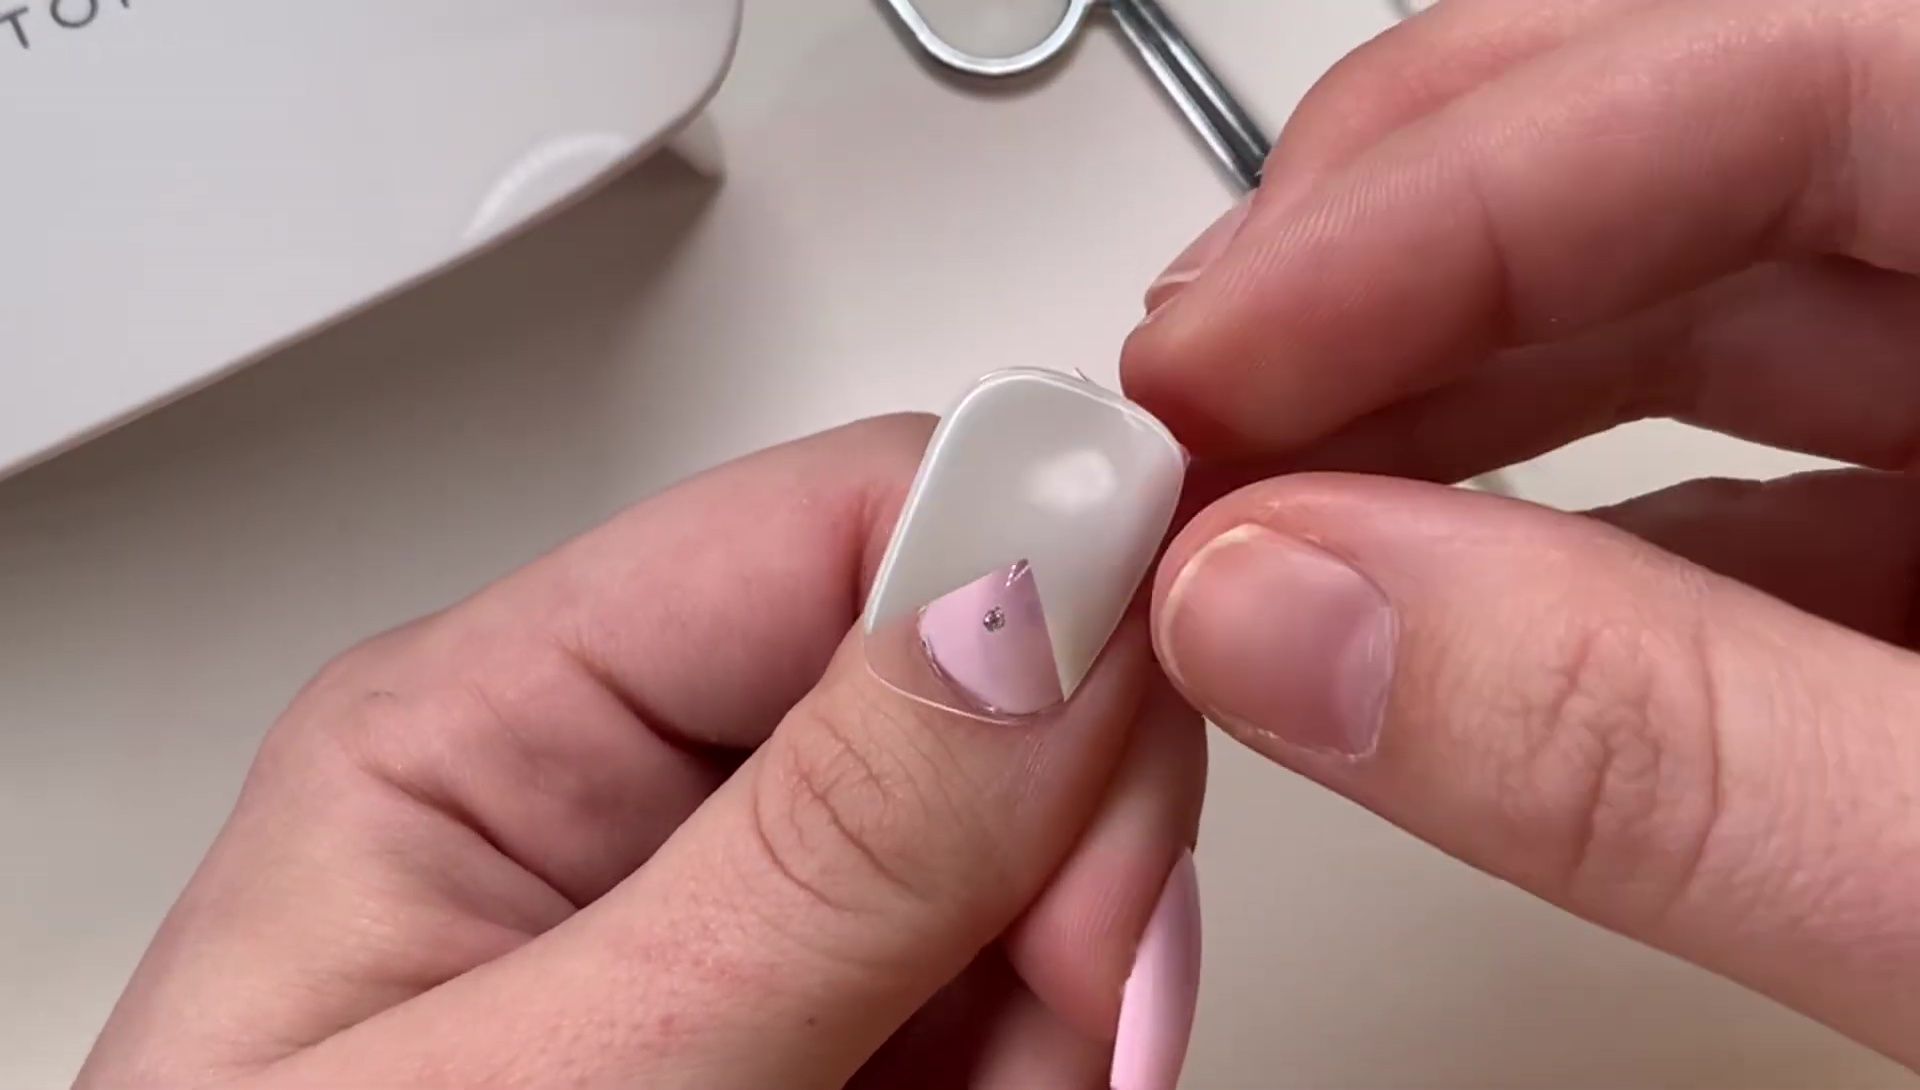
Before application, it's crucial to prepare your nails. I gently buffed the surface of my nails to remove oils and debris for better adhesion. Then, I used a nail file to refine the edges of my natural nails to match the shape and size of the nail strips.
Application and Curing
I applied a base coat of Now Addict LA gel polish to create a uniform base for the nail strips. This was to avoid showing my natural nail line through the white nail strips. I found that applying a base coat is helpful to reduce the look of any bubbles in the nail strip application.
Applying the nail strips requires patience and precision. I discovered that starting at the edge of the nail and gently rolling the strip towards the center is more effective than directly placing it in the middle. I used a nail smoother to press the strips firmly and ensure proper adhesion. Curing for 30 seconds under the LED lamp completes the process.
Final Look and Conclusion
The final result is a chic and stylish manicure that was surprisingly easy to achieve. The gel nail strips adhered smoothly, the color was vibrant, and the designs looked luxurious. The shorter length was practical and comfortable.

Danni & Toni's semi-cured gel nail strips offer excellent quality. They are easy to apply, even for beginners, and last for a decent amount of time. While a minor learning curve exists, the results are worthwhile. I highly recommend these strips for a convenient and beautiful at-home manicure experience.