Want gorgeous, salon-quality nails without the hefty price tag? This DIY guide shows you how to achieve a stunning fake nail manicure at home for under £10! Forget expensive salon appointments and lengthy delivery times; this budget-friendly tutorial uses readily available, affordable products to create a professional-looking finish. We’ll walk you through each step, from selecting and prepping your nails to achieving a flawlessly polished look that lasts. Get ready to experience the satisfaction of a perfect manicure, all from the comfort of your own home.This step-by-step guide provides a practical and cost-effective alternative to expensive salon visits. We'll cover everything from finding affordable supplies online to mastering the application techniques for a seamless, long-lasting result. Learn how to prepare your nails for optimal adhesion, apply the fake nails for a perfect fit, and finish with a professional polish that rivals any salon manicure. Even if you’re a beginner, this guide makes achieving a beautiful DIY manicure simple and stress-free.
Read more: 10 Fun & Festive False Nails for Kids
Product Selection and Acquisition
Initially, I planned to purchase the same nail supplies as a popular YouTuber, but the delivery time was too long. So, I turned to eBay and found comparable products at a much lower cost. This meant I could experiment without breaking the bank. The total cost was under £10, showing how affordable a DIY manicure can be.
Nail Preparation and False Nail Application
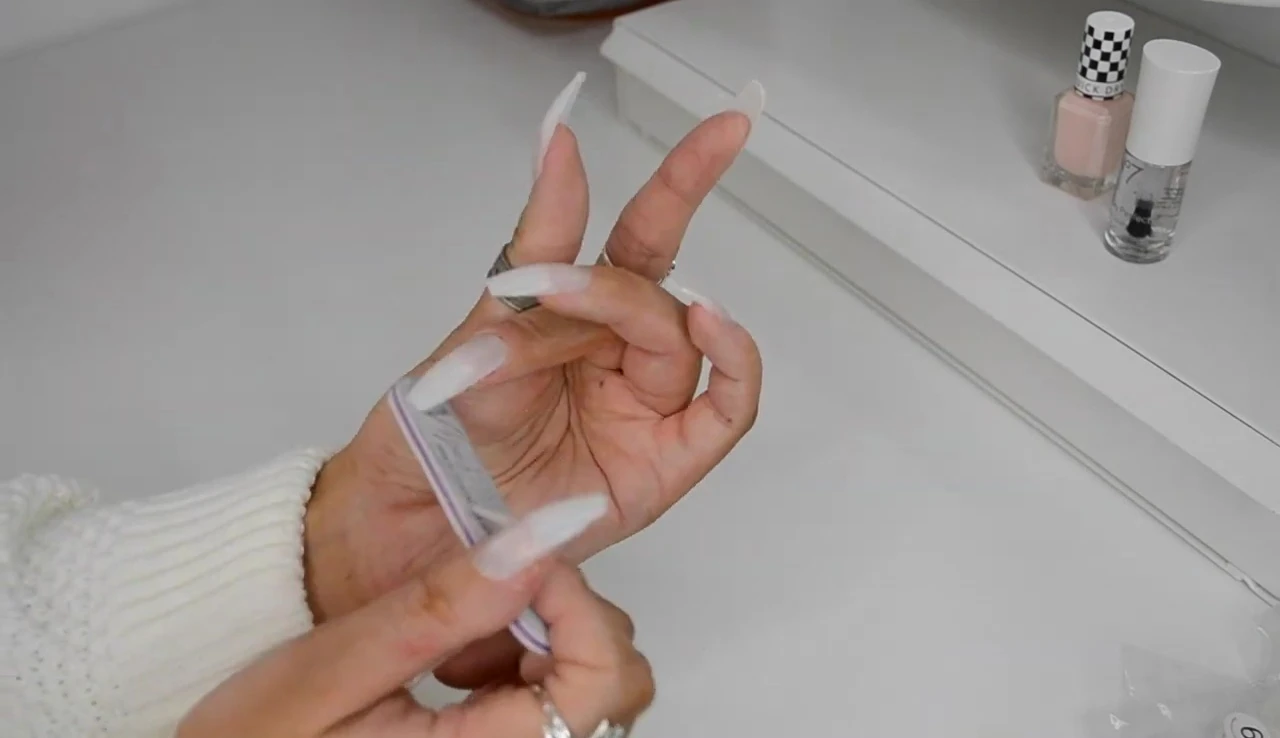
Before applying the fake nails, I organized them by size and carefully measured each one against my natural nails. This step ensures a perfect fit. Filing my nails slightly helped create a better surface for adhesion. I used nail glue (a different brand from what came with the kit) for a longer-lasting hold and applied two coats to each nail for extra grip.
Filing and Shaping
After applying the false nails, I used a nail file to smooth the edges and ensure a uniform length and shape. This step helps create a seamless and natural-looking manicure. I kept my nails fairly long, but you can adjust this step to your preference.
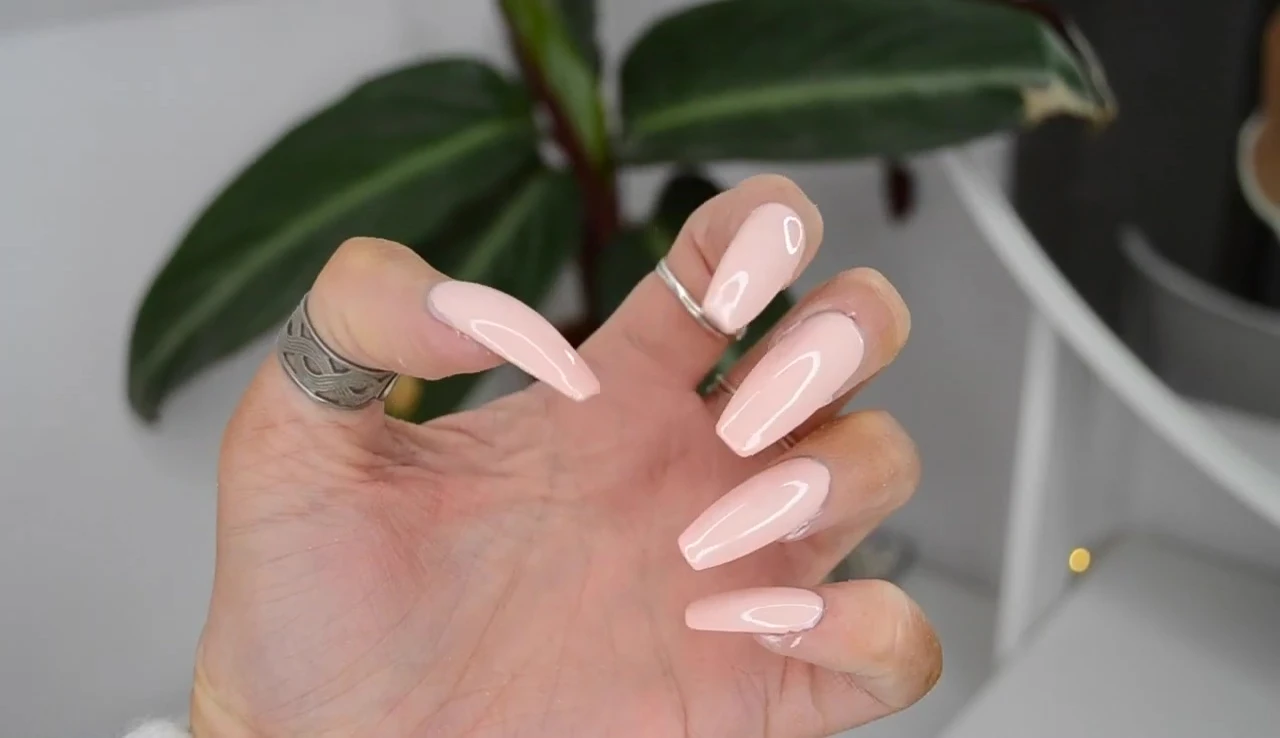
Painting and Top Coat
I applied several coats of nail polish to achieve full opacity. The number of coats depends on the particular polish used. Finally, I applied a top coat for extra protection and shine, providing a more professional finish.
Final Result and Conclusion
The final result was a surprisingly successful DIY manicure. It was quick, easy, and incredibly affordable. I highly recommend this method for anyone looking for a budget-friendly alternative to salon manicures, especially during times when going out isn't feasible. The products used, while inexpensive, delivered good results. The fake nails were easy to apply and lasted well.