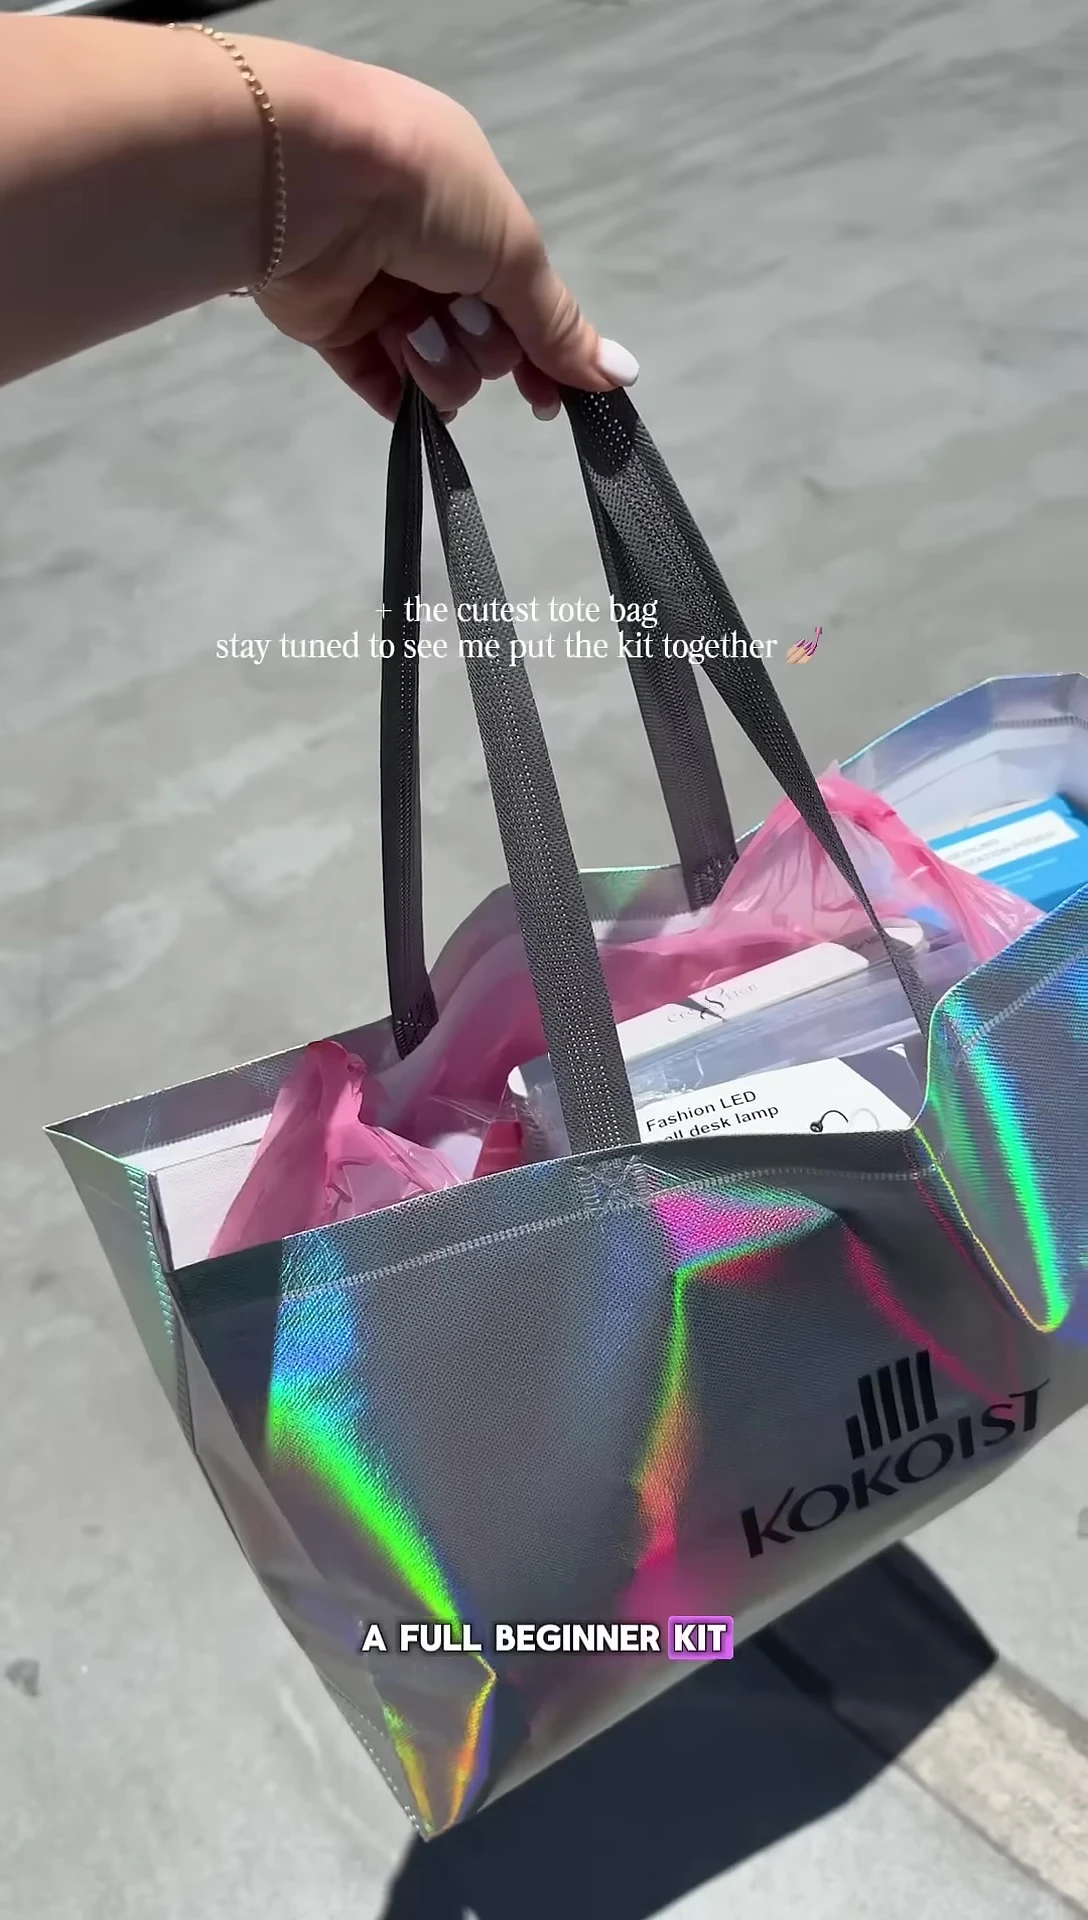
Want to achieve salon-quality Gel-X nails from the comfort of your home? This beginner's guide provides a comprehensive overview of the essential tools and products you'll need to create stunning, long-lasting manicures. From prepping your nails with the right cuticle tools to selecting the perfect bonding agents and Gel-X tips, we'll walk you through each step of the process. We'll also cover essential finishing touches like nail art and top coats to elevate your DIY manicure to the next level. Get ready to transform your nails with this easy-to-follow guide!This detailed walkthrough covers everything from assembling your essential Gel-X kit – including cuticle pushers, nippers, sanding bits, bonding agents, and a flash cure lamp – to mastering the application techniques for a flawless finish. We'll explore the importance of proper preparation, the crucial role of bonding agents in ensuring longevity, and the creative possibilities offered by nail art. Discover the secrets to achieving professional-looking Gel-X nails without the salon price tag. Let's get started on your journey to perfect at-home manicures!
Read more: Top 10 Baby Nail Clippers: Our Expert Picks
Essential Tools for Gel-X Application
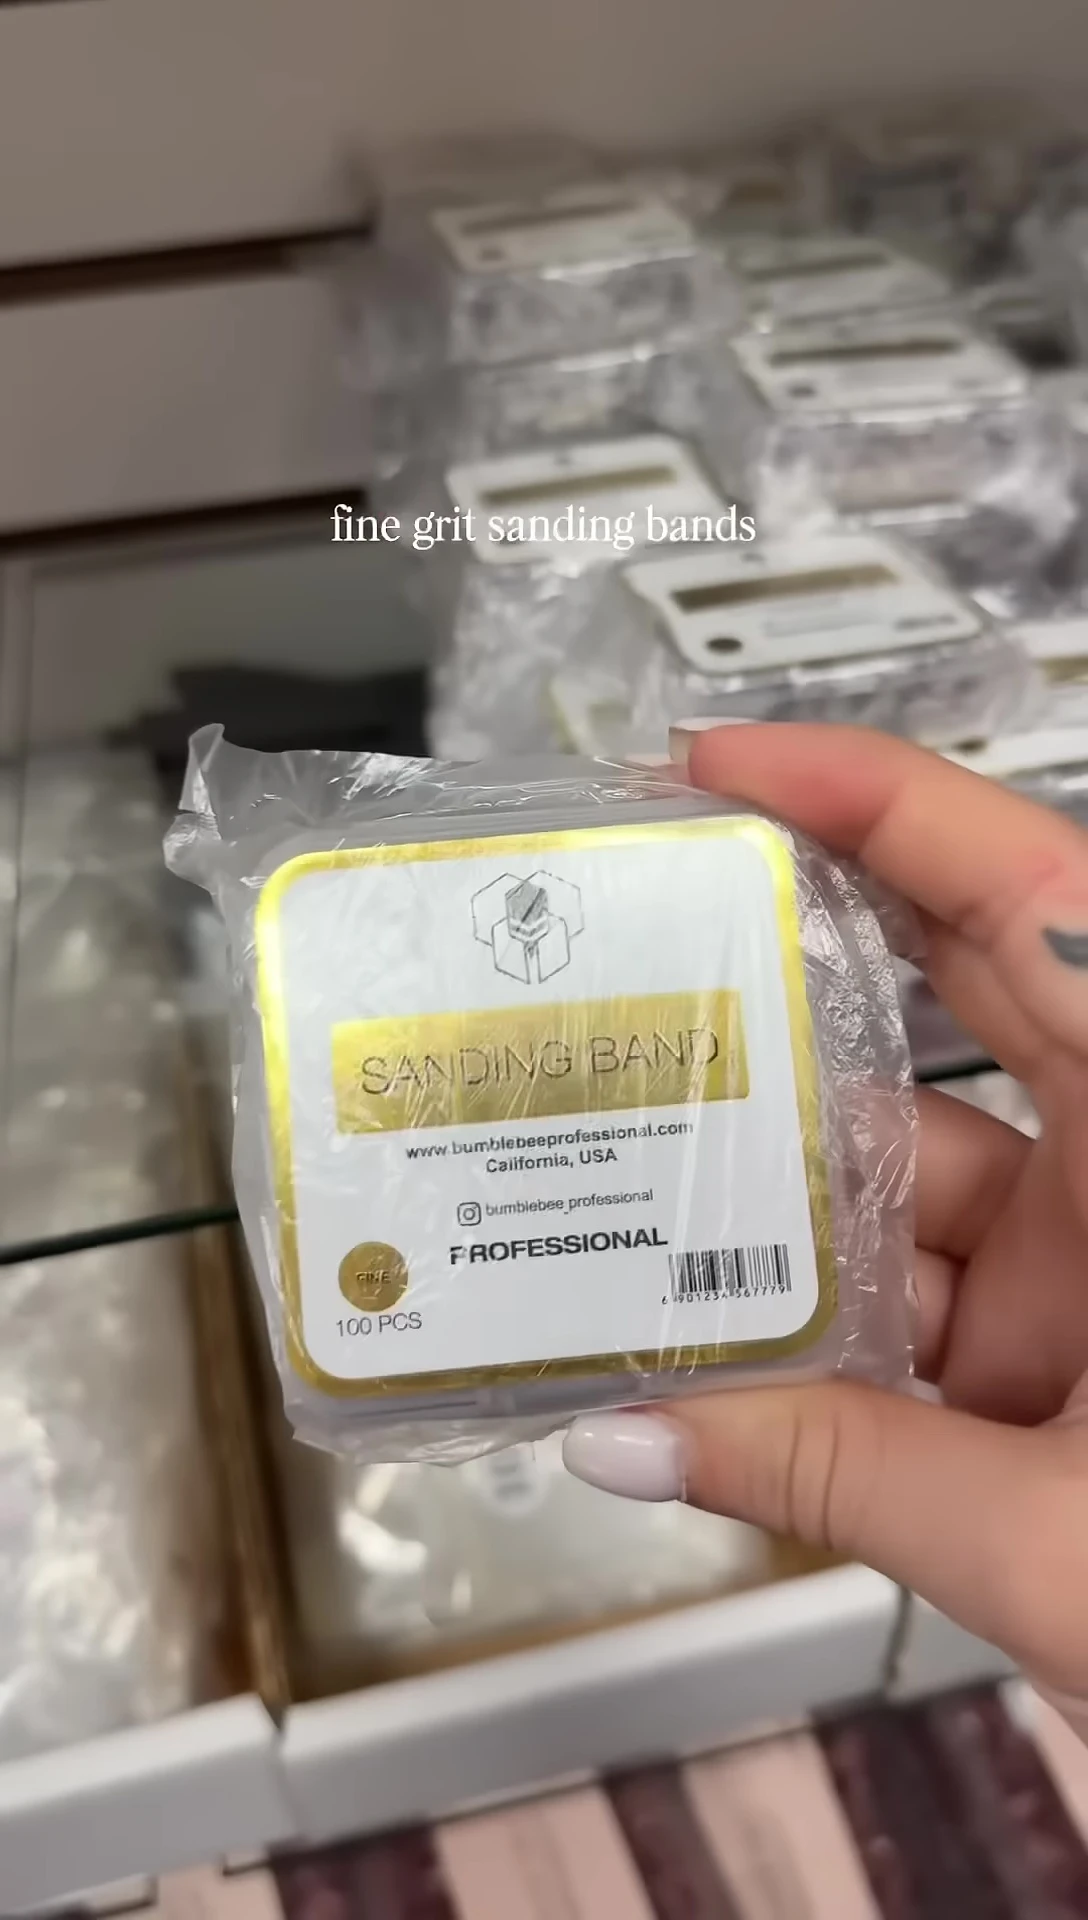
Starting your Gel-X journey requires the right tools. A cuticle pusher helps gently move back cuticles, preparing the nail bed. High-quality cuticle nippers from brands like Stylex are crucial for precise cuticle trimming. Sanding bands and bits (a ball cuticle bit and a 5-in-1 bit) are essential for nail shaping and smoothing. These tools make the entire process easier and more precise.
Proper preparation is key. Don't underestimate the importance of a good cuticle pusher and nippers for achieving a clean and smooth nail surface. The sanding bands and bits help refine the shape and ensure a flawless application.
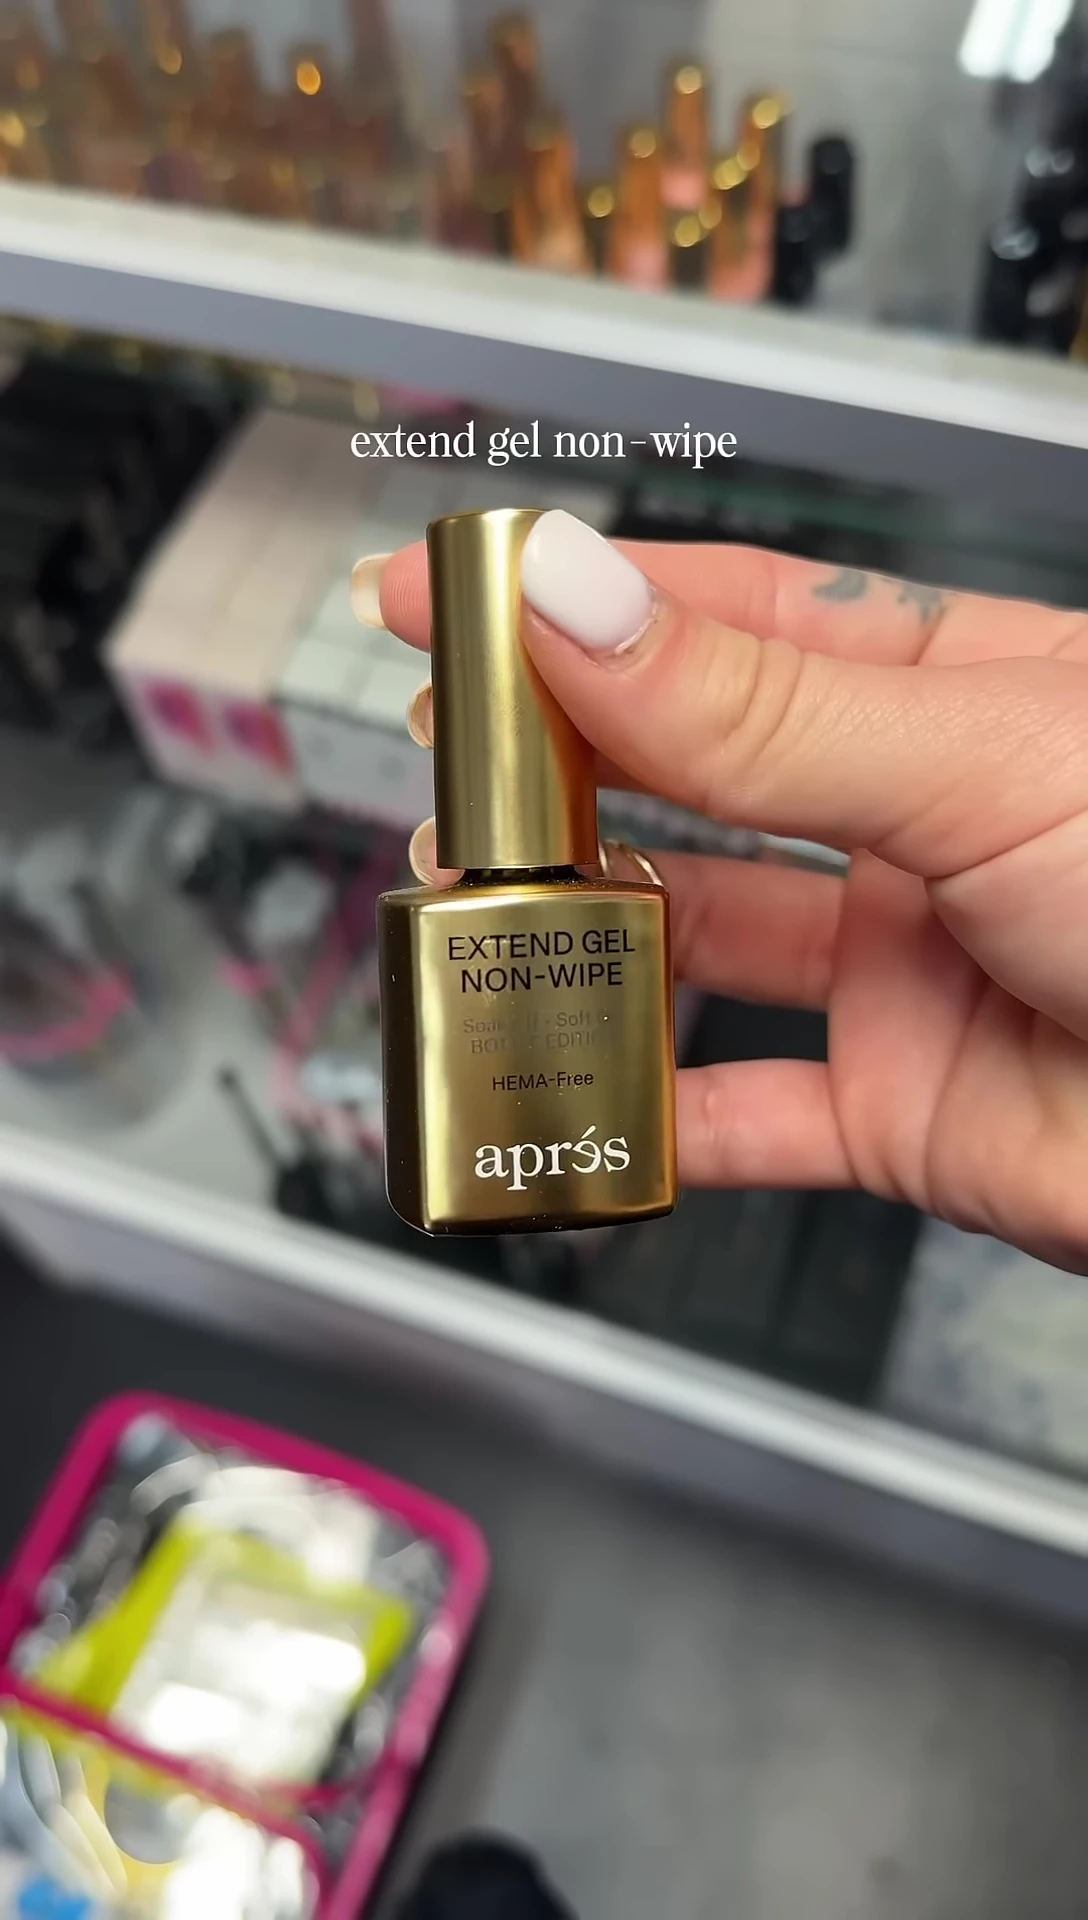
Bonding and Base Coats: The Secret to Lasting Power
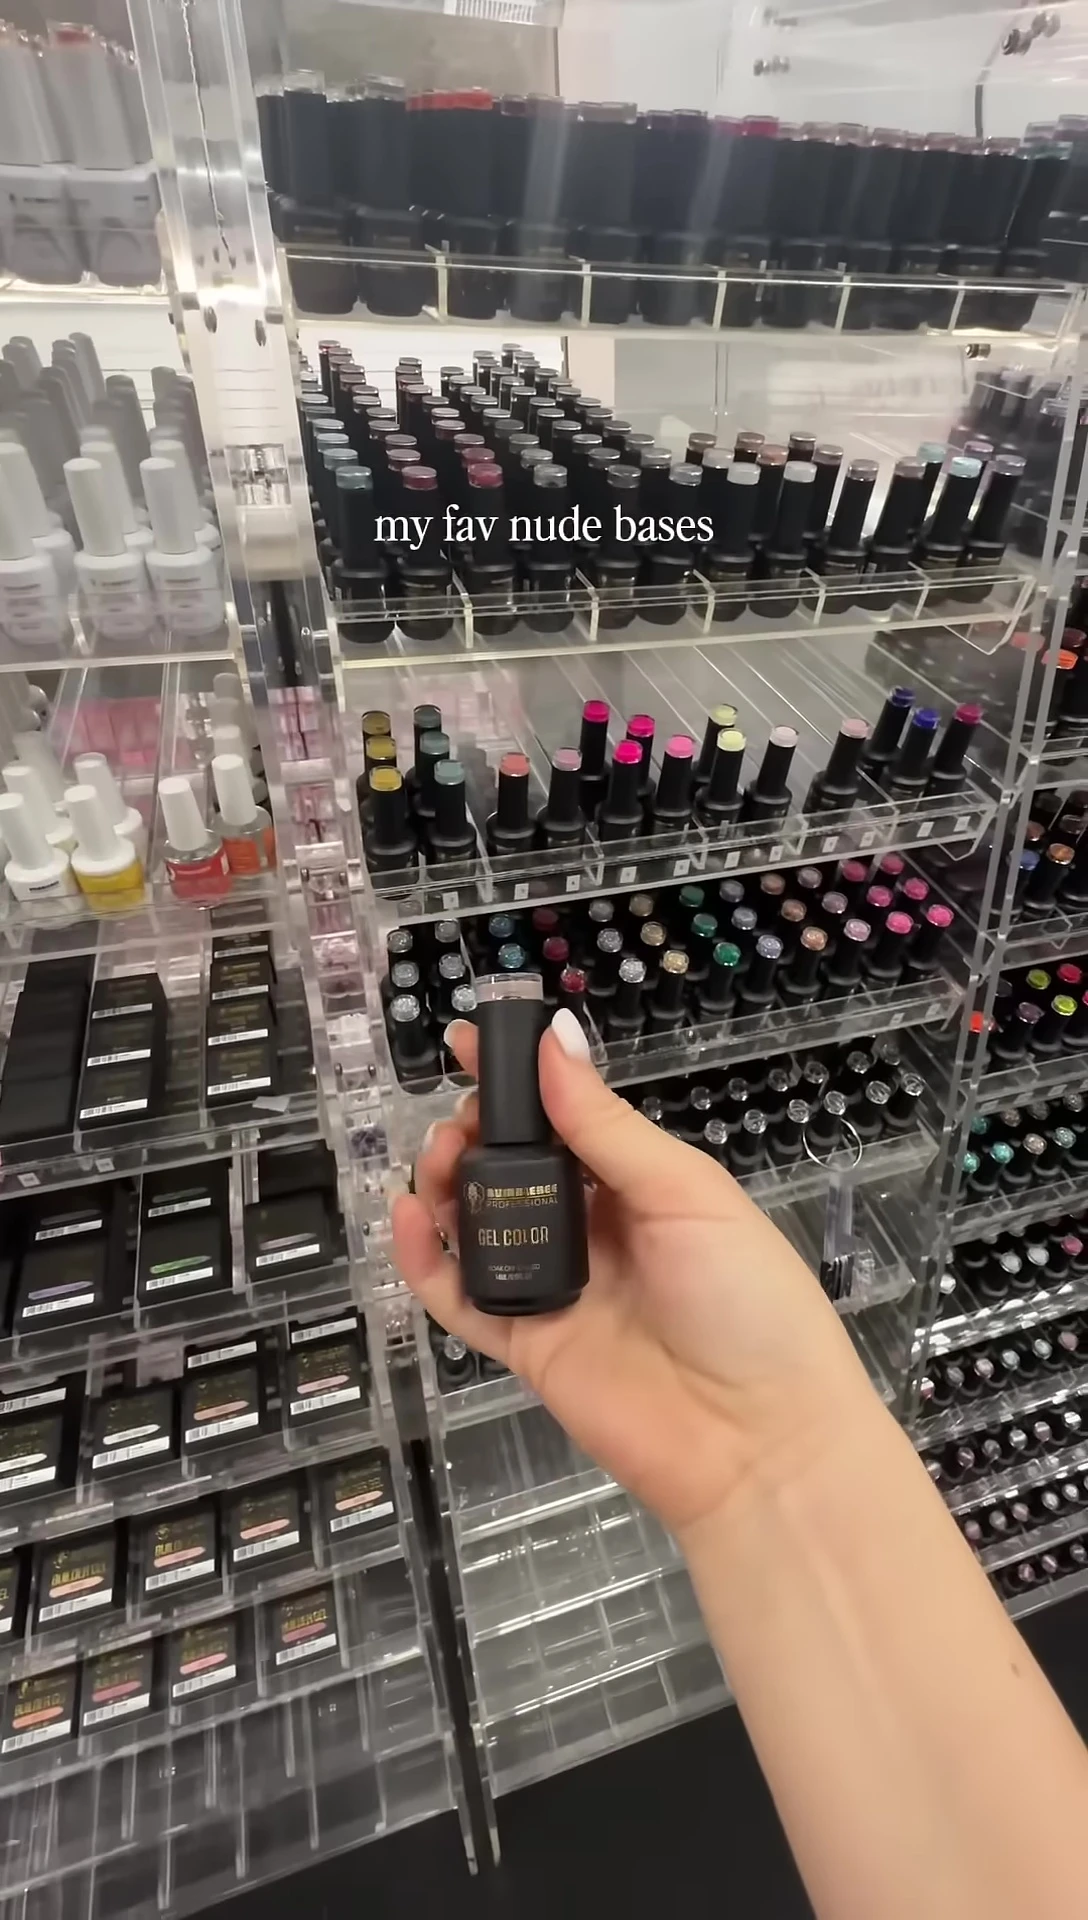
The success of your Gel-X manicure hinges on proper bonding. A good bonder and primer are fundamental. I recommend Opra PH bonder and primer, combined with Young Nose protein bond and Extendel non-wipe top coat. This combination ensures strong adhesion and long-lasting results. These products work together to create a robust base for your Gel-X application.
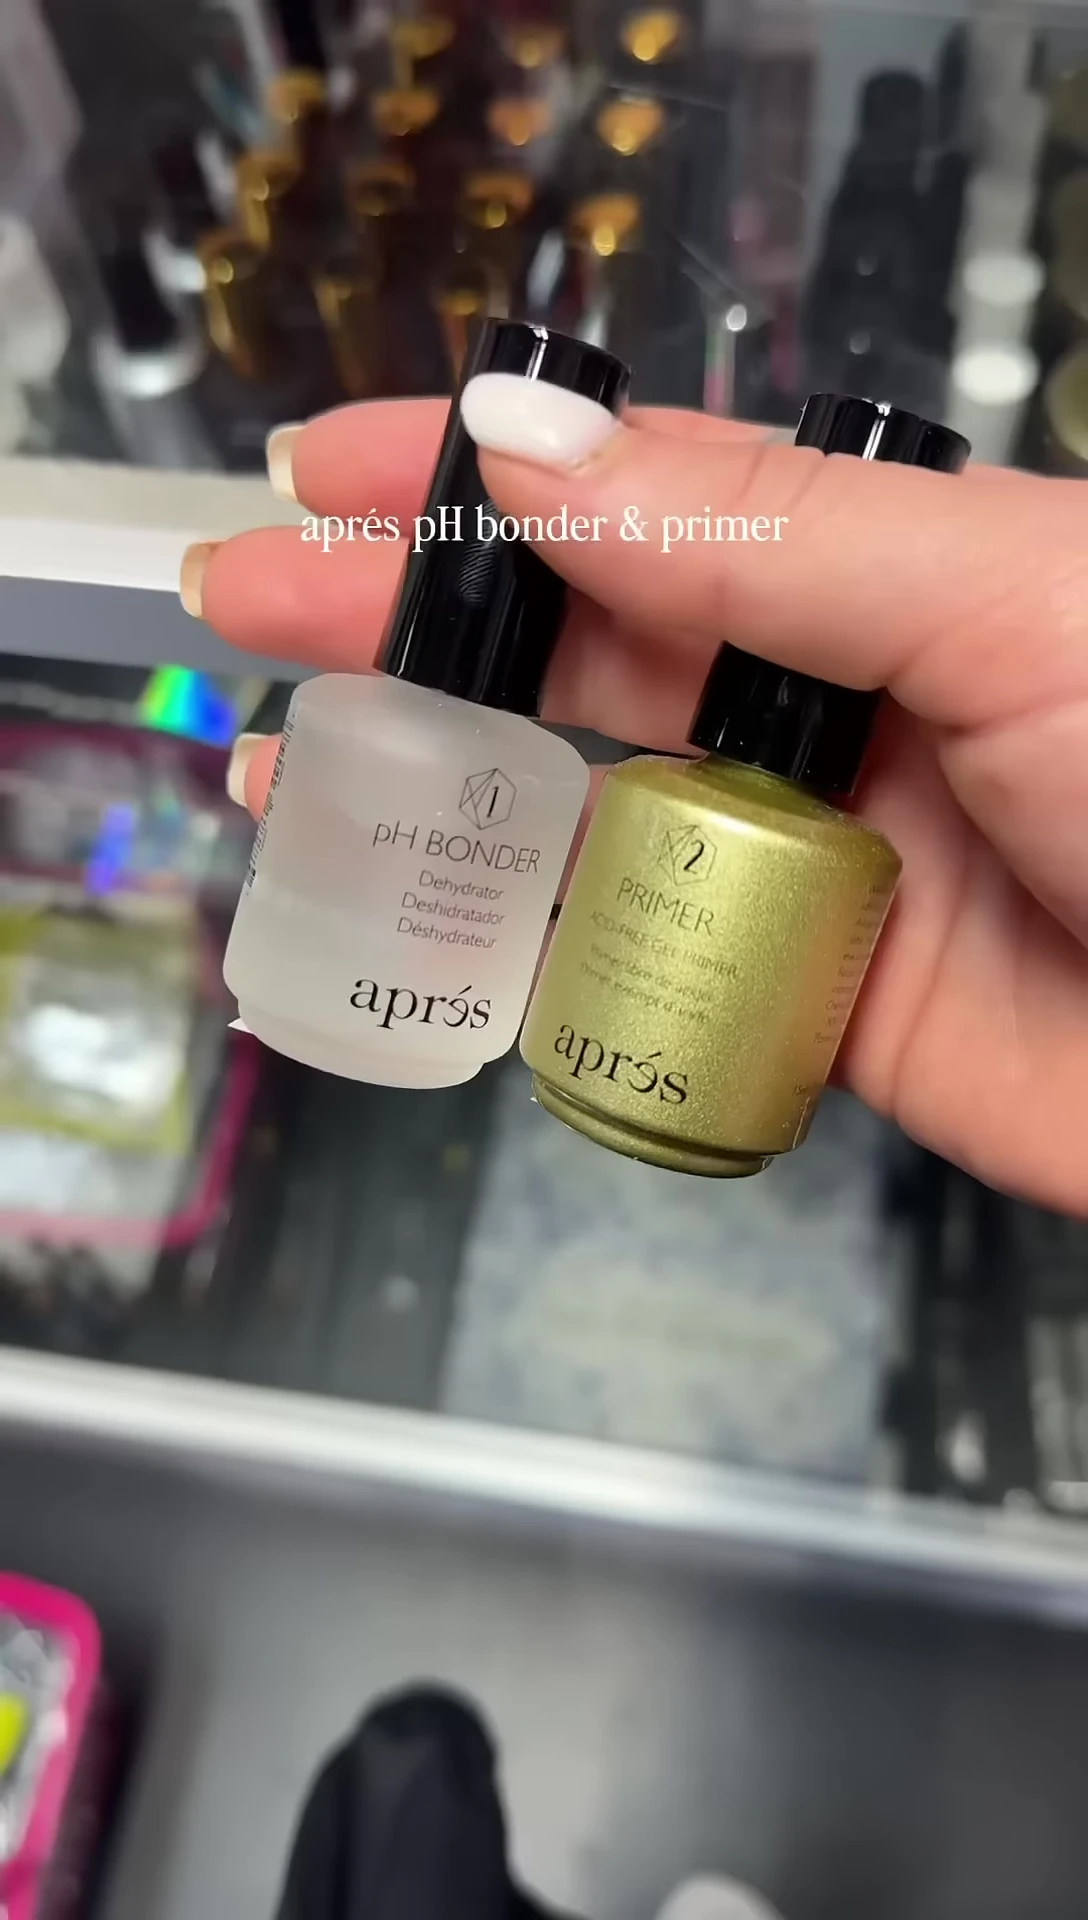
Choosing the right bonding agents is essential for achieving a long-lasting and chip-free manicure. The combination of a bonder, primer, and protein bond creates a strong foundation. Don't skip this crucial step!
Gel-X Application and Essential Supplies
Once you've prepped your nails, it's time for the Gel-X application itself. 180 files and regular buffers help shape and refine the nails, and a dust brush keeps your workspace clean. Gel-X tips are a must; ensure you have a variety of shapes and sizes (natural and sculpted). Don't forget a manicure brush and a dappen dish for easy application.
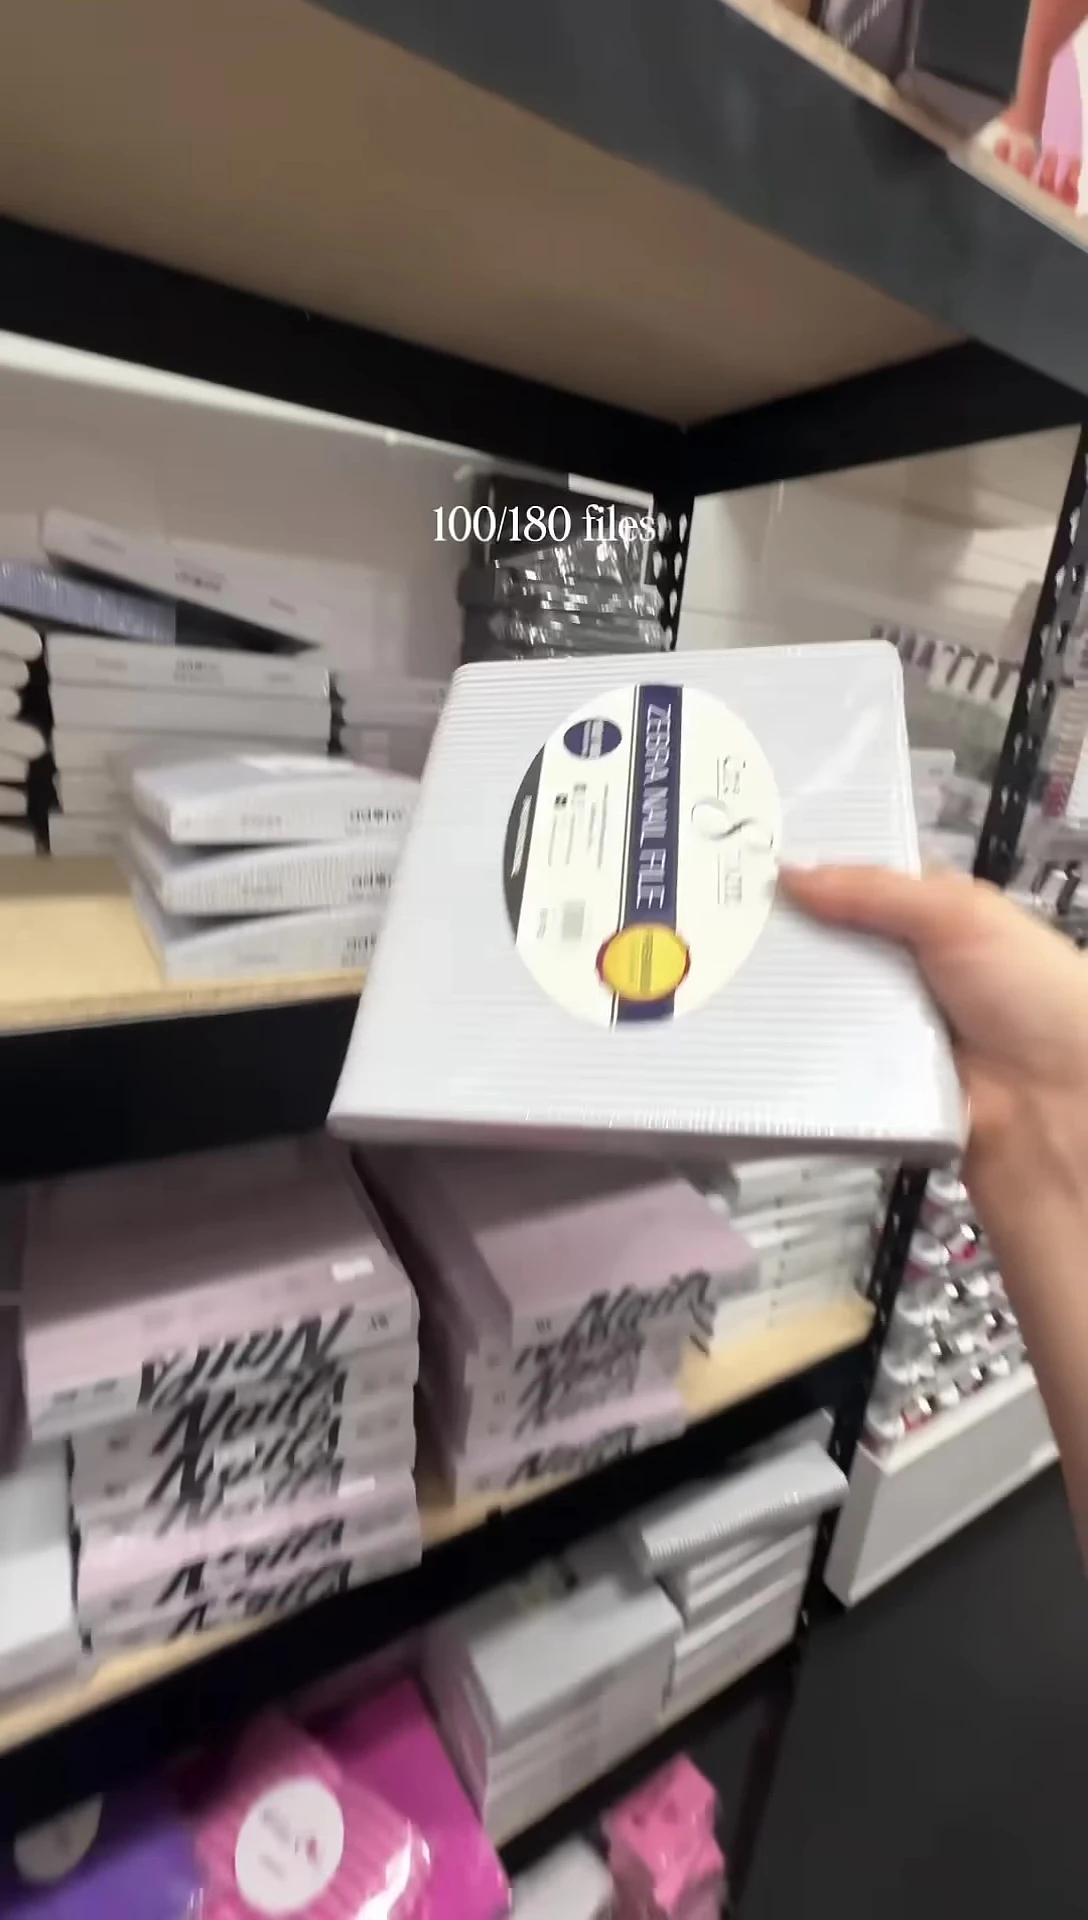
Selecting the correct Gel-X tips is critical. Consider both natural and sculpted options to find the perfect fit. Having the right tools for application, such as a brush and dappen dish, enhances accuracy and ease.

Finishing Touches and Artistic Expression
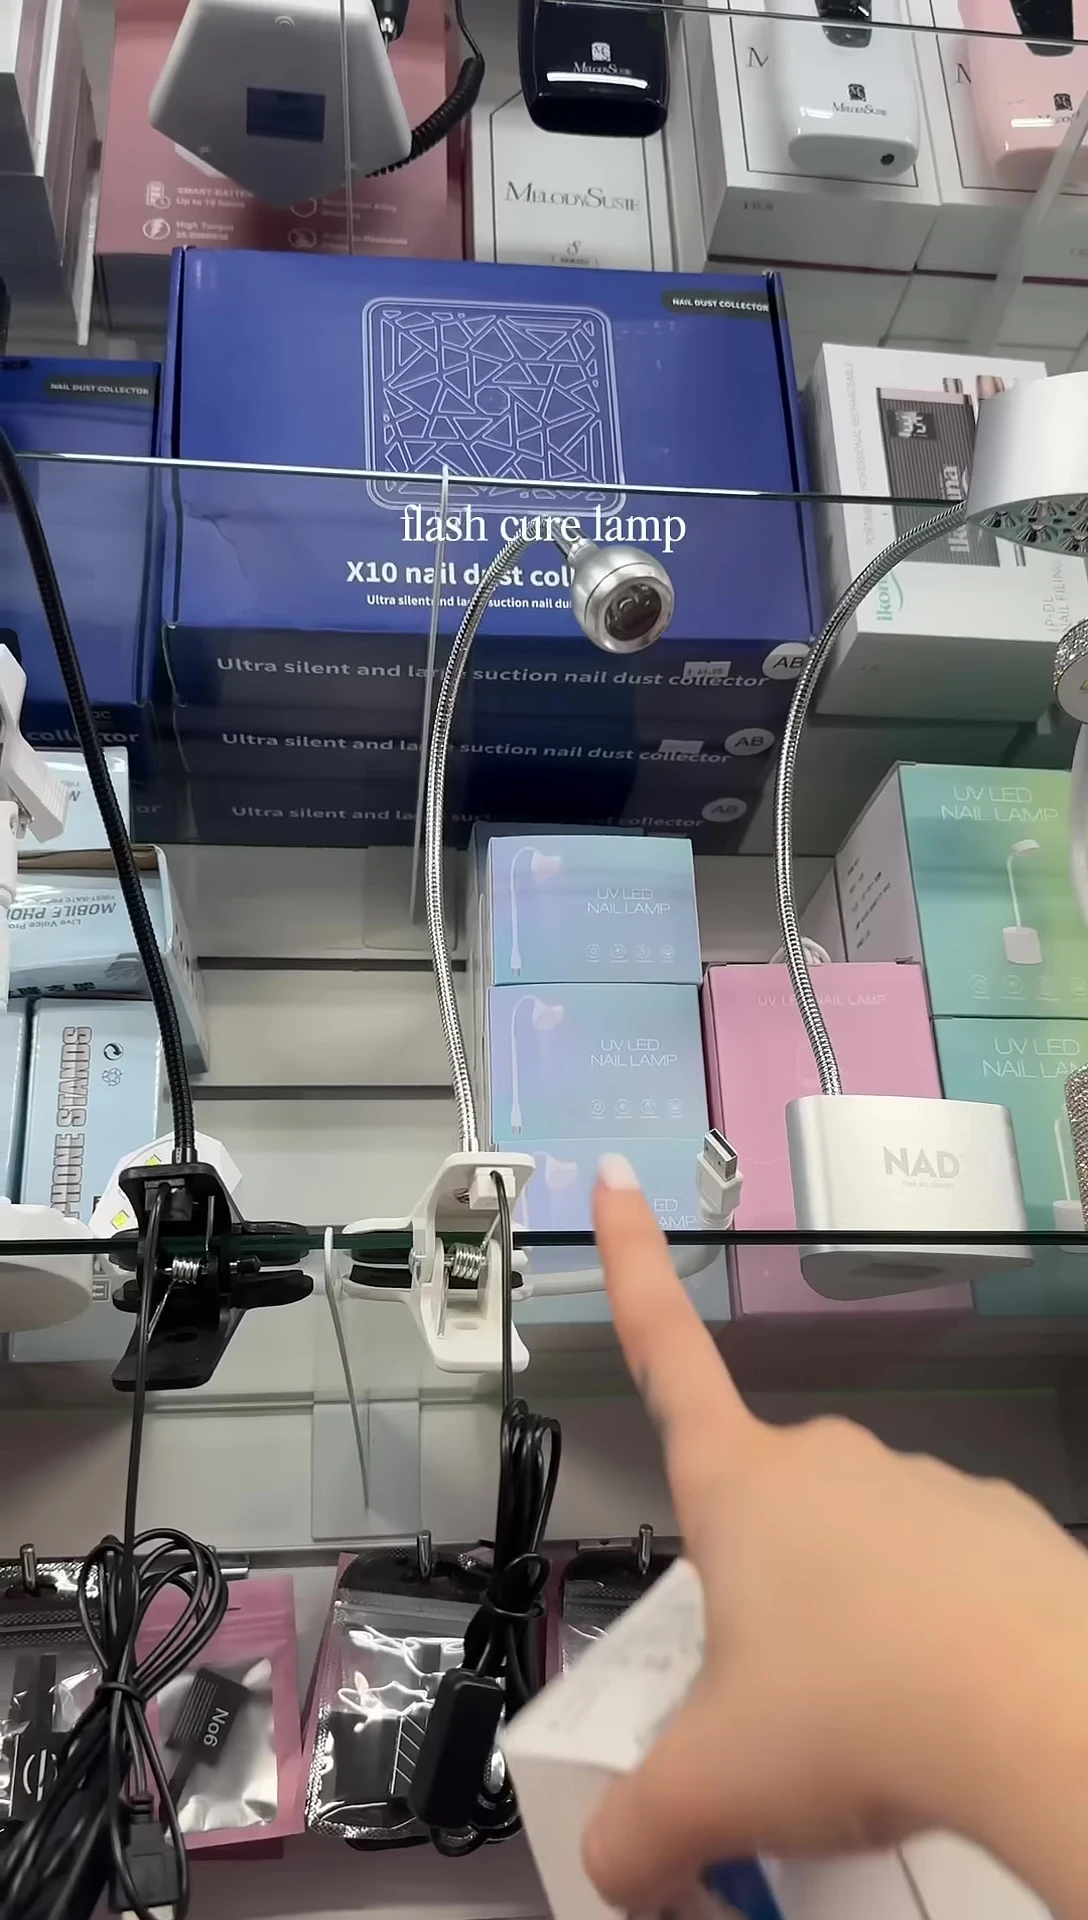
To complete your Gel-X set, you'll need acetone for cleaning, nail art brushes and silicone tools for practicing designs, and your favorite colors. I recommend a classic white and a nude shade. A flash cure lamp is crucial for curing the Gel-X tips, and don't forget rhinestone gel for added sparkle.
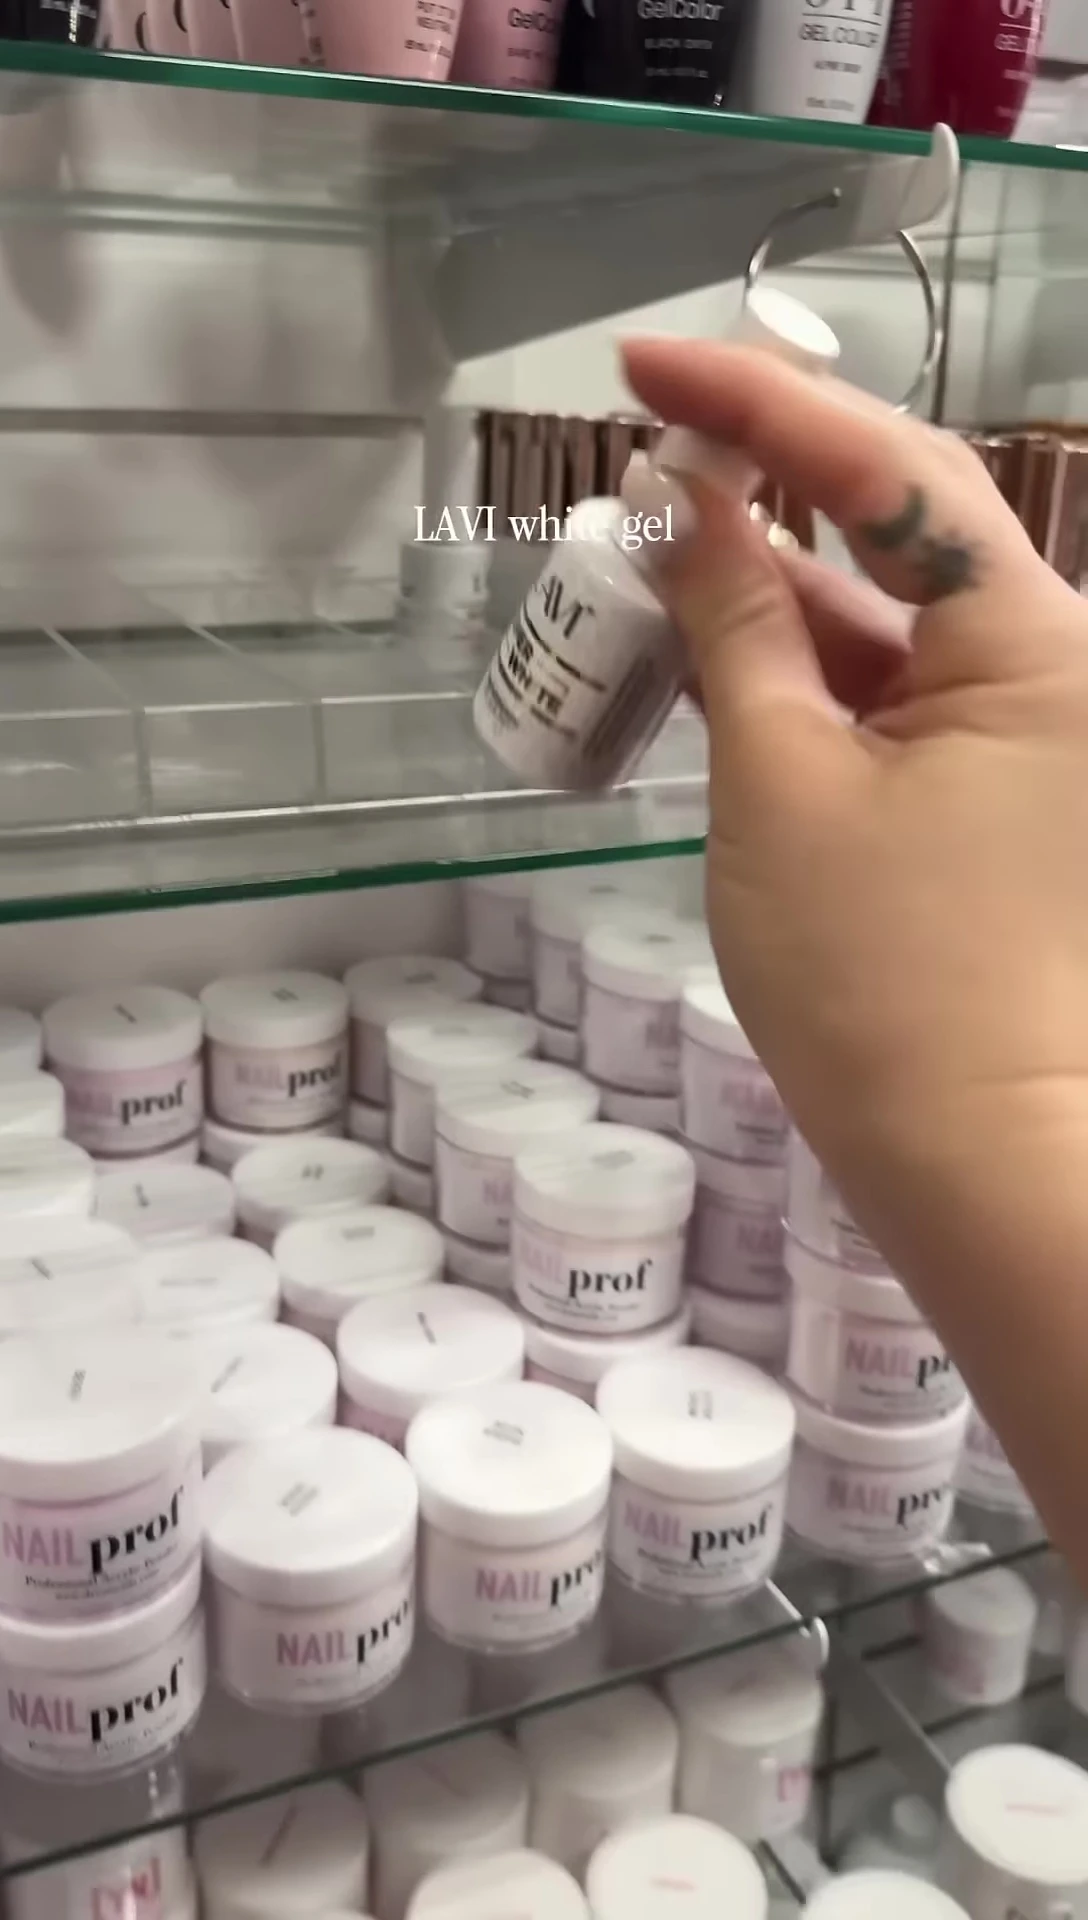
Elevate your manicure with nail art. Experiment with different brushes and tools to create unique designs. Using a flash cure lamp ensures proper curing for long-lasting results, and rhinestones add a touch of glamour.
Additional Supplies and Cleanup
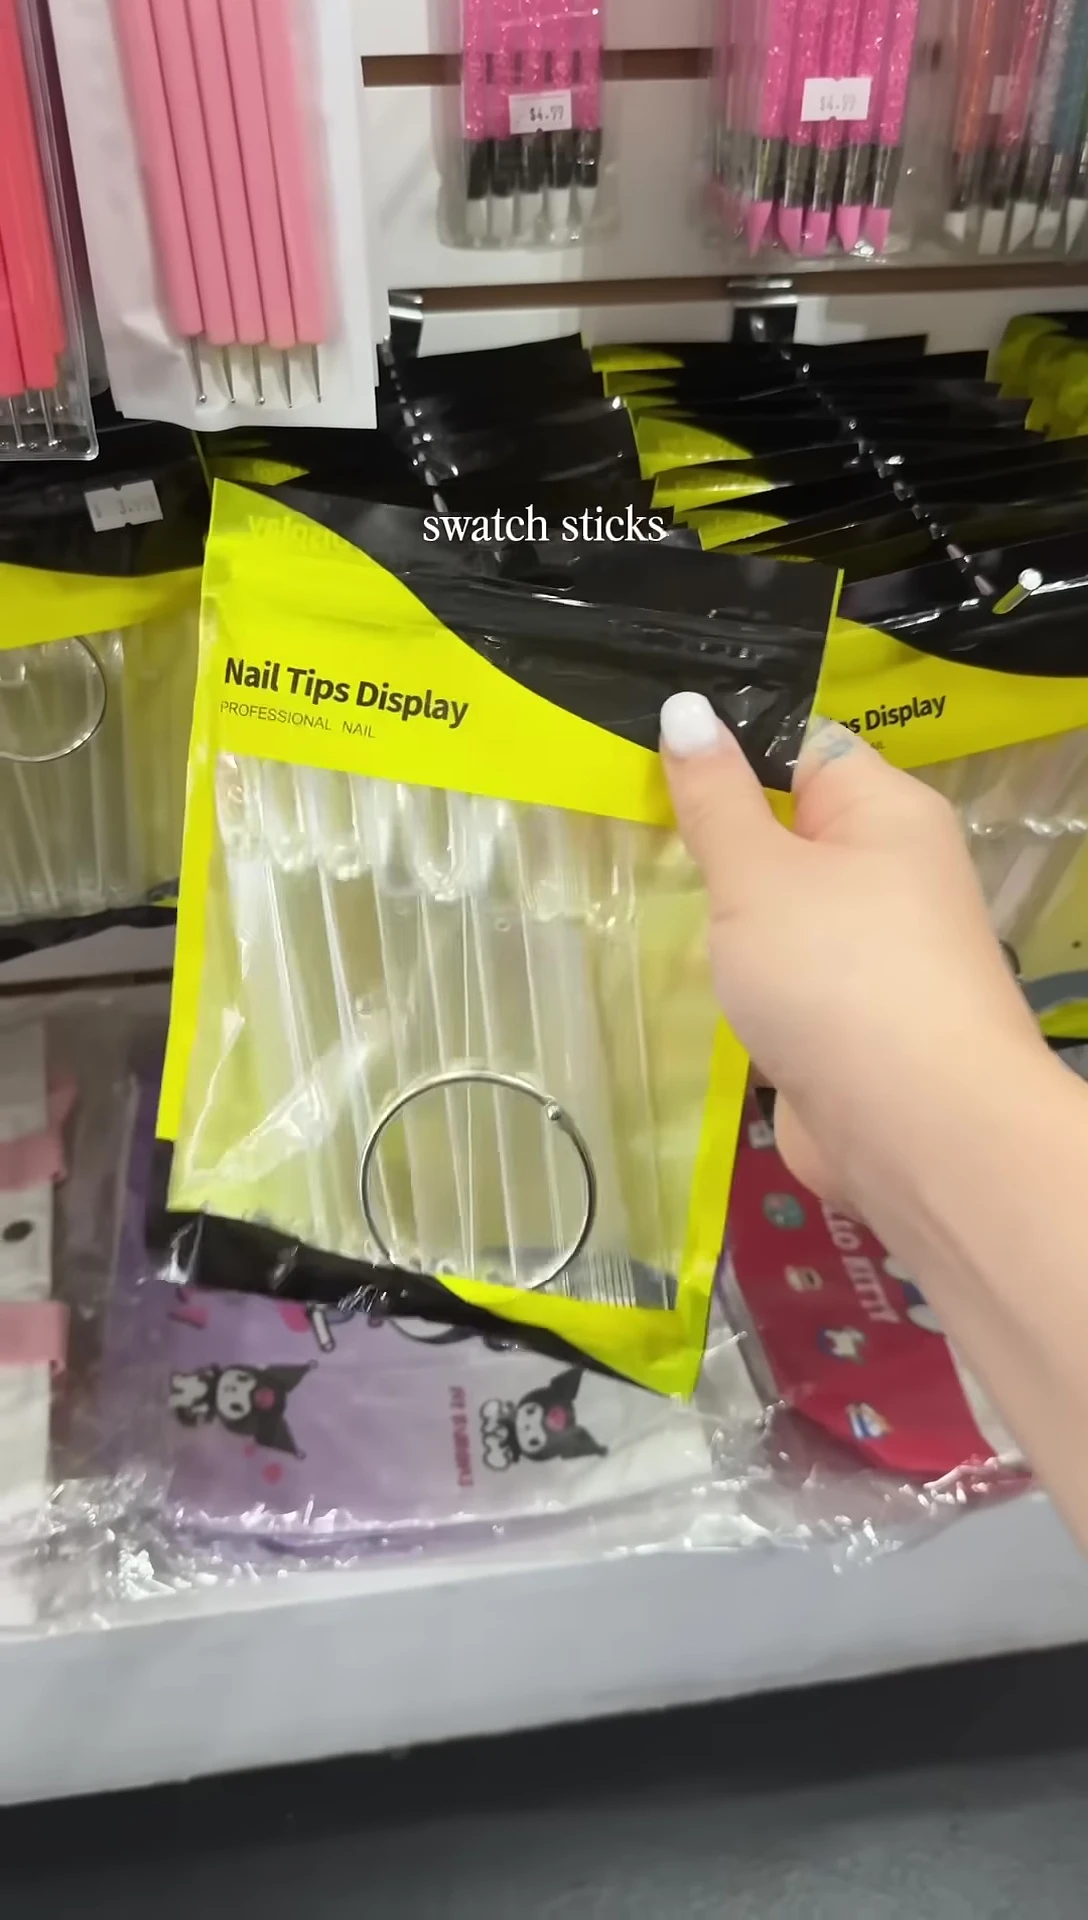
Several additional items will make your Gel-X experience more efficient and enjoyable. These include a pink alcohol spray for cleaning, a clear box for storing tools, nail foil wraps for removal, a cleaner brush, nail swatch sticks, and a top coat. Cuticle oil is the final touch for a polished finish.
A complete kit makes the process so much easier! This might seem like a lot but having the right tools, and well organized kit will enhance the whole experience. The added touches like cuticle oil make a big difference!
Conclusion: Building Your Gel-X Kit
Assembling a complete Gel-X kit might seem daunting, but having all the necessary tools and products ensures a smooth and efficient process. Investing in high-quality products is worth it for long-lasting, professional-looking results. Remember, this kit provides everything you need for a successful Gel-X application at home.