Achieve a salon-worthy manicure from the comfort of your own home with Glamnetic press-on nails. This step-by-step guide will walk you through the entire process, from prepping your natural nails to achieving a flawless, long-lasting finish. Forget costly salon appointments and time-consuming procedures; Glamnetic offers a convenient and affordable alternative for beautiful, professional-looking nails in minutes. With our easy-to-follow instructions and high-quality products, you'll be amazed at how simple it is to create a stunning manicure that lasts up to two weeks.This guide will cover essential preparation steps, ensuring your natural nails are perfectly ready for application. We'll then detail the precise application process, emphasizing correct sizing, glue application, and adherence techniques. Finally, we'll share crucial aftercare tips to maximize the longevity and beauty of your Glamnetic manicure. Get ready to experience the ease and elegance of Glamnetic press-on nails!
Pros And Cons
- Quick and easy application
- Lasts up to 2 weeks
Read more: 10 Fun & Festive False Nails for Kids
Preparing Your Nails
Before applying your Glamnetic press-on nails, it's crucial to prepare your natural nails. Start by removing any existing nail polish and washing your hands thoroughly. This ensures a clean, oil-free surface for optimal adhesion.
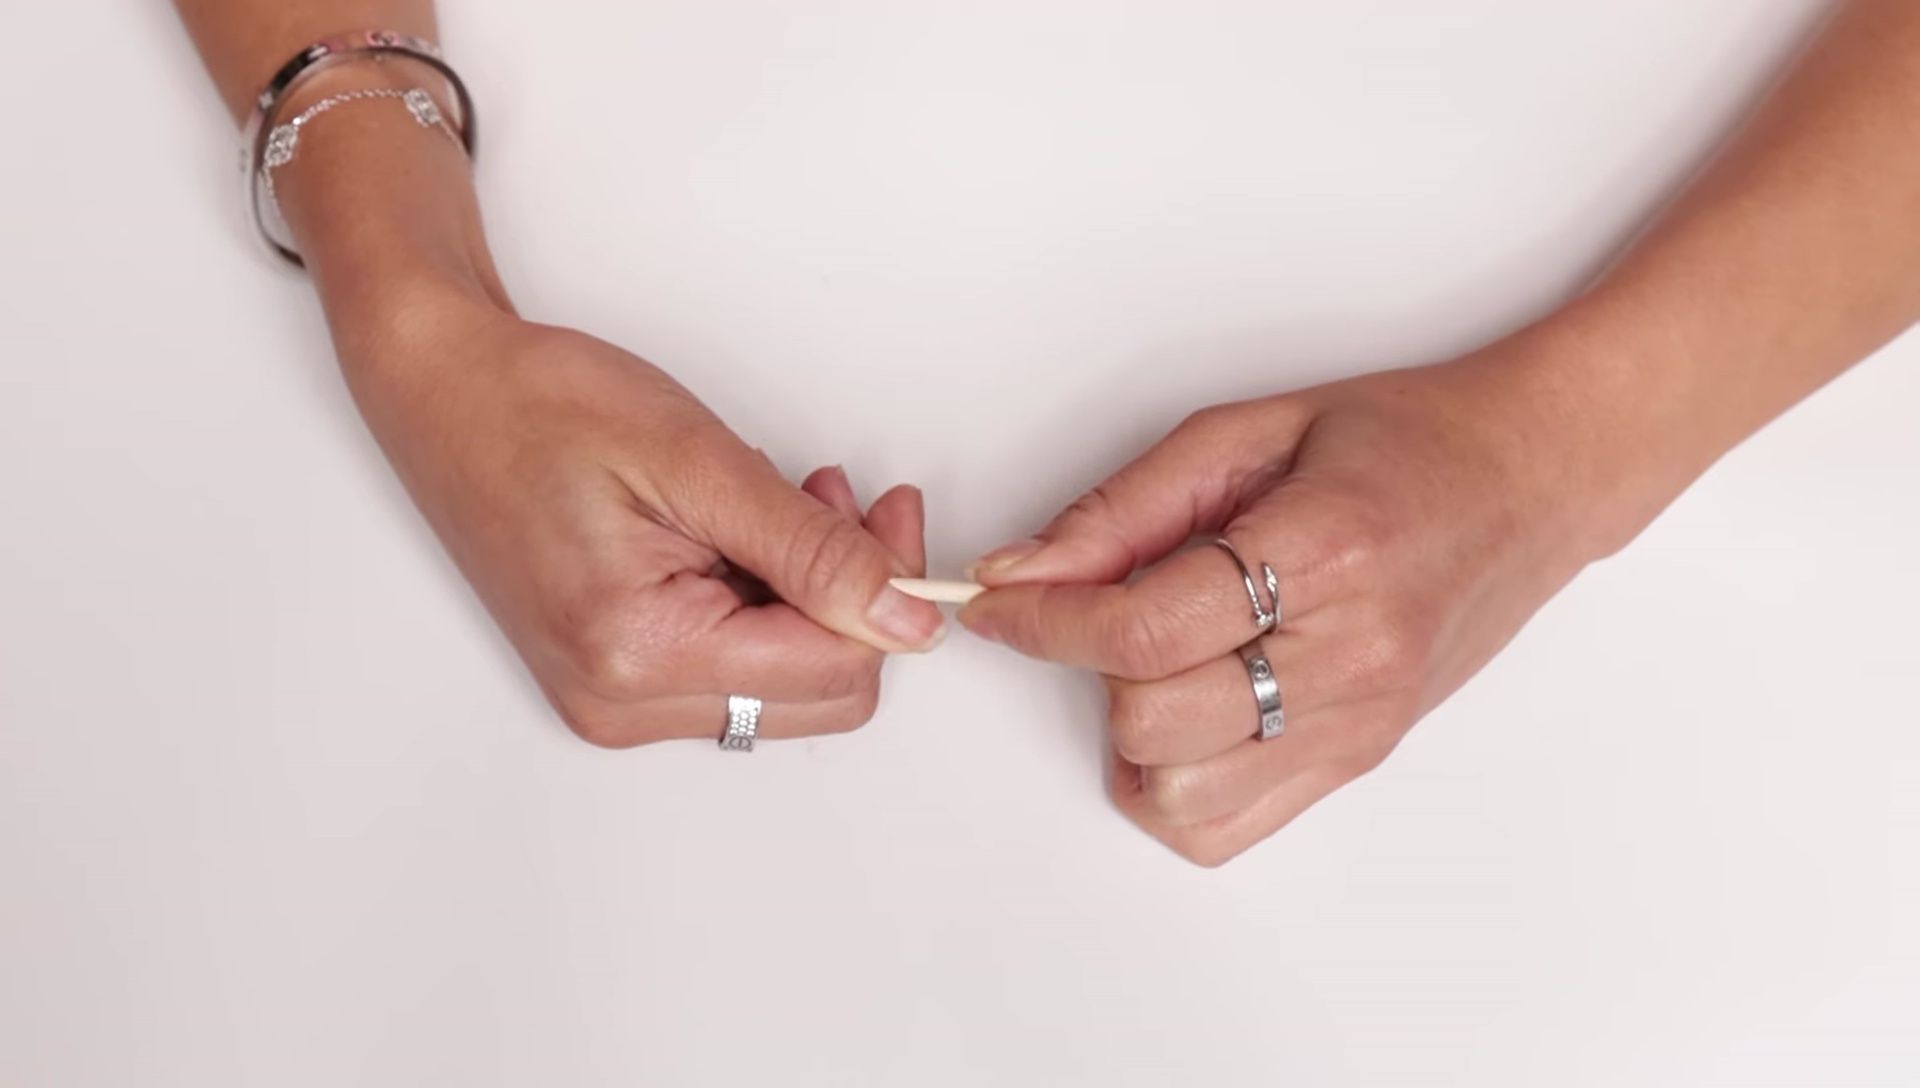
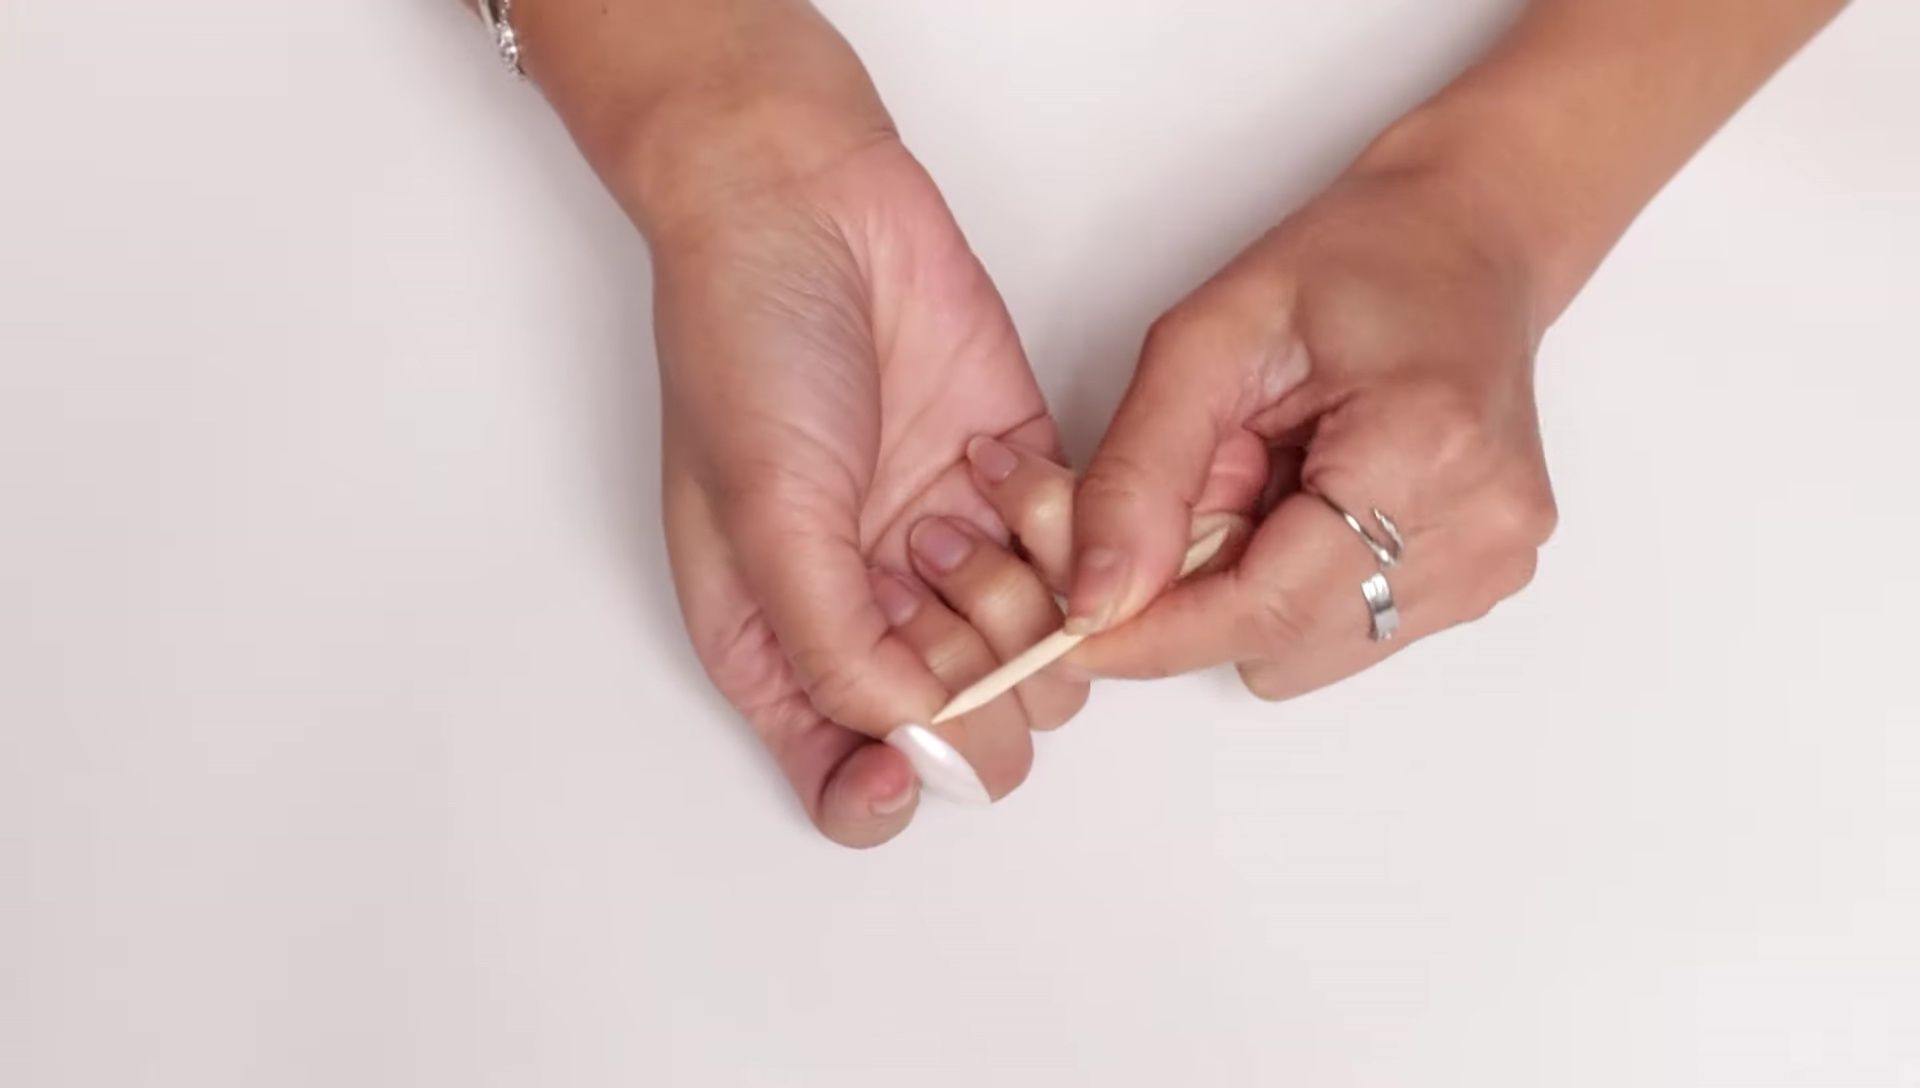
Next, use a cuticle stick to gently push back your cuticles. This creates a smooth surface for the press-on nails to adhere to, preventing lifting and improving the overall look.

Finally, file down your natural nails to your desired length and gently buff the surface to create a slightly rough texture. This helps the nail glue to grip better, extending the lifespan of your manicure.
Selecting and Sizing Your Nails
Choosing the right size press-on nail is key to a long-lasting, natural-looking manicure. Glamnetic nails are numbered for easy matching to your natural nails. Lay out your nails in order from pinky to thumb to streamline the application process.
The edges of the press-on nail should align perfectly with the edges of your natural nail. Never apply glue directly to your cuticle or skin.
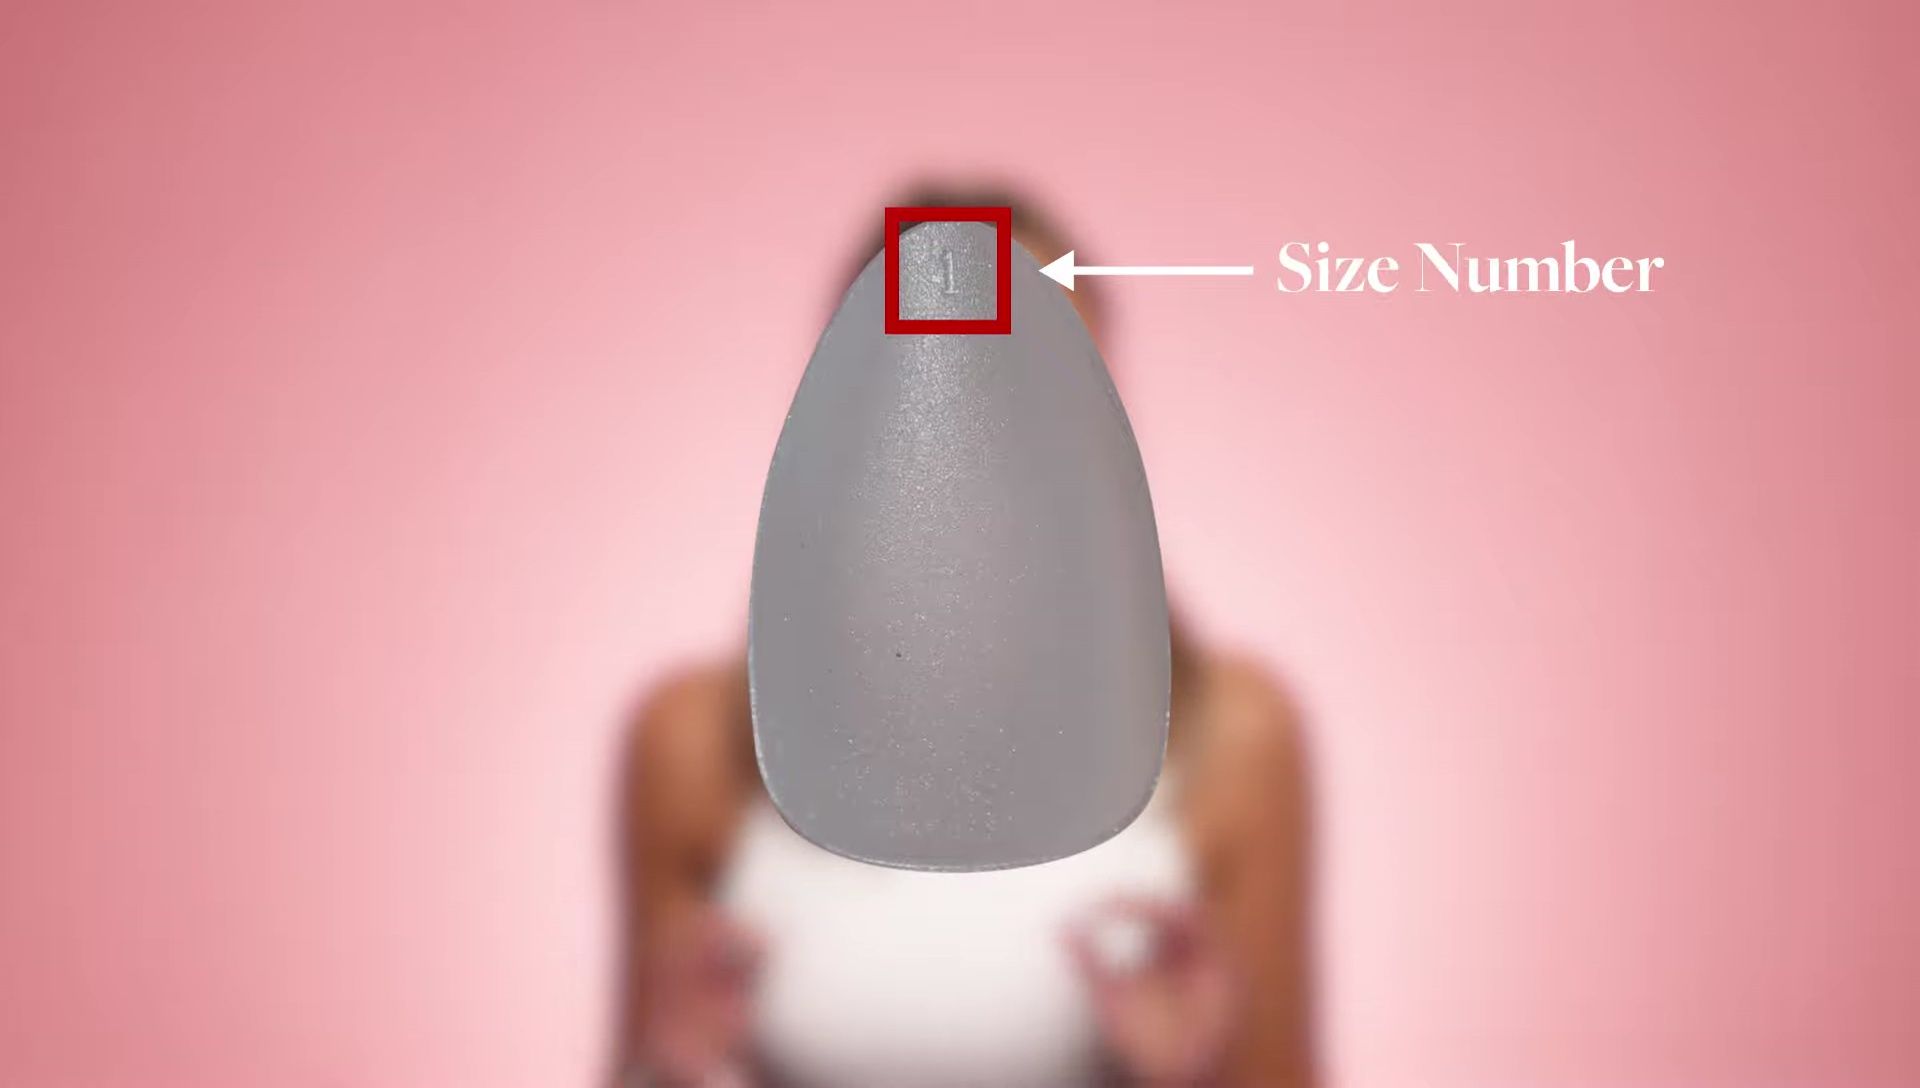
Ensure the nail sits right above your cuticle for a seamless and natural finish. Glamnetic's numbered system makes finding the perfect fit easy and prevents mismatched nails.
Applying the Press-On Nails
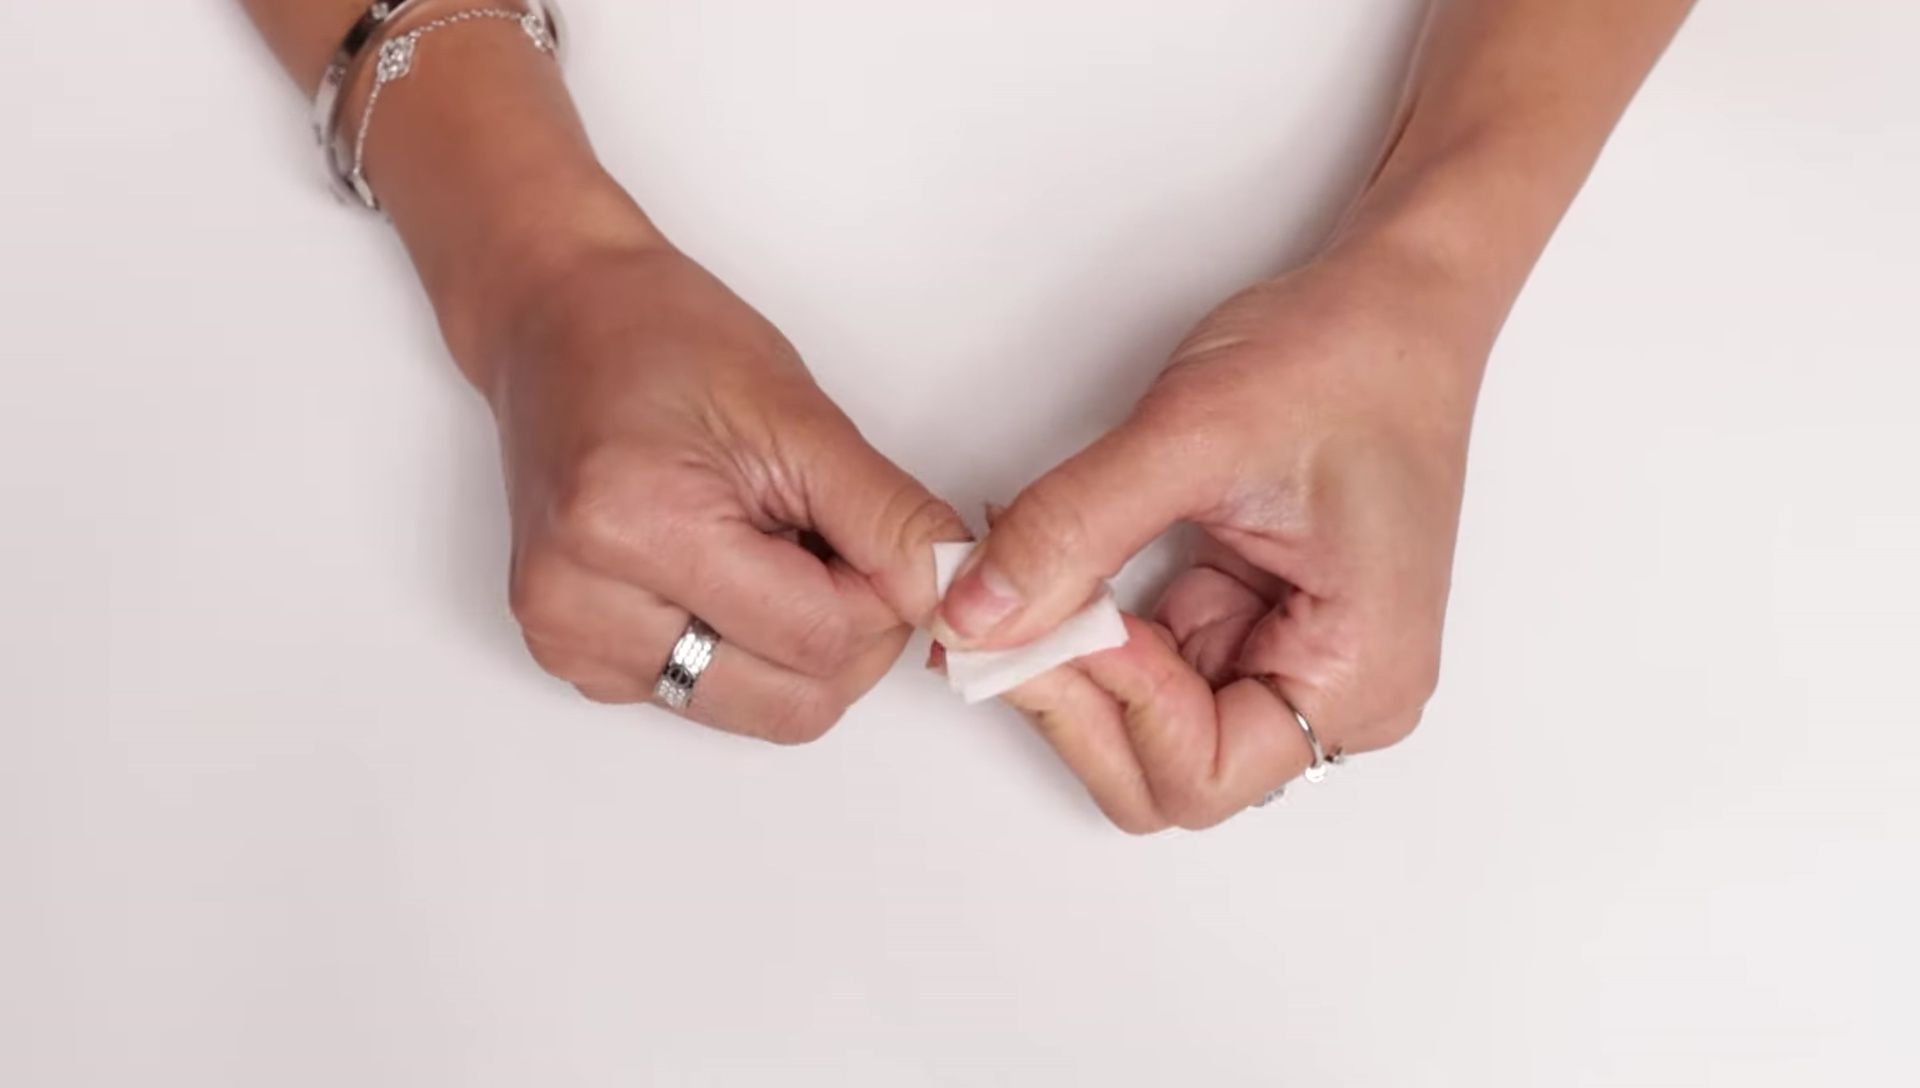
After preparing your nails, sanitize each nail with an alcohol pad to remove any excess oils and enhance adhesion. This step is crucial for longevity.
Apply a thin, even layer of glue to both your natural nail and the press-on nail. Let it dry for a few seconds before pressing the nail onto your natural nail at a 45° angle. This prevents air bubbles and ensures a secure bond.
Hold each nail for 20-30 seconds to allow the glue to fully set. If the nail doesn't adhere well after 10 seconds, apply more glue. Avoid applying glue directly to the skin; wipe it off immediately if it happens.

Post-Application and Aftercare
After applying all your nails, avoid getting them wet for at least one hour to allow the glue to fully cure. This step significantly increases the longevity of your manicure.
For added hydration and a salon-quality finish, apply Glamnetic's 2-in-1 cuticle oil after the one-hour waiting period. This keeps your cuticles healthy and adds a touch of extra shine.
With proper application and aftercare, your Glamnetic press-on nails can last for up to two weeks, giving you a beautiful, convenient manicure without the salon costs.