Achieve salon-worthy nails in minutes with this simple step-by-step guide to applying nail stickers. Forget complicated nail art techniques and expensive salon visits – nail stickers offer a quick, easy, and affordable solution to create stunning manicures at home. Whether you're a busy professional, a nail art novice, or simply looking for a convenient way to change up your look, this guide will teach you how to flawlessly apply nail stickers for a professional-looking finish every time. We'll cover everything from choosing the right tools and preparing your nails, to perfecting placement and sealing your design for long-lasting wear.This comprehensive tutorial will walk you through each stage of the process, providing helpful tips and tricks to ensure a seamless and satisfying experience. From selecting the perfect nail sticker designs to mastering the art of trimming and sealing, you'll learn how to achieve a polished, trendy manicure without any prior experience. Get ready to transform your nails with ease and unleash your creativity with the versatility and convenience of nail stickers.
Read more: 9 Stunning 5D Nail Stickers for a Perfect Manicure
Gathering Your Supplies
Before you begin your nail art journey, ensure you have all the necessary tools. You'll need a selection of nail stickers – various brands and designs offer diverse options. A top coat or base coat (clear nail polish) is crucial for sealing and protecting the stickers. Finally, you'll need small scissors for trimming excess sticker material.

While a nail file can also be used for trimming, I found scissors to be more precise and efficient for achieving a clean, professional finish. Don't forget to prepare your nails by cleaning them before applying any product.
Applying the Nail Stickers
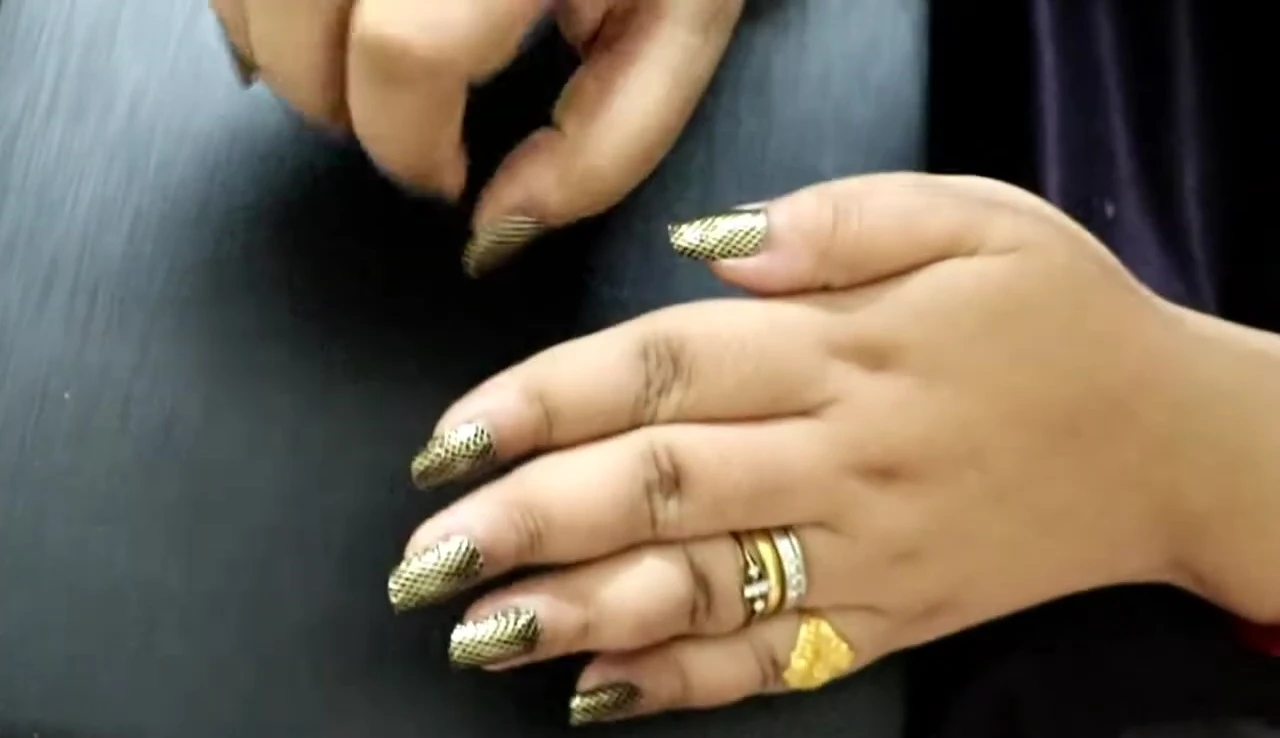
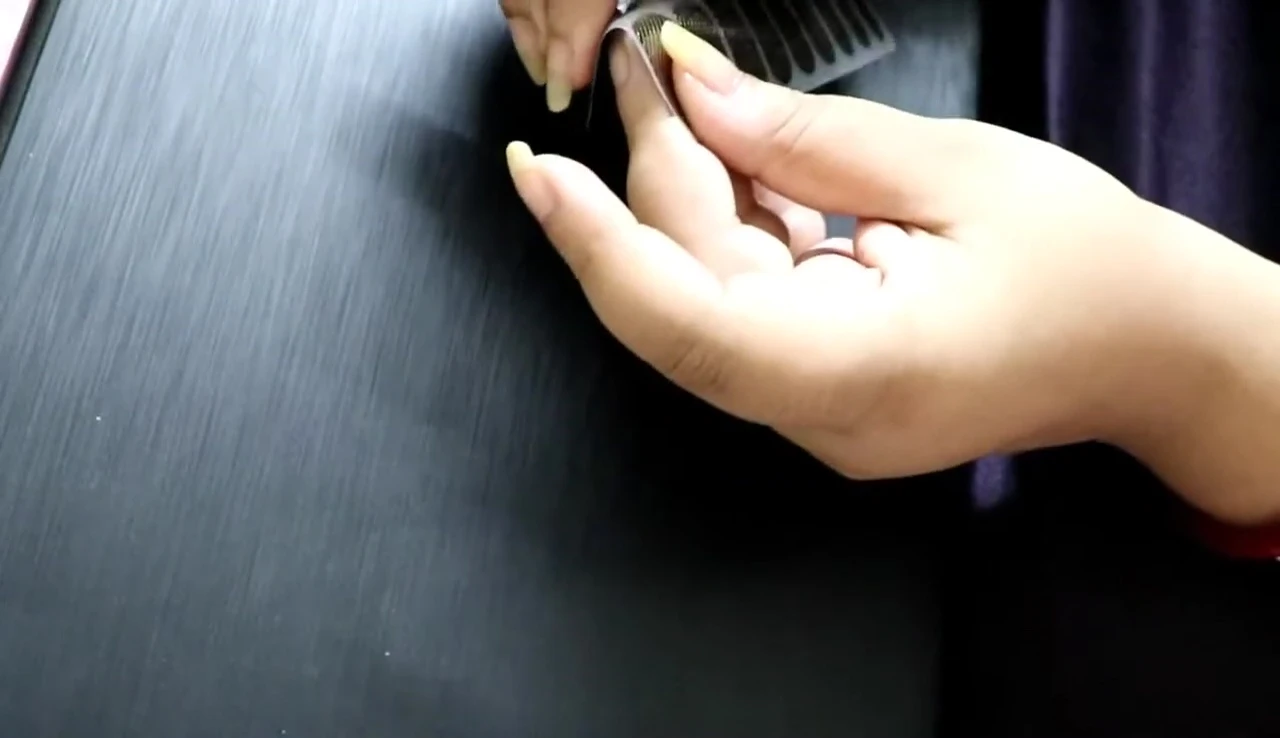
Begin by applying a generous layer of top coat to your nail. This creates a smooth, adhesive surface for the sticker. Carefully peel a nail sticker from its backing, positioning it precisely on your nail. Take your time to ensure it's aligned correctly for a flawless look.
Once positioned, gently press the sticker to secure it firmly to your nail bed. This helps eliminate bubbles and ensures it adheres properly. For a truly polished look, consider using a tool like a cuticle pusher to smooth out the edges after application.
Trimming and Finishing
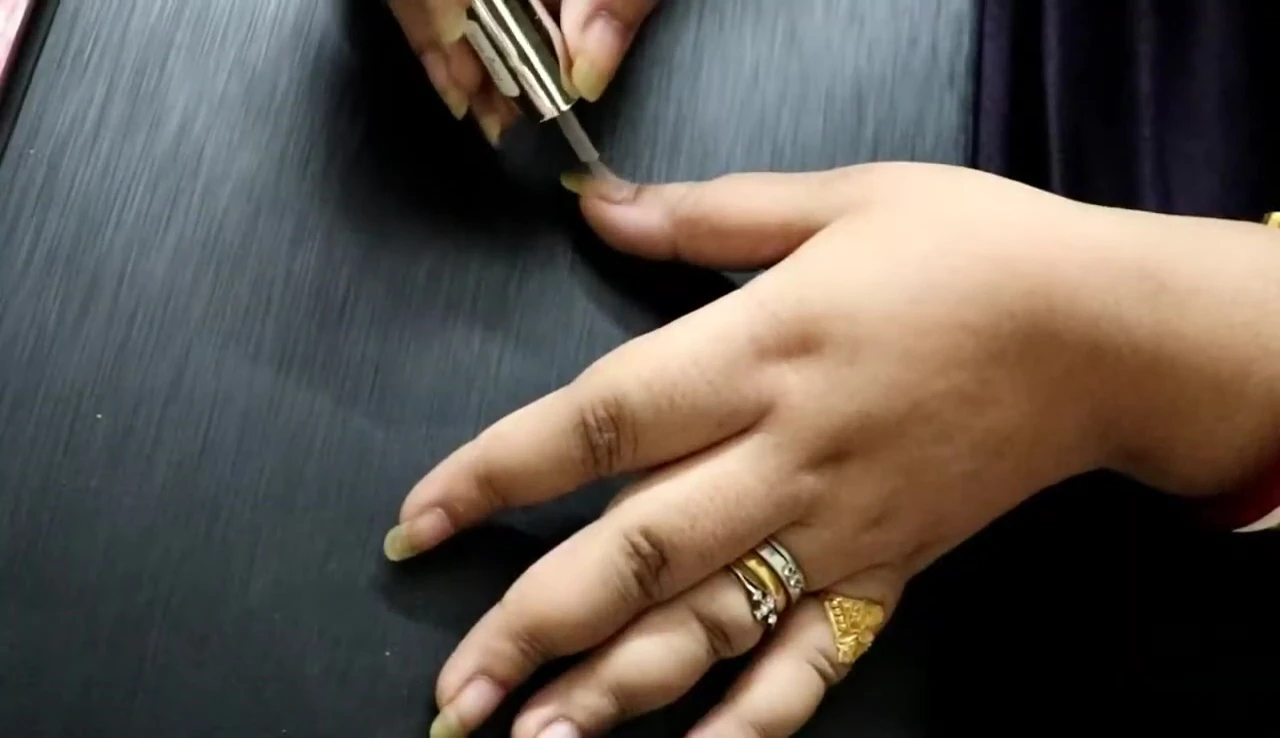
Use sharp scissors to carefully trim away any excess sticker material extending beyond the edge of your nail. Ensure you cut close to the nail but avoid damaging your natural nail. A nail file can be used to refine the edges for a more polished finish.
After trimming, apply another layer of top coat over the entire nail to seal the sticker and enhance its longevity. This step is essential for preventing chipping or lifting and protects your nail art for extended wear.
Final Result and Conclusion
Once you’ve completed all your nails, you will achieve a stylish and trendy manicure with minimal effort. Nail stickers offer a convenient and accessible way to experiment with various nail art designs without requiring advanced nail art skills.
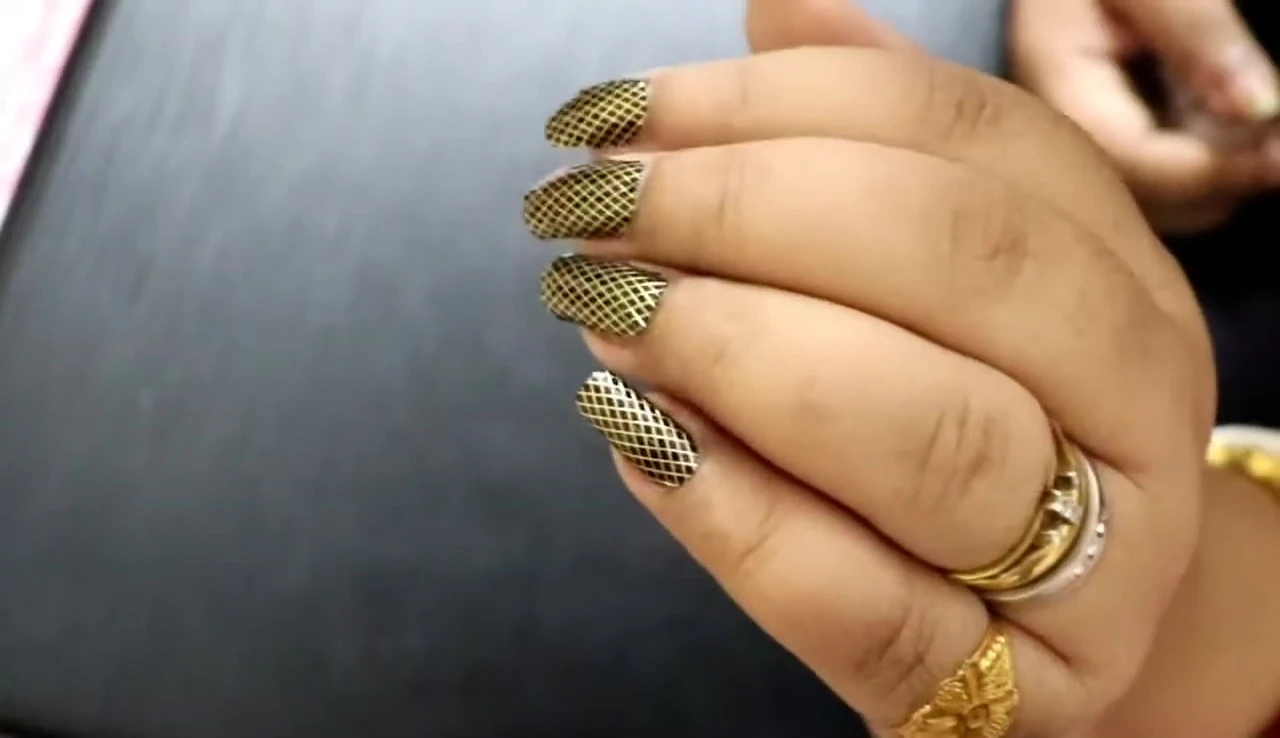
This method is perfect for busy individuals or beginners. Applying nail stickers is quick, easy, and produces impressive results, making it an ideal option for achieving a salon-quality manicure at home.