Are you ready to remove your CND Shellac manicure flawlessly? This step-by-step guide ensures perfect results every time, leaving your nails healthy and ready for your next mani. Unlike other gel polishes, CND Shellac requires a specific removal process to avoid damaging your natural nails. Understanding the nuances of the CND system, from the base and top coats to the crucial role of pure acetone, is key to achieving a smooth and damage-free removal. This guide clarifies common misconceptions and provides expert advice for optimal nail care before, during, and after the removal process.This guide covers everything from prepping your nails and choosing the right acetone to the proper application and removal techniques. We'll detail the time requirements based on the specific CND Shellac top coat used, emphasizing gentle handling to prevent damage. Finally, we'll share post-removal tips and recommendations for nail care to ensure your nails remain strong and healthy, ready for your next beautiful CND Shellac manicure.
Pros And Cons
- Removes easily with pure acetone
- Removal process doesn't necessarily require buffing
- Express 5 top coat can stain easily and is best suited for strong, healthy nails.
- Can take longer to remove if used with pigments.
- Not ideal for problematic nails; may peel from underneath even if the shine remains.
- Repairs broken bonds in the keratin layers of the nail.
- Dries quickly.
- Improves nail condition and prevents surface damage.
Read more: 7 Best Nail Polish Remover Pens (2024 Review)
Understanding Shellac and its Top Coats
Shellac, a gel polish by CND, often causes confusion. It's crucial to understand that 'shellac' refers specifically to CND's gel polish system, not all gel polishes.

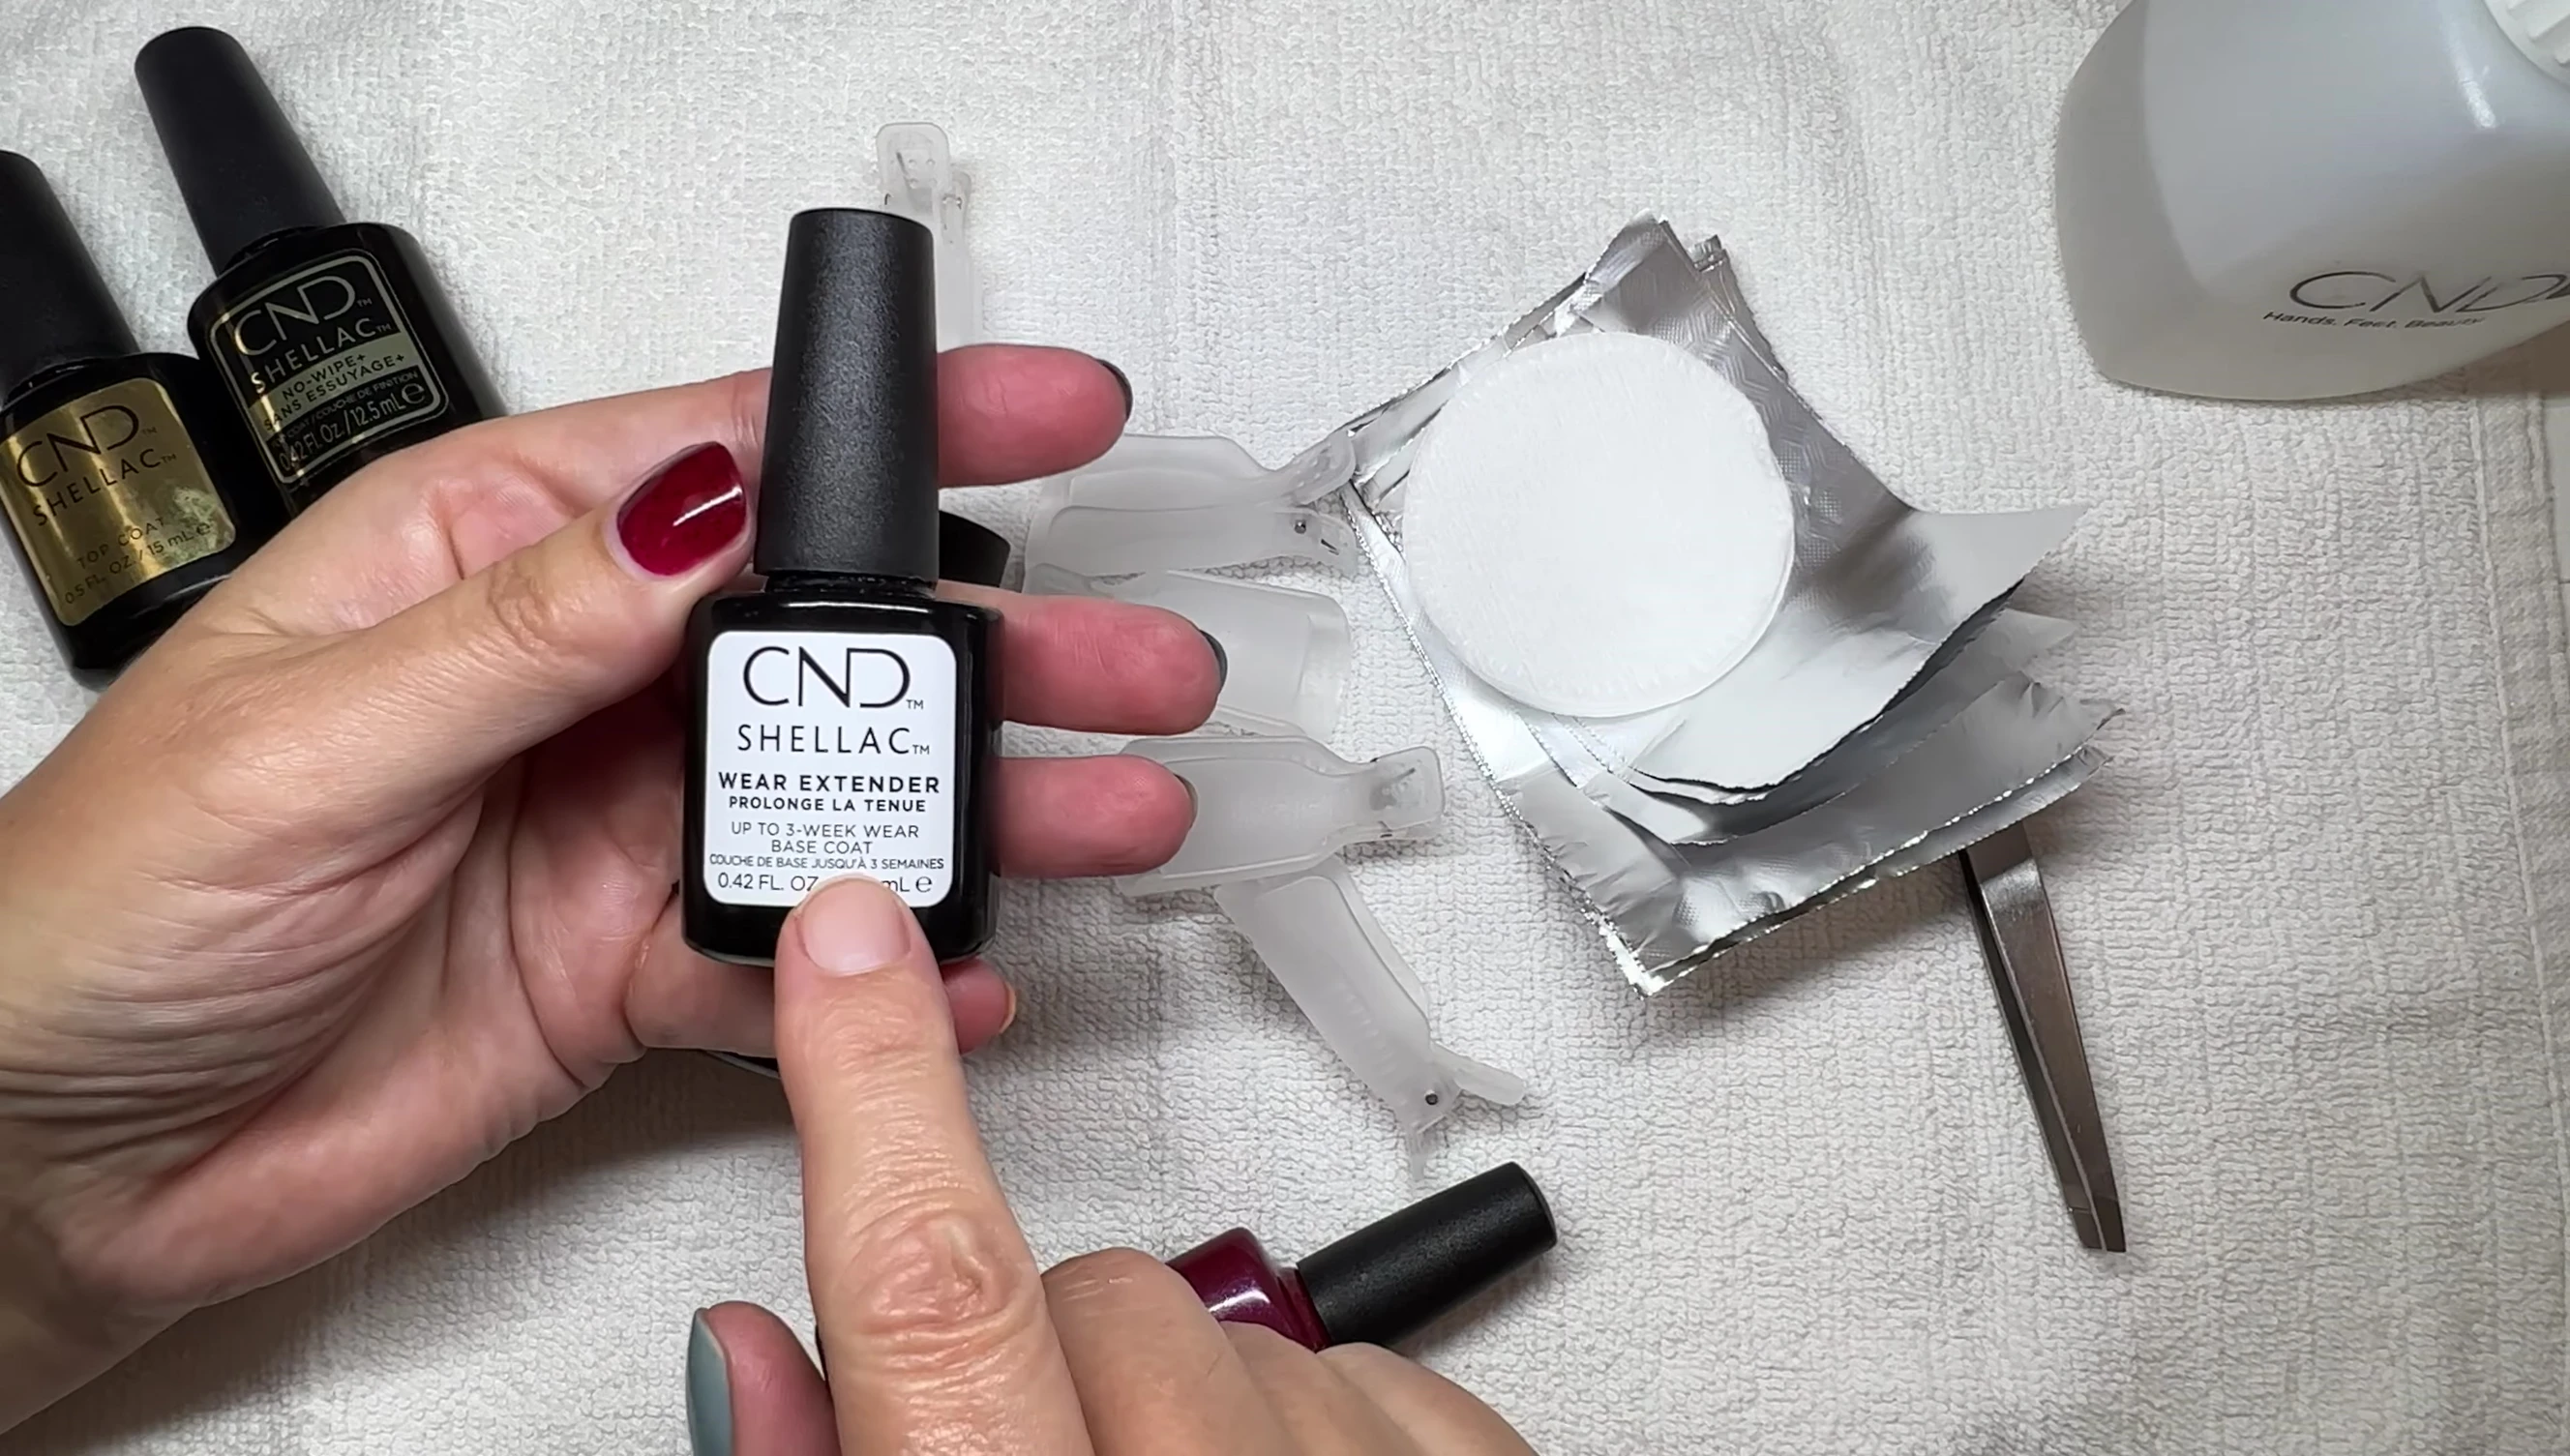
The CND system includes a base coat (two variations: original and wear extender), color coat, and top coat. Having all three is essential for achieving the full shellac experience.
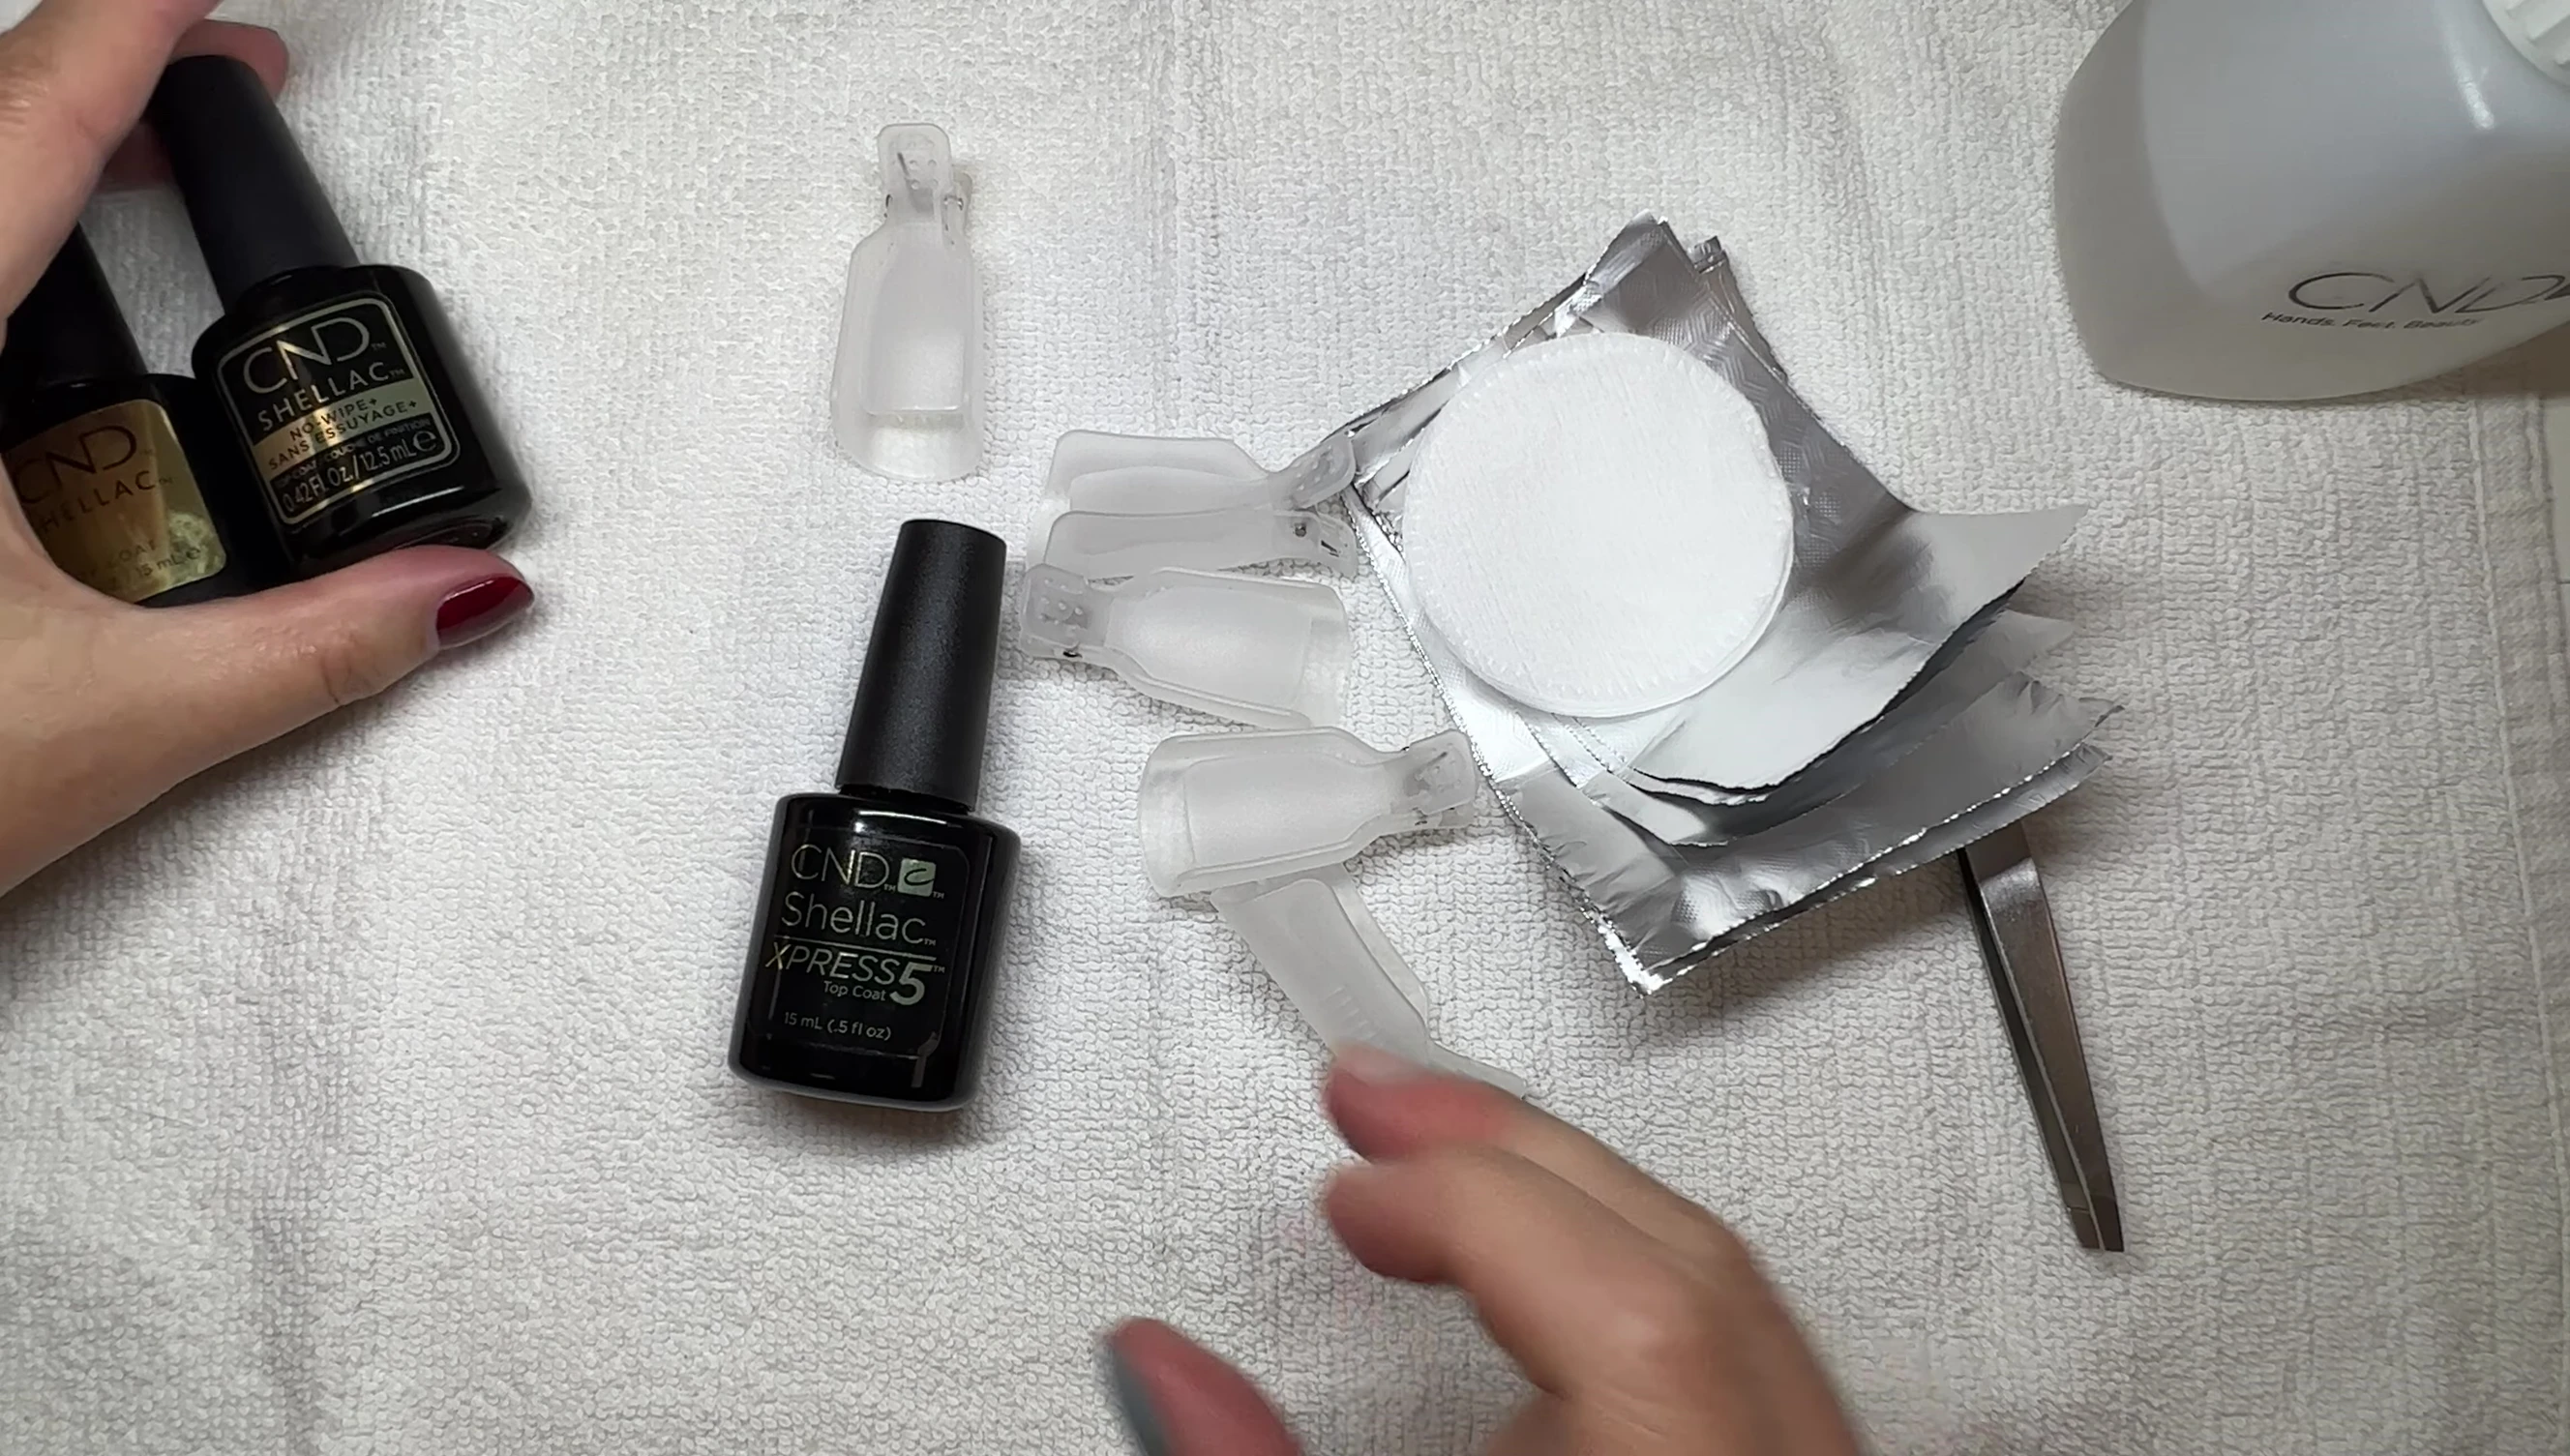
CND offers several top coats with varying removal times: Express 5 (5 minutes), original (8 minutes), Duraforce (15 minutes), and No Wipe (10-15 minutes). Knowing which top coat is used is crucial for successful removal.
Optimal Removal Time and Acetone
Ideally, shellac should be removed every two weeks, even if it still looks good. This prevents damage from prolonged wear.
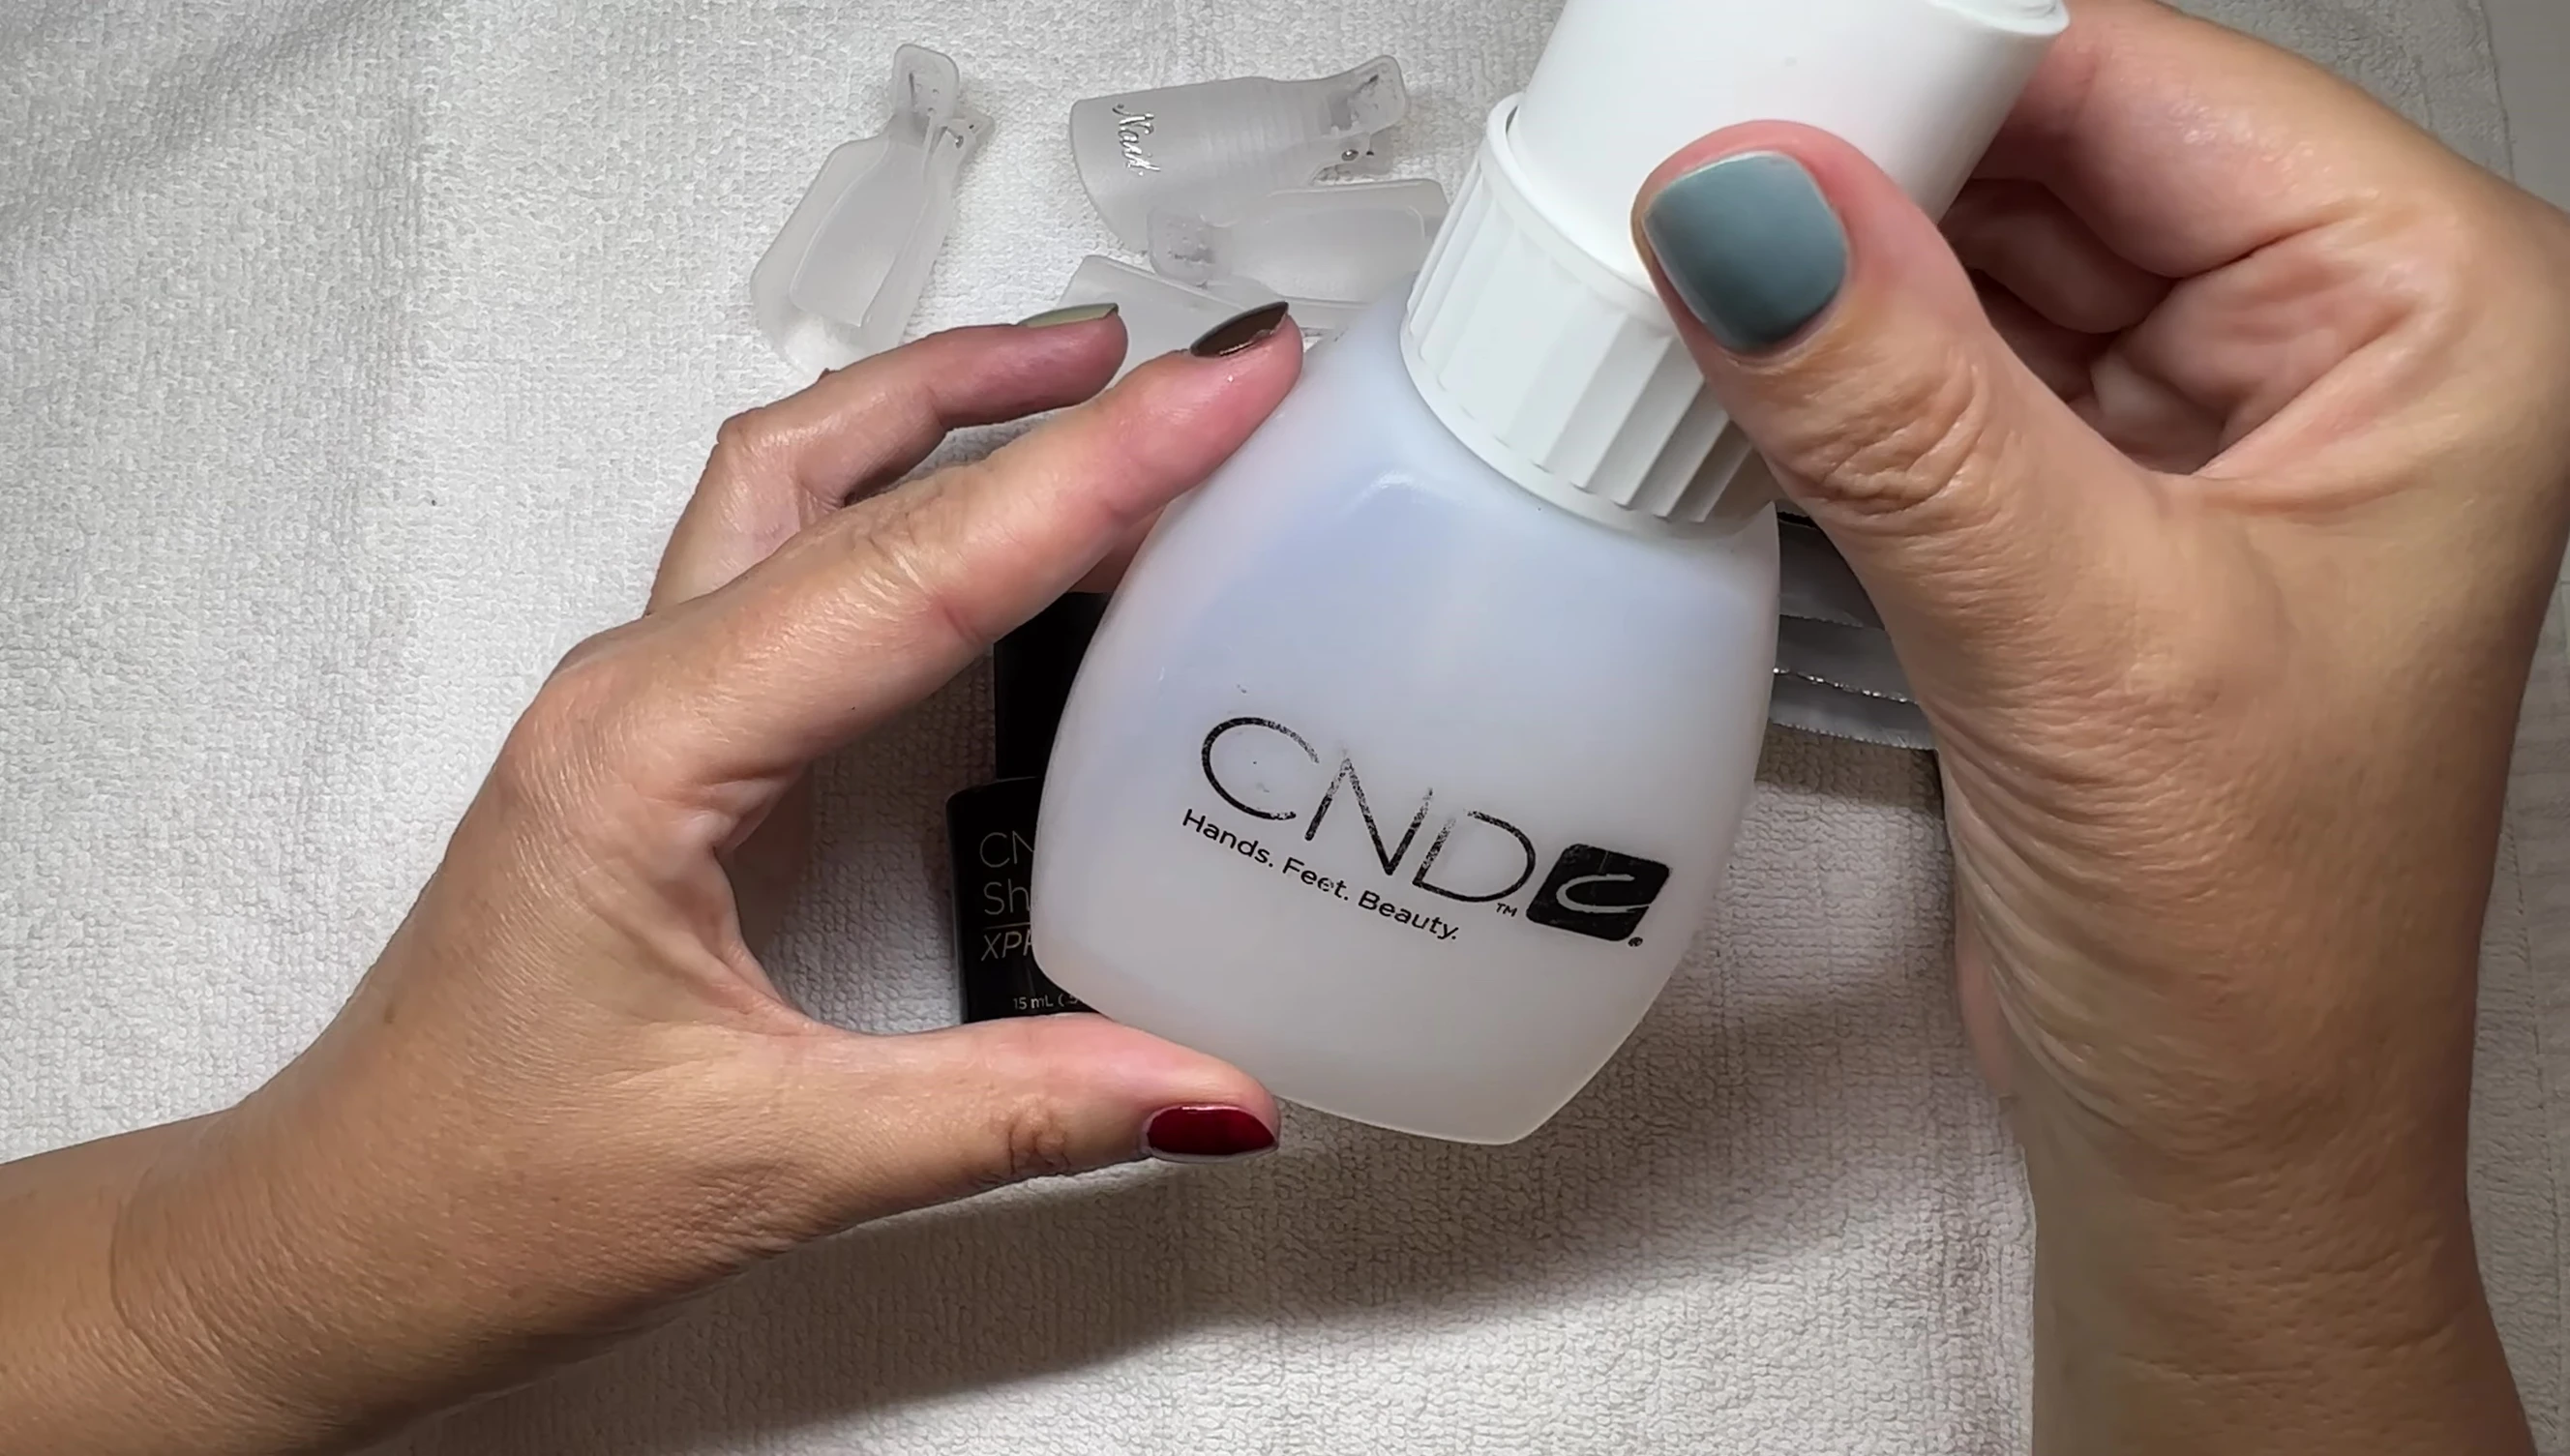
Pure acetone is recommended for removal; CND's remover works, but pure acetone is often preferred for effectiveness.
Contrary to popular belief, acetone doesn't damage nails. Prolonged wear of shellac, especially with long nails, can cause more damage than proper acetone removal.
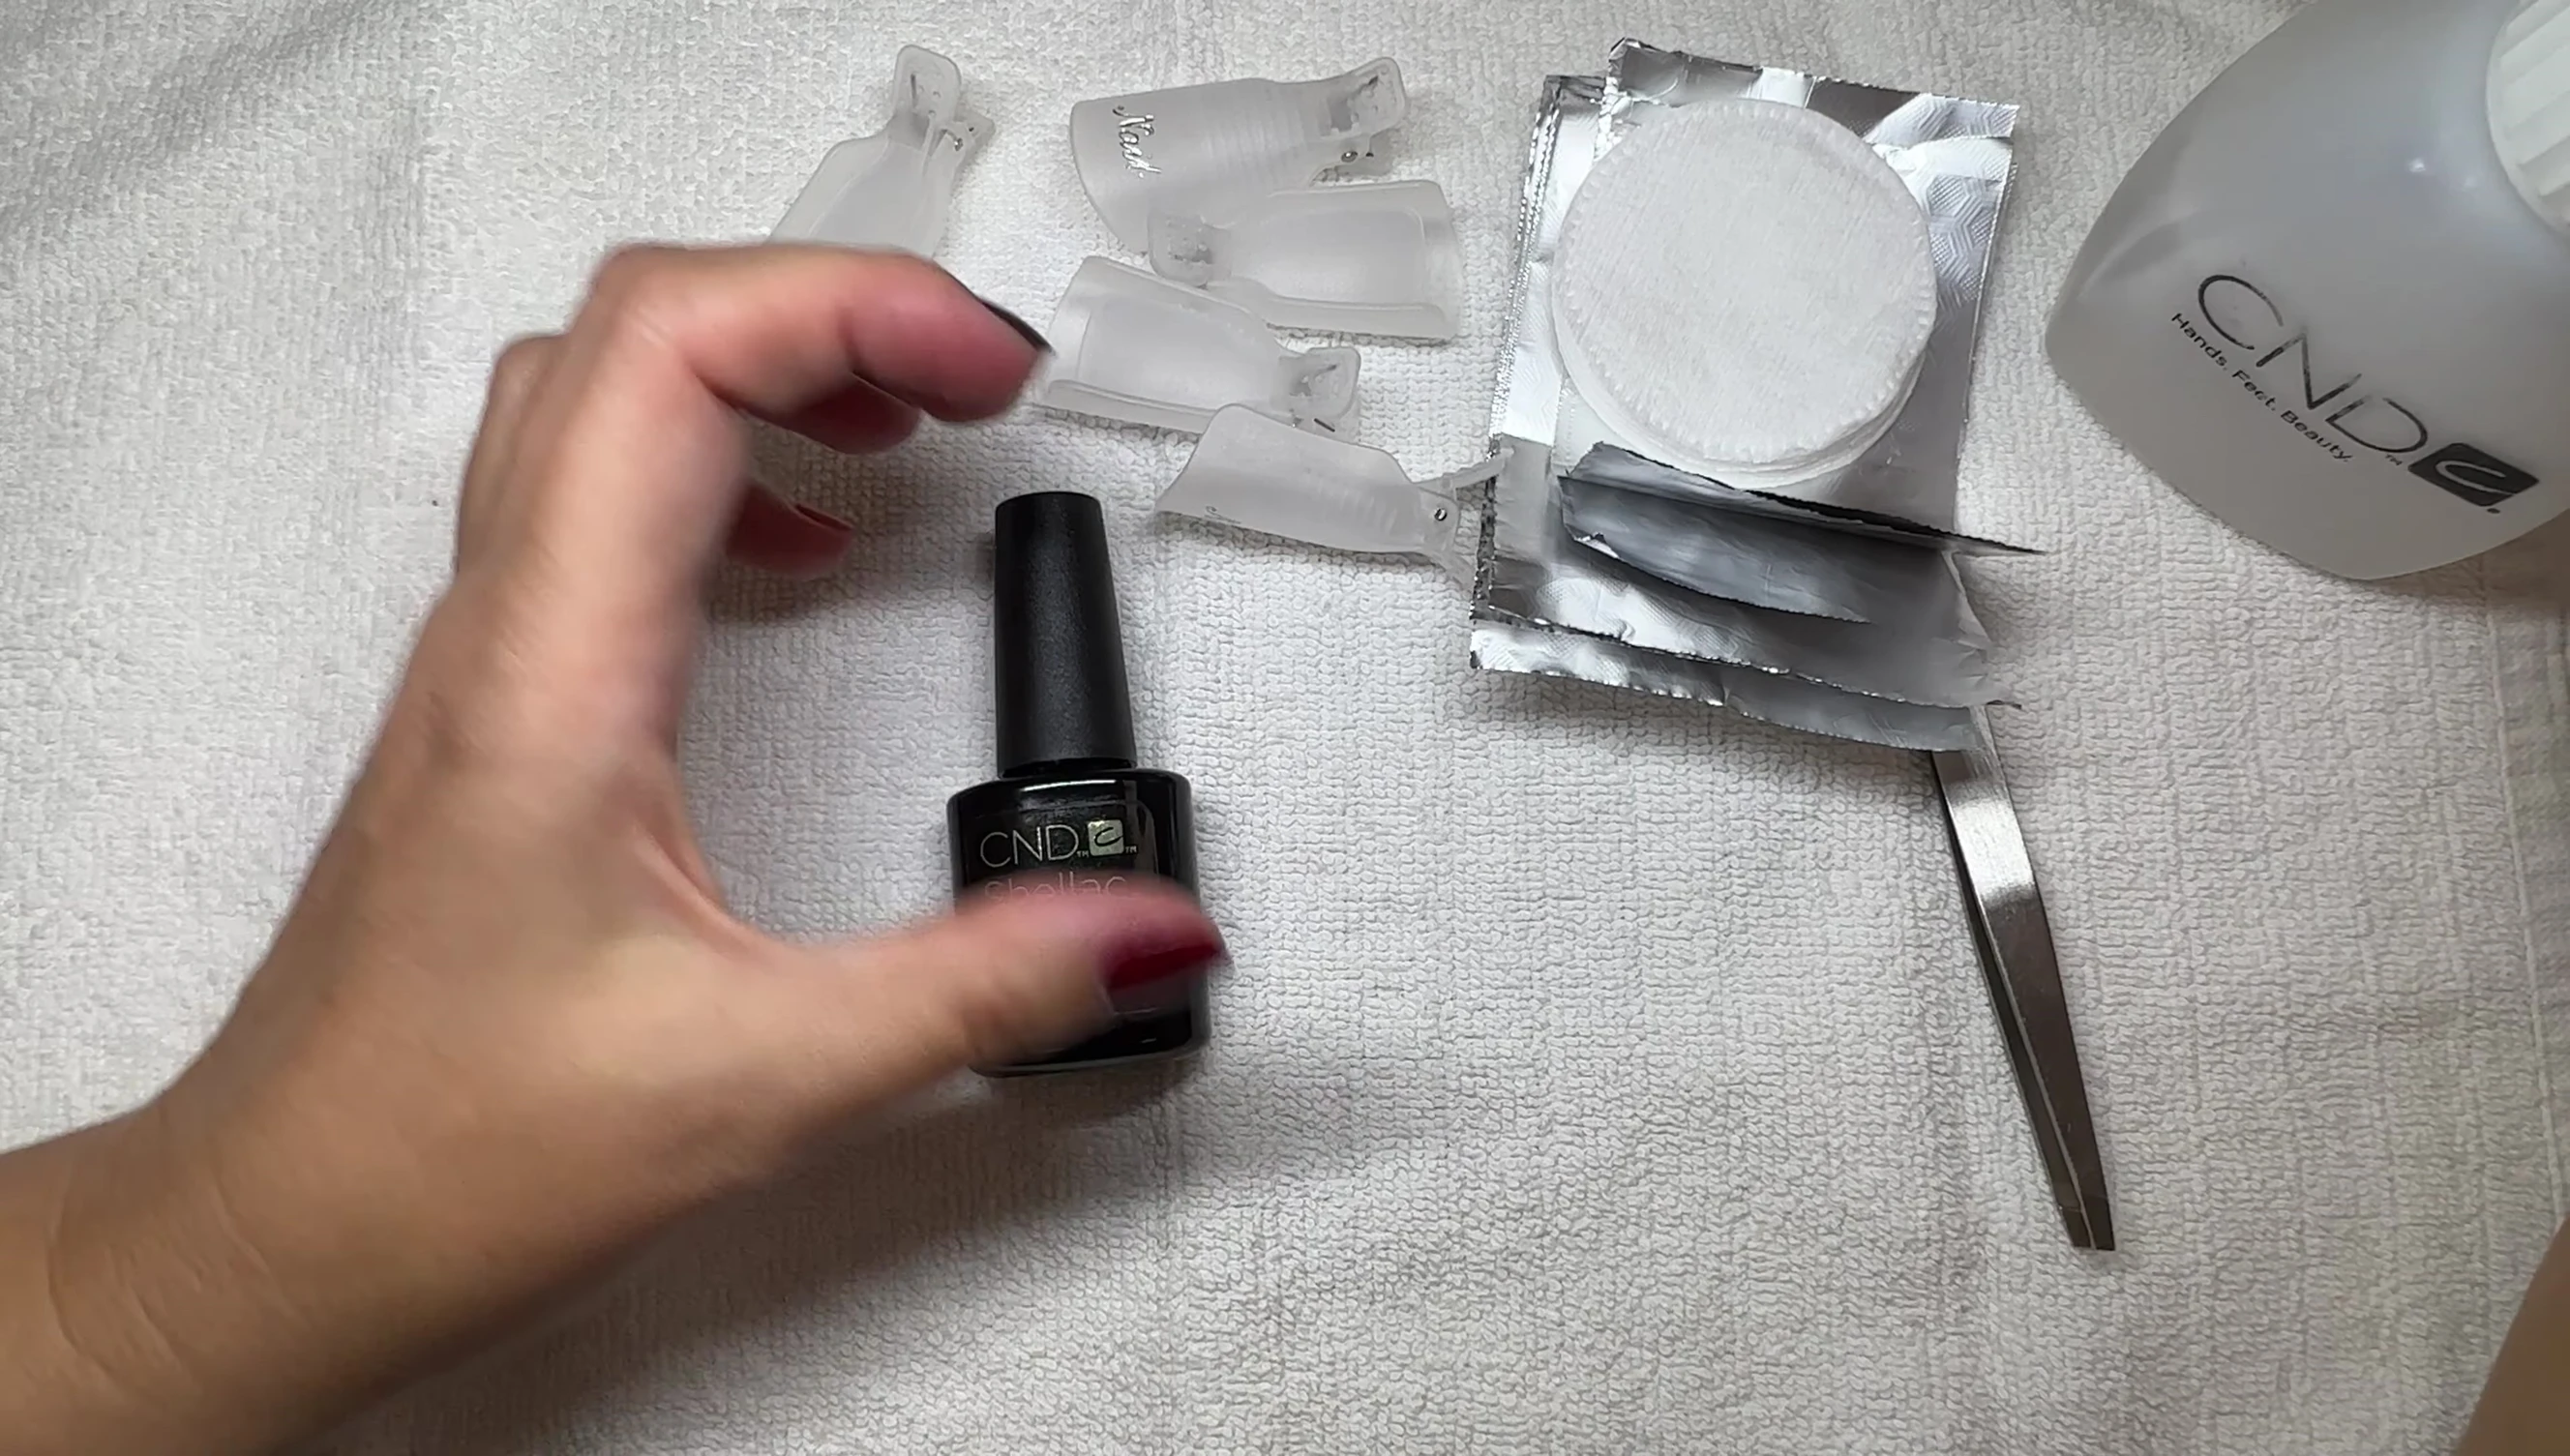
Prep and Removal Process
Before starting, shape your nails. This makes the removal process easier and allows for better nail shaping post-removal.
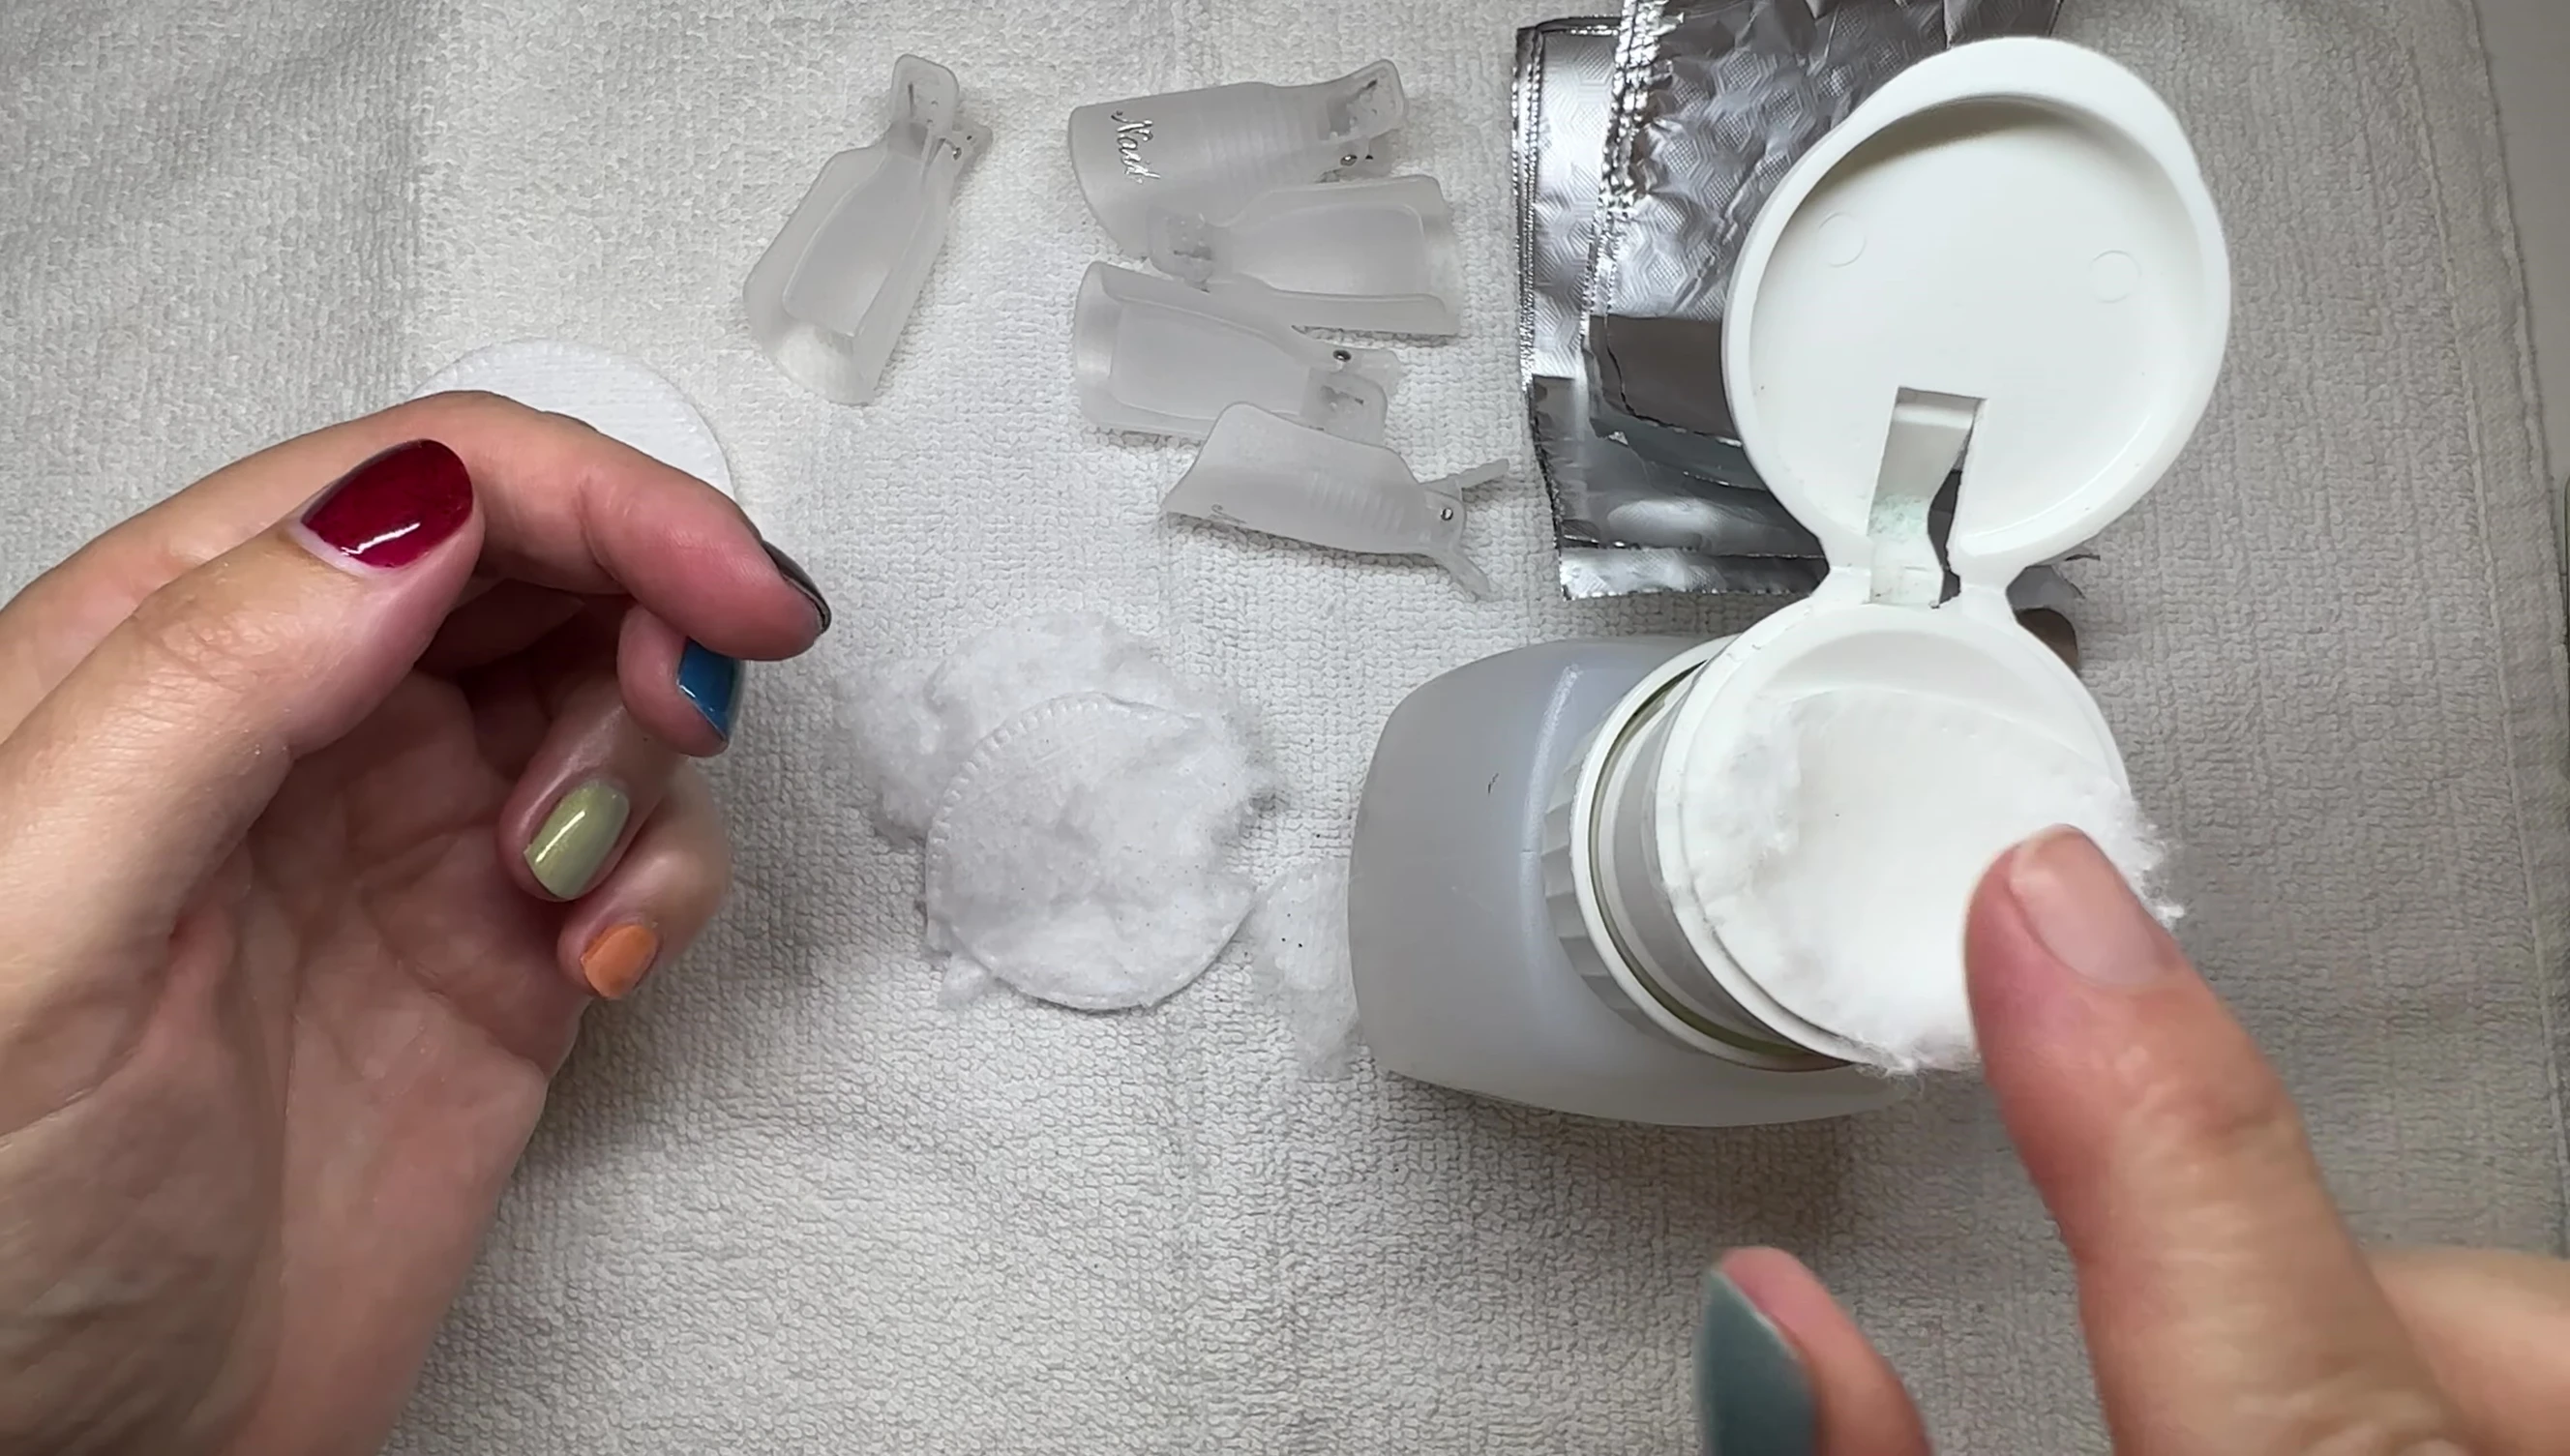
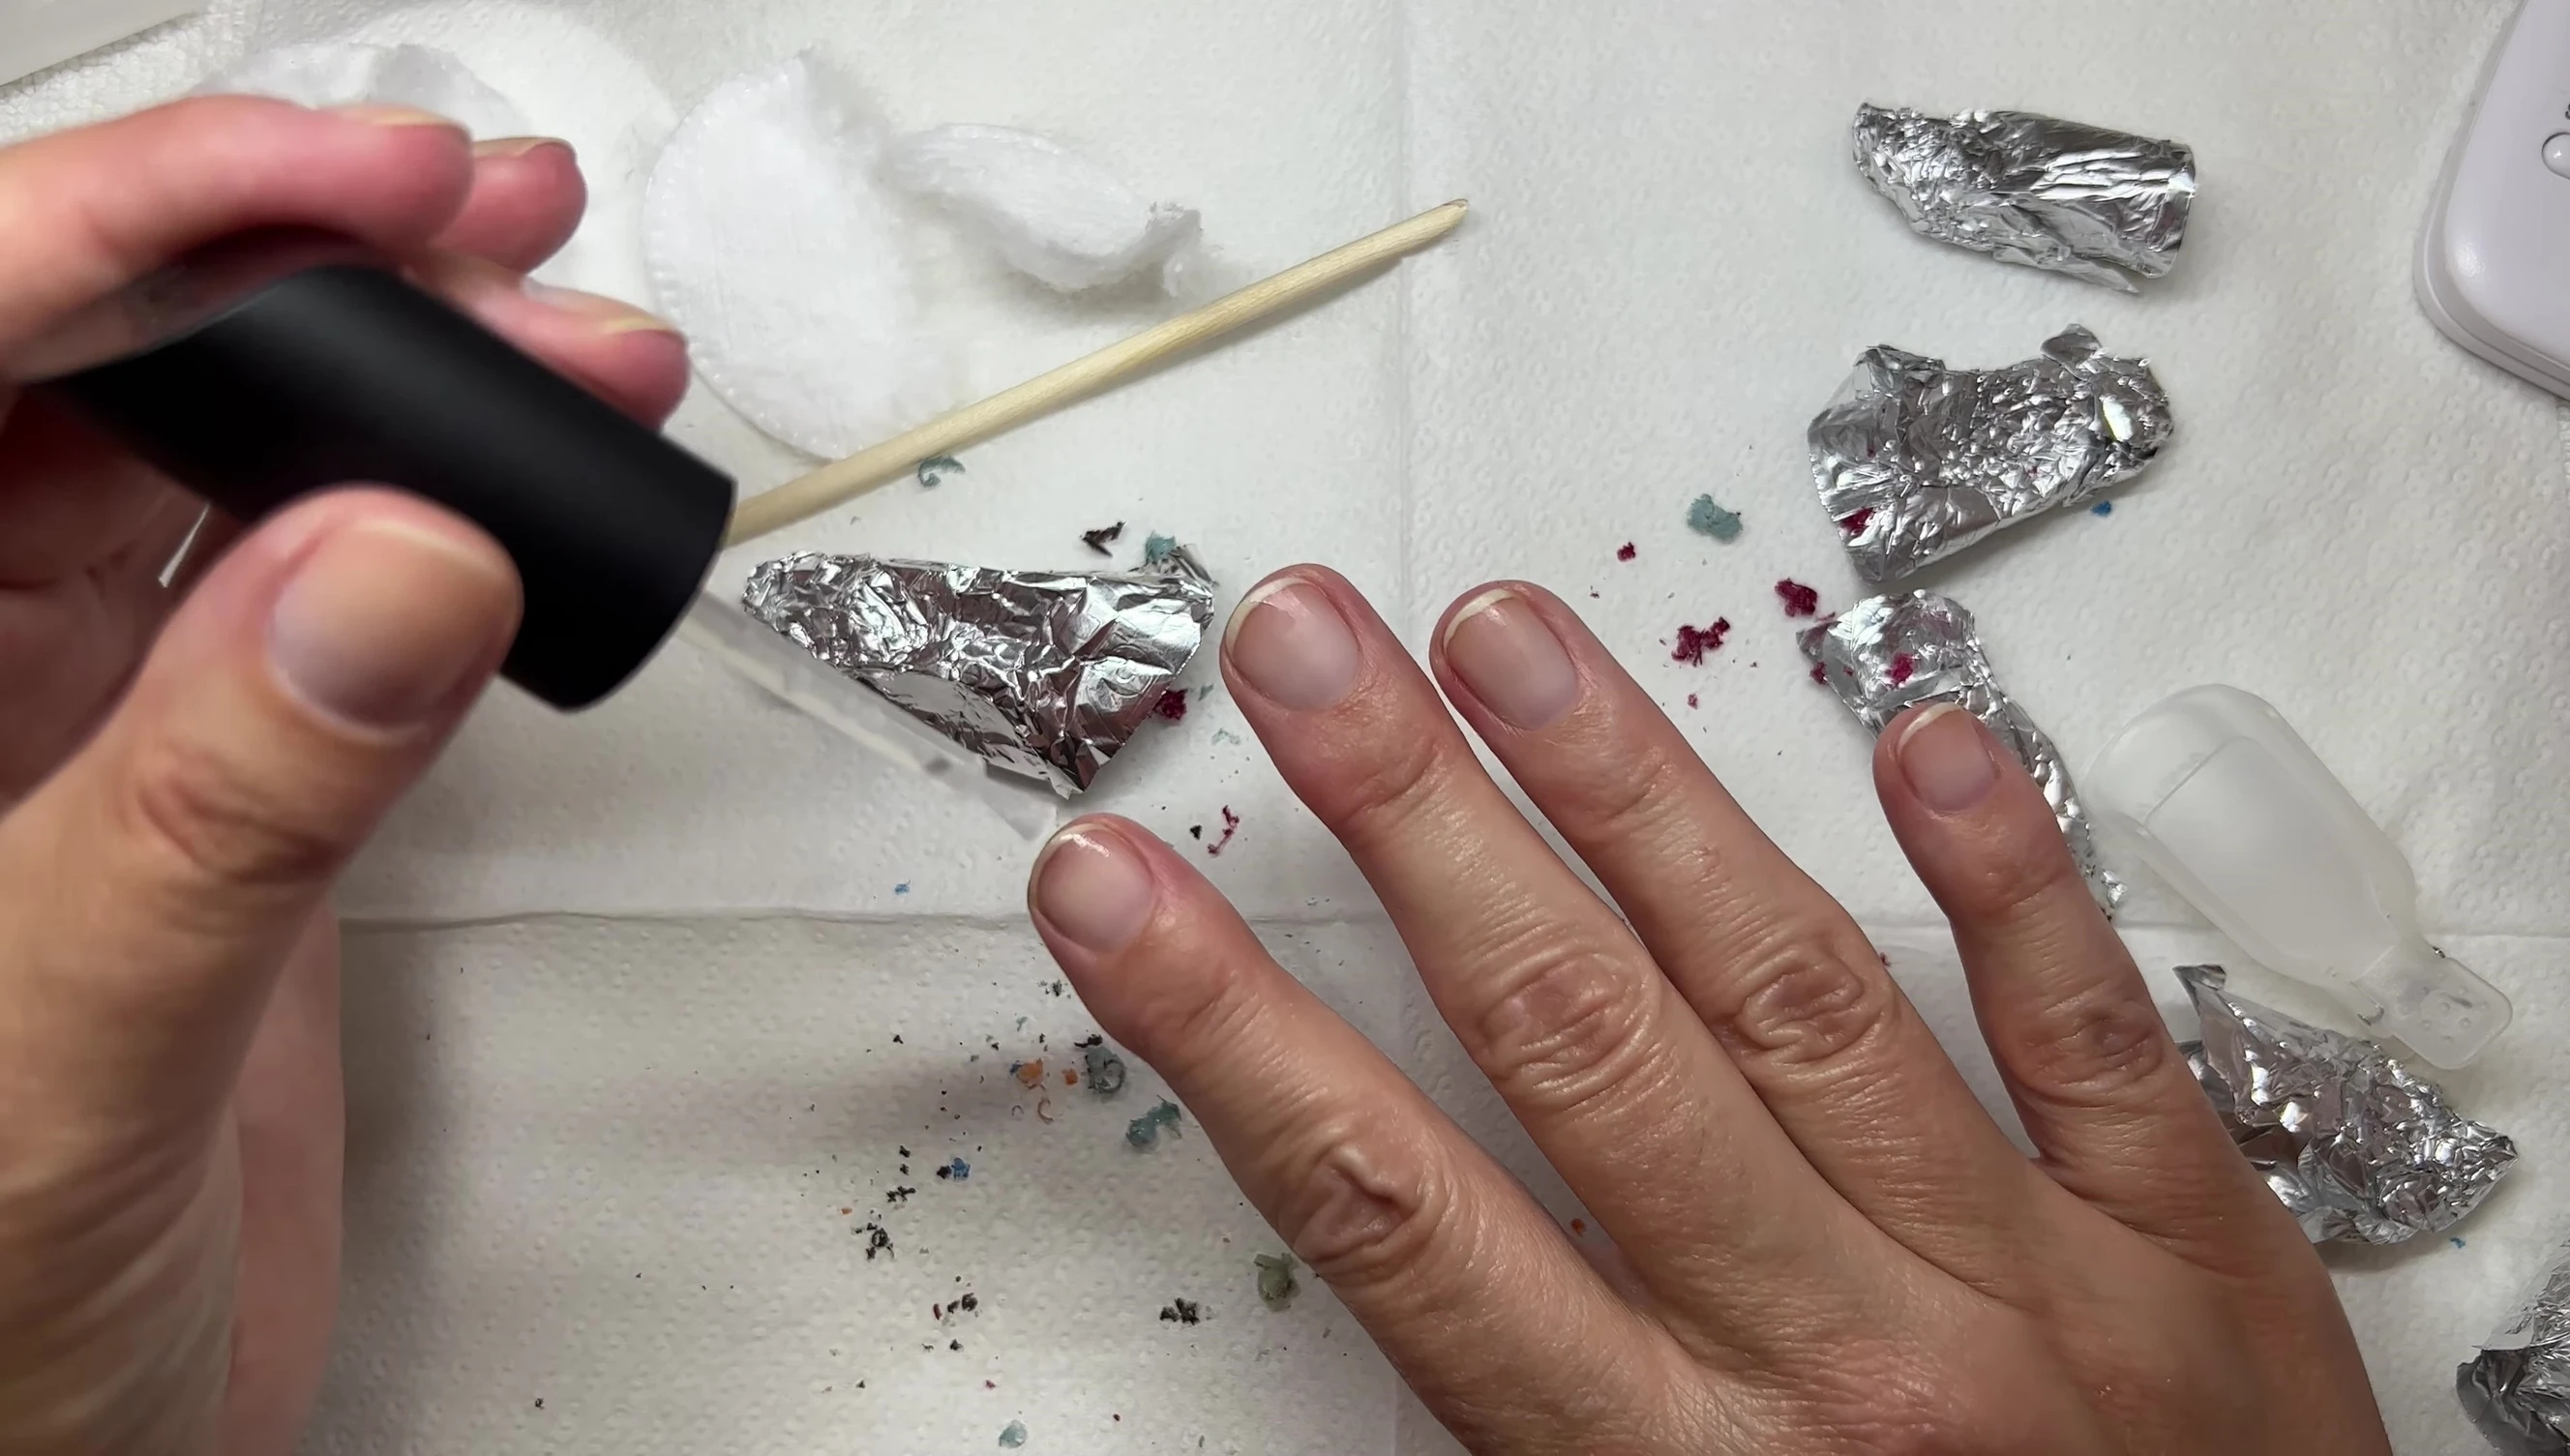
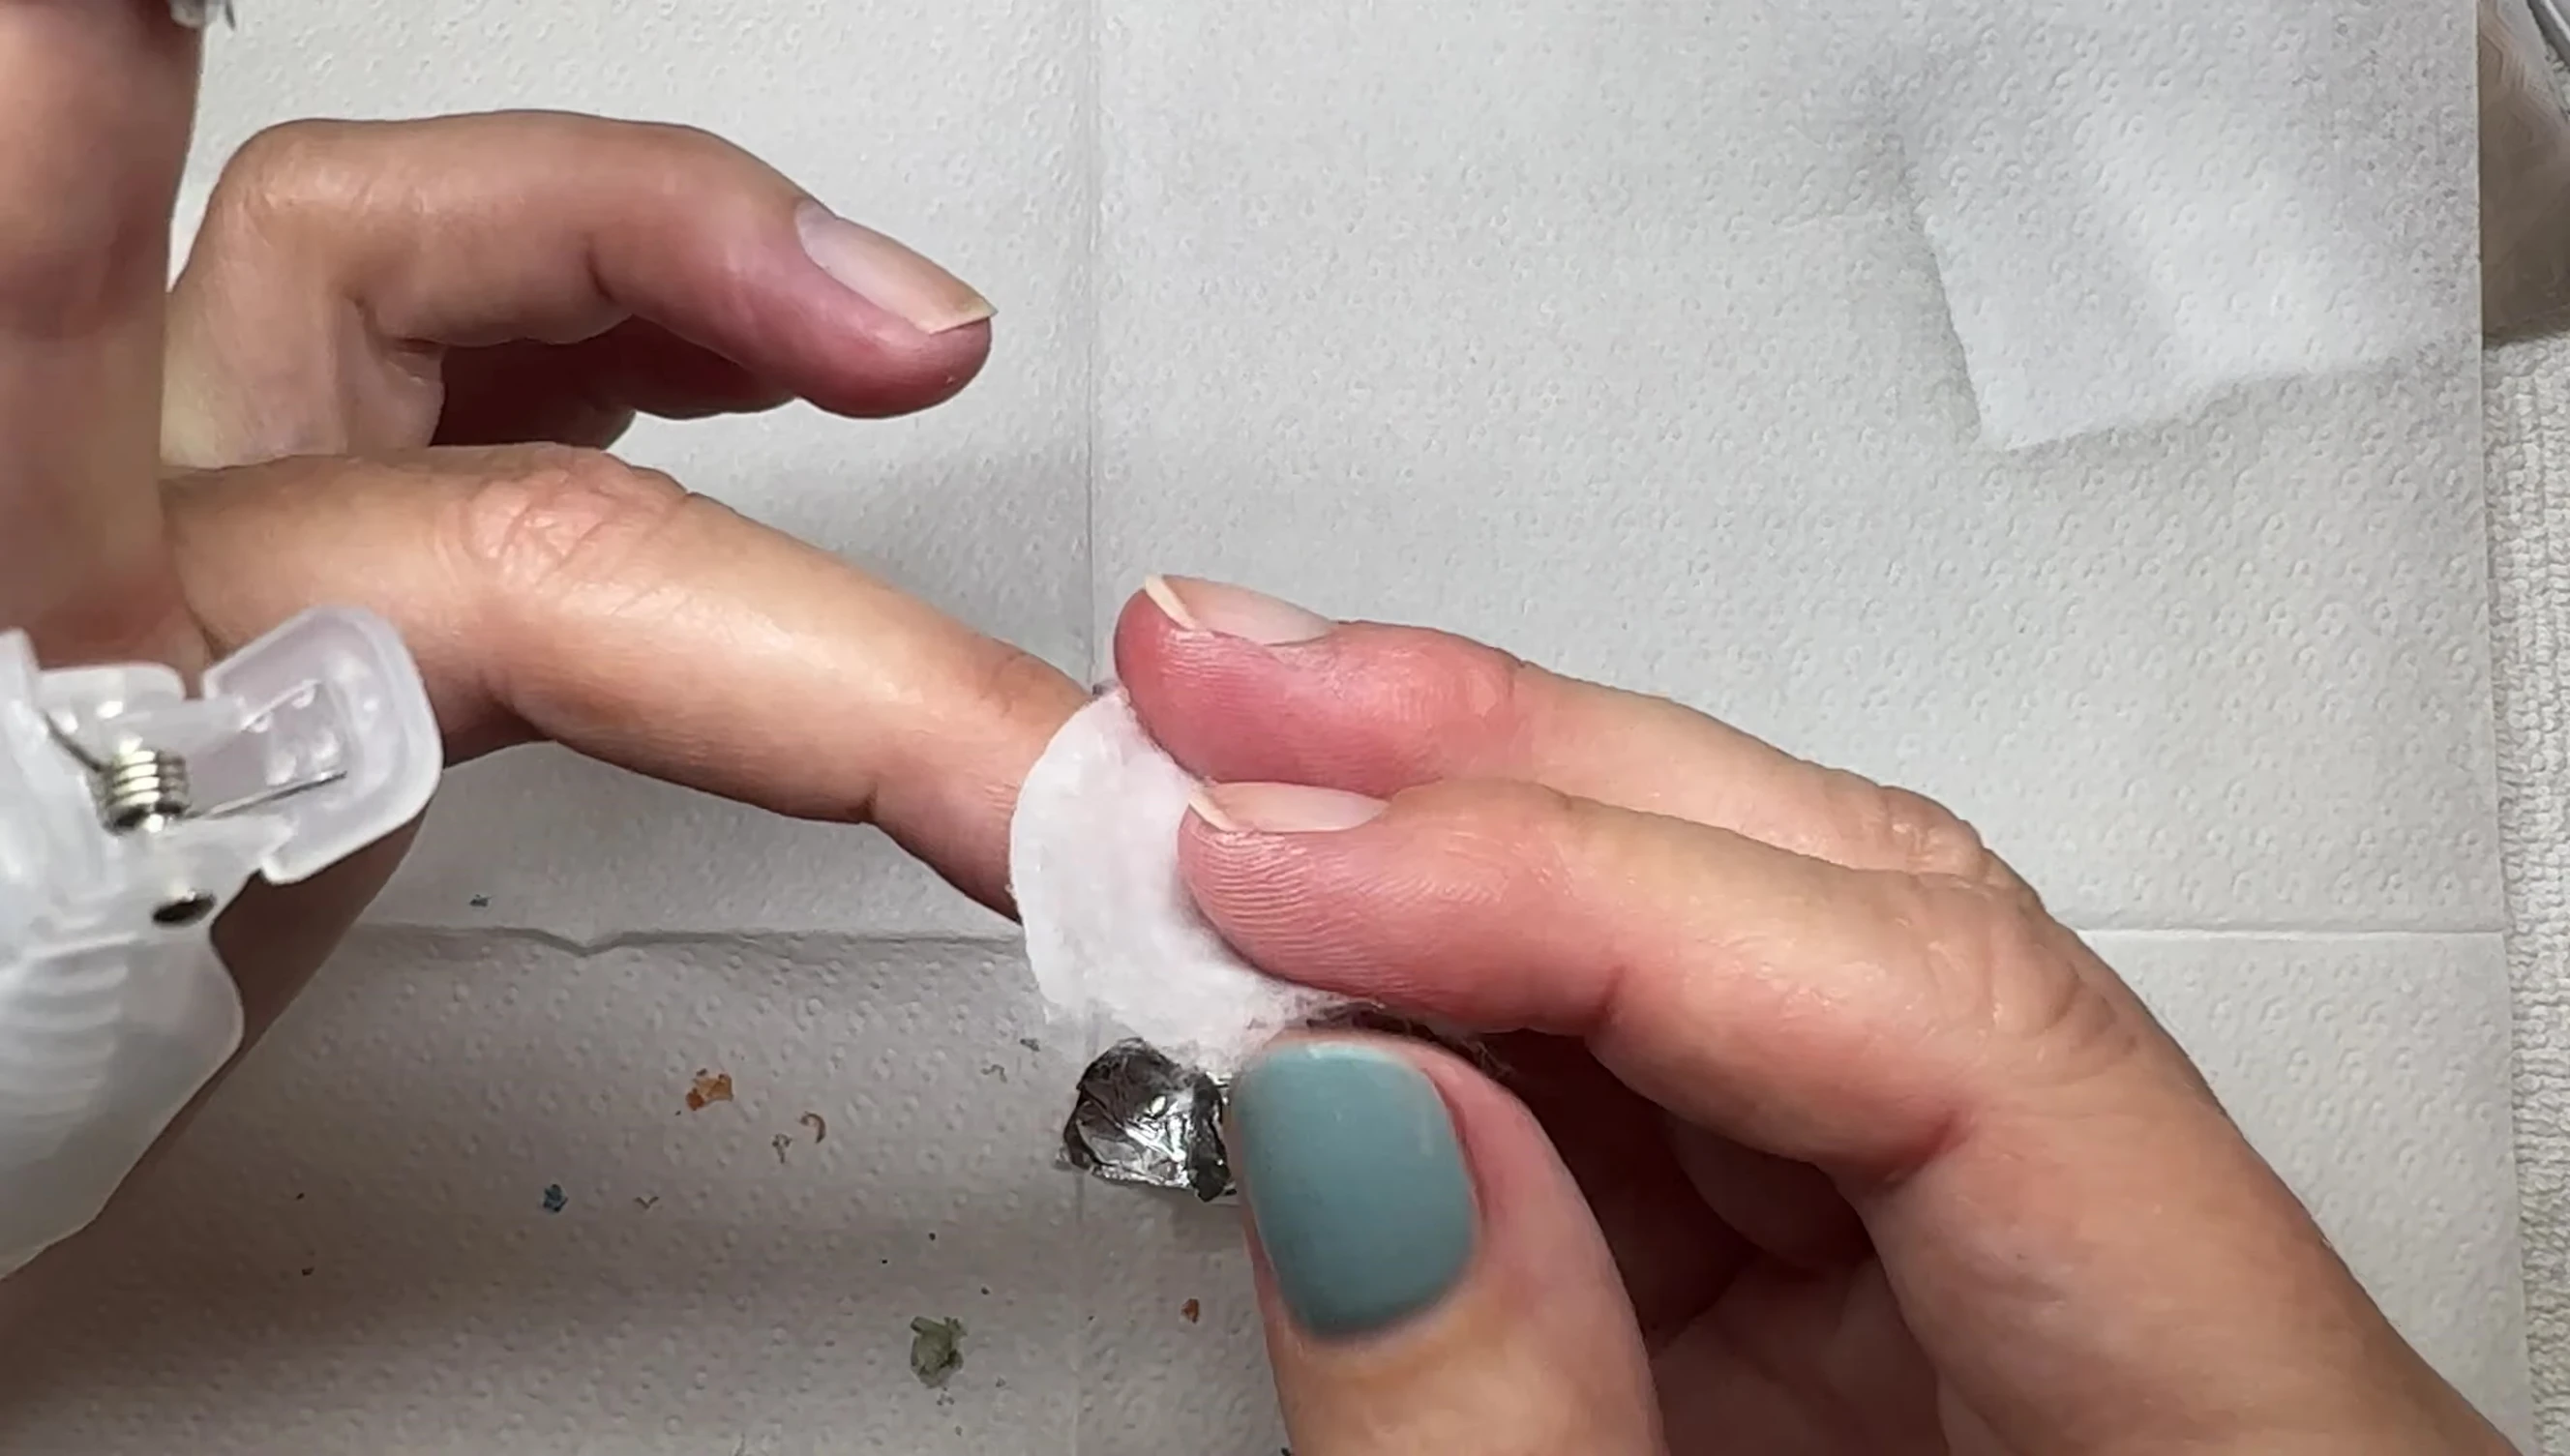
Saturate makeup remover pads with pure acetone and apply them to each nail, ensuring they are fully soaked.
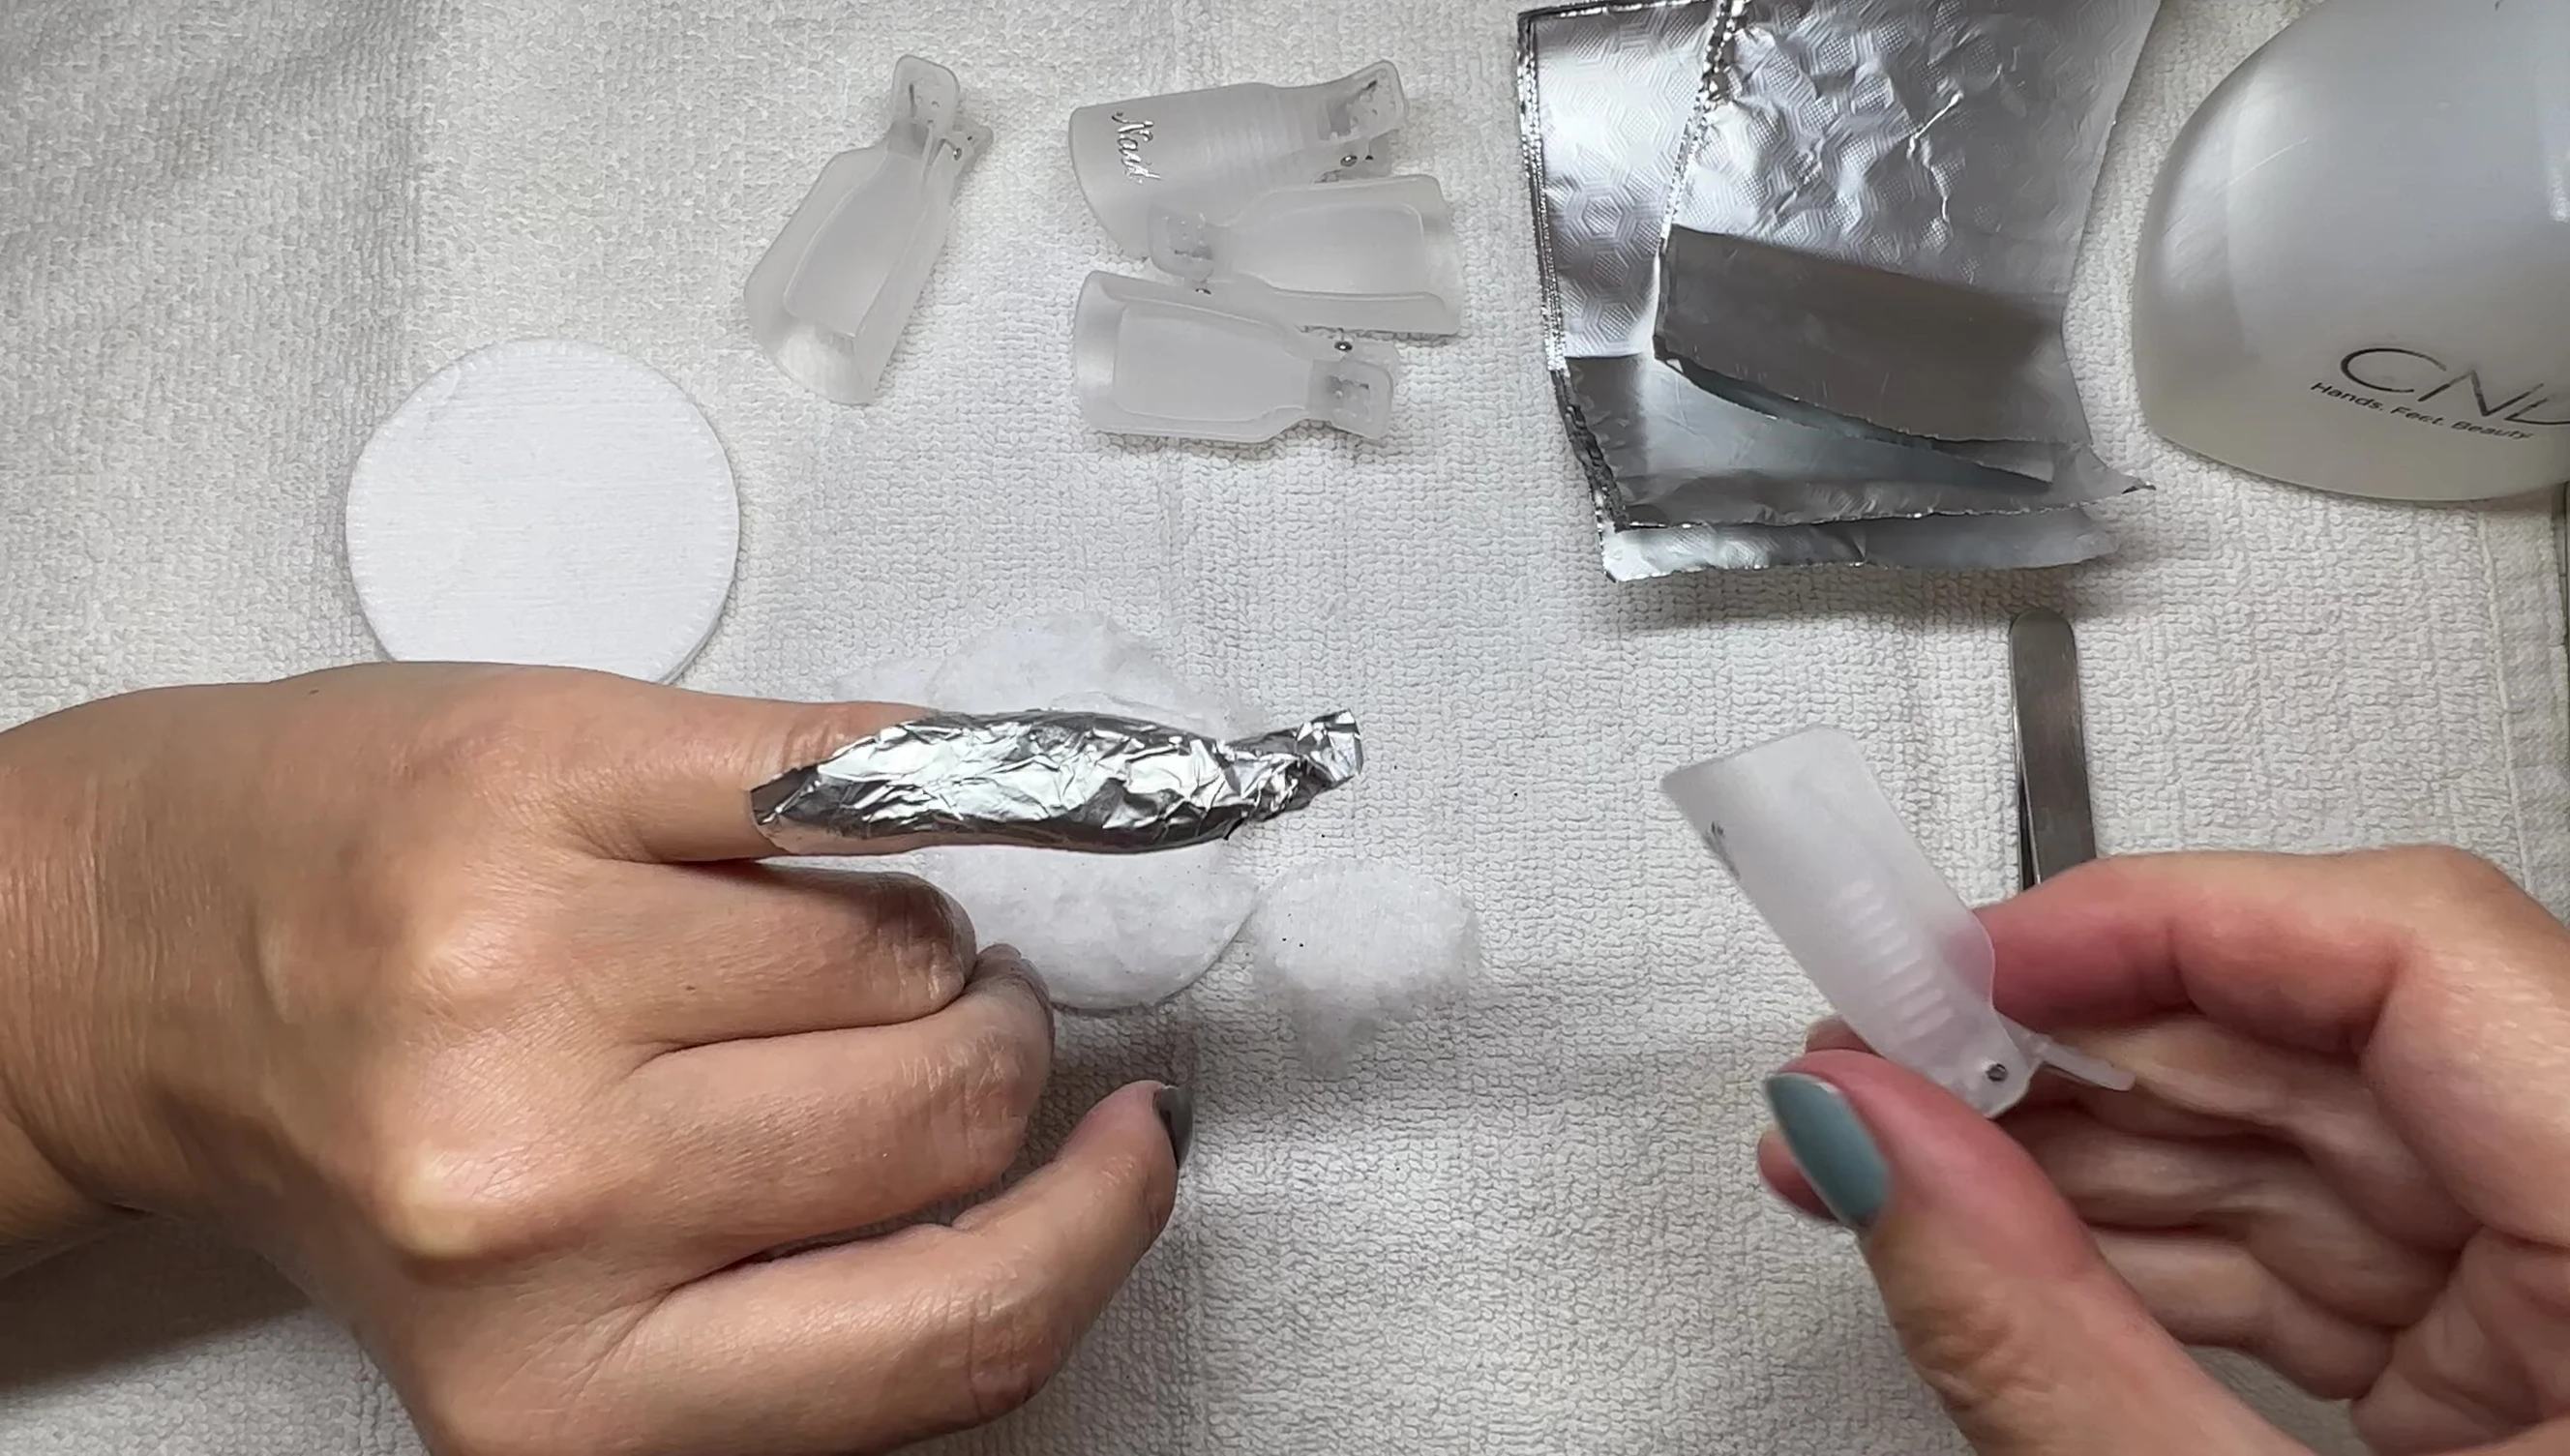
Wrap each nail with foil and leave it for the recommended time according to the top coat used (5-15 minutes).
Post-Removal Care and Nail Health
After the recommended time, gently peel off the foil and cotton. The shellac should come off easily; avoid excessive force.
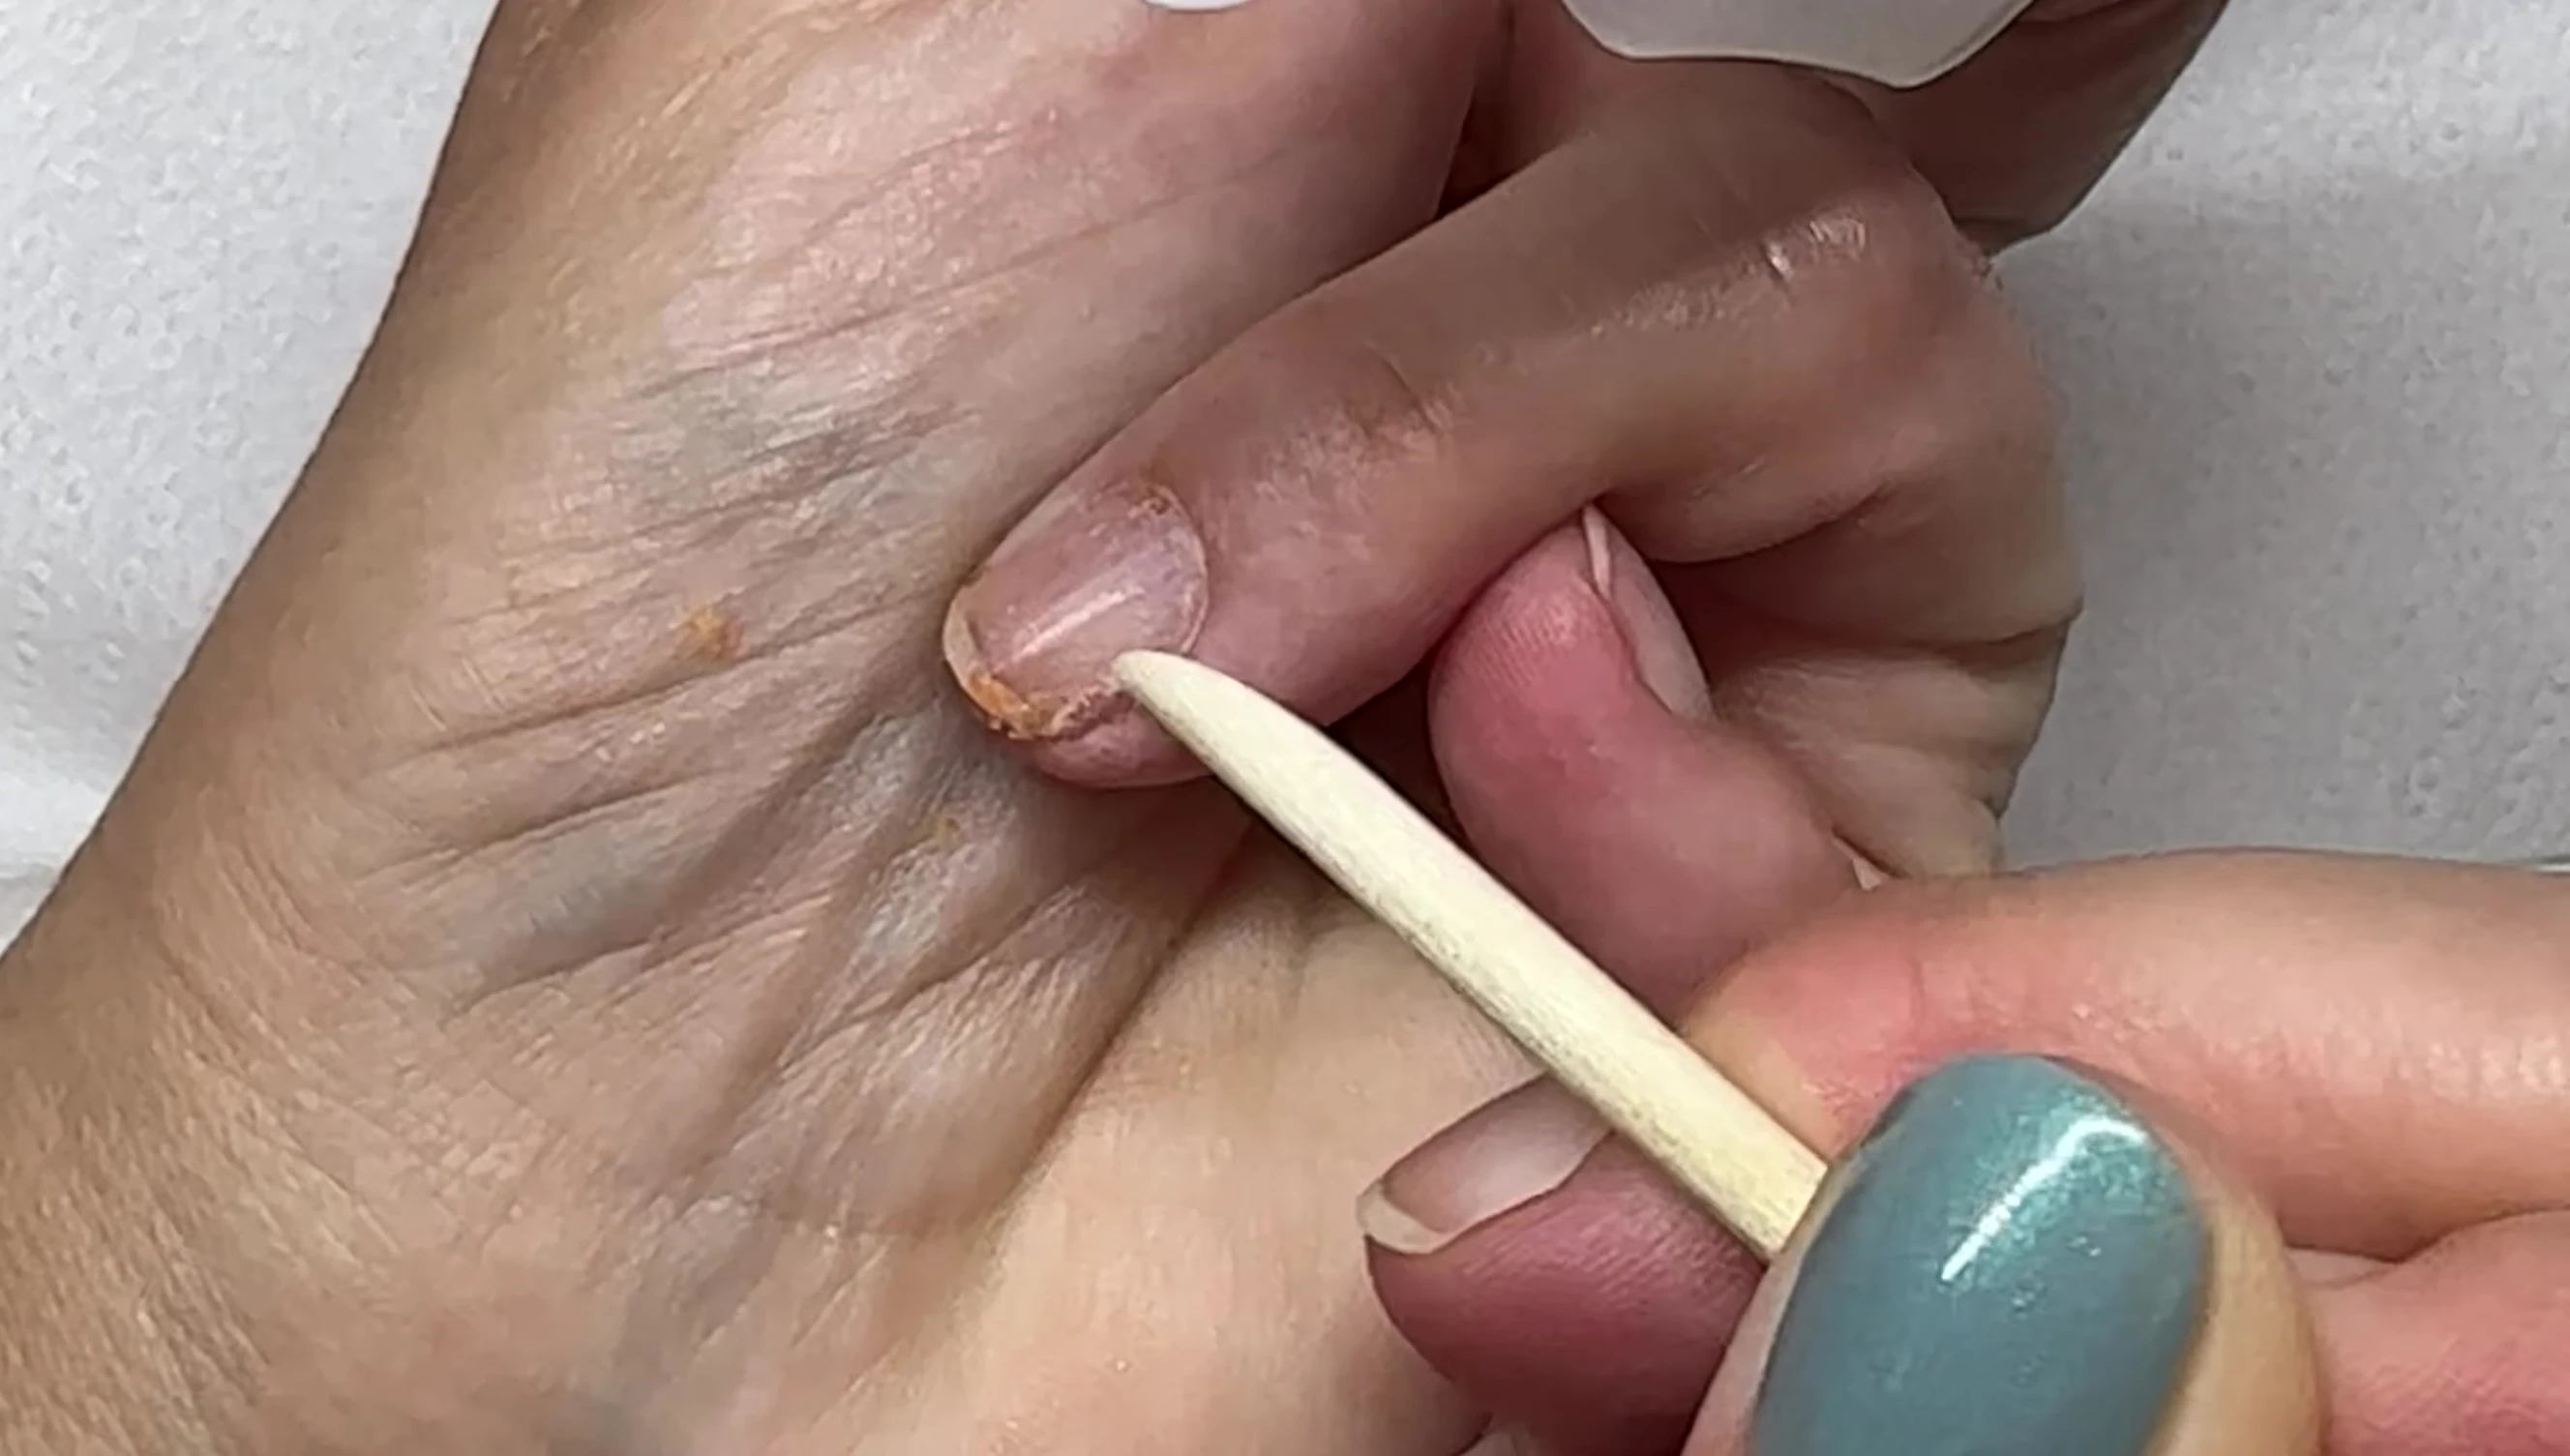
If the shellac is stuck, apply a fresh acetone-soaked cotton pad and foil for a few more minutes.
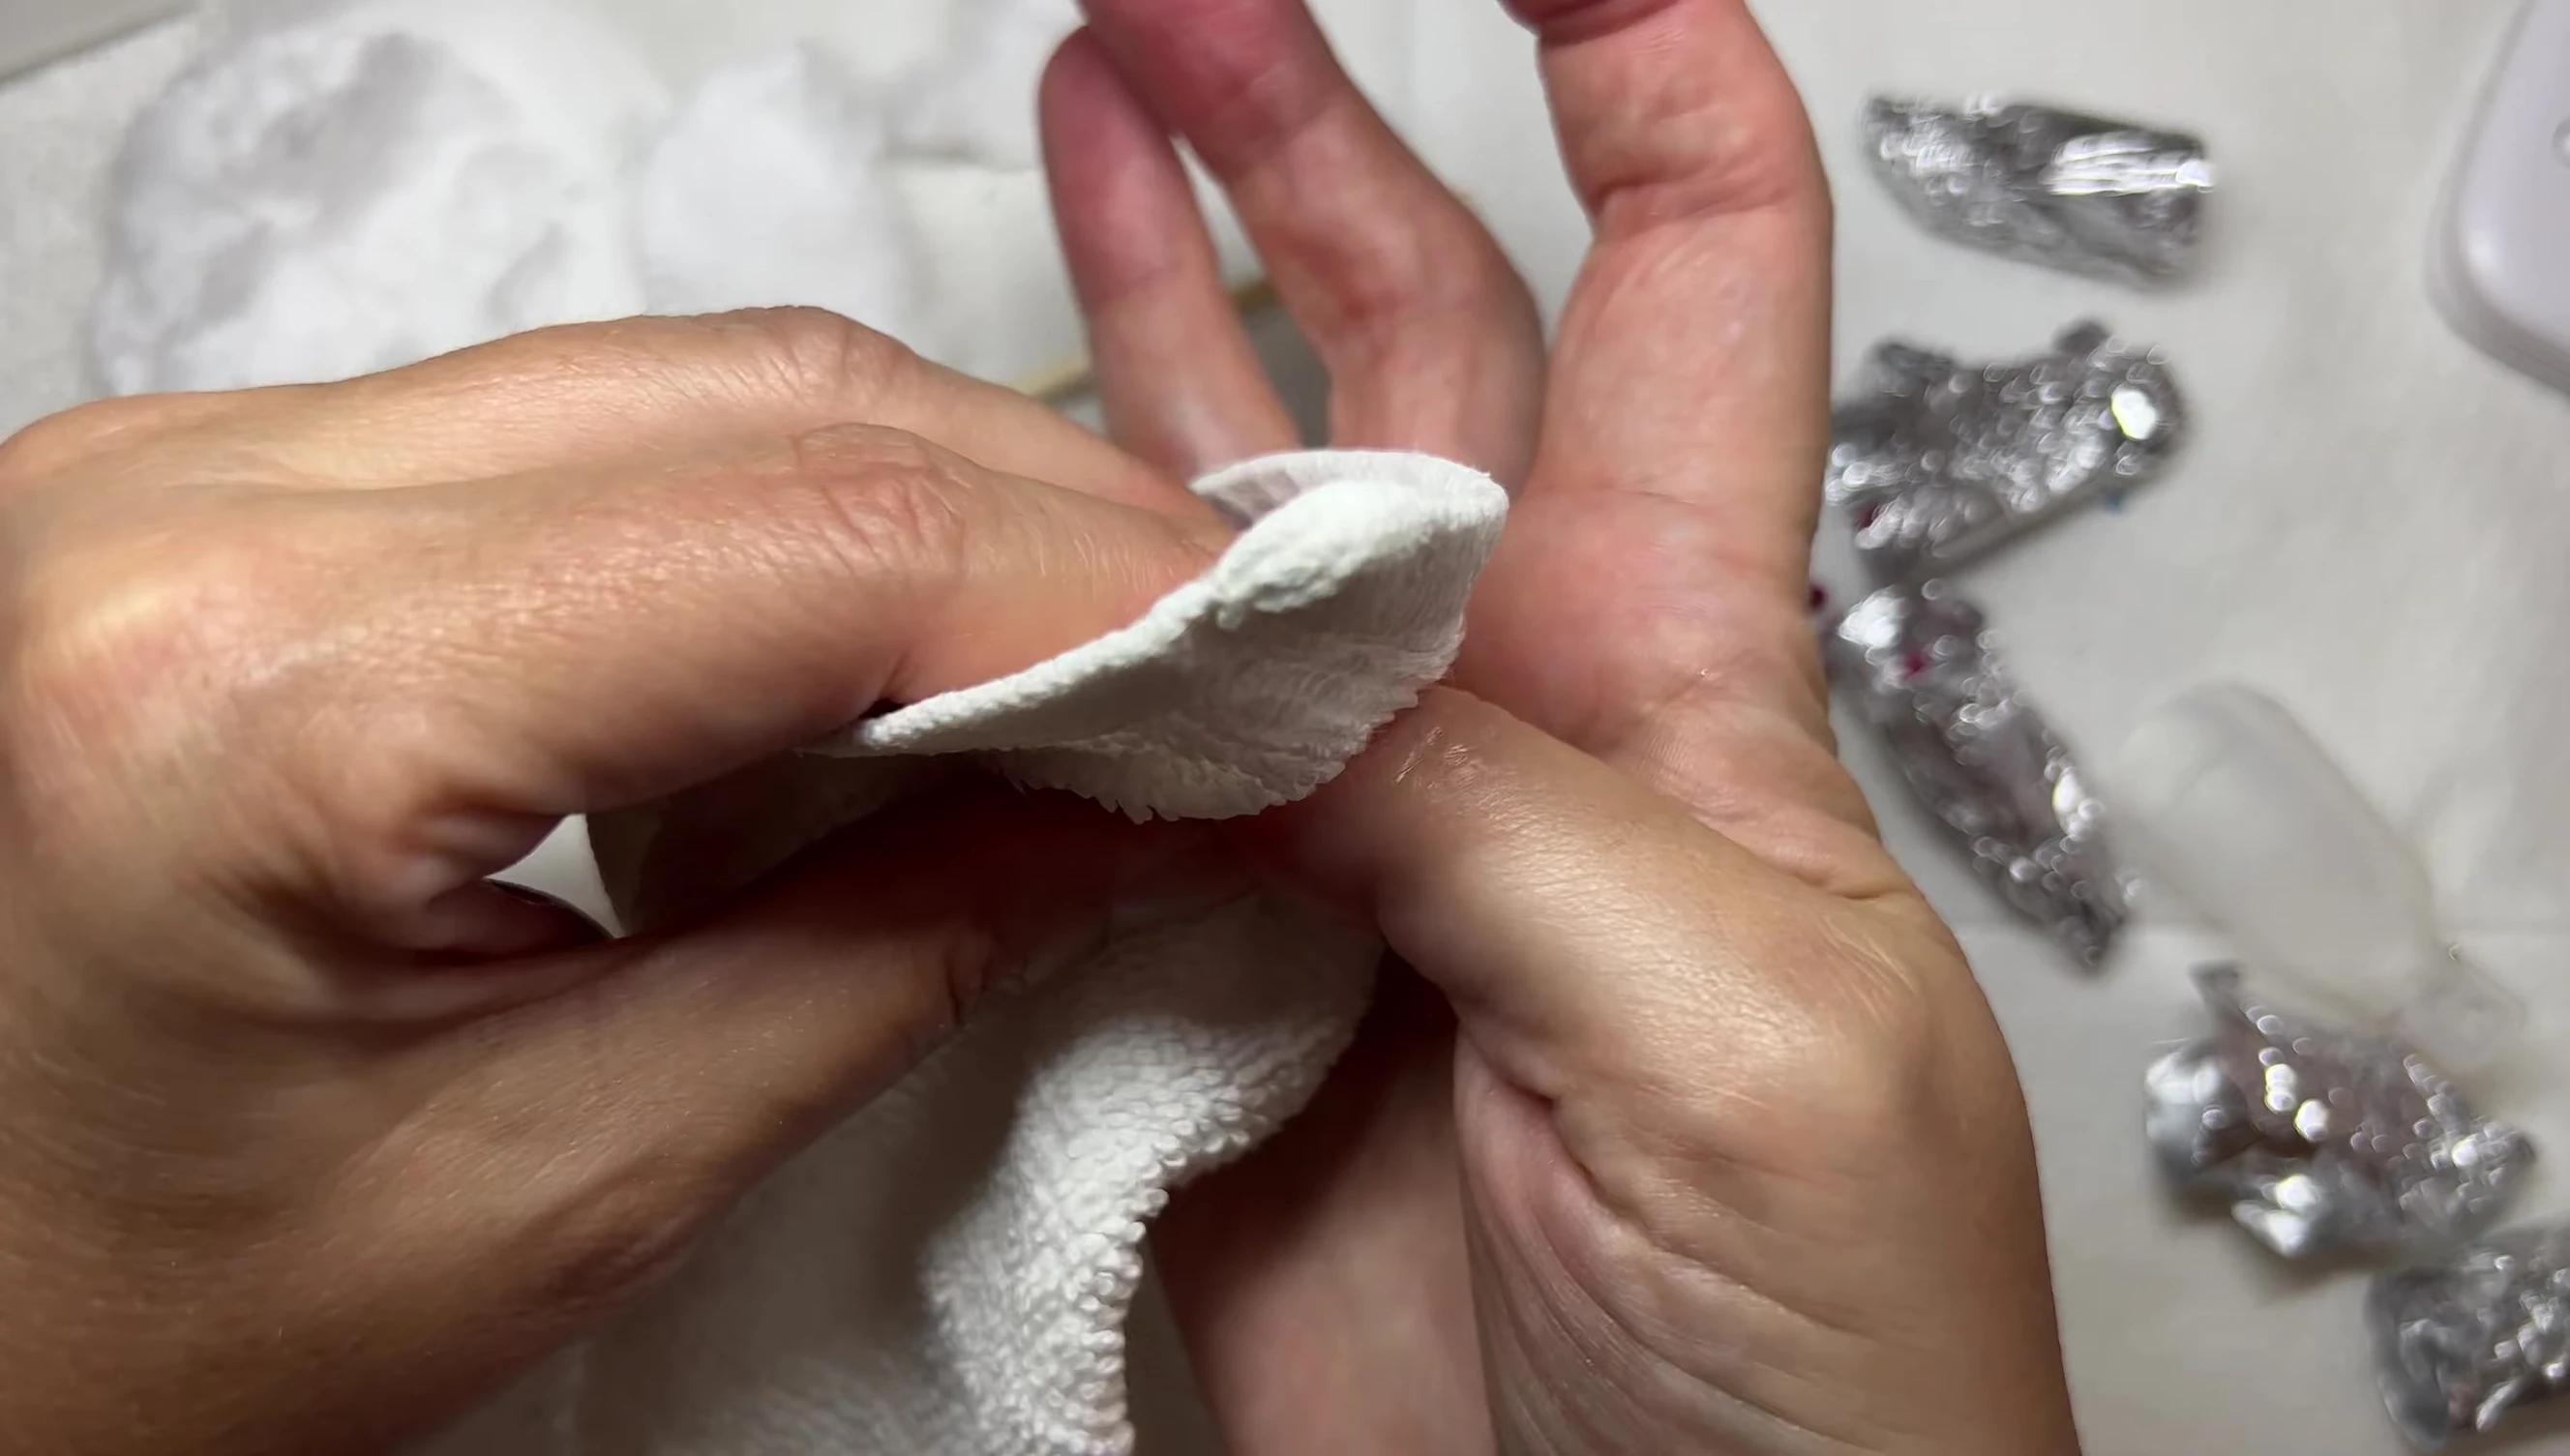
Use a soft towel to remove any remaining residue. Avoid harsh scraping, as this can damage the nail surface.
Product Recommendation and Conclusion
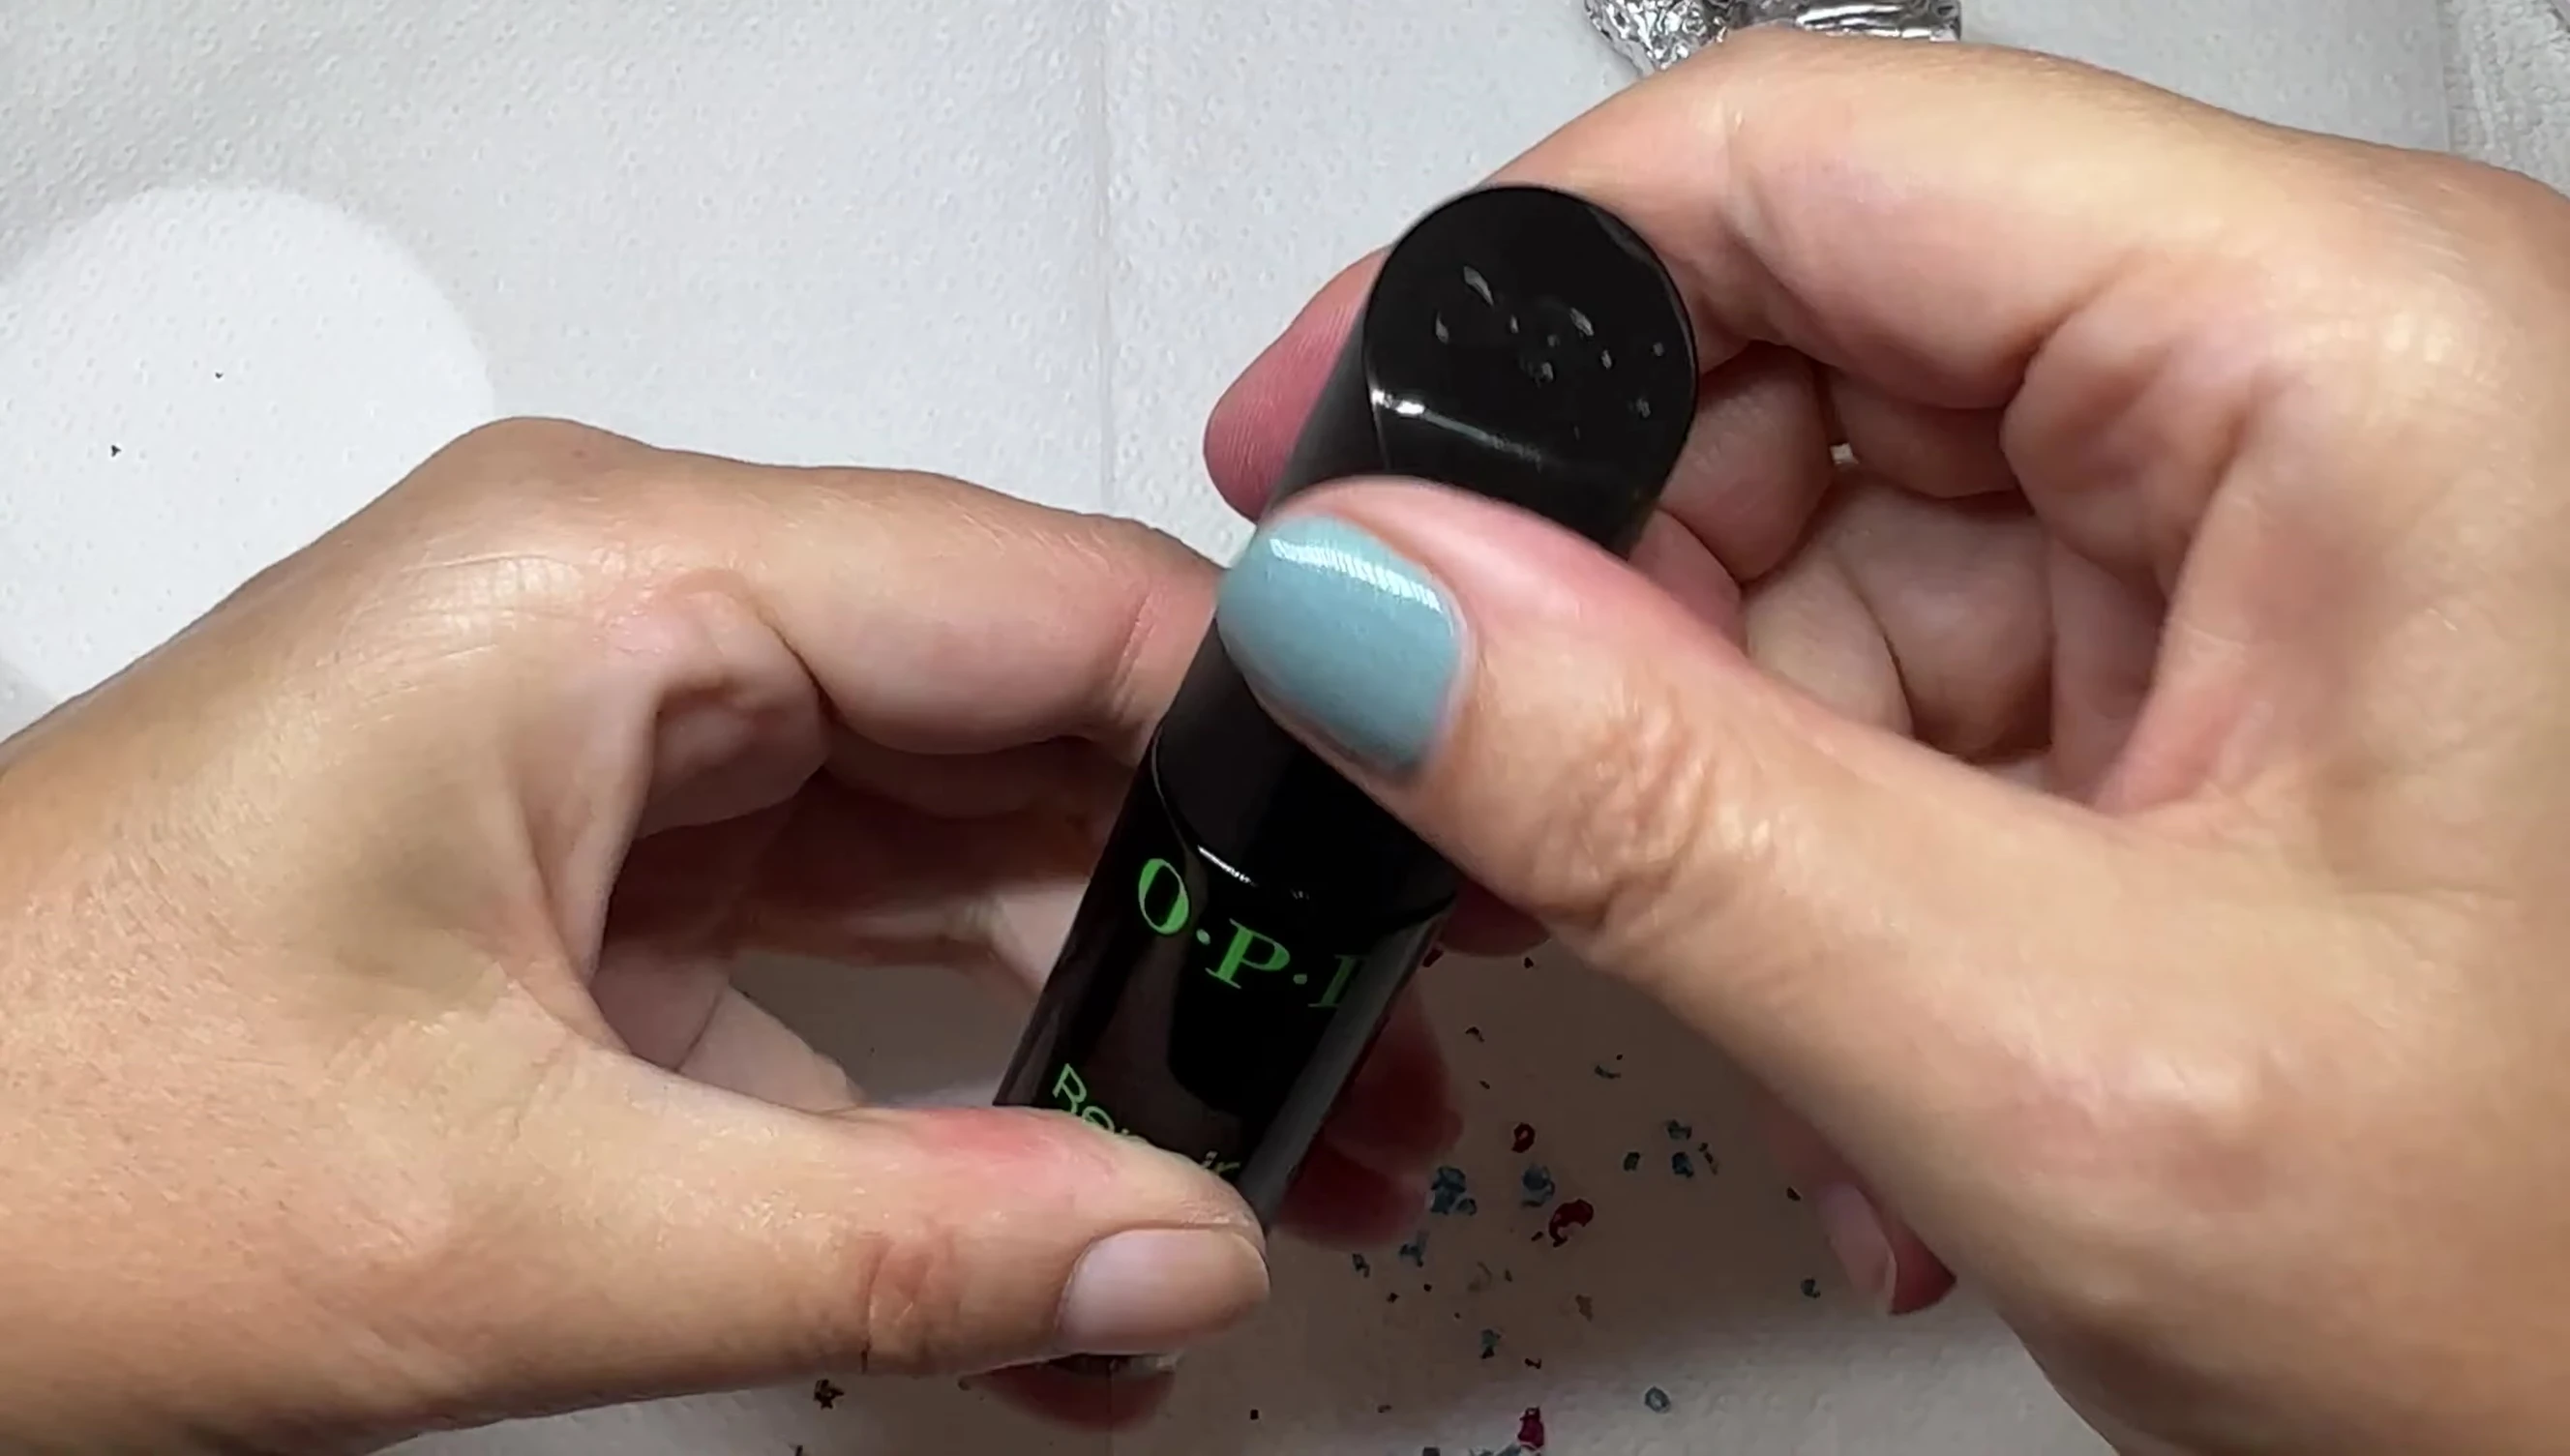
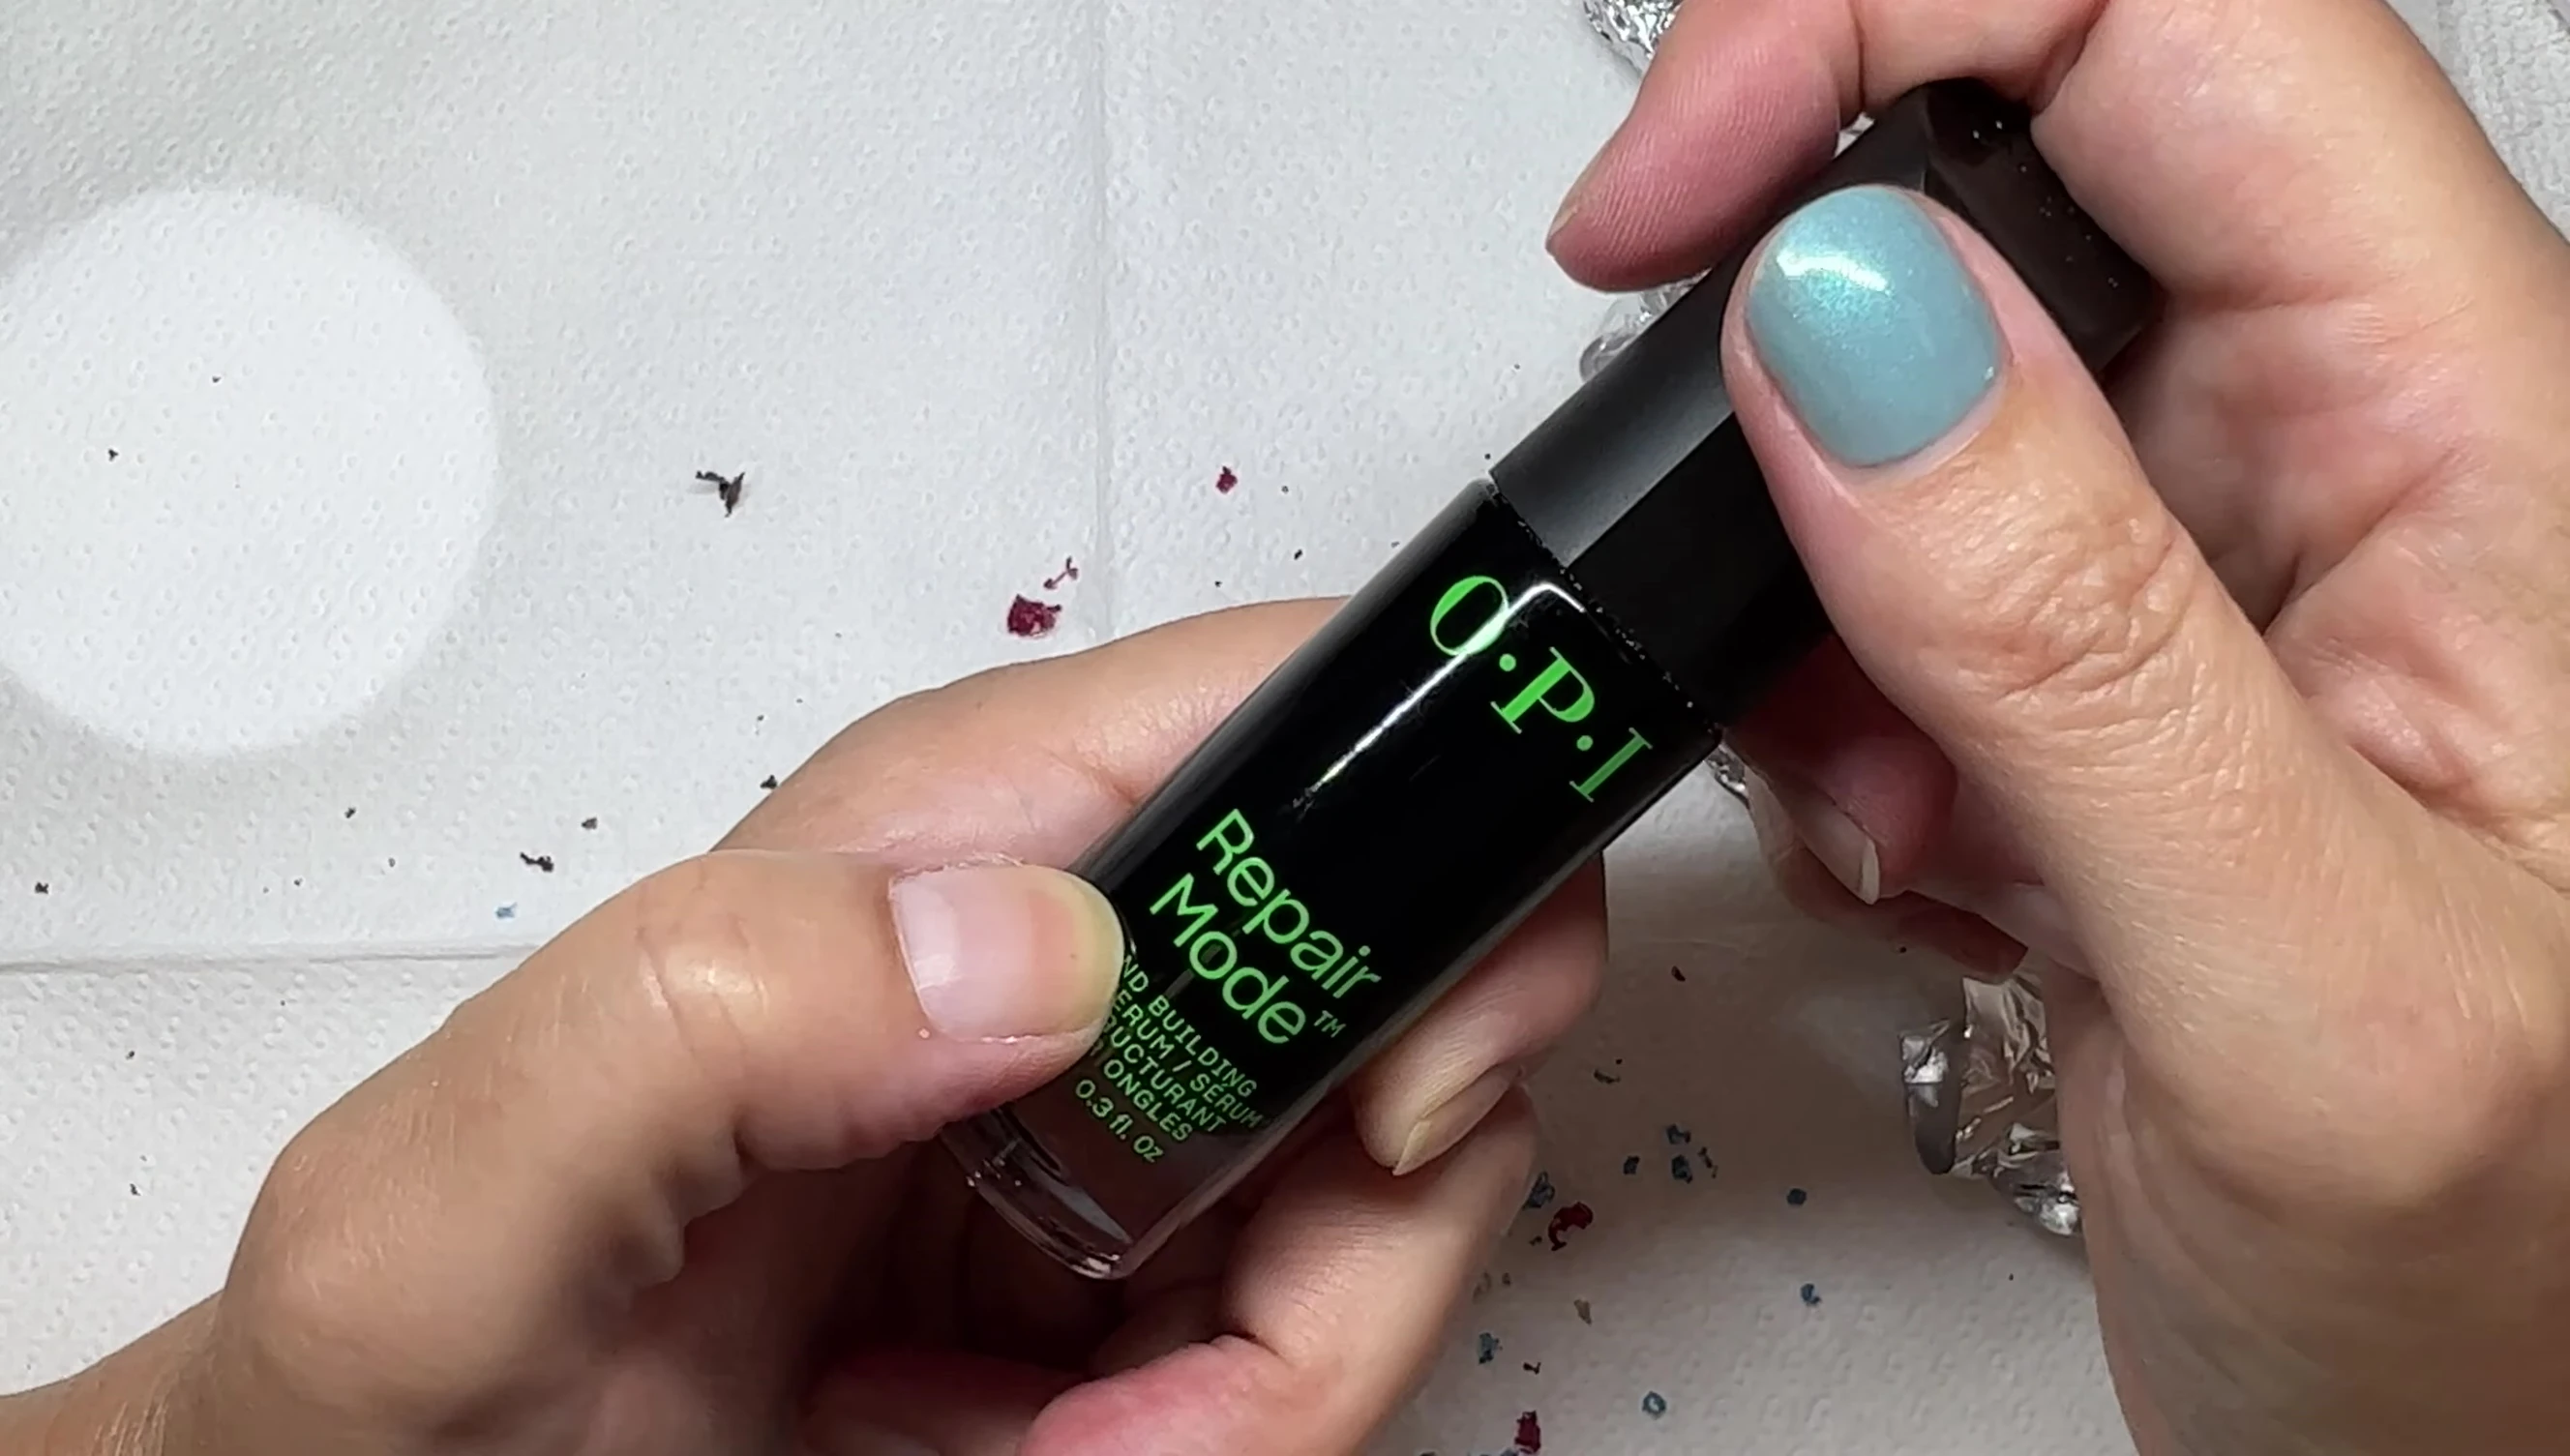
OPI Repair Mode is recommended for post-removal nail care. This product helps repair damaged nail bonds, strengthening and improving nail health.
Allowing a day break after removal before applying new polish, along with a warm oil soak, promotes better nail health.
Proper shellac removal using pure acetone is less damaging than prolonged wear. Remember to avoid harsh tools and techniques to prevent nail damage.