Achieve salon-quality gel nails from the comfort of your home with this easy step-by-step guide. Using the innovative SensationNAIL LED lamp, you can create a stunning, long-lasting manicure without the expense of a professional appointment. This guide provides clear instructions, perfect for both beginners and experienced at-home manicurists, ensuring a flawless finish every time. We'll walk you through each step, from proper nail preparation to the final top coat, utilizing the convenient features of the SensationNAIL lamp to simplify the process and guarantee precise curing times.Forget about chipped polish and short-lived manicures! This guide empowers you to create a professional-looking gel manicure that will last for weeks. With the help of the SensationNAIL LED lamp's automatic timer, achieving perfectly cured layers is effortless. Learn the techniques for applying thin, even coats of gel polish and discover how to avoid common mistakes for a truly polished and glamorous result. Get ready to enjoy beautiful, chip-resistant nails that will turn heads.
Pros And Cons
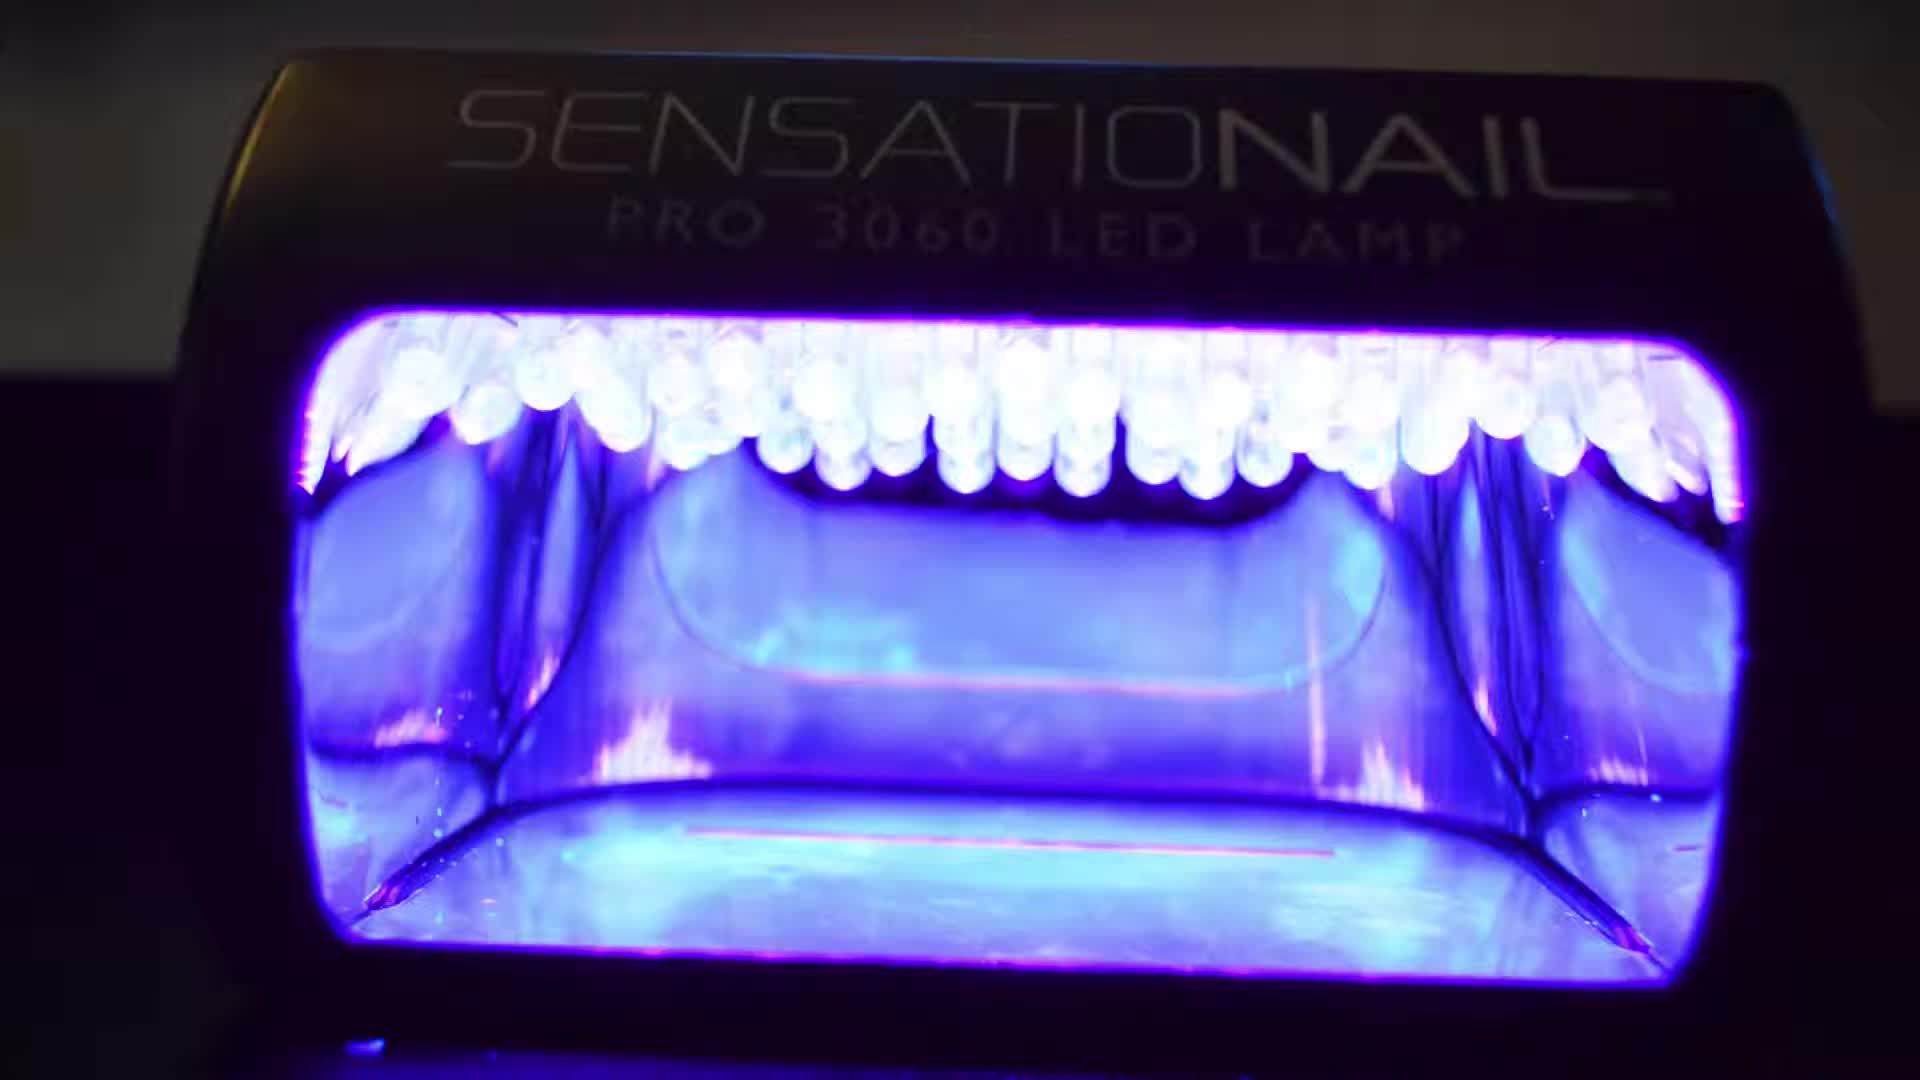
- Automatically turns off after one minute
- Cures gel polish in 30 seconds (base and top coat) and 1 minute (color coat)
Read more: Top 10 UV Nail Lamps: The Ultimate Guide
Nail Preparation
Begin by removing any existing nail polish. Gently file your nails to create a slightly rough surface, ensuring better adhesion for the gel polish. This step is crucial for long-lasting results. Remember to be gentle to avoid damaging your natural nails.
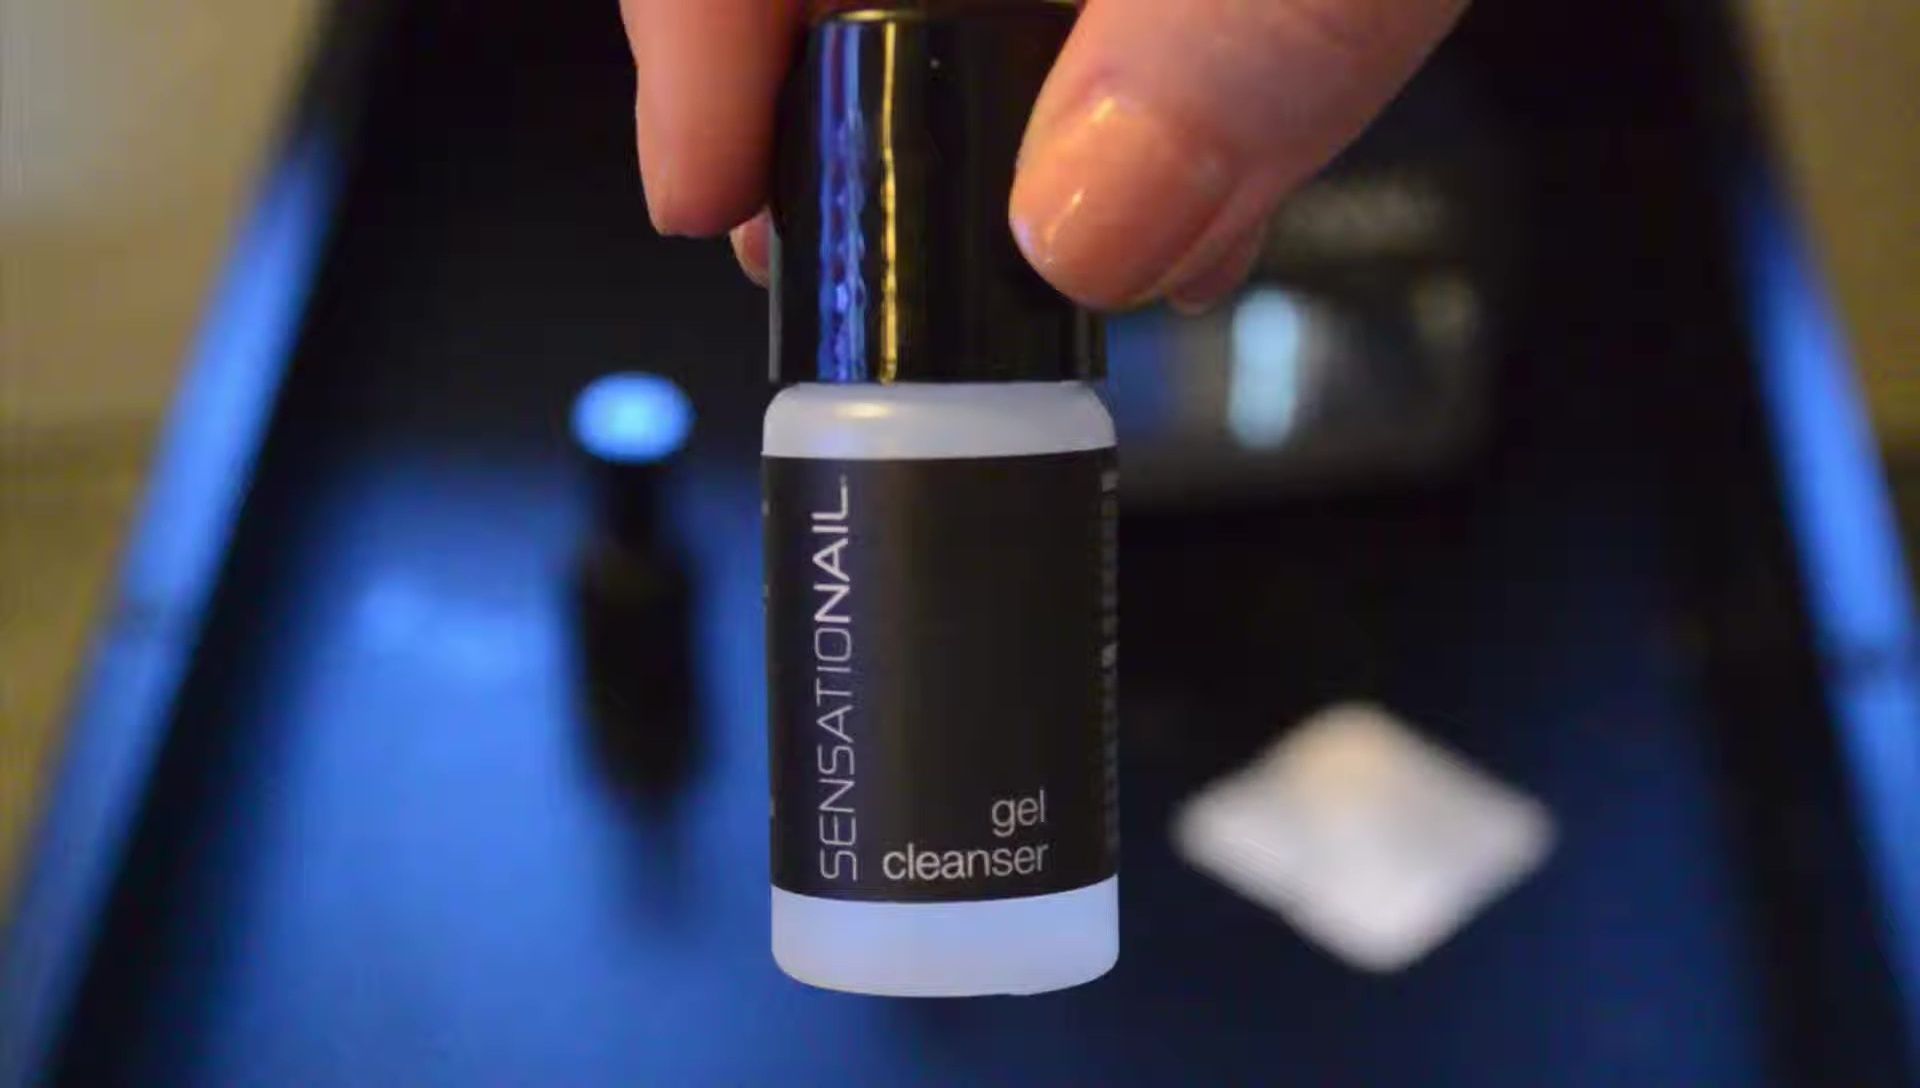
Applying Base Coat and Primer
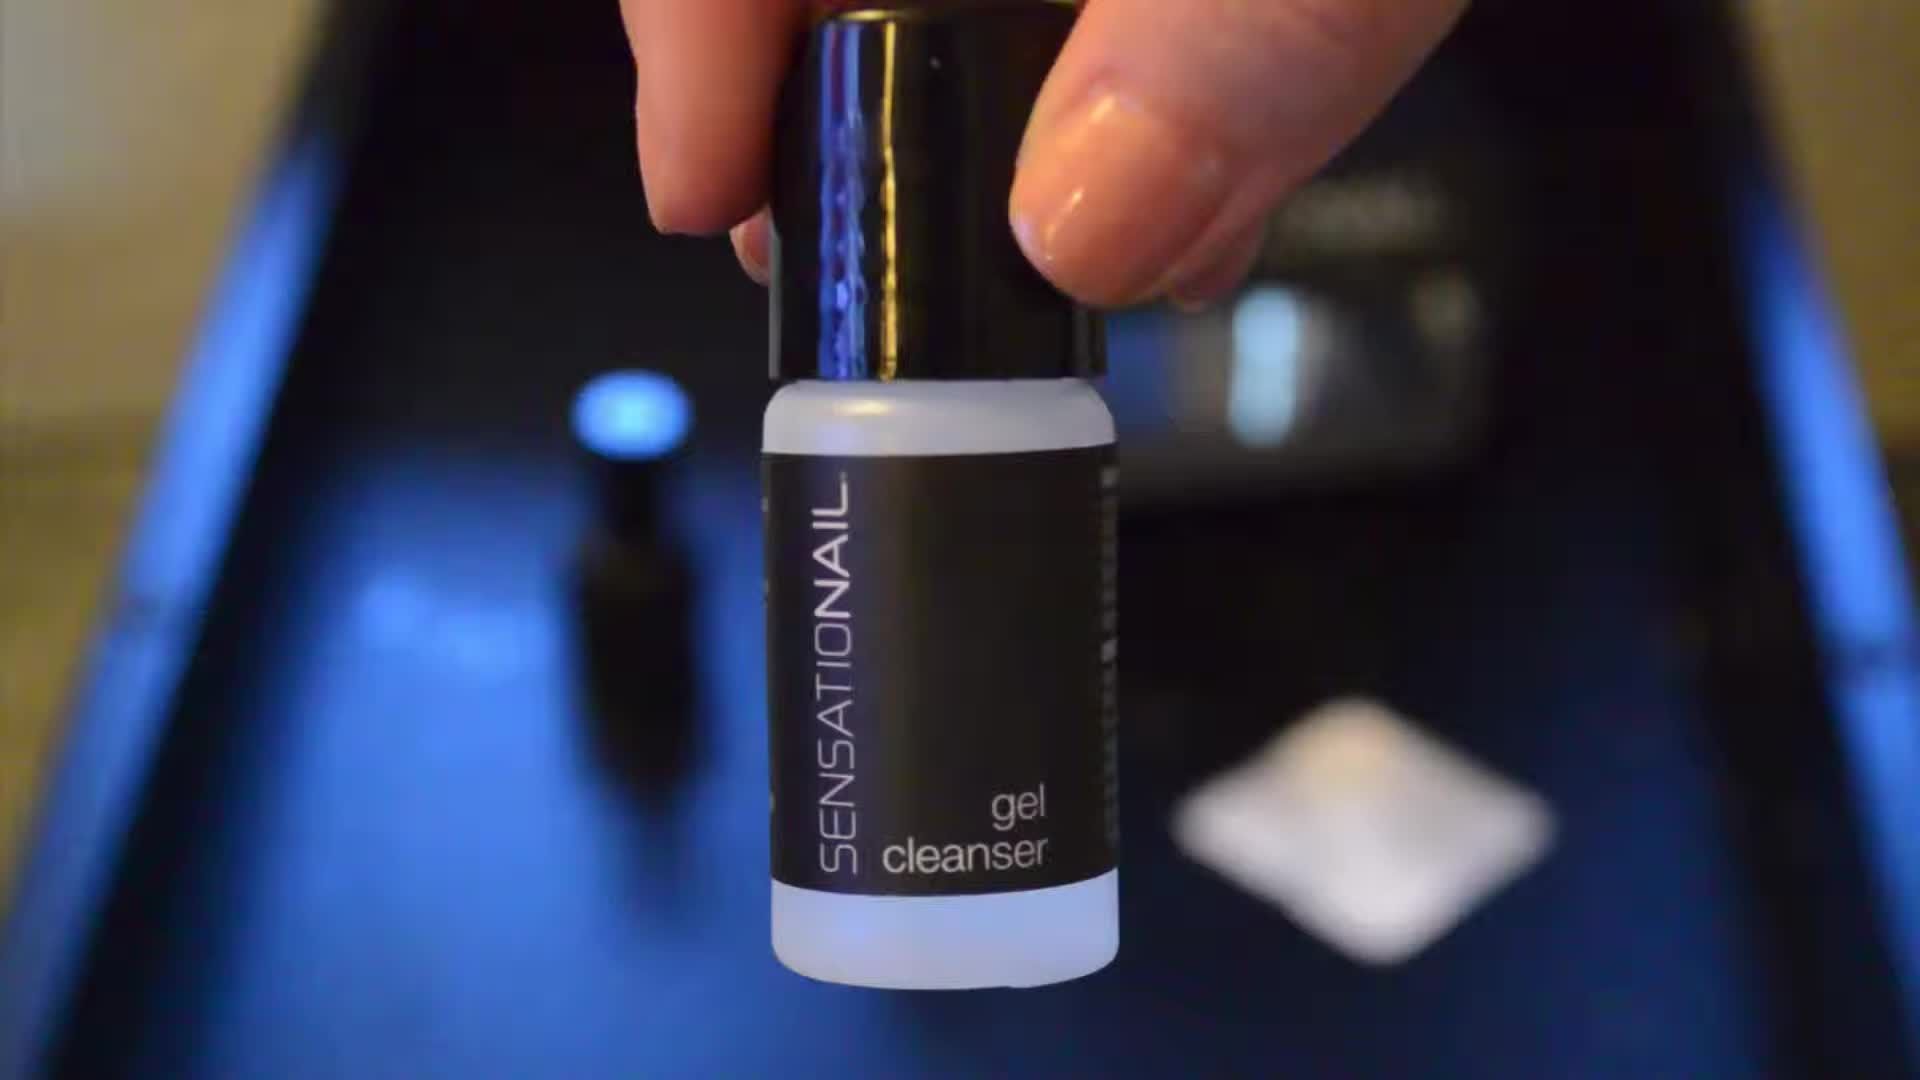
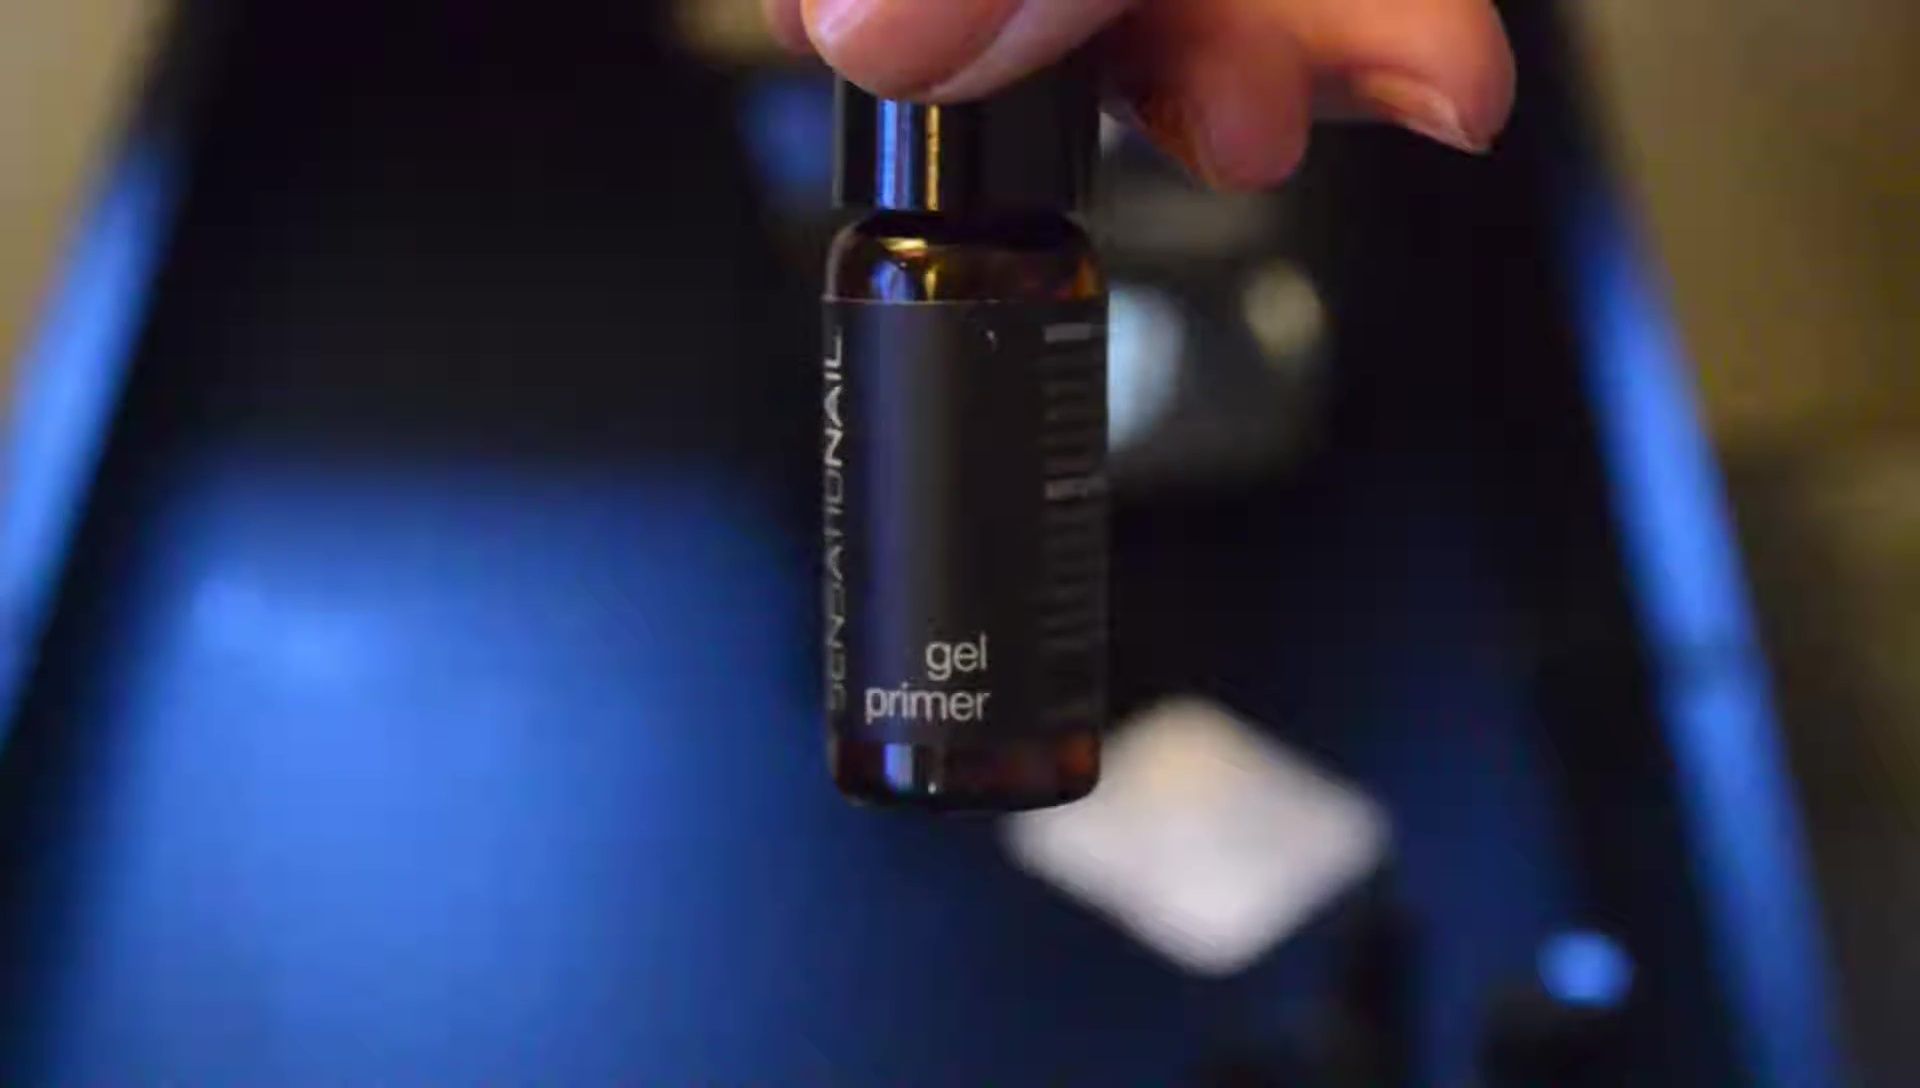
Cleanse your nails with a gel cleanser to remove any residue. Apply a thin layer of gel primer, ensuring even coverage. Allow the primer to dry completely before proceeding to the next step. This creates a strong bond between your natural nail and the gel polish.
Next, apply a thin layer of base coat, carefully avoiding your cuticles and skin. Cure the base coat under the SensationNAIL LED lamp for 30 seconds. The lamp will beep to signal completion.
Applying Color Gel Polish
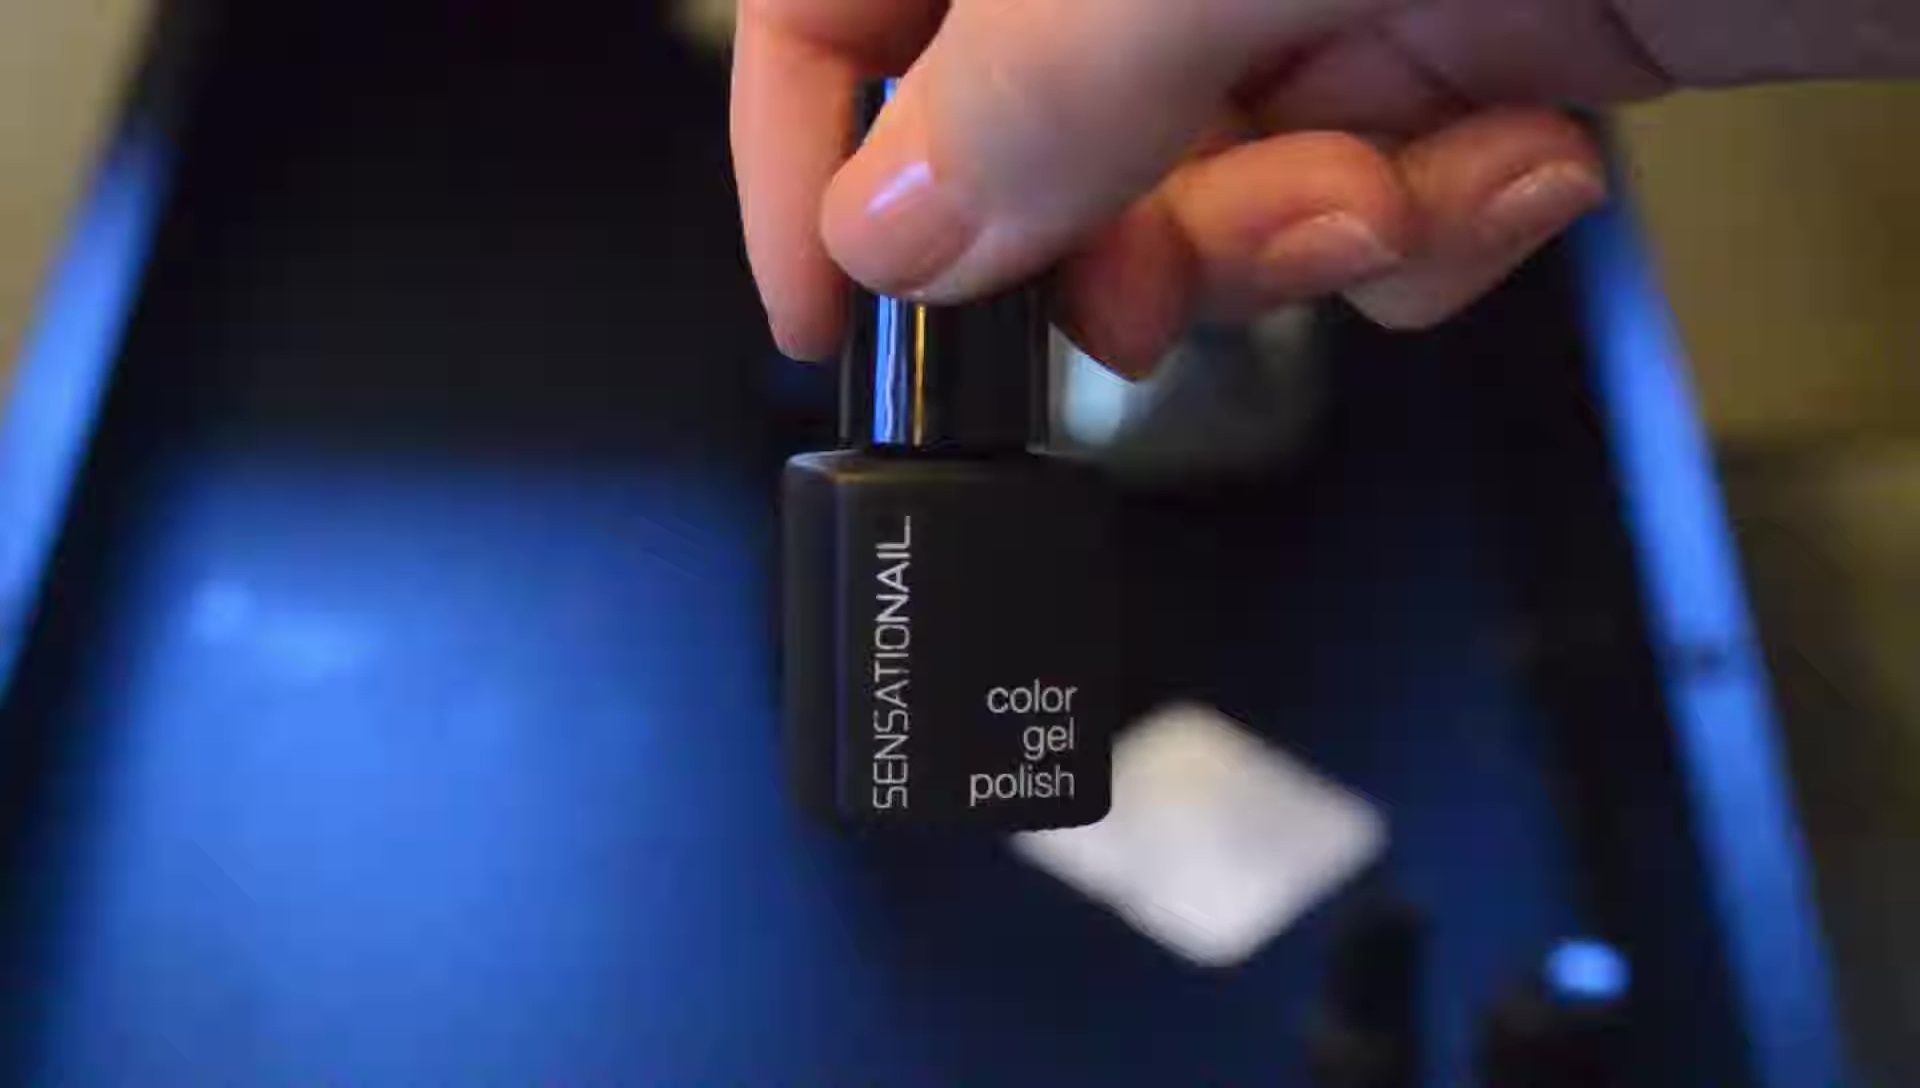
Apply a thin layer of your chosen gel polish color. Cure this layer under the LED lamp for one minute; the lamp will automatically turn off. For richer color, apply a second thin coat and cure for another minute. Repeat for the other hand.

Top Coat and Finishing
Apply a thin layer of top coat to protect your manicure and add shine. Cure the top coat under the LED lamp for 30 seconds. Finally, use the gel cleanser to gently wipe down your nails, removing any stickiness or residue. This step leaves your nails smooth and shiny.

Your gel manicure is now complete! Enjoy your beautiful, long-lasting nails.
Conclusion
This guide demonstrates a simple and effective method for achieving a professional-looking gel manicure at home using the SensationNAIL LED lamp. The lamp's automatic timer feature simplifies the curing process, ensuring accurate timing for optimal results. The process is straightforward, even for beginners. The key is to use thin coats and to ensure proper curing times for a long-lasting and flawless finish.