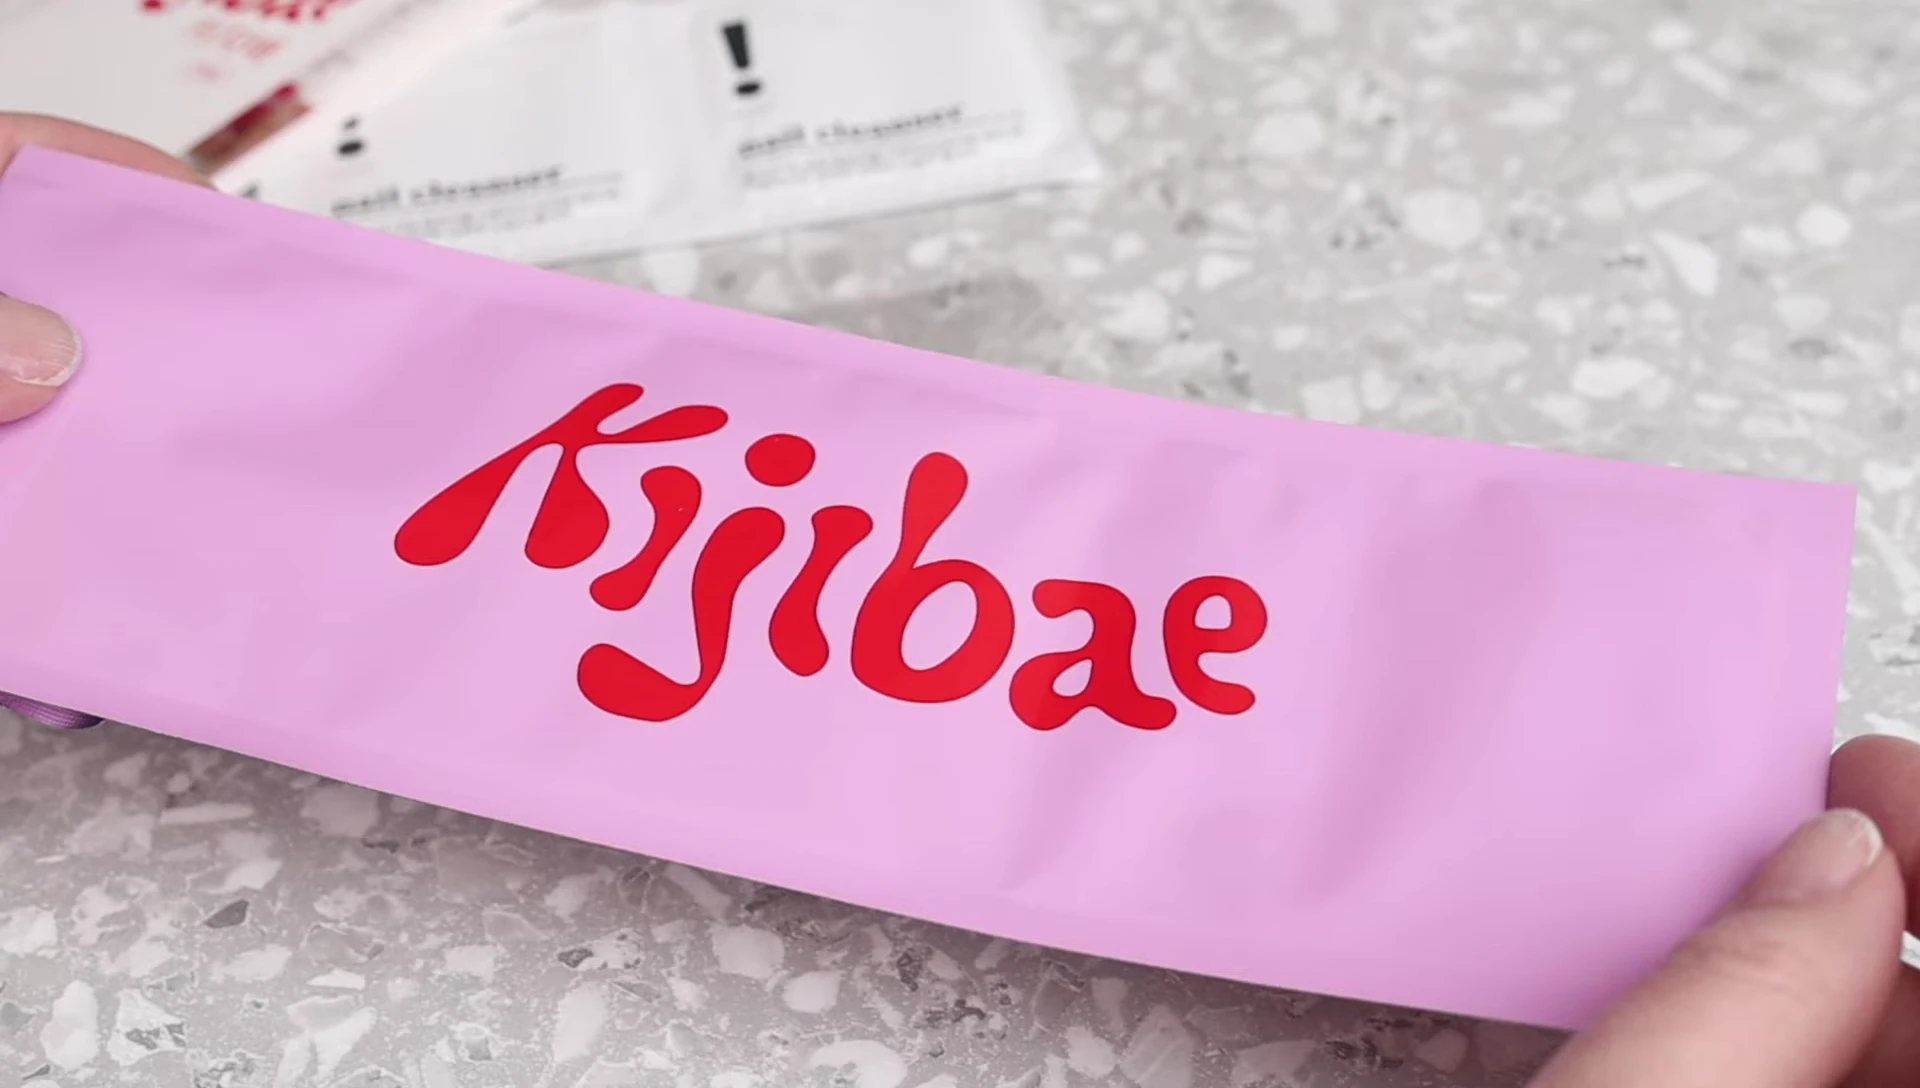
This detailed review dives deep into the Kijibae nail strip application process, offering a comprehensive guide for achieving a salon-quality manicure at home. We'll explore every step, from unboxing the kit and preparing your nails to the application technique, curing process, and finishing touches. Unlike other nail strip brands, Kijibae's unique design and included tools will be thoroughly examined, comparing the experience to popular competitors like Lit Doll and HeiHi. We’ll analyze the longevity of the manicure and discuss the impact of proper preparation and curing on the final result.This in-depth guide will equip you with the knowledge and techniques needed to successfully apply Kijibae nail strips. We’ll cover crucial pre-application steps, addressing common challenges and offering solutions for achieving a flawless finish. We'll also assess the quality of the included tools and materials, comparing them to those found in similar kits. Finally, we'll share our findings on the overall longevity and aesthetic appeal of the Kijibae manicure, providing valuable insights for anyone considering this convenient at-home nail solution.
Pros And Cons
- Longer than typical nail strips
- Individual covers for each strip in packaging
- Cuticle edge is more see-through for a natural fade
- Stretchy material allows for width adjustment
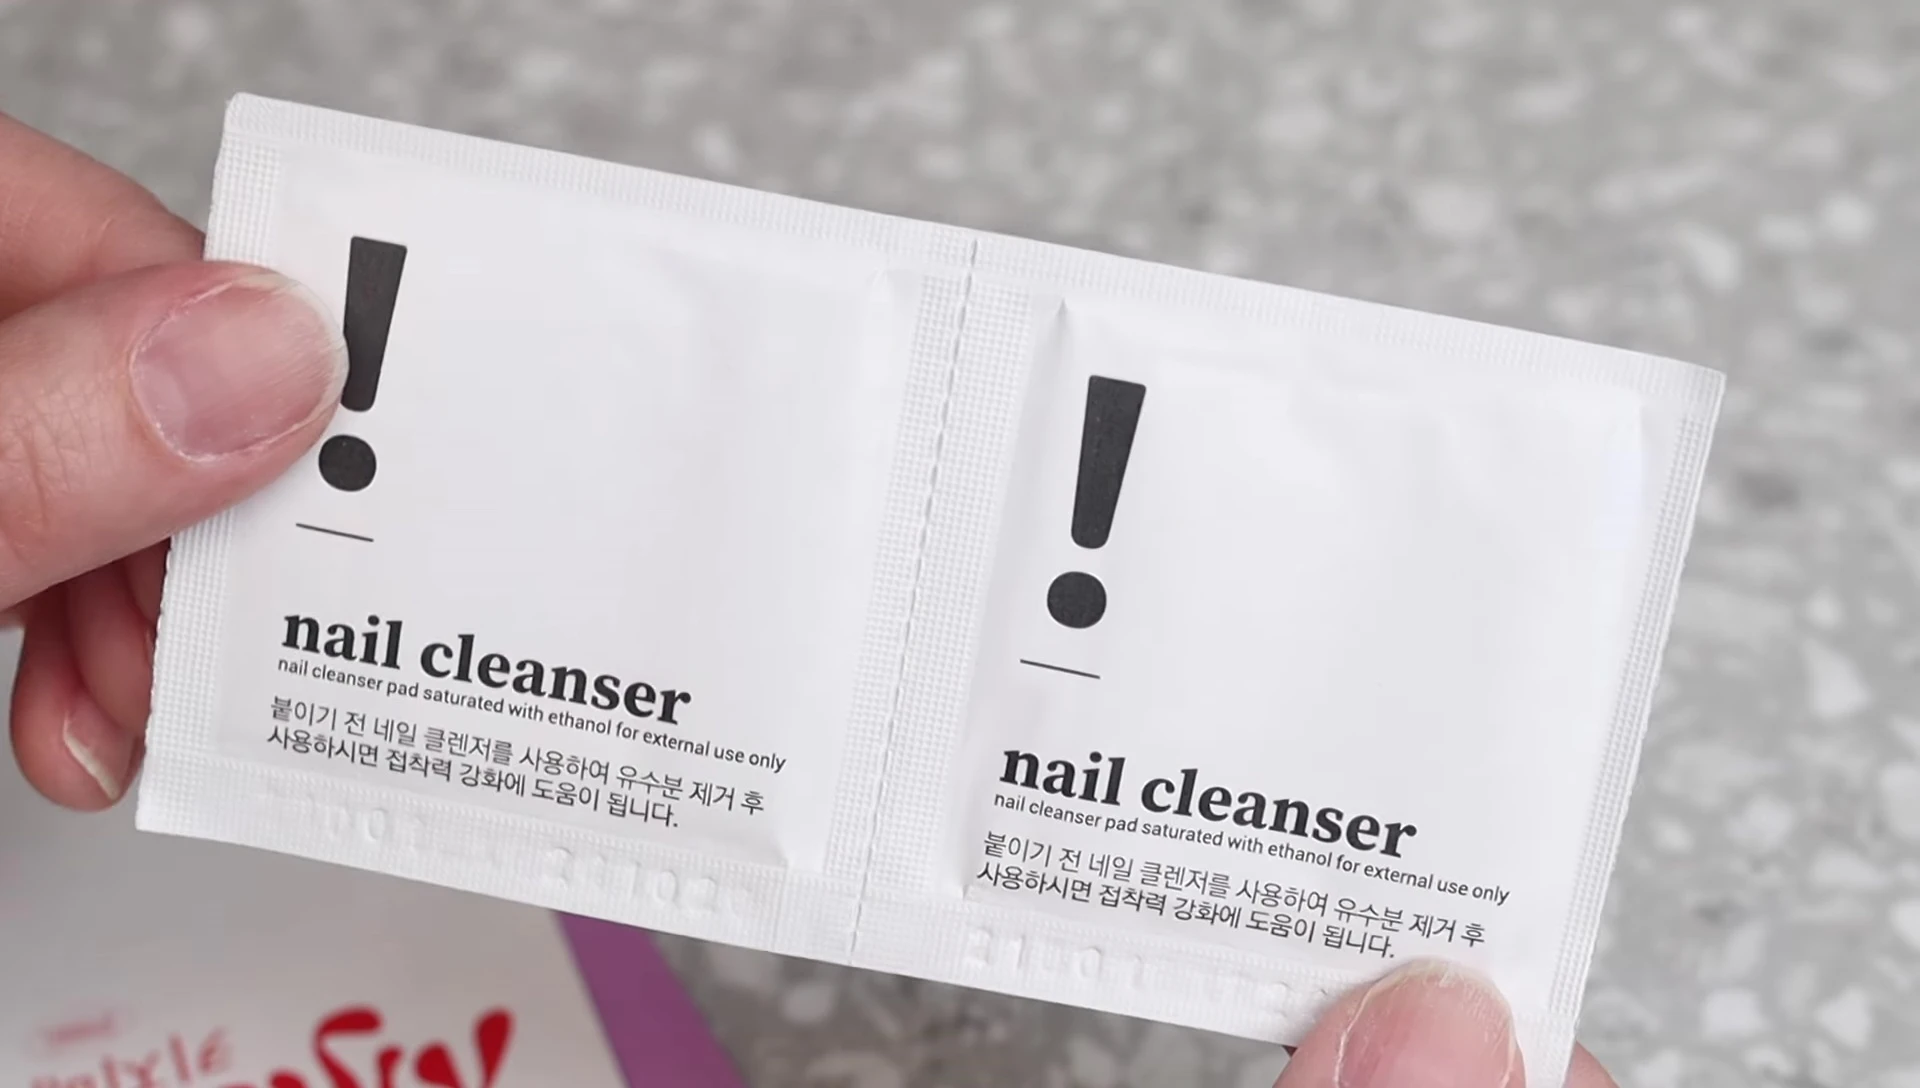
- Included nail cleanser wipes are lint-free and plush
- Peeling the protective layer from the strips is trickier than with other brands
- May require more force to peel, potentially distorting the design
- Only one manicure's worth of strips in a package despite having leftovers
Read more: Let's Talk About Legs Part 2: A Deep Dive into the Margaret Dabbs Leg Range
Unboxing and First Impressions
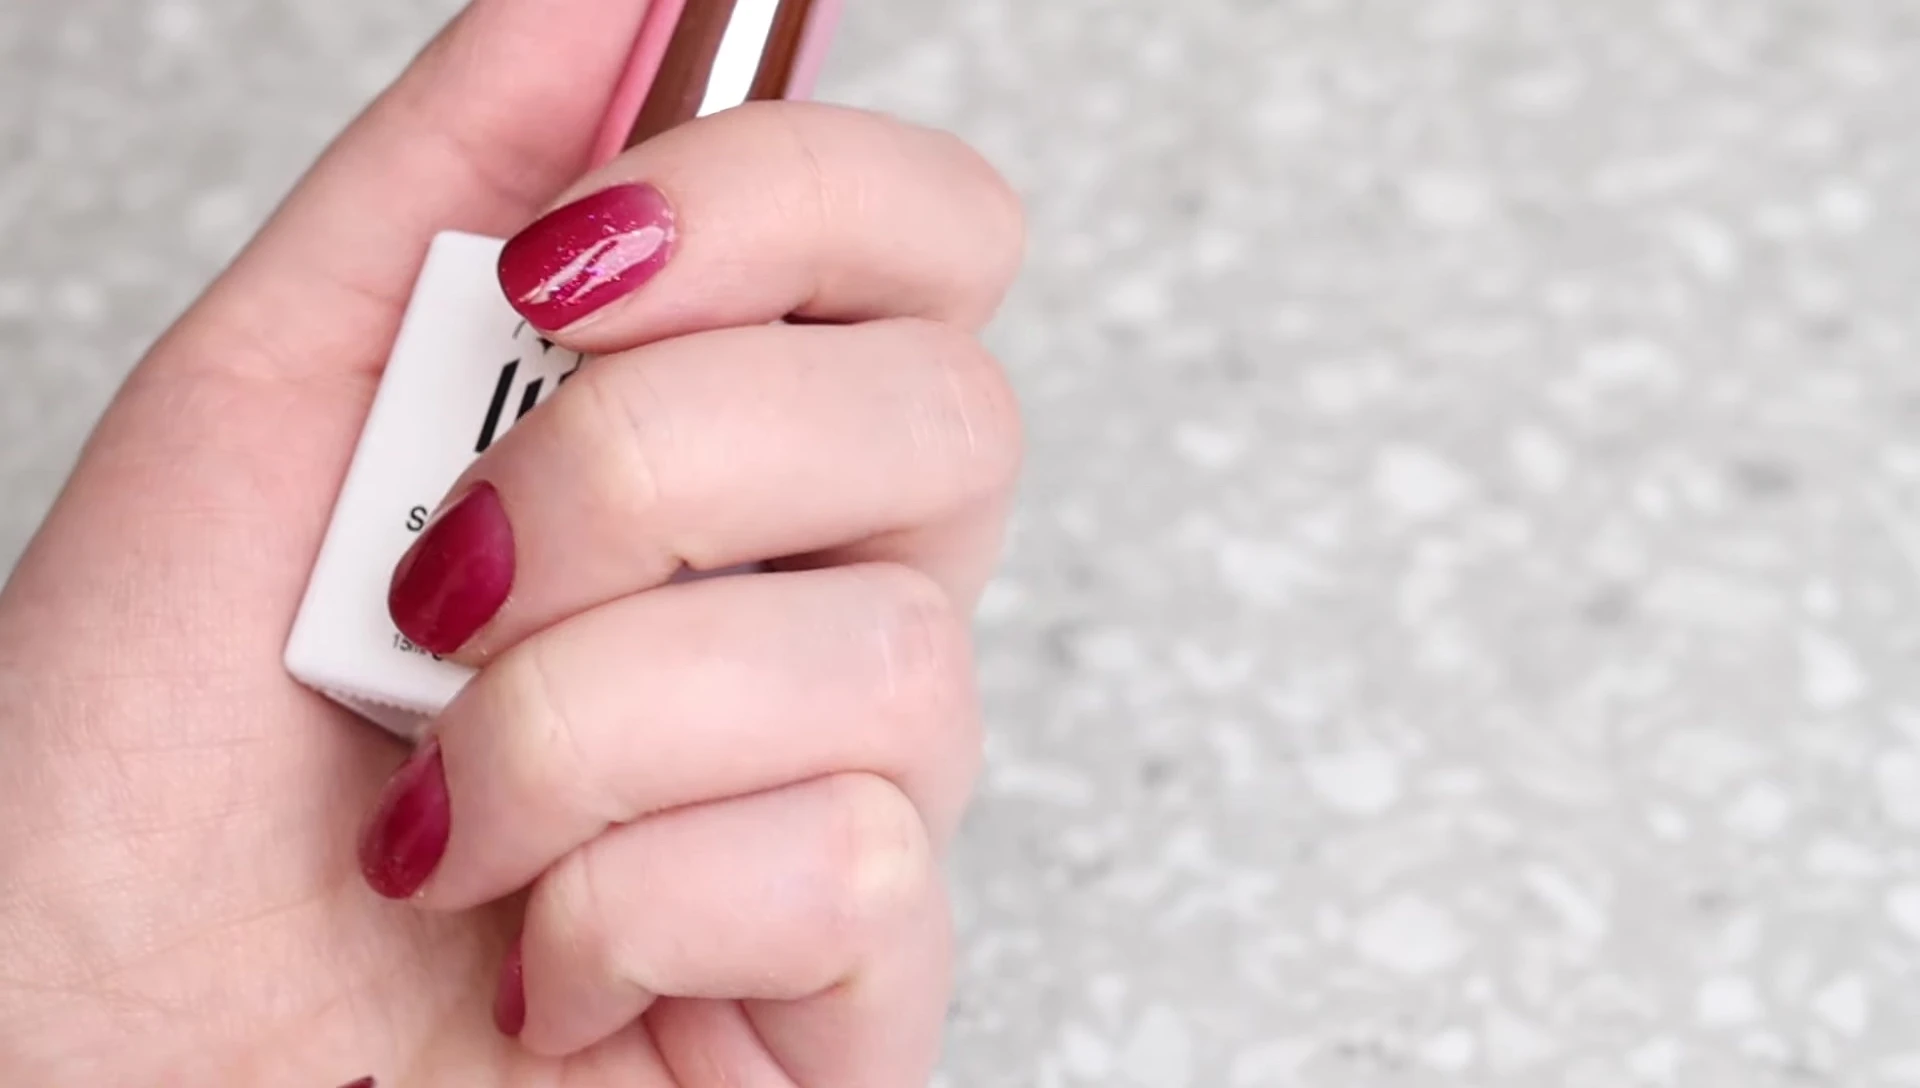
Upon opening the Kijibae nail strip package, I was pleasantly surprised by the inclusion of a rubber tip cuticle pusher – a tool I believe should be a standard in all nail kits. The package also contained two generously sized nail cleanser wipes and a detailed instruction booklet with step-by-step pictures. This level of detail exceeded my expectations compared to other brands.
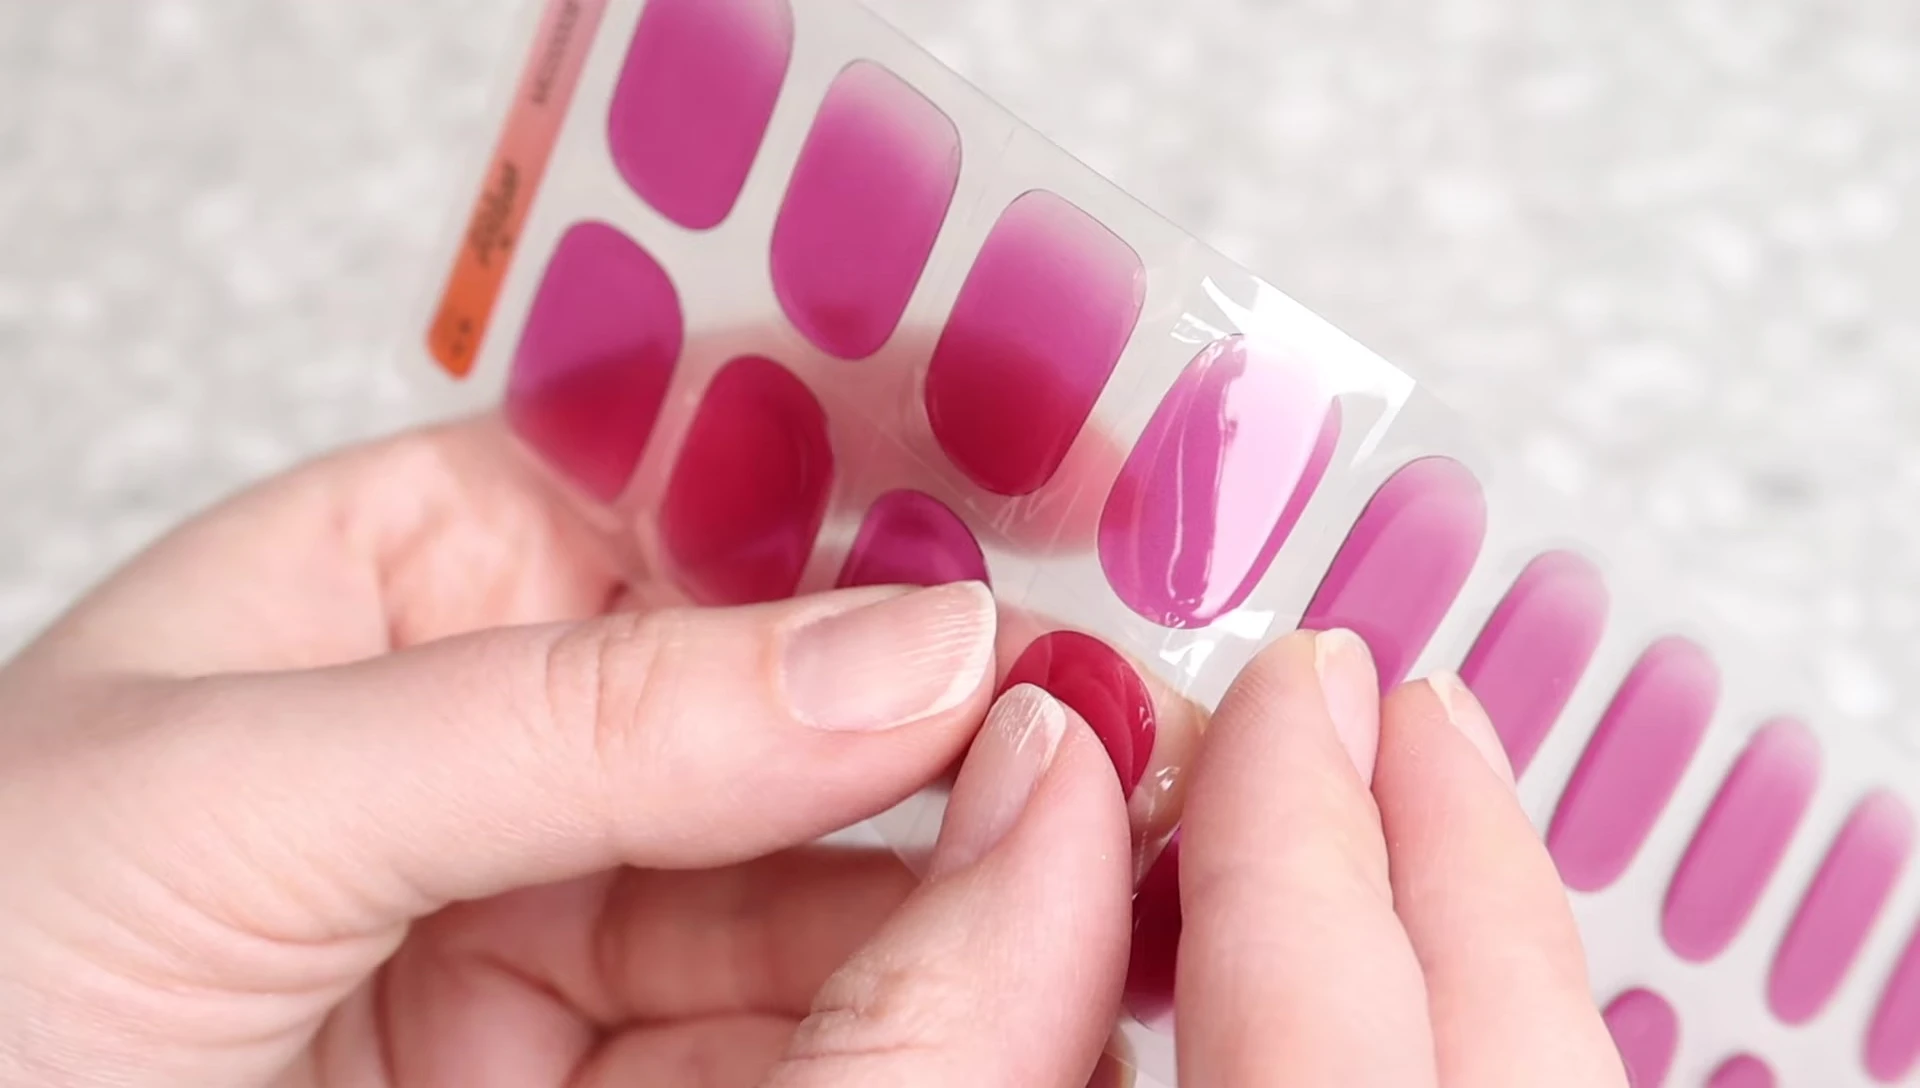
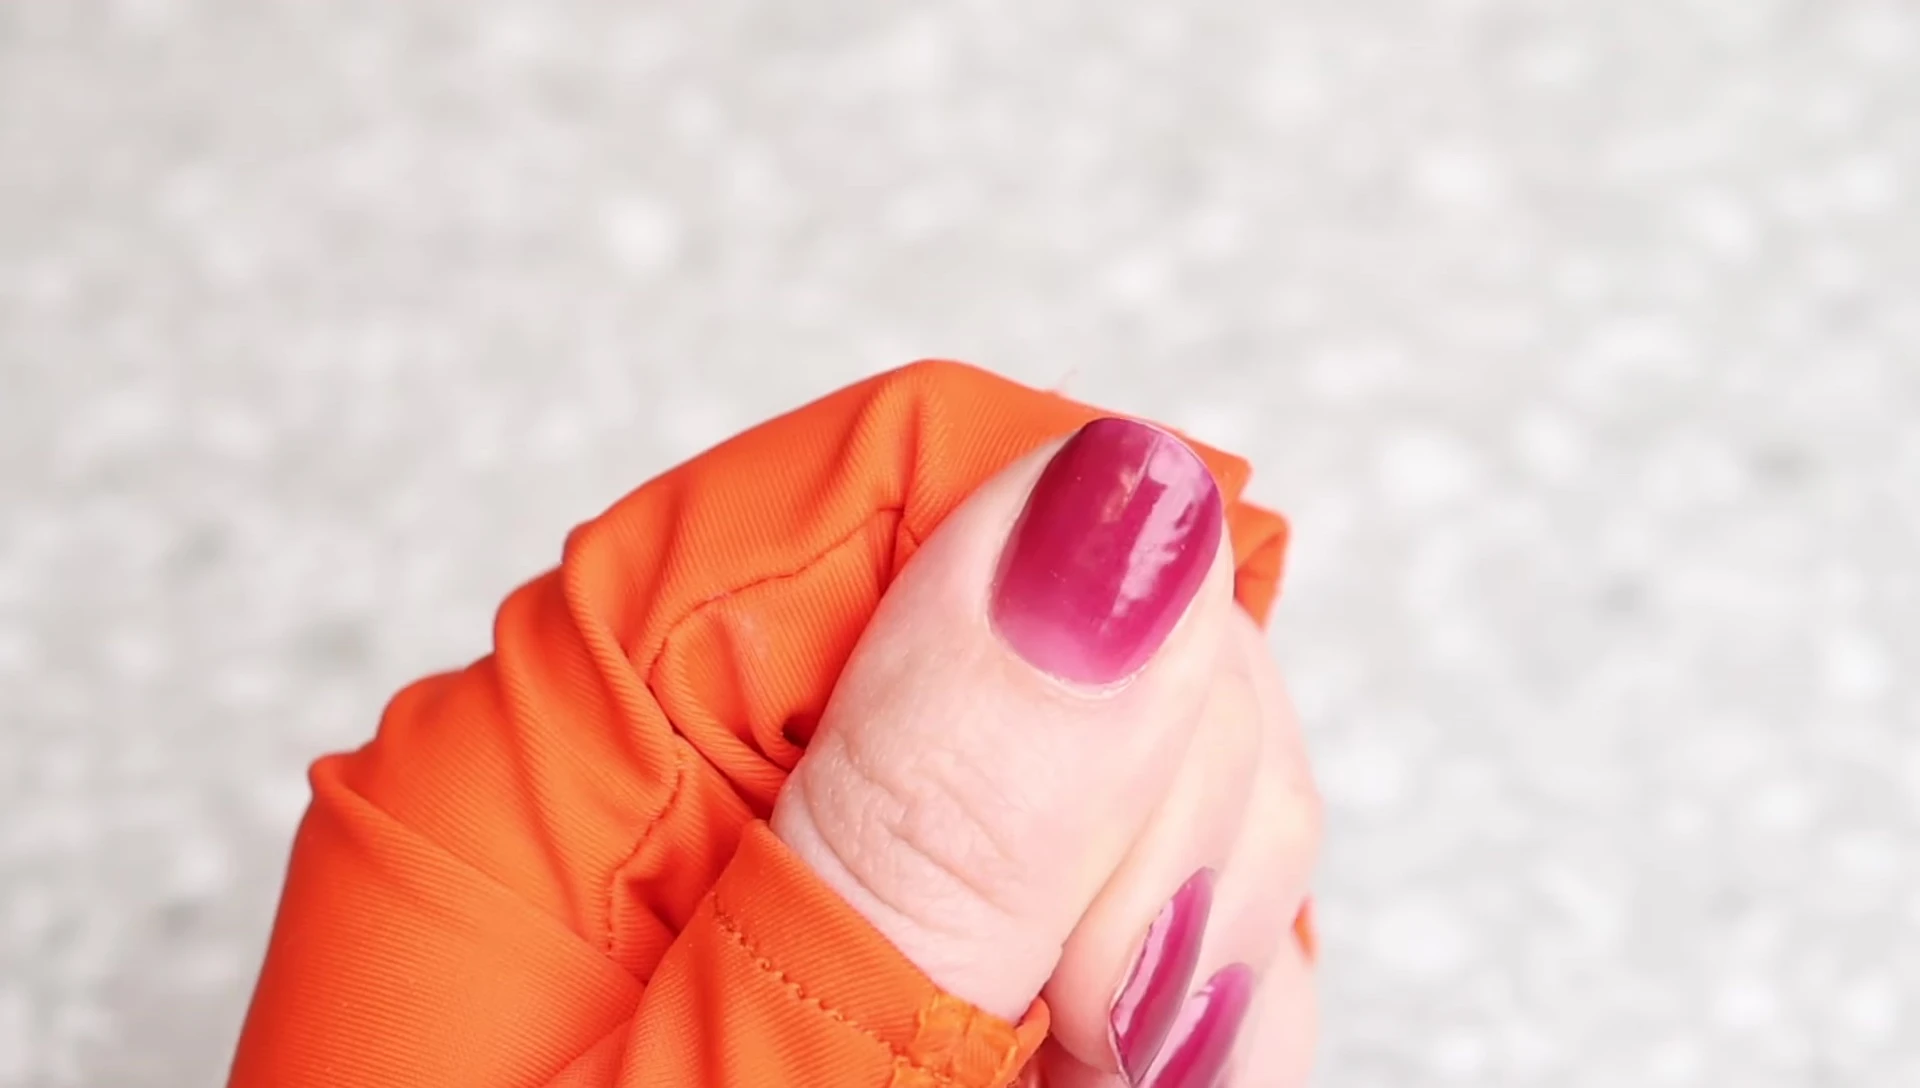
The nail strips themselves were noticeably longer than those from competing brands like Lit Doll and HeiHi. This unique format, with all nails on a single strip, was a first for me. The individual protective covers for each nail strip were also a welcome improvement over the typical shared flap.
Nail Preparation and Application Tips
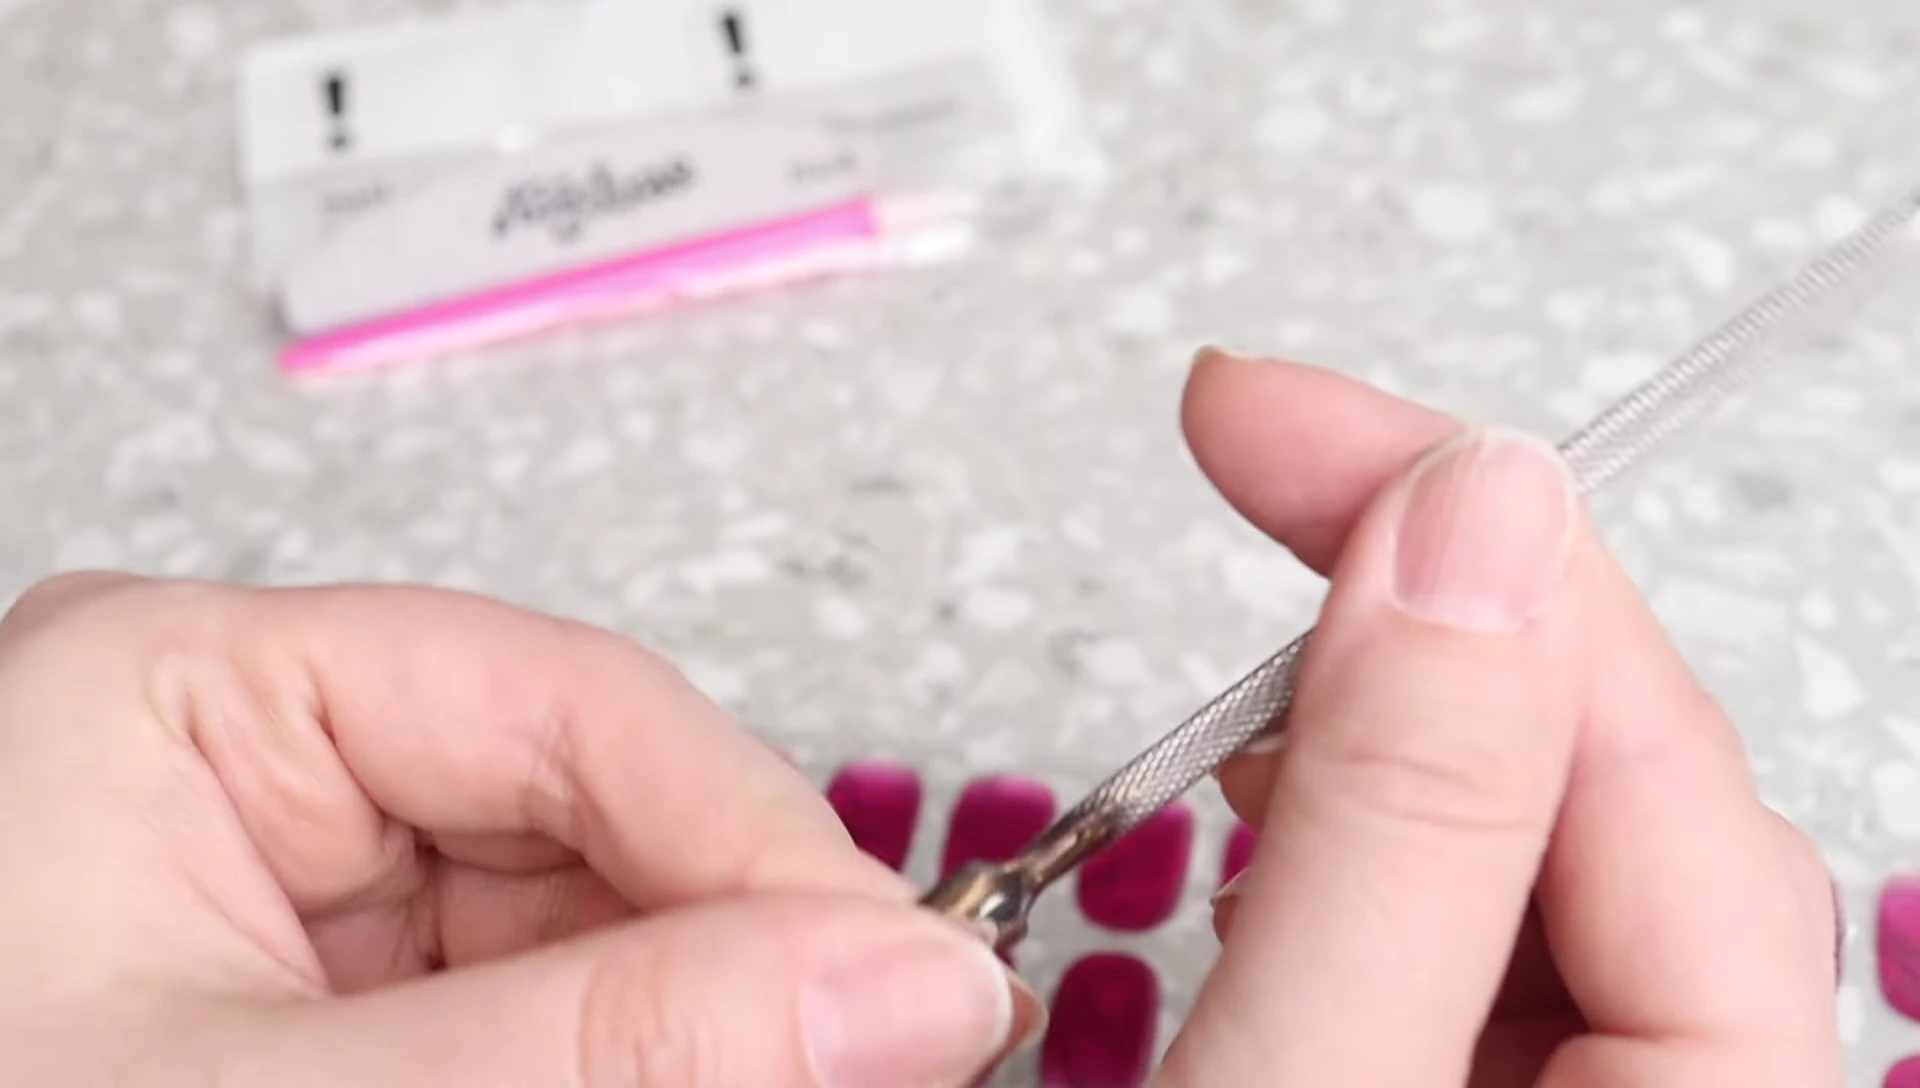
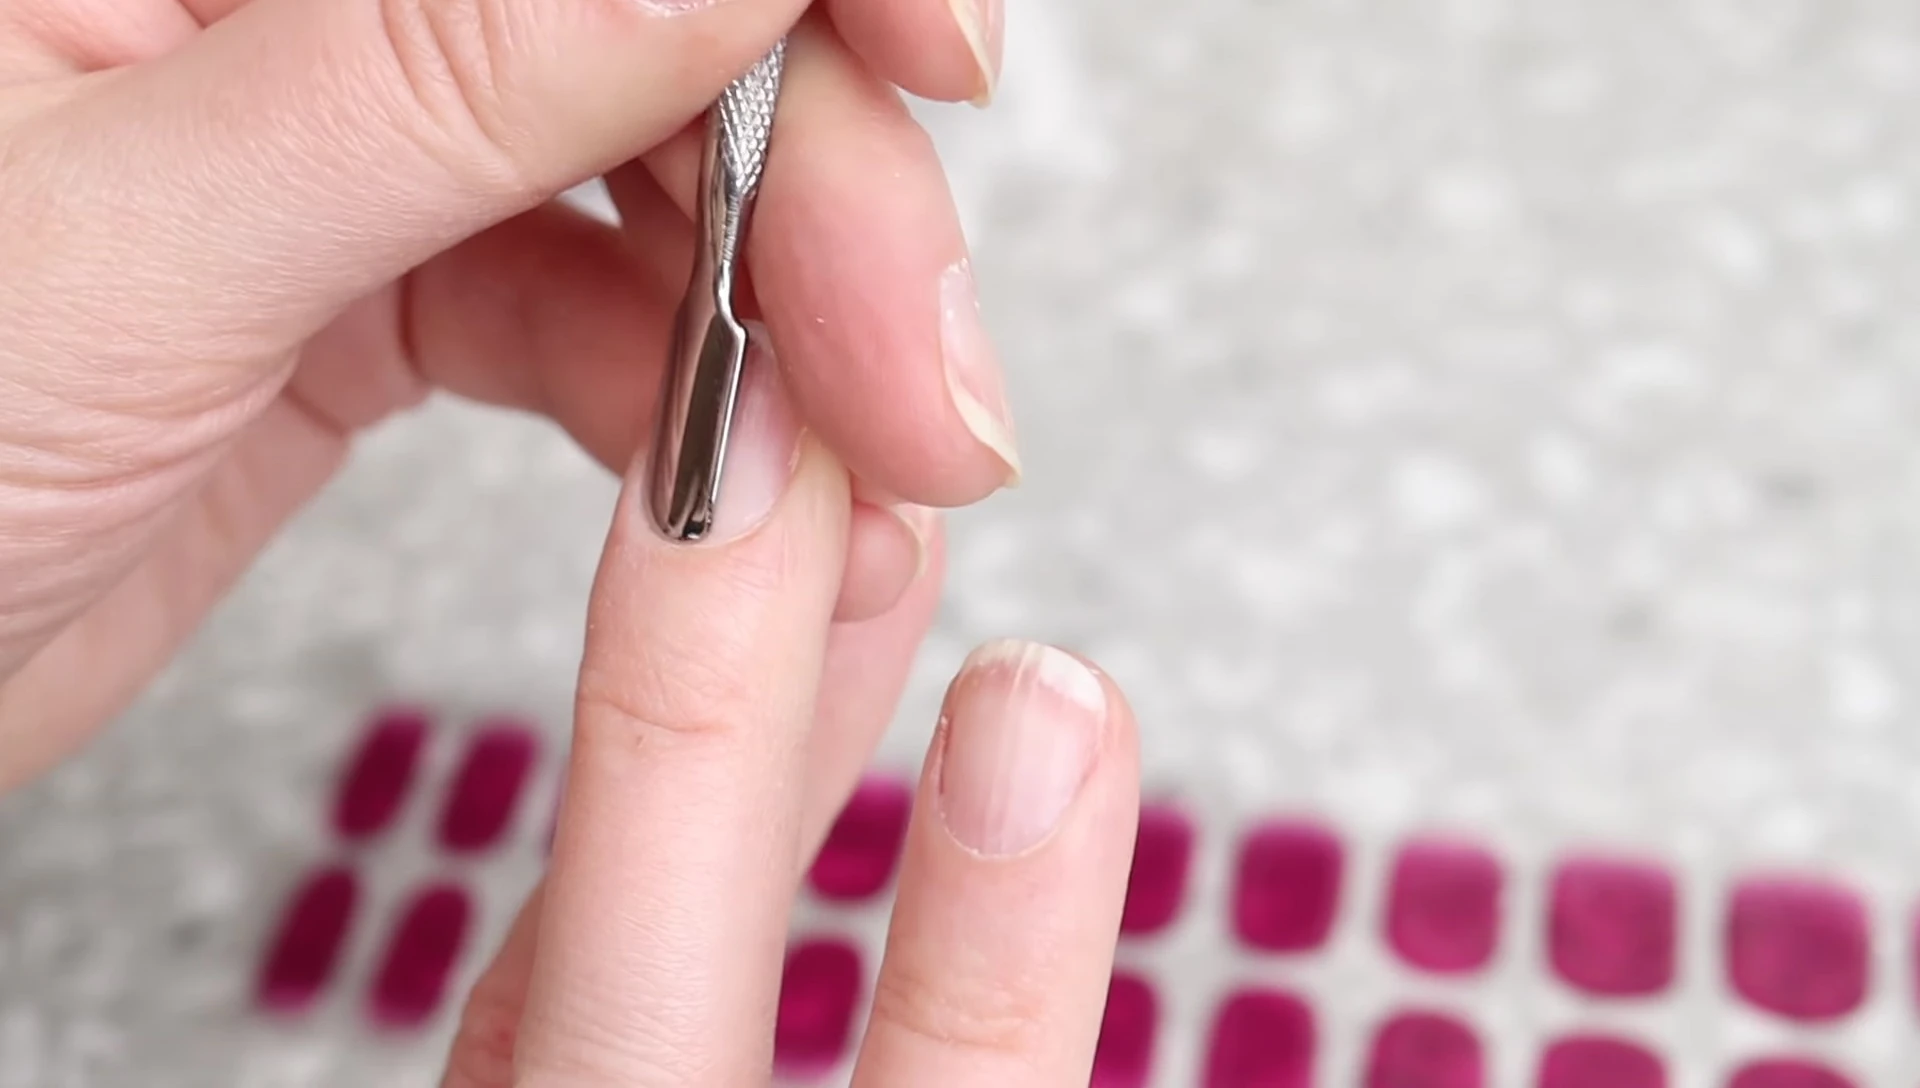
Before applying the strips, proper nail preparation is crucial. I recommend using a metal cuticle pusher to gently push back cuticles, emphasizing the importance of avoiding cuticle removal unless professionally trained. Washing hands with soap and water, ensuring dryness, and avoiding lotions or oils are essential steps.
I typically skip trimming my nails, but did so this time. I also advise avoiding prolonged water exposure (dishes, showers) for at least an hour after application. Applying the strips right before bed is ideal, though a quick hand wash afterward doesn't seem to negatively impact longevity.
Application Process and Key Techniques
Starting with my pinky (though I experimented with the thumb first), I carefully selected the correct size. The semi-cured strips require a curing light for full setting; therefore, gentle handling is vital to avoid dents. Peeling the protective layer from the top, I lined up the cuticle side of the sticker close to the skin, making a connection in the middle before gently laying it down.
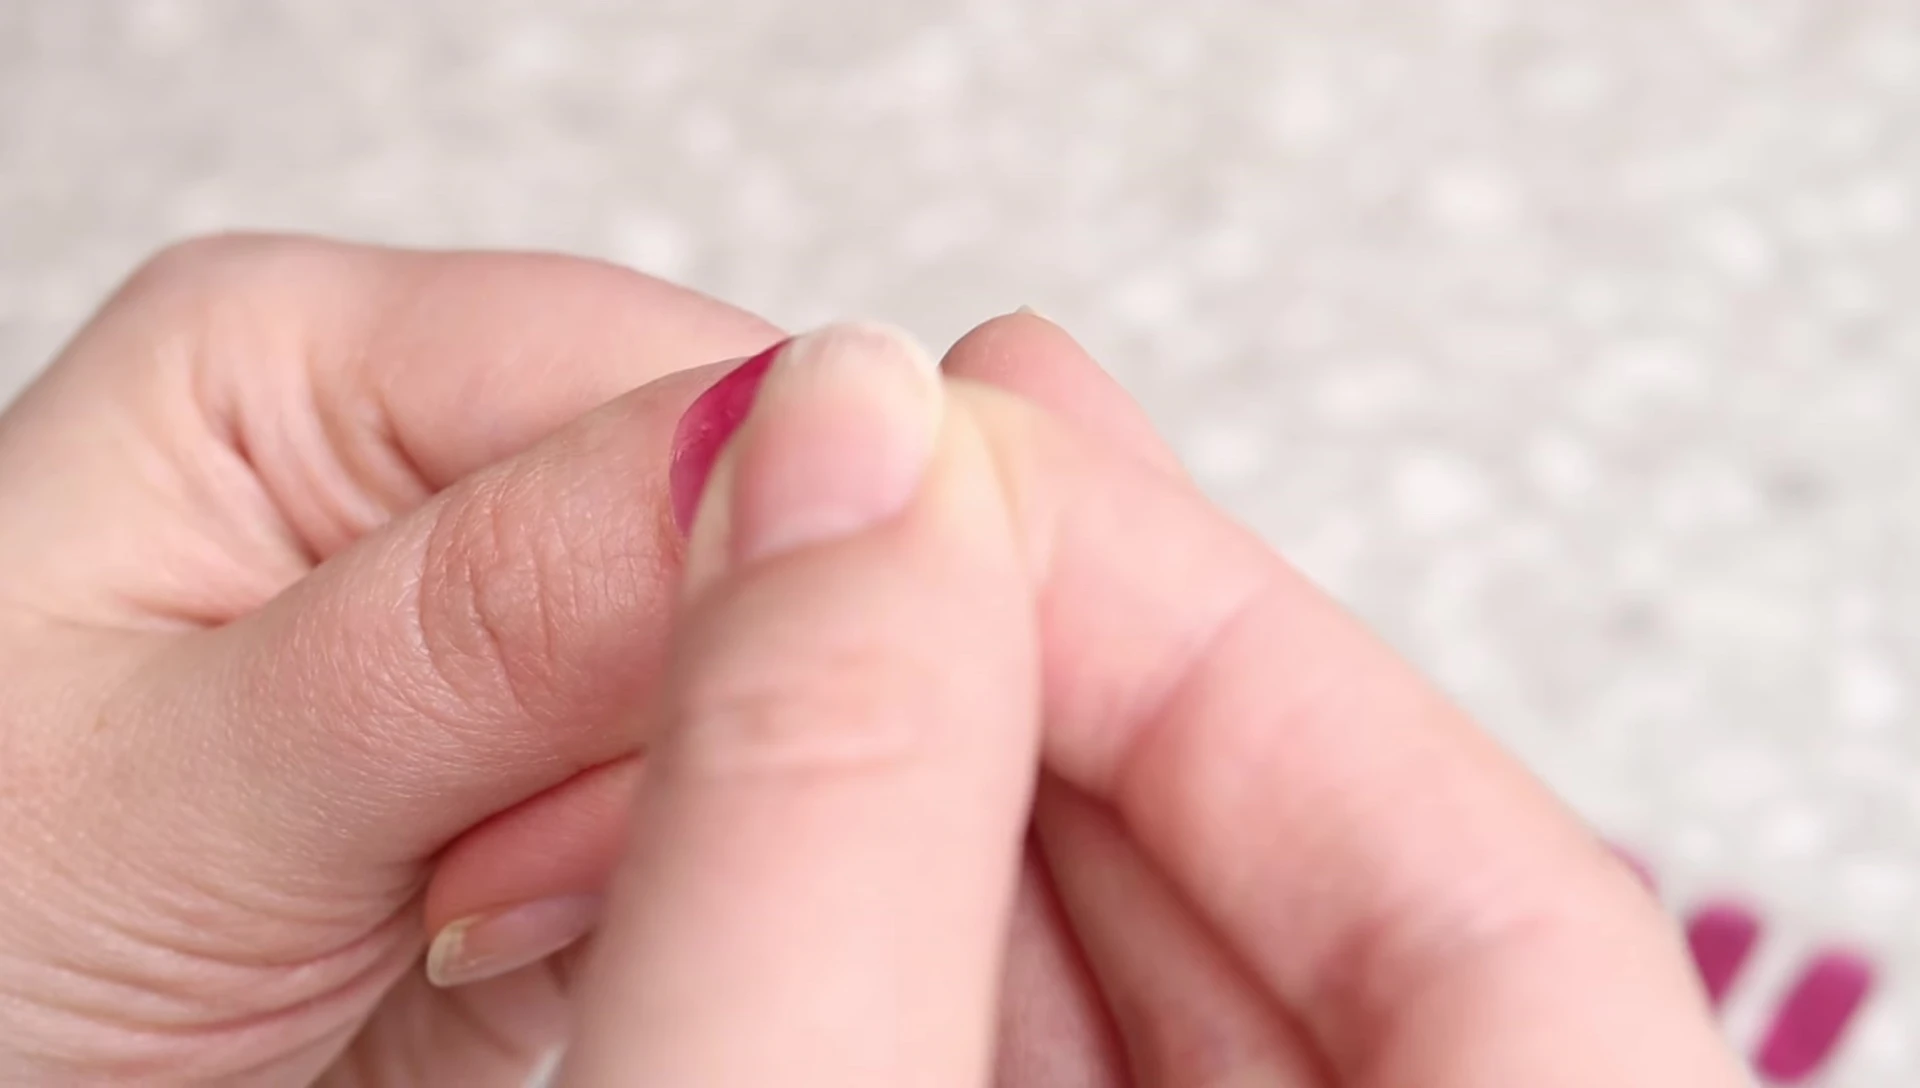
Using my finger pad to smooth the sticker, I then used the cuticle pusher to eliminate bubbles and ensure a perfect seal along the perimeter. For small slivers, the pusher can be used to carefully stretch the sticker to fit. A squish light can also be used for smoothing, though I didn't use one in this demonstration.
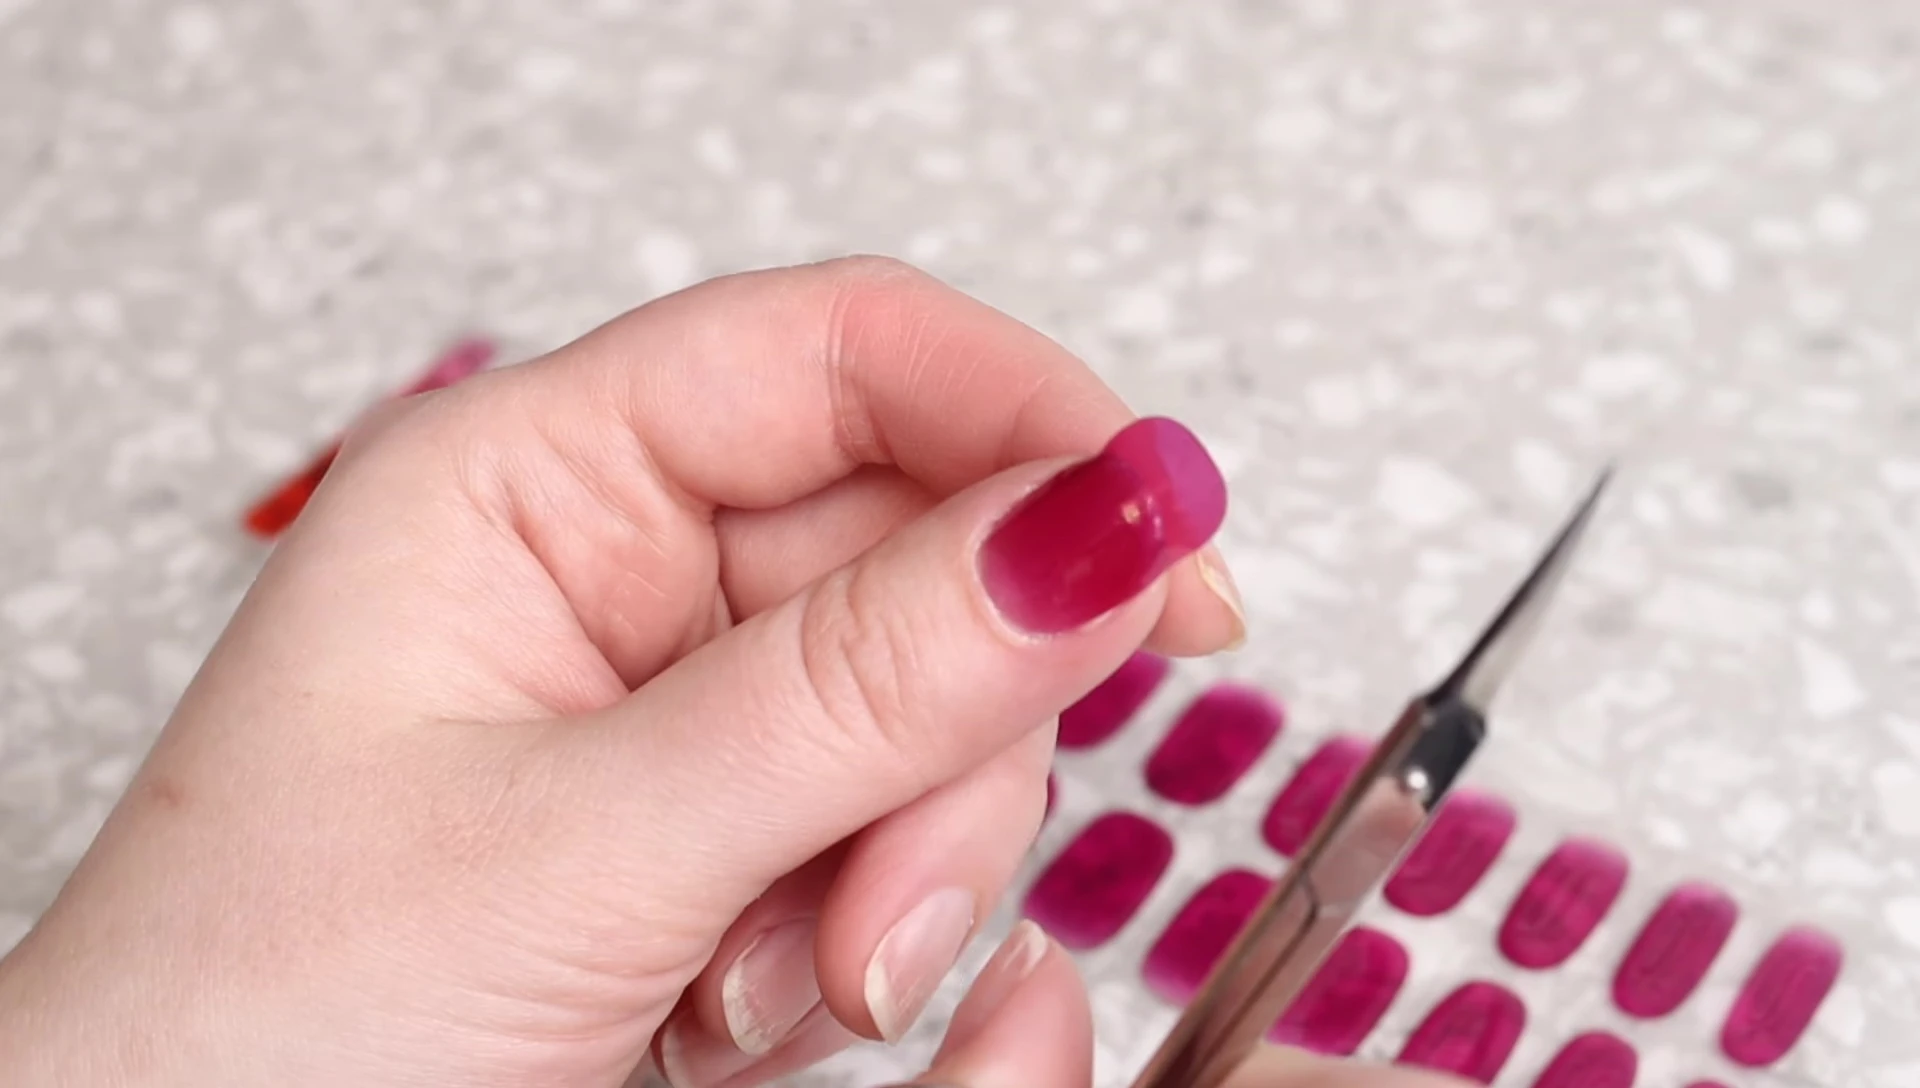
Curing, Trimming, and Top Coat Application
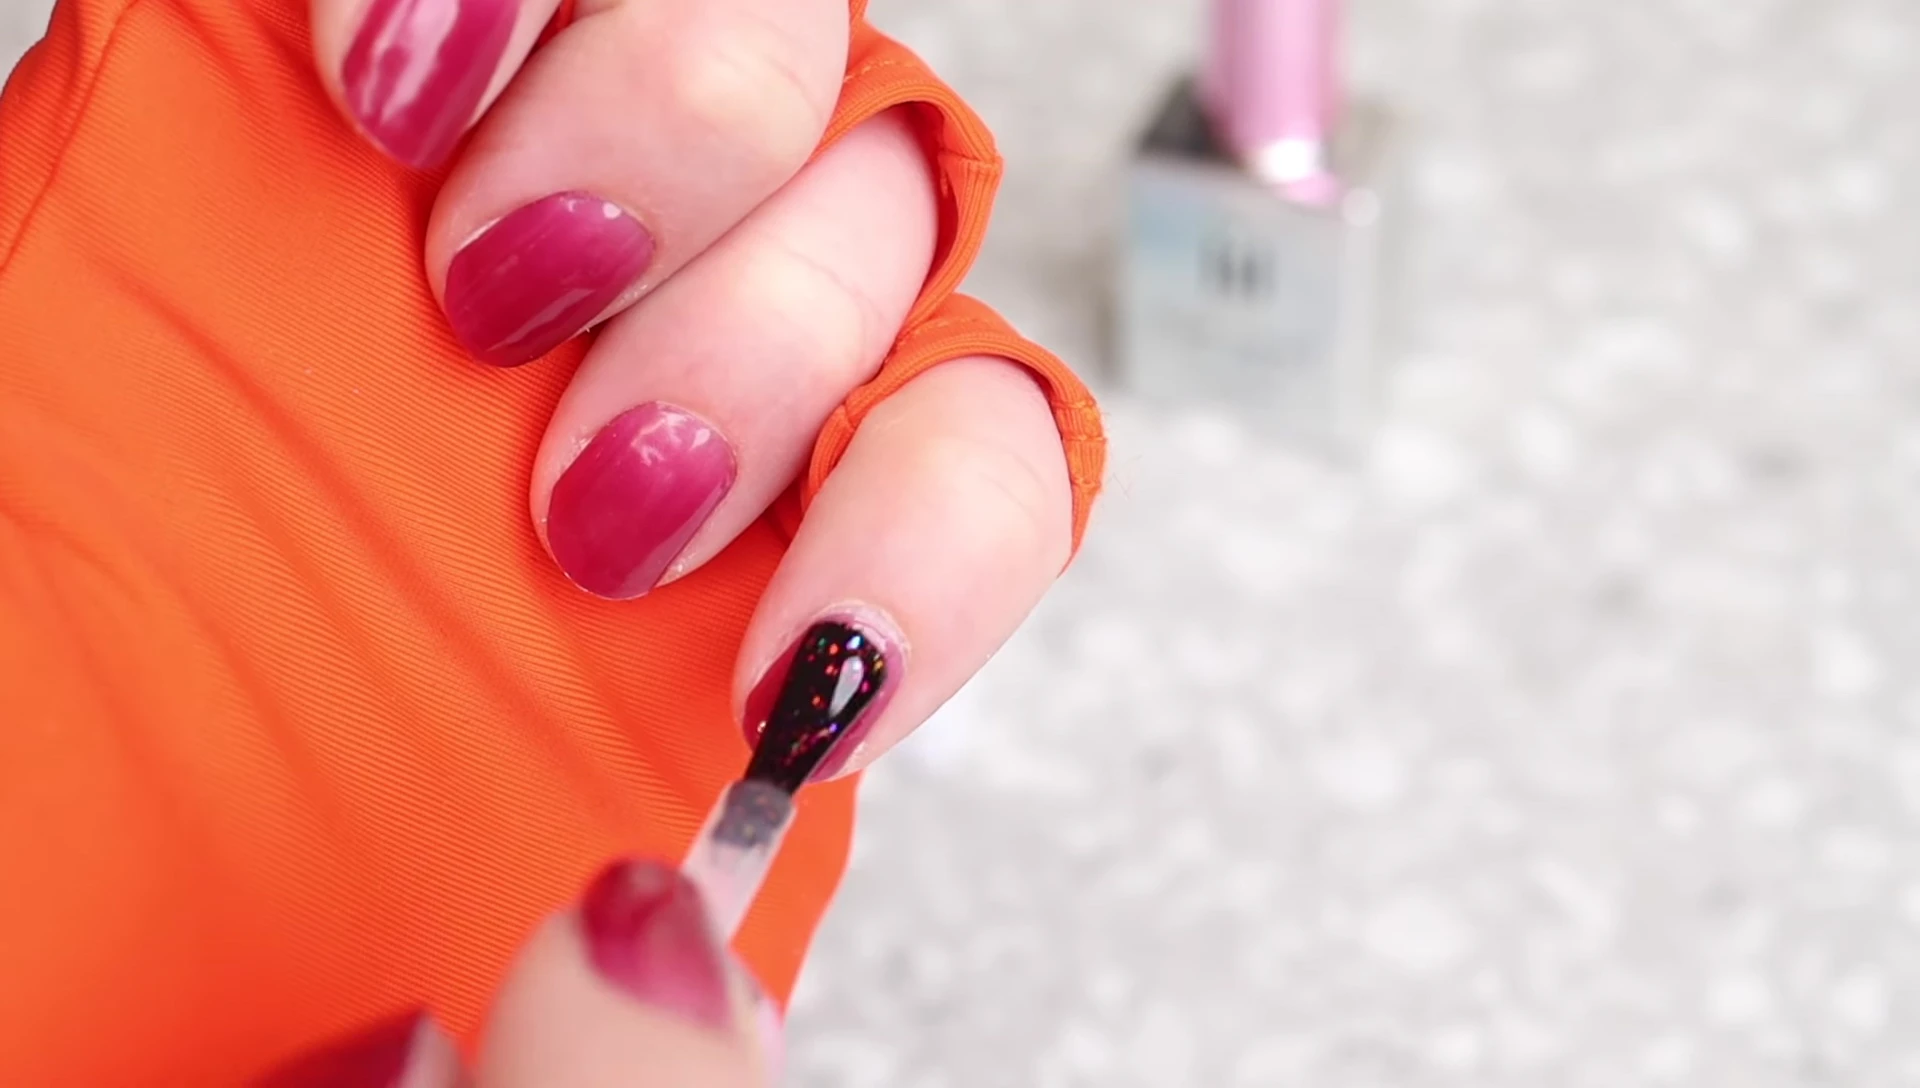
After applying all the strips, I cured them under a lamp for 60 seconds. Trimming is done *before* curing to avoid chipping. I then used manicure scissors to trim the excess. I recommend a full-sized curing lamp for optimal results, avoiding smaller freebie lamps for better curing power.
A top coat is highly recommended for better aesthetics and longevity. I used the Lit Gels Sun Glitz top coat, applying two coats and curing between each. I highlighted the importance of curing the strips before applying the top coat. I also showed how to use the cuticle pusher to reduce any small gaps between the strip and nail.
Final Thoughts and Product Assessment
Overall, the Kijibae nail strips offer a good application experience, though peeling them from the backing was slightly more challenging than with other brands. The provided file was high-quality, a rare plus in these kits. While the quantity allows for only one complete manicure, the design and ombre effect are visually appealing.
The strips lasted well (longevity specifics were noted to be updated in the comments), and the Lit Gels Sun Glitz top coat added a beautiful, shiny finish. The application techniques highlighted are vital for long-lasting results, emphasizing the importance of proper preparation, precise application, and timely curing for best results.