This Modelones Builder Gel review details a step-by-step application process for achieving natural-looking nail enhancements. We'll guide you through proper nail preparation, from shaping and cuticle care to the application of the builder gel itself, emphasizing techniques for creating a strong, natural-looking apex. The review covers the use of a base coat, the importance of thin layers and thorough curing under a UV/LED lamp, and the subsequent application of your chosen nail polish. We also discuss the longevity and durability of the final result.This comprehensive guide highlights the ease of use of Modelones Builder Gel, focusing on tips and tricks to prevent common mistakes. Discover how this product significantly strengthens natural nails while maintaining flexibility. See firsthand how it performs under everyday wear and tear, including the results after a week of normal activity. Learn from the experience shared, including the unexpected incident and its outcome, to understand the true protective capabilities of Modelones Builder Gel.
Pros And Cons
- Affordable
- Can be applied like a base coat
- Can build an apex for stronger nails
- Easy to apply
- Makes nails feel stronger
- May require multiple thin layers for proper curing
- Should not be applied to skin
- Can burn skin if cured in lamp
- Can crack under pressure
Read more: 10 Best Nail Strengthener Serums for Stronger, Healthier Nails
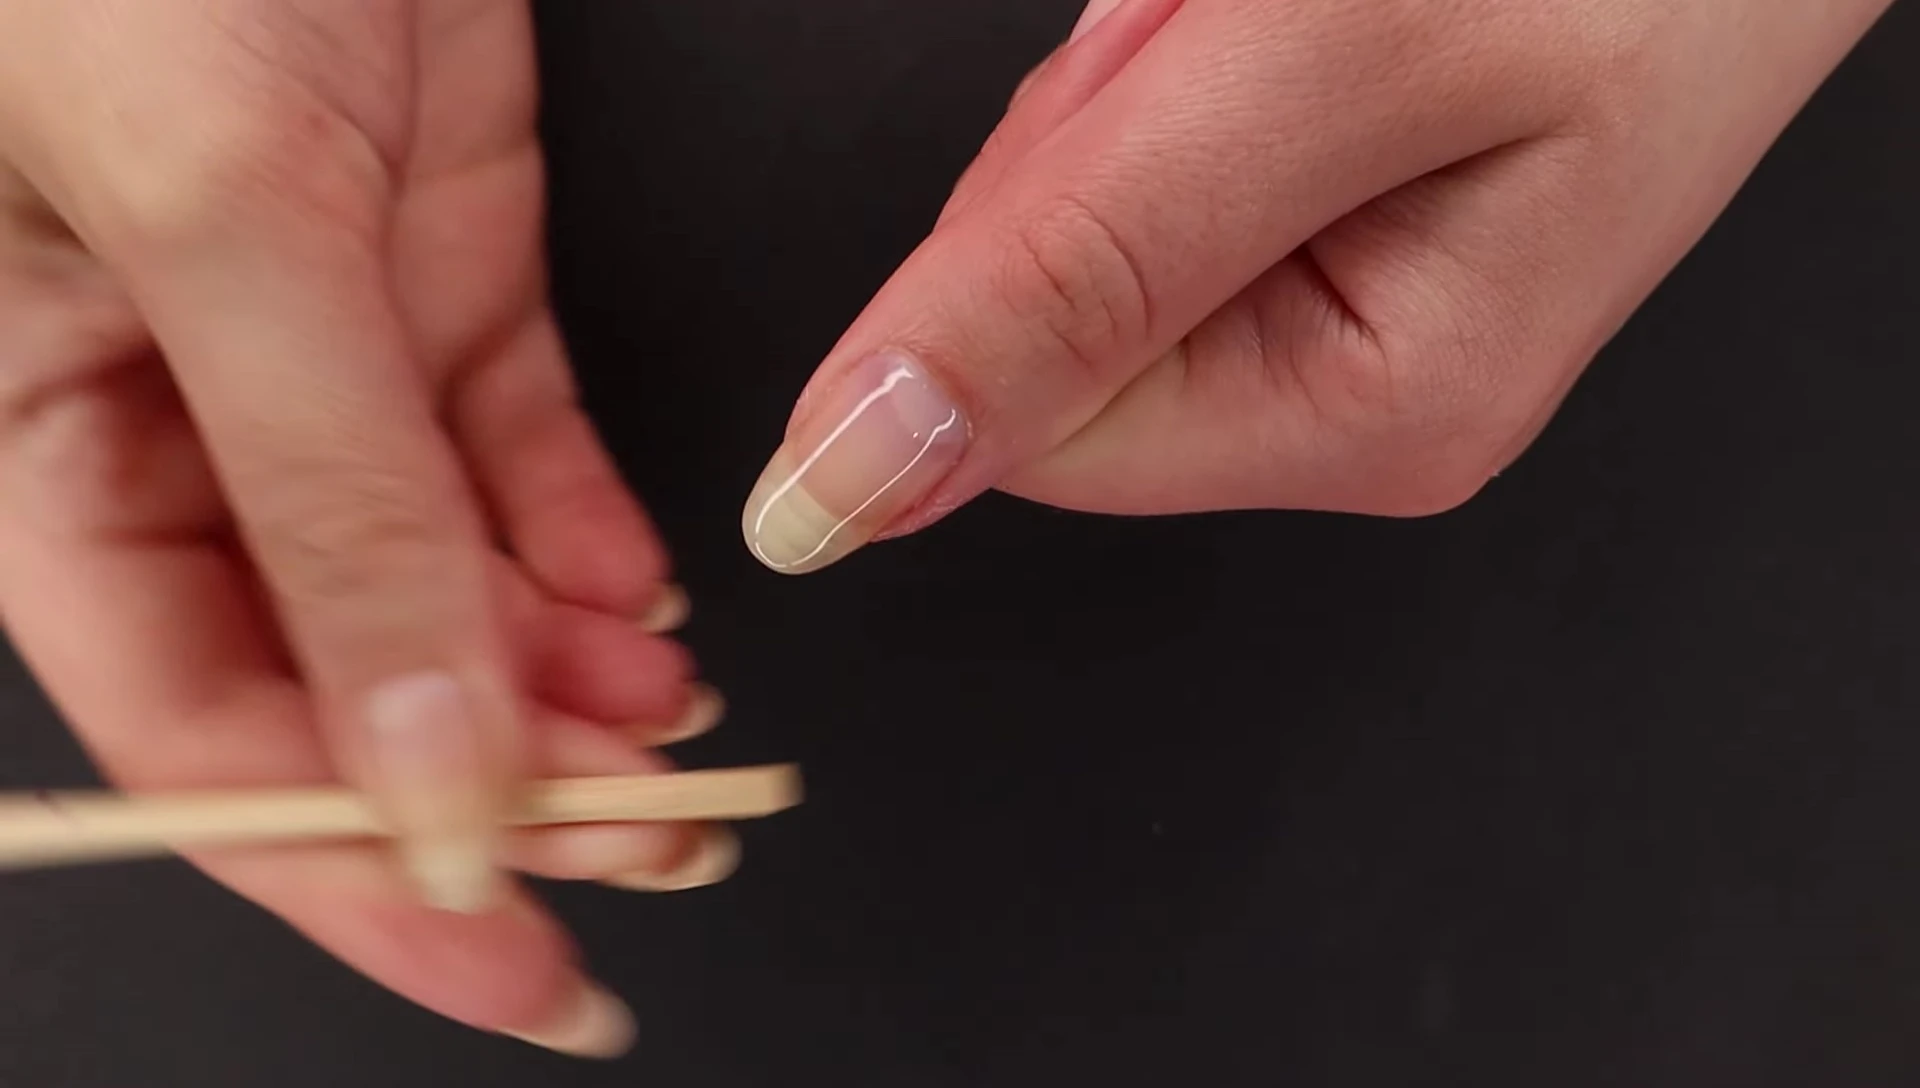
Nail Preparation
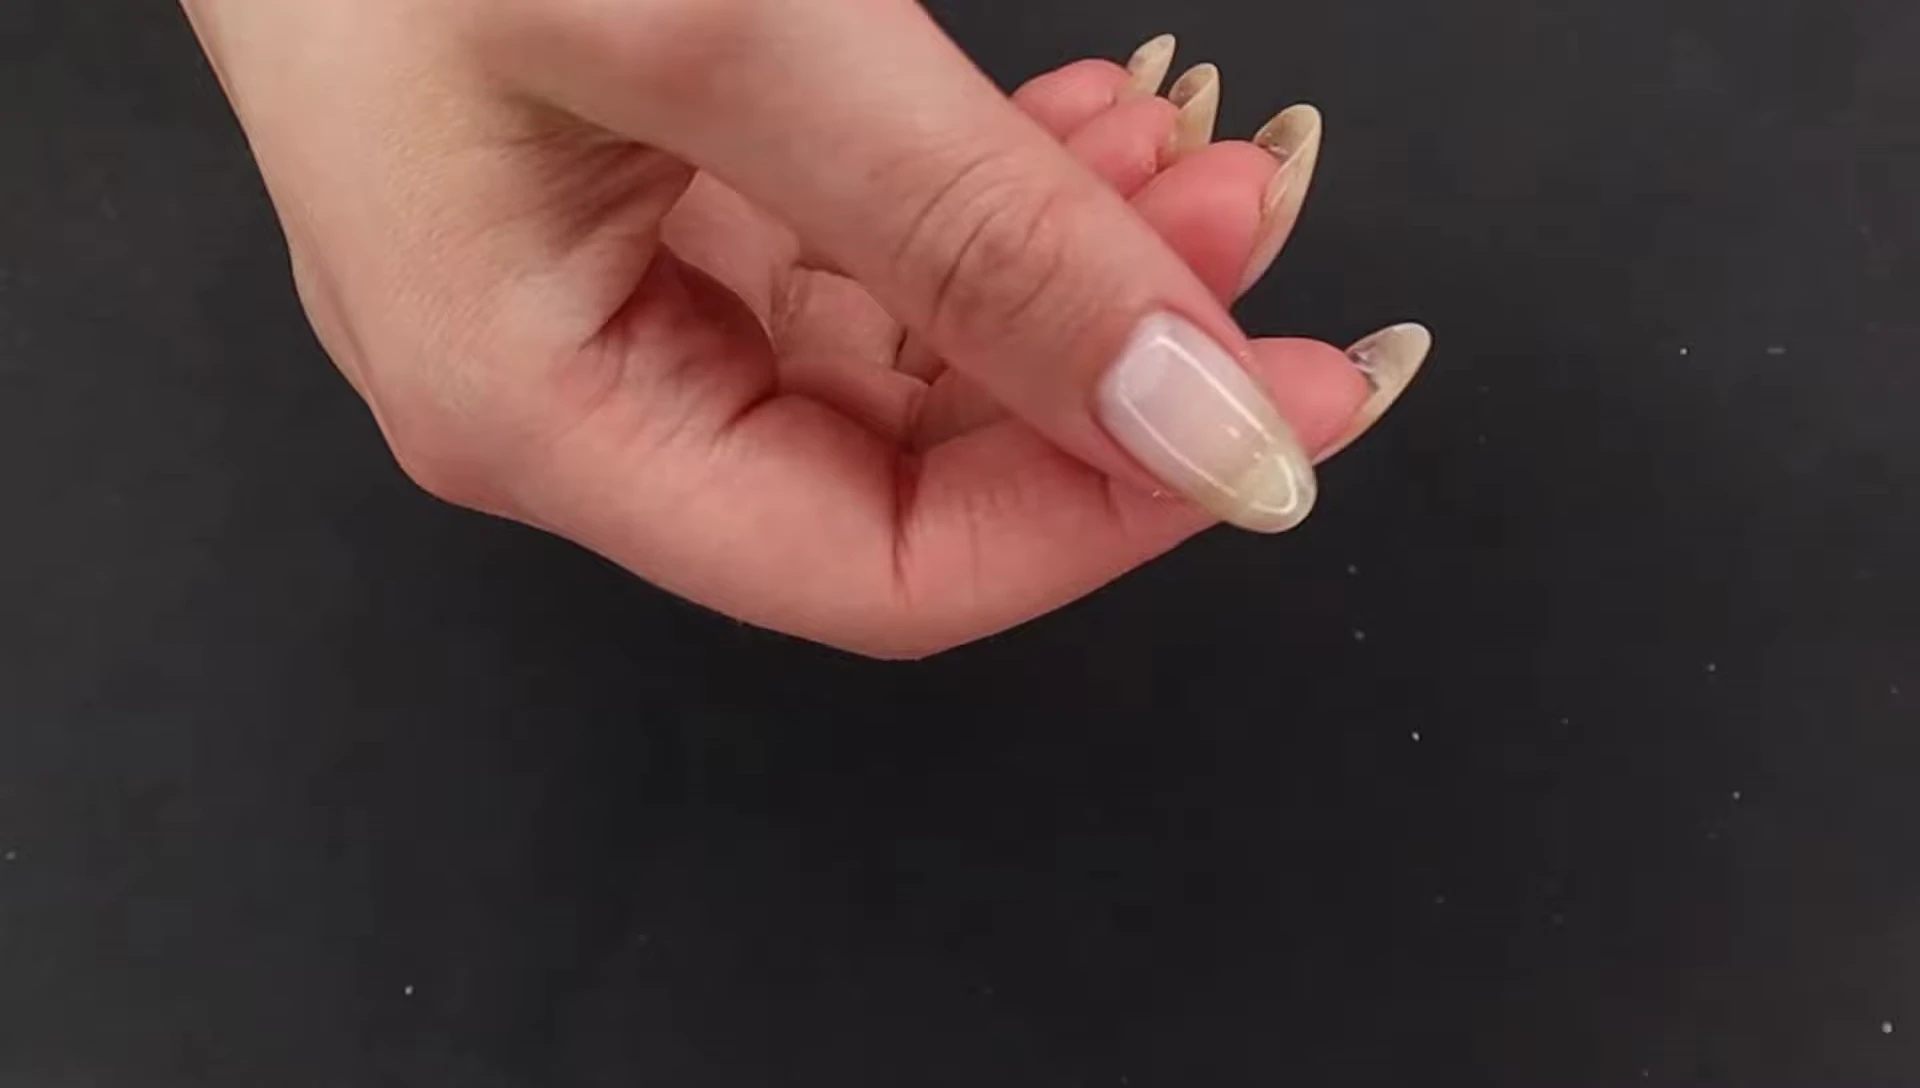
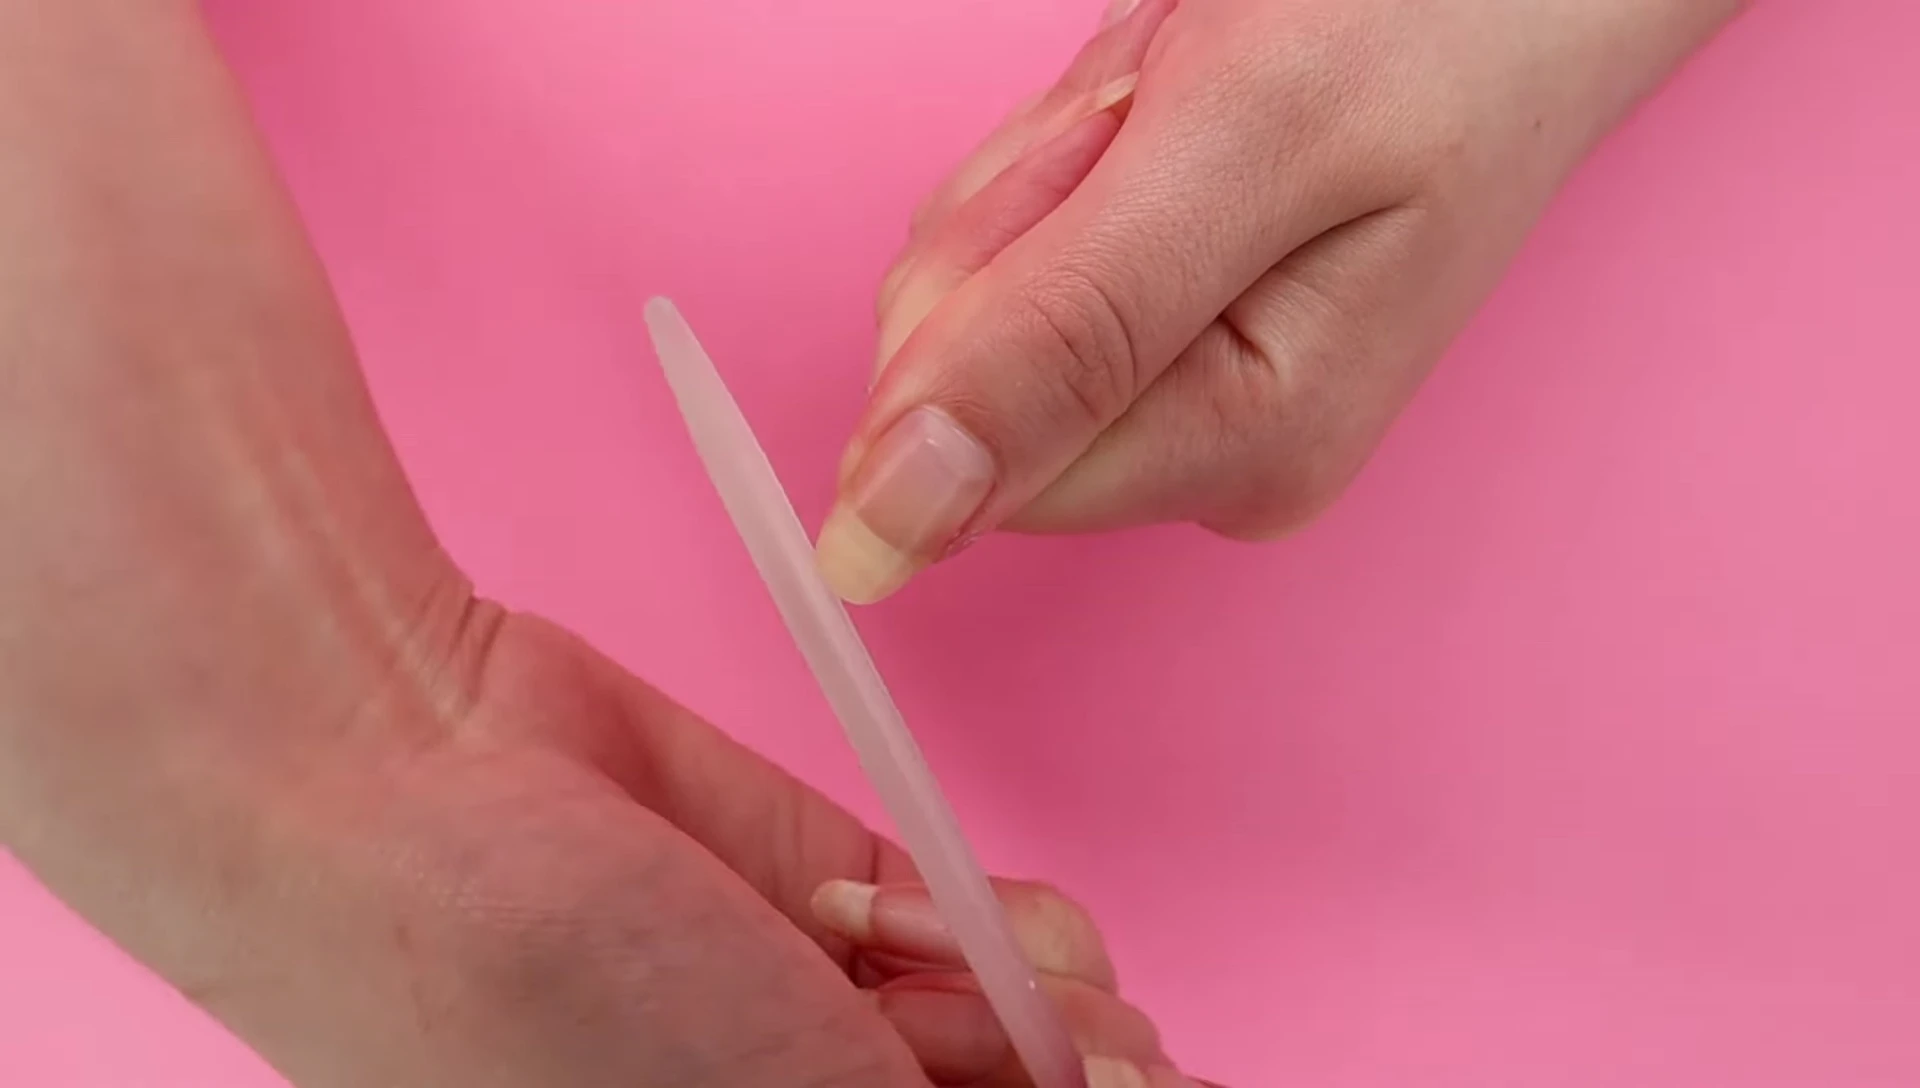
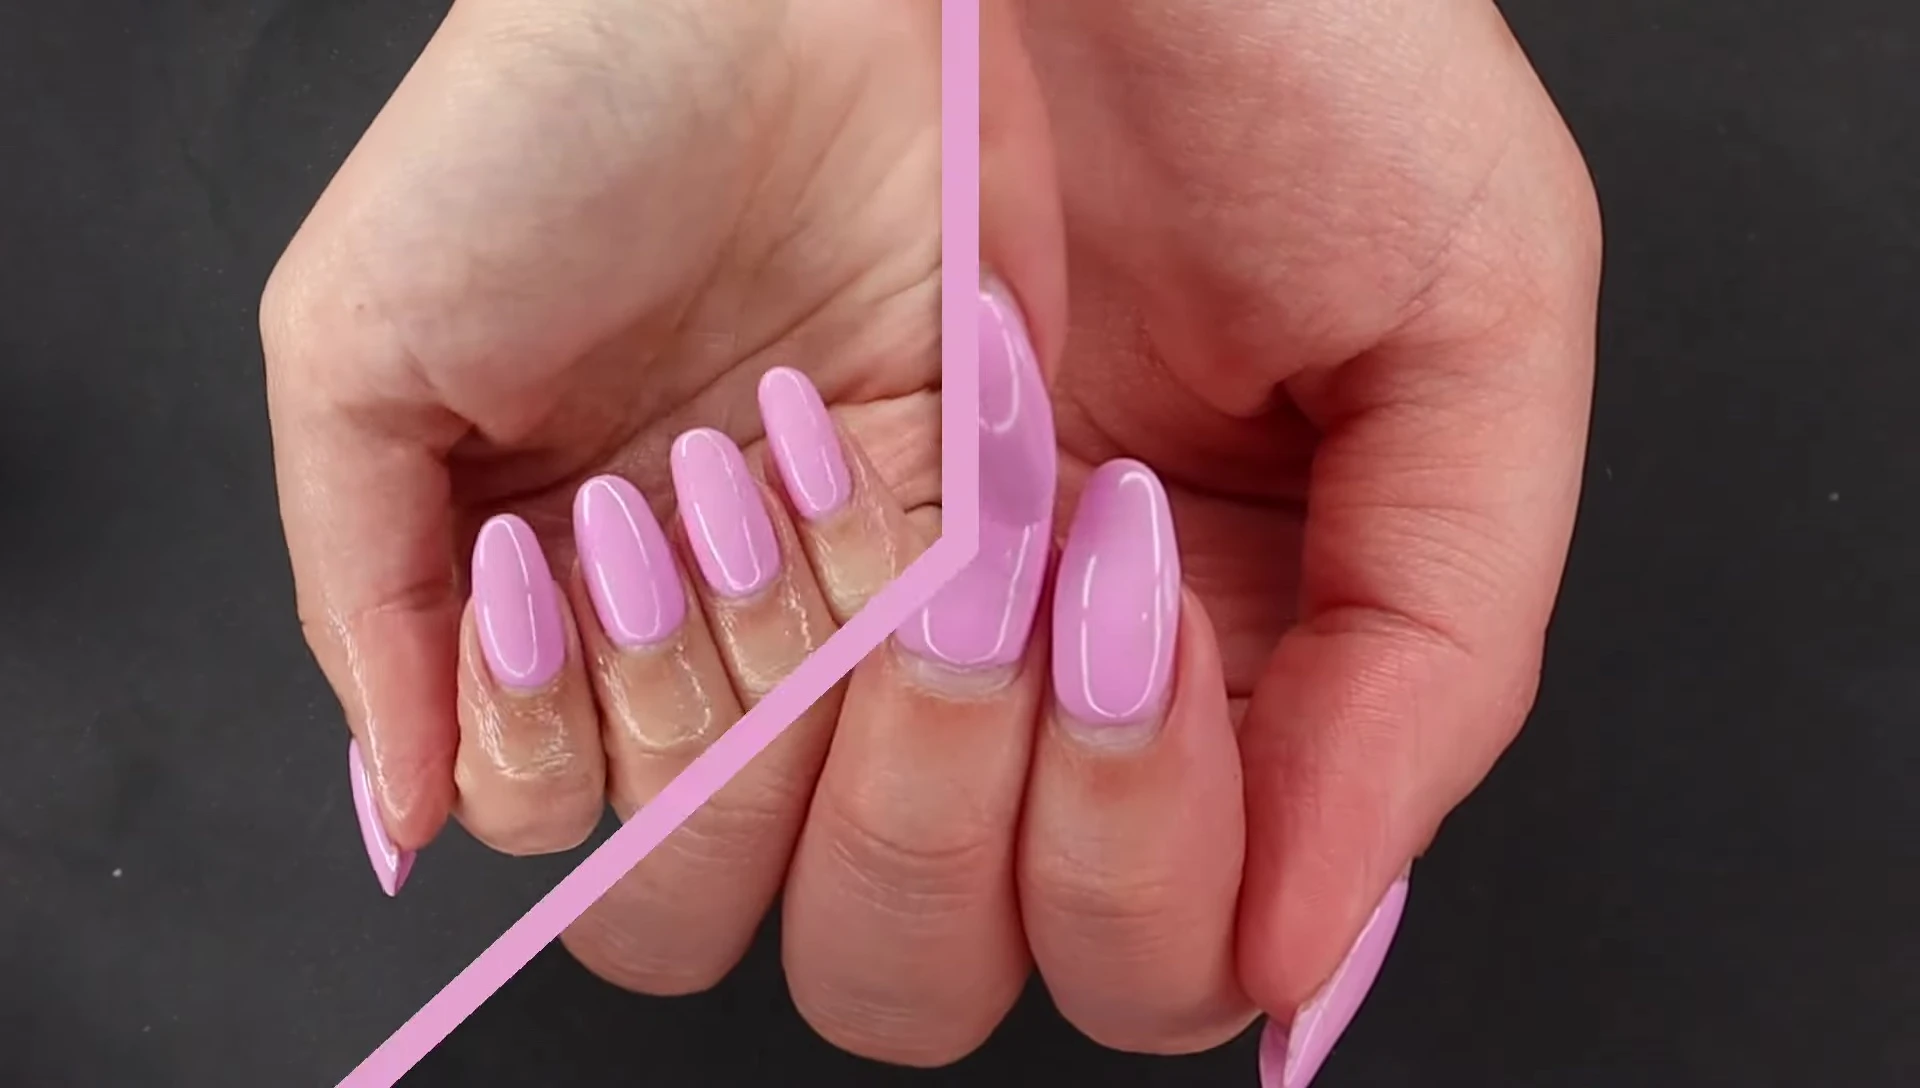
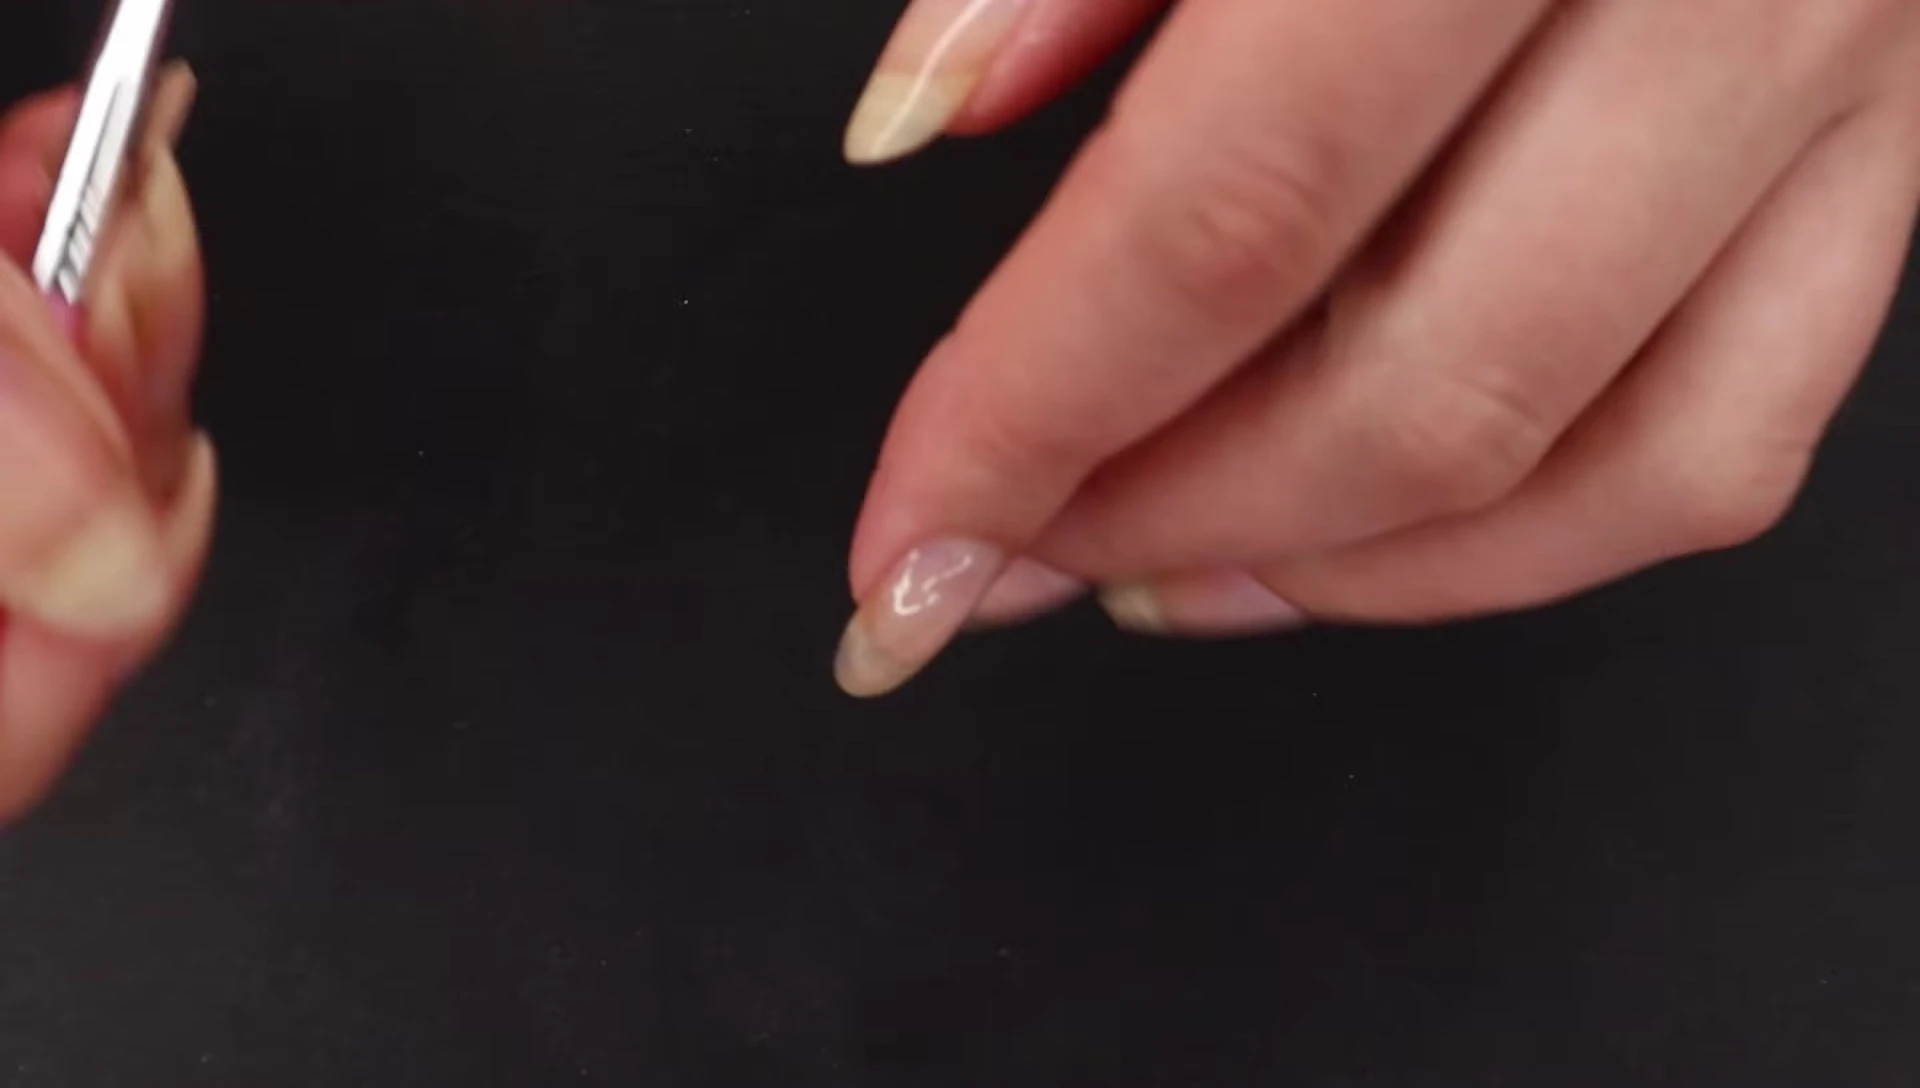
Before applying any gel, proper nail preparation is crucial. This involves gently filing your nails to achieve your desired shape. I prefer a long almond shape, starting from the lowest part of the smile line to avoid filing too high.
Next, use a cuticle remover to soften and push back your cuticles. A wooden cuticle pusher is gentler than a metal one, but both work effectively. Remember, only cut hangnails; avoid cutting live cuticle tissue.
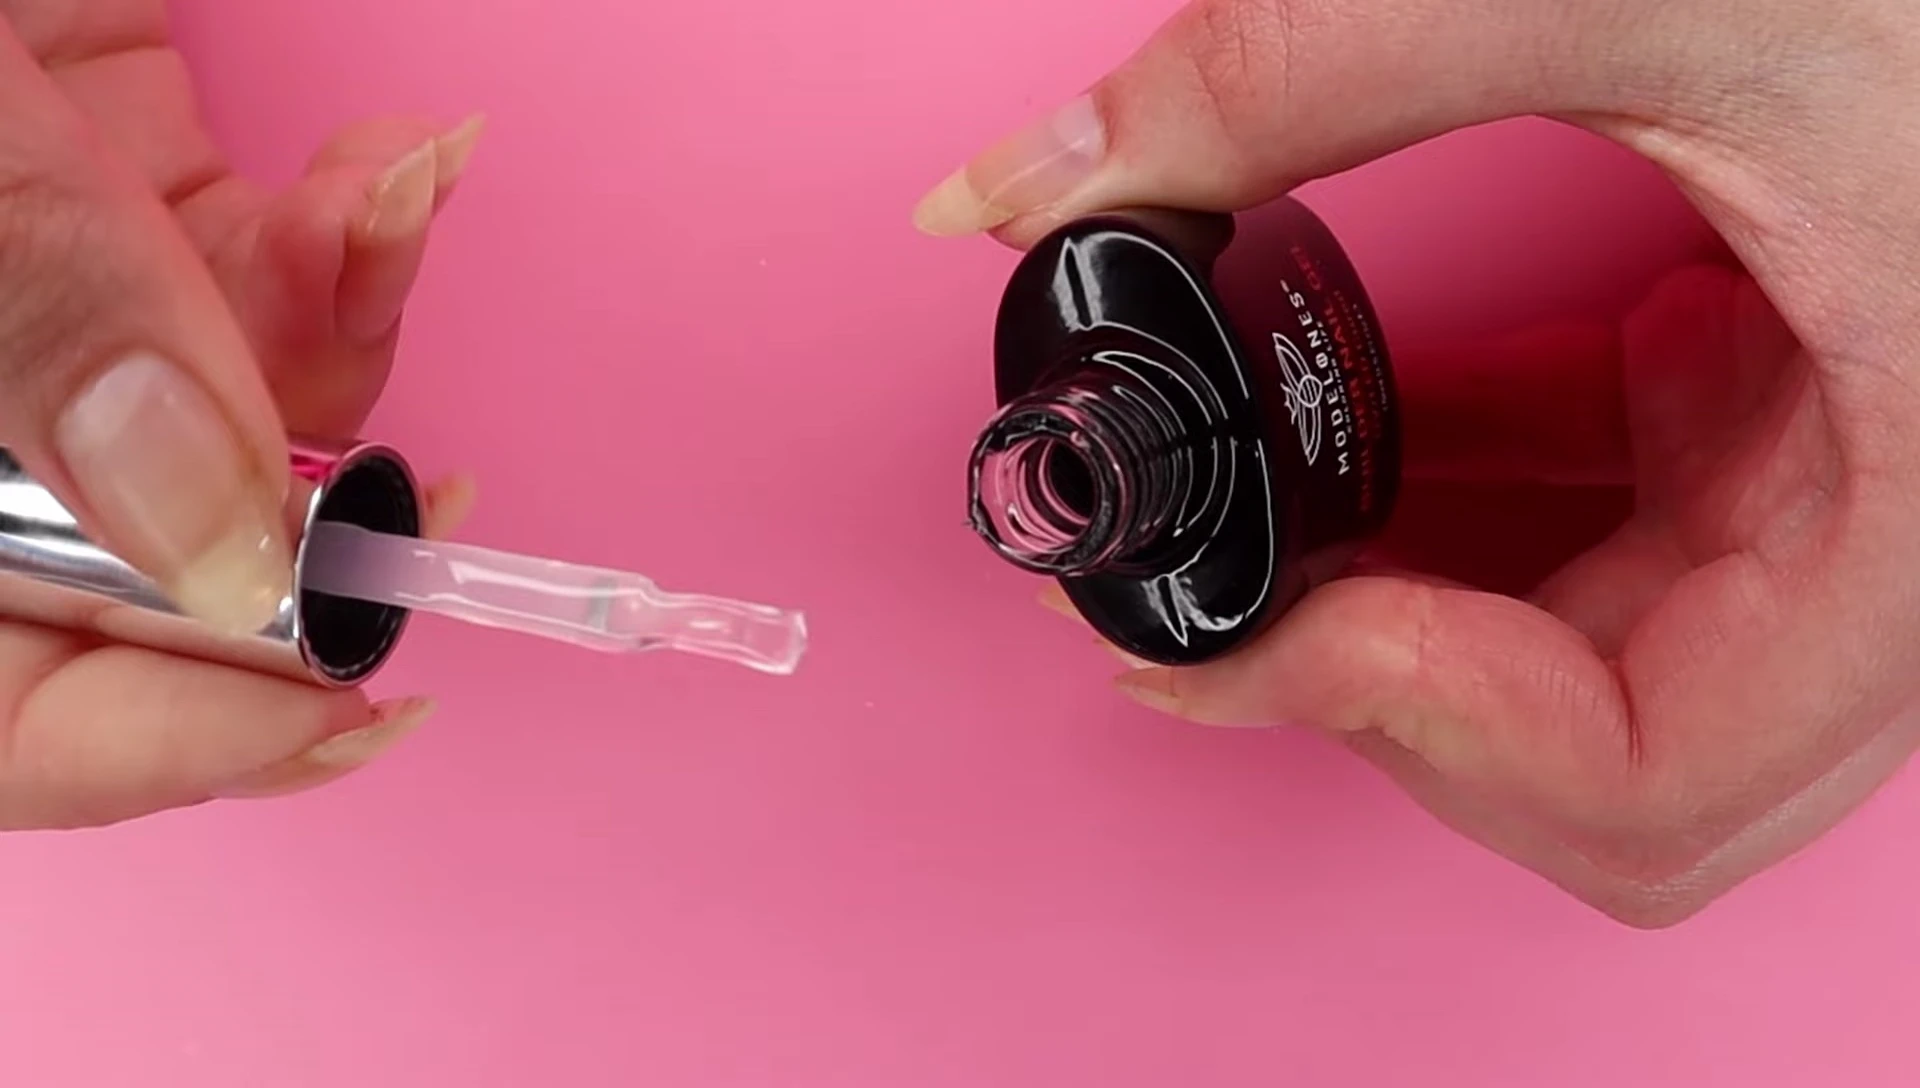
Base Coat and Builder Gel Application
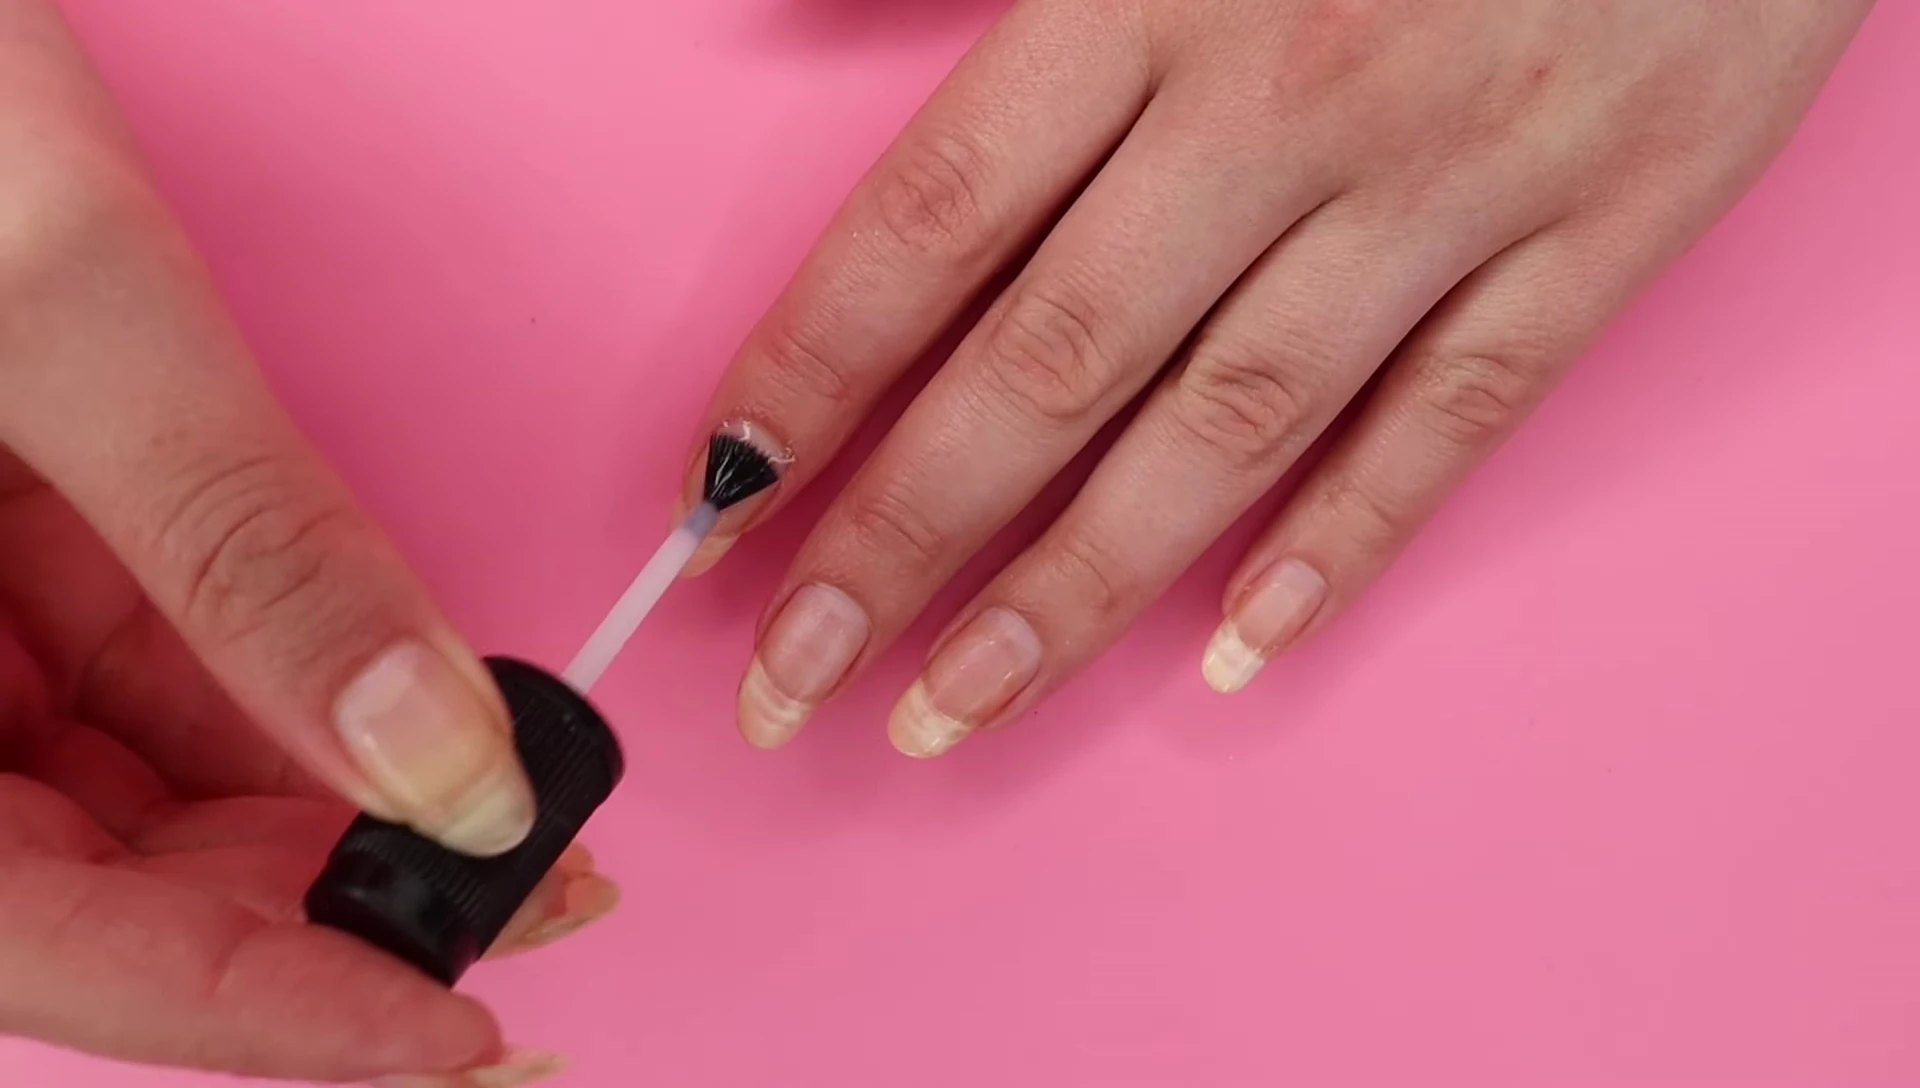
Apply a thin layer of gel base coat to all nails, ensuring even distribution. This helps create a smooth base for the Builder Gel and contributes to a better apex.
For the Modelones Builder Gel, apply a small amount like a base coat, then add more in small beads, working it down the nail to create the apex. Don't apply it to your skin; immediately wipe away any spills with rubbing alcohol.
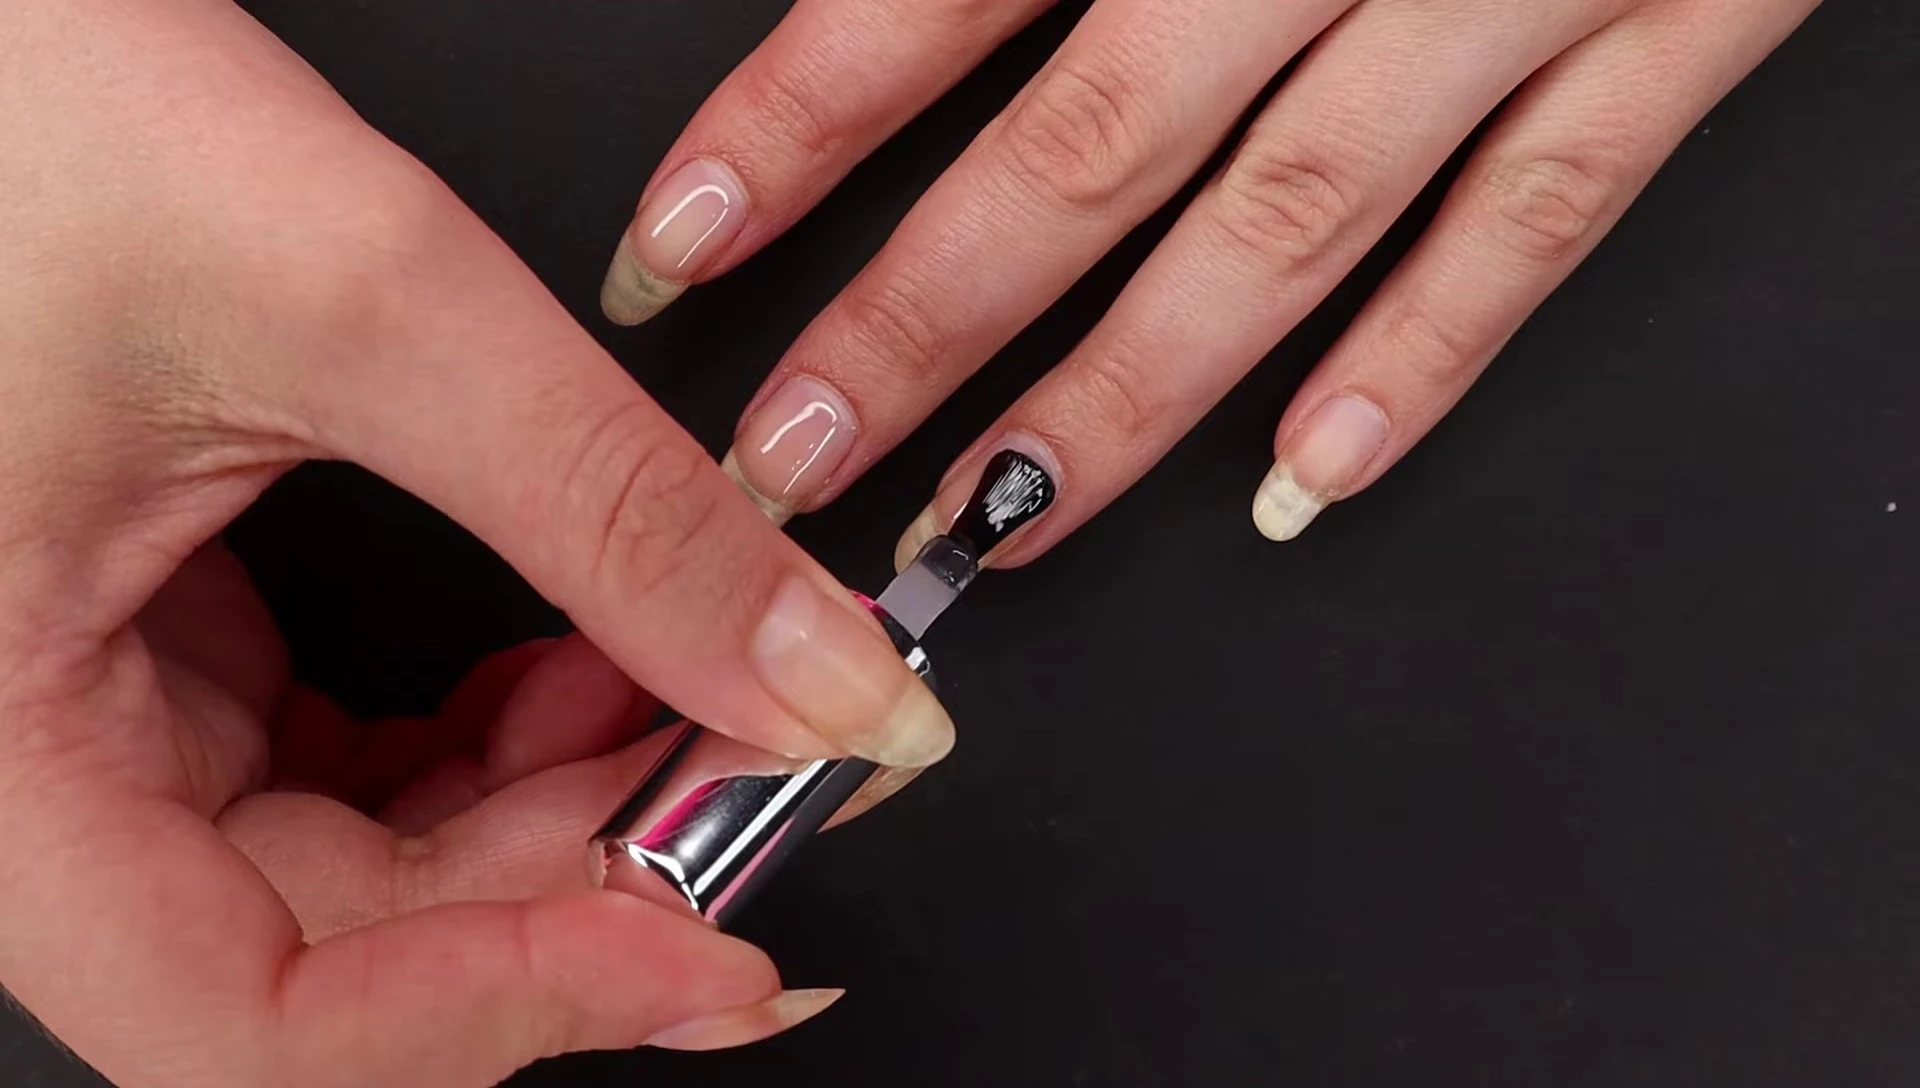
Curing and Apex Creation
Cure each layer of gel under a UV or LED lamp according to the manufacturer's instructions. The apex should be built gradually, adding small amounts of gel to avoid issues with curing.
Turning the nail over during application helps even out the gel and build the apex. Aim for a natural, slightly thicker Apex for strength without excessive bulk.
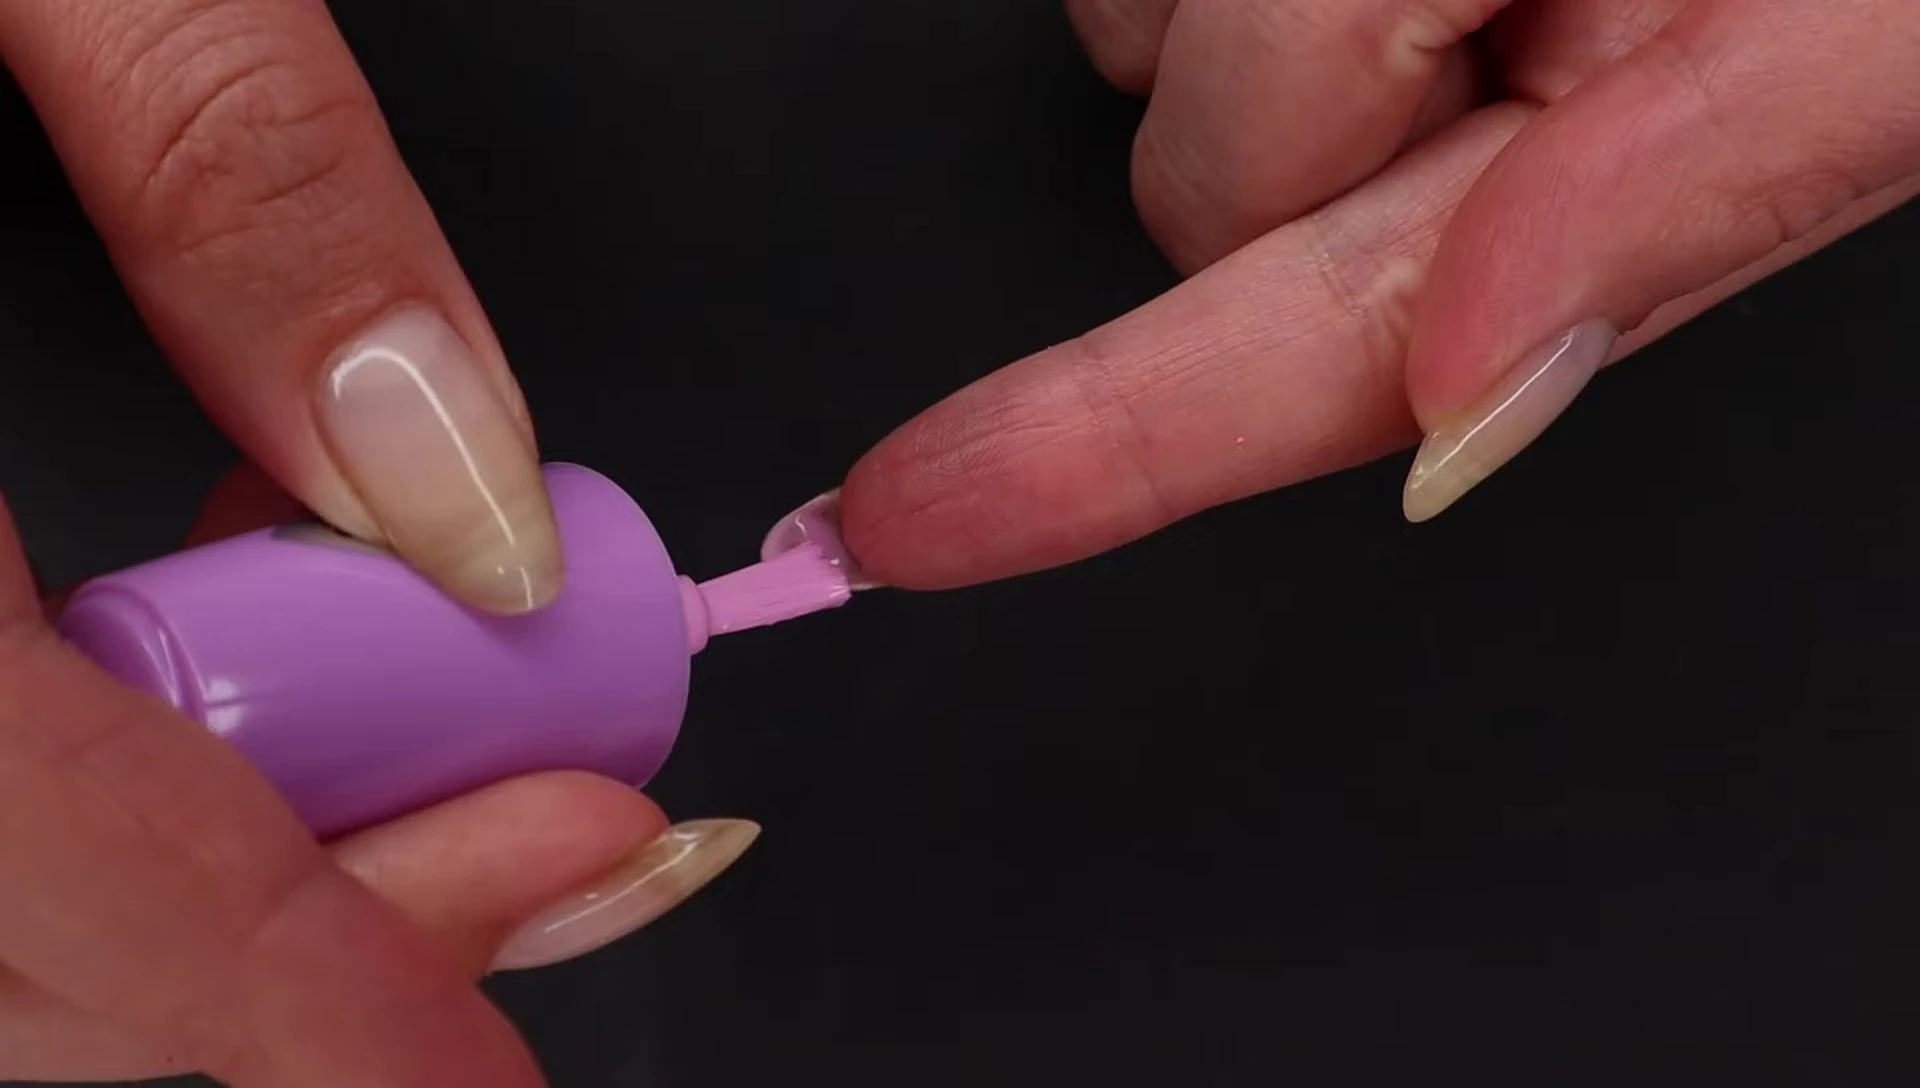
Nail Polish Application and Longevity
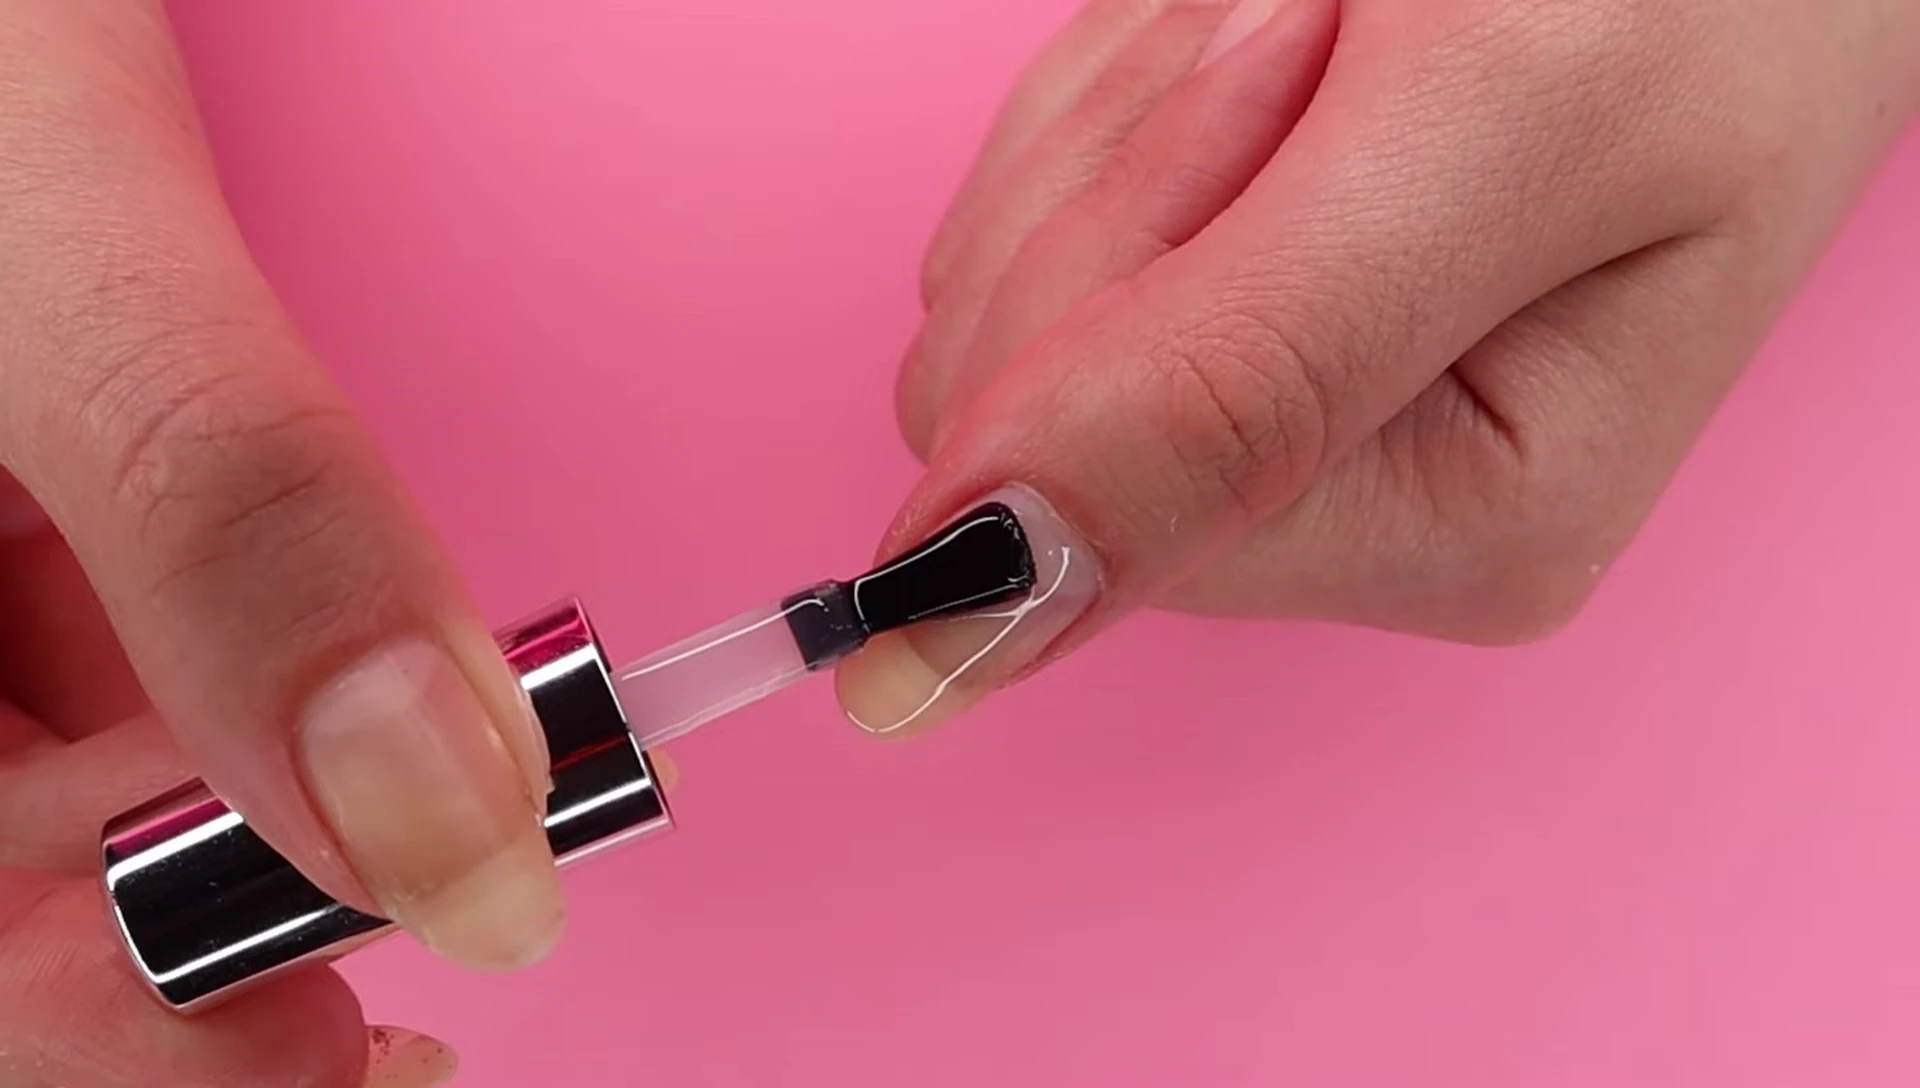
After the Builder Gel is cured, you can apply any nail polish type. I've shown applying regular air-dry nail polish, including the underside of my nails for a more complete look. Two coats of a quick-dry top coat add protection and shine.
After a week of normal wear, the Builder Gel provided significant strength, with minor chipping only in the nail polish. A minor incident caused a crack, illustrating the gel's protective effect while still allowing for flexibility.
Conclusion and Overall Impression
Modelones Builder Gel offers a relatively easy application process. The key is to work in thin layers, avoiding skin contact, and curing thoroughly. The resulting nails feel significantly stronger.
The gel provides a solid base for either air-dry or gel polish, lasting about a week with regular wear. While a minor incident caused a crack, the overall strengthening effect was significant, making it a worthwhile product for enhancing natural nails.