Are you dreaming of salon-quality nail extensions without the salon price tag? This Poly Gel Nail Kit review reveals a simple, at-home solution perfect for beginners. Forget complicated techniques and expensive appointments; this kit provides everything you need for stunning, long-lasting results in the comfort of your own home. From vibrant color options to easy-to-use tools, this comprehensive kit streamlines the entire process, making DIY nail extensions achievable and enjoyable for everyone.This review details my experience using the Poly Gel Nail Kit, from unboxing to the final, polished look. We'll explore the kit's contents, the step-by-step application process, and the impressive results achieved. Discover how this beginner-friendly kit simplifies the task of creating beautiful, professional-looking nail extensions, saving you both time and money compared to traditional salon treatments. Get ready to unleash your inner nail artist!
Pros And Cons
- Easy to use
- Beginner-friendly
- Faster than acrylic nails
- Includes brush for filling in areas
- Comes with six colors, base coat, top coat, and solution
- Nice packaging
Read more: Top 10 Baby Nail Clippers: Our Expert Picks
Unboxing and Kit Contents
The Poly Gel Nail Kit arrived with impressive packaging. It exceeded my expectations right from the start. The box design was visually appealing and contained everything I needed for a complete manicure.
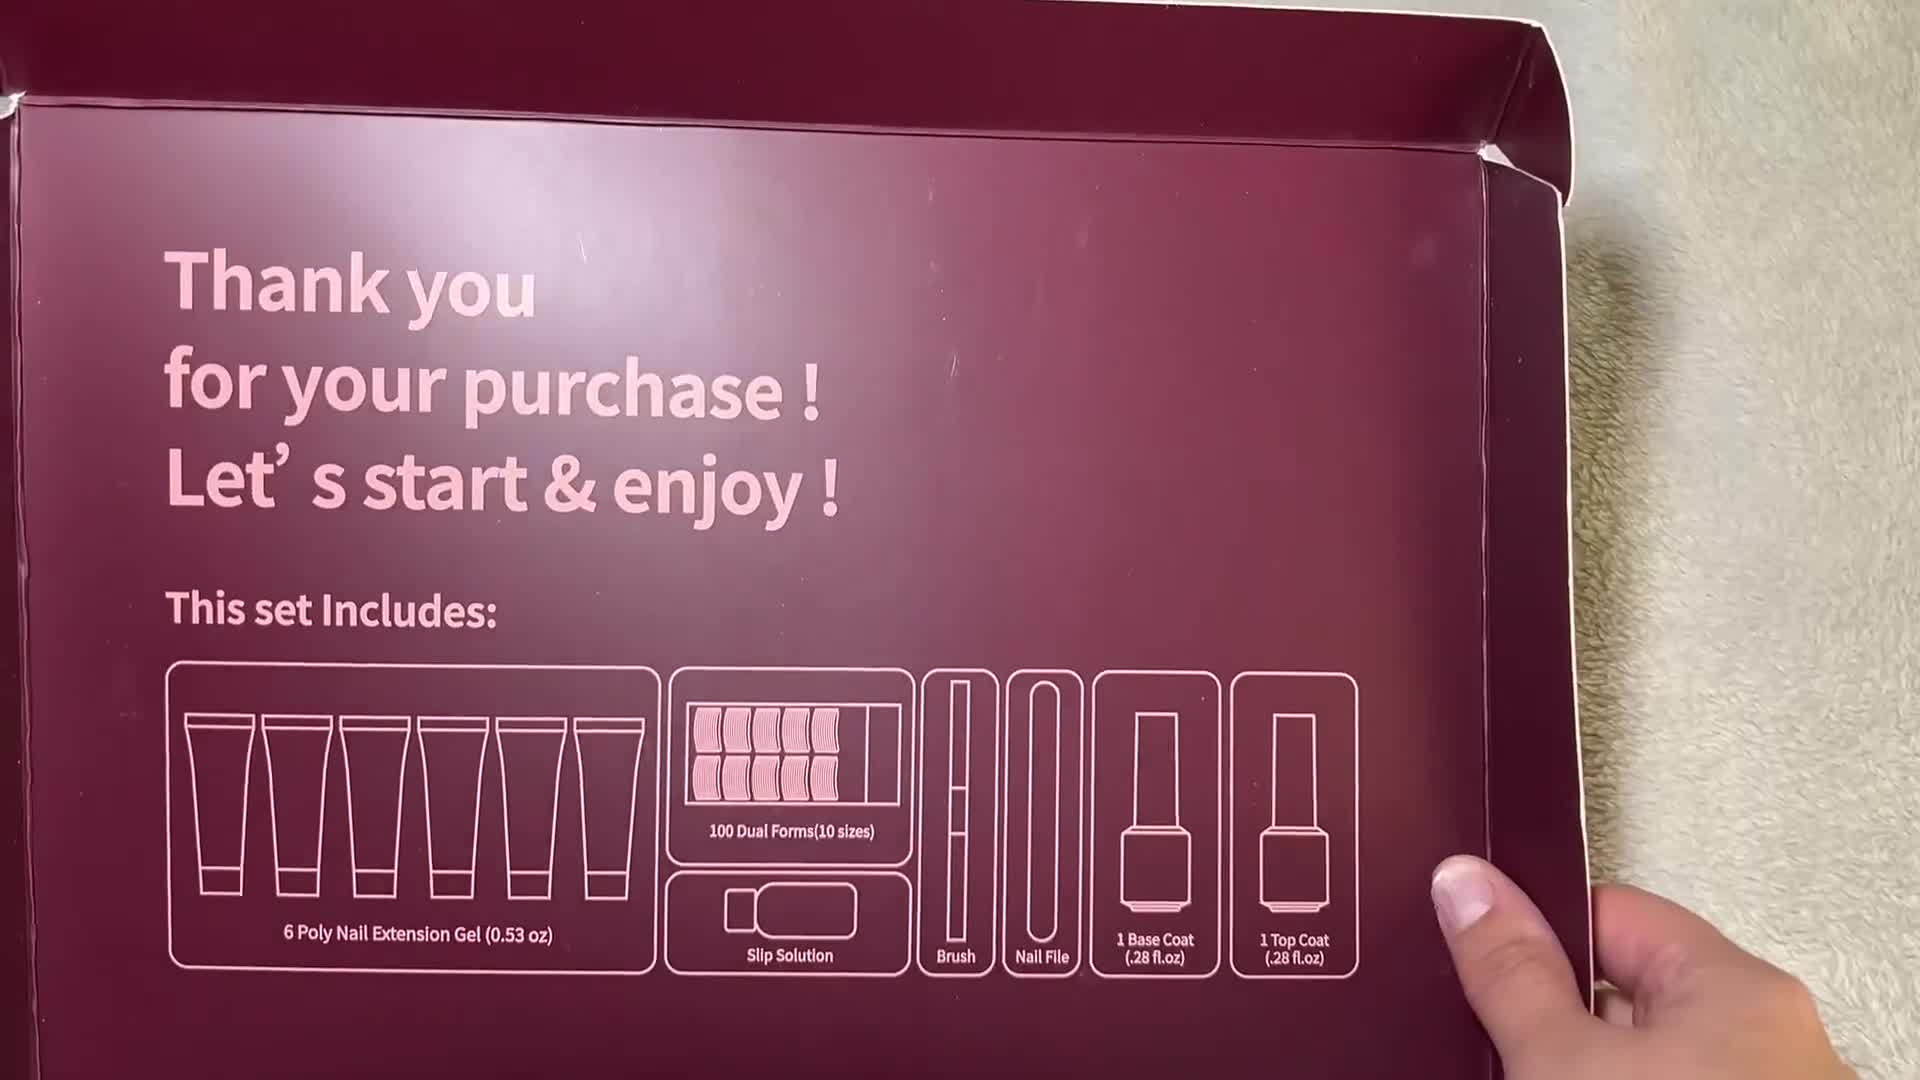
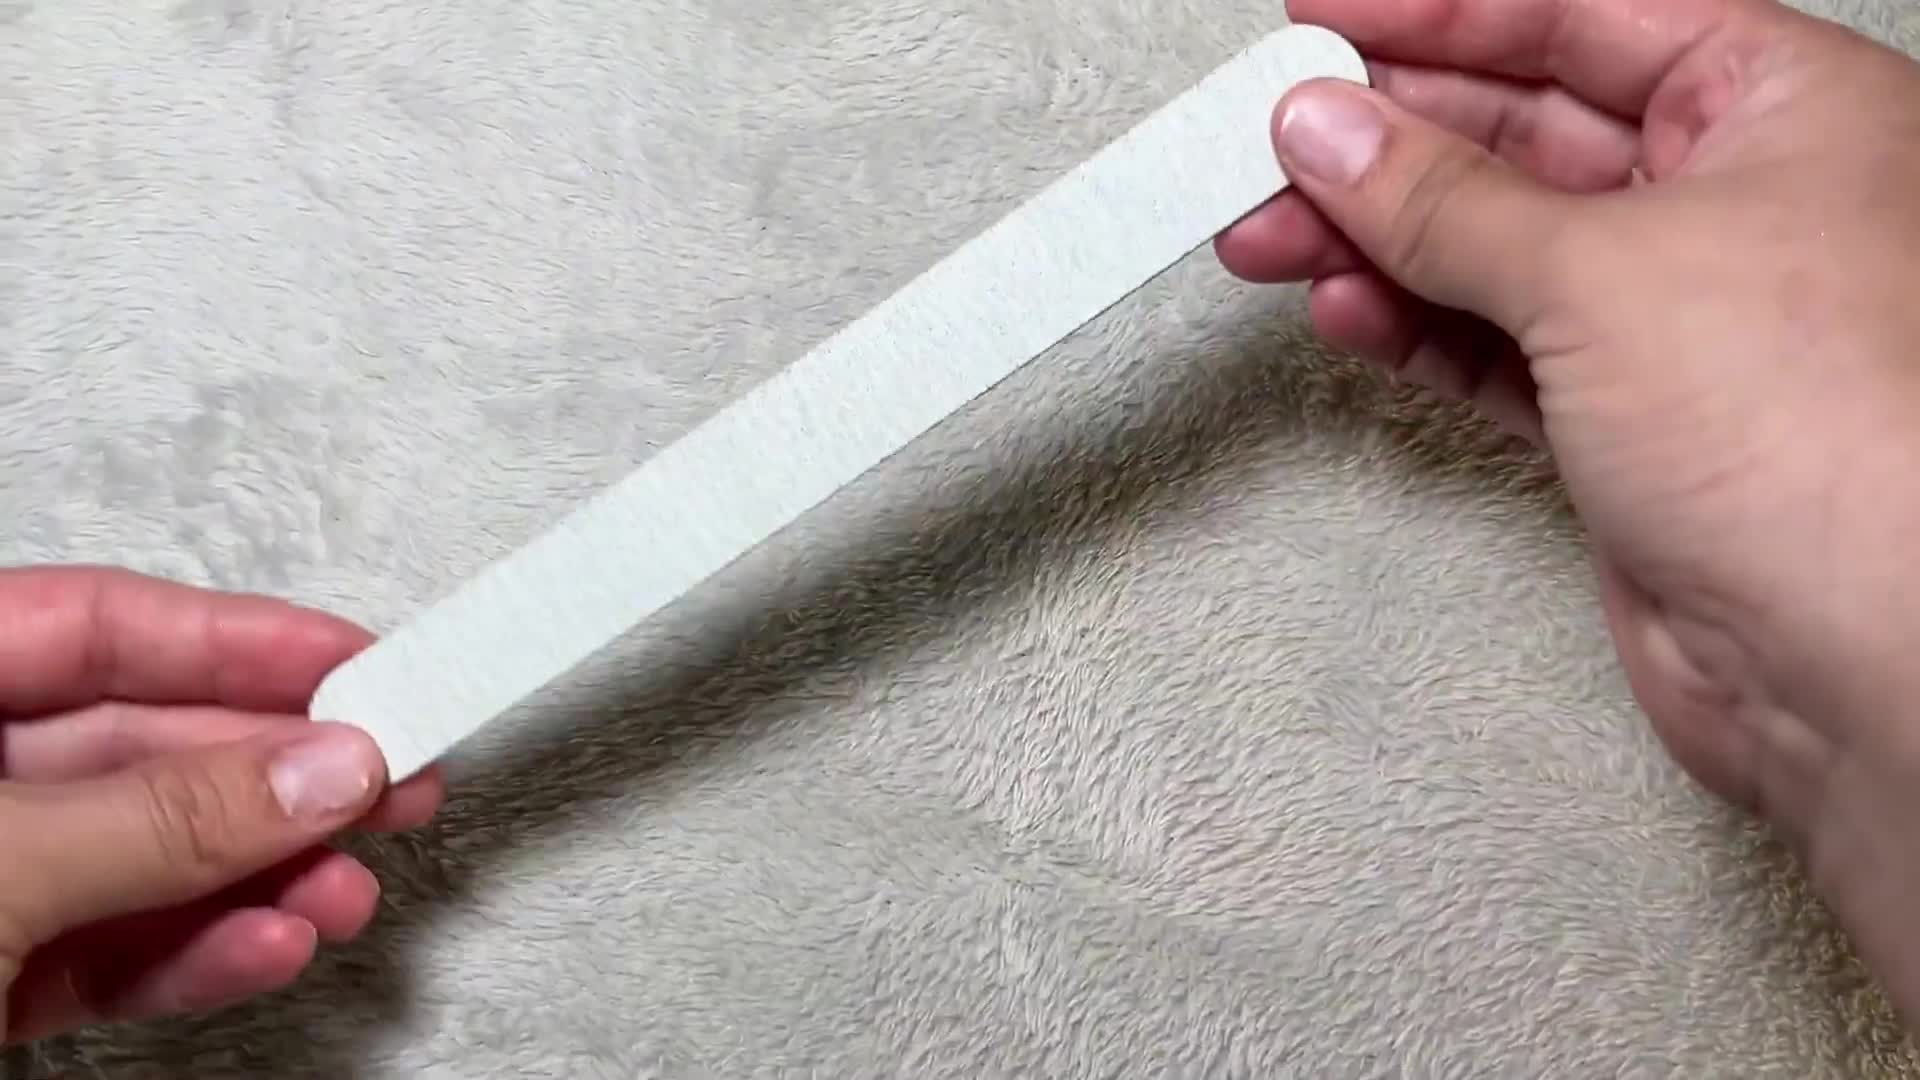
Inside, I found six vibrant gel colors, a generous supply of nail tip extensions, a practical nail file, a base coat, a top coat, and a helpful solution for application.
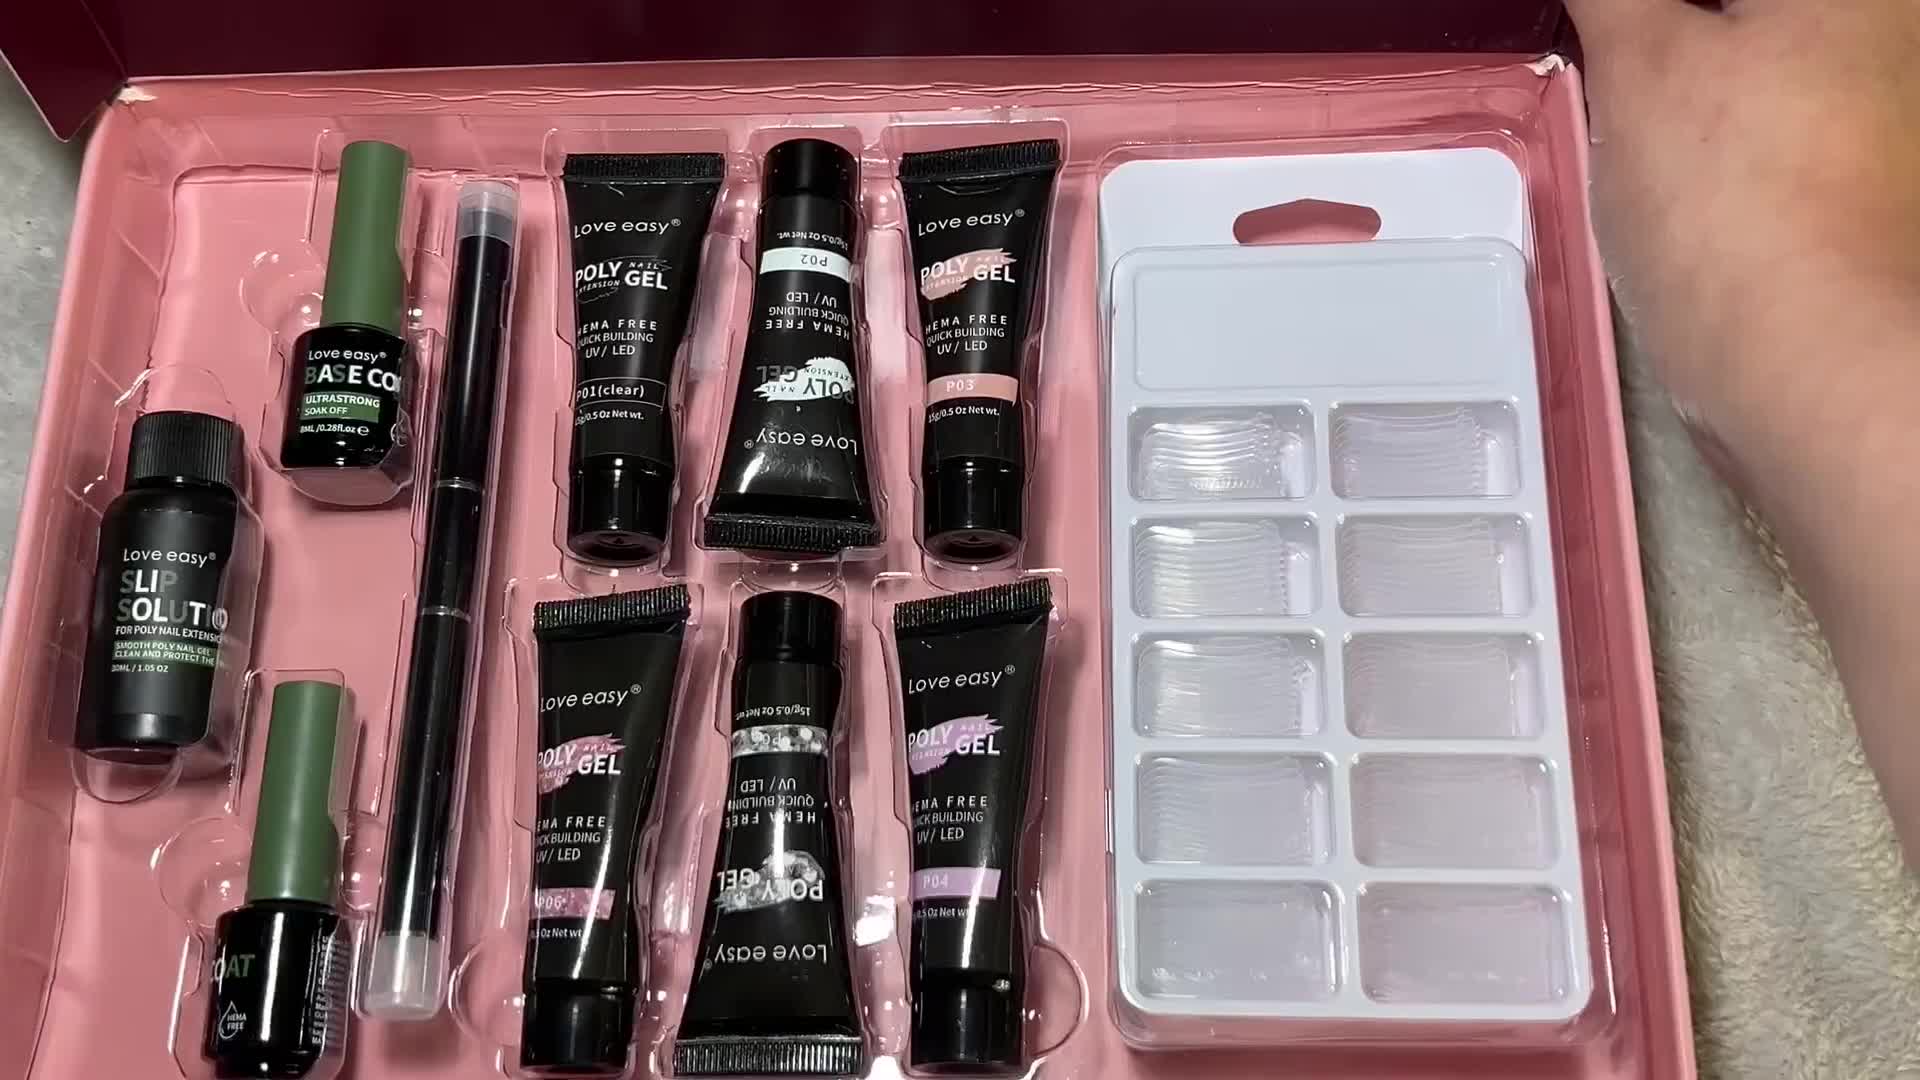
A small applicator was also included, designed to simplify the nail extension process. This comprehensive kit is fantastic for ease of use and convenience.
Application Process
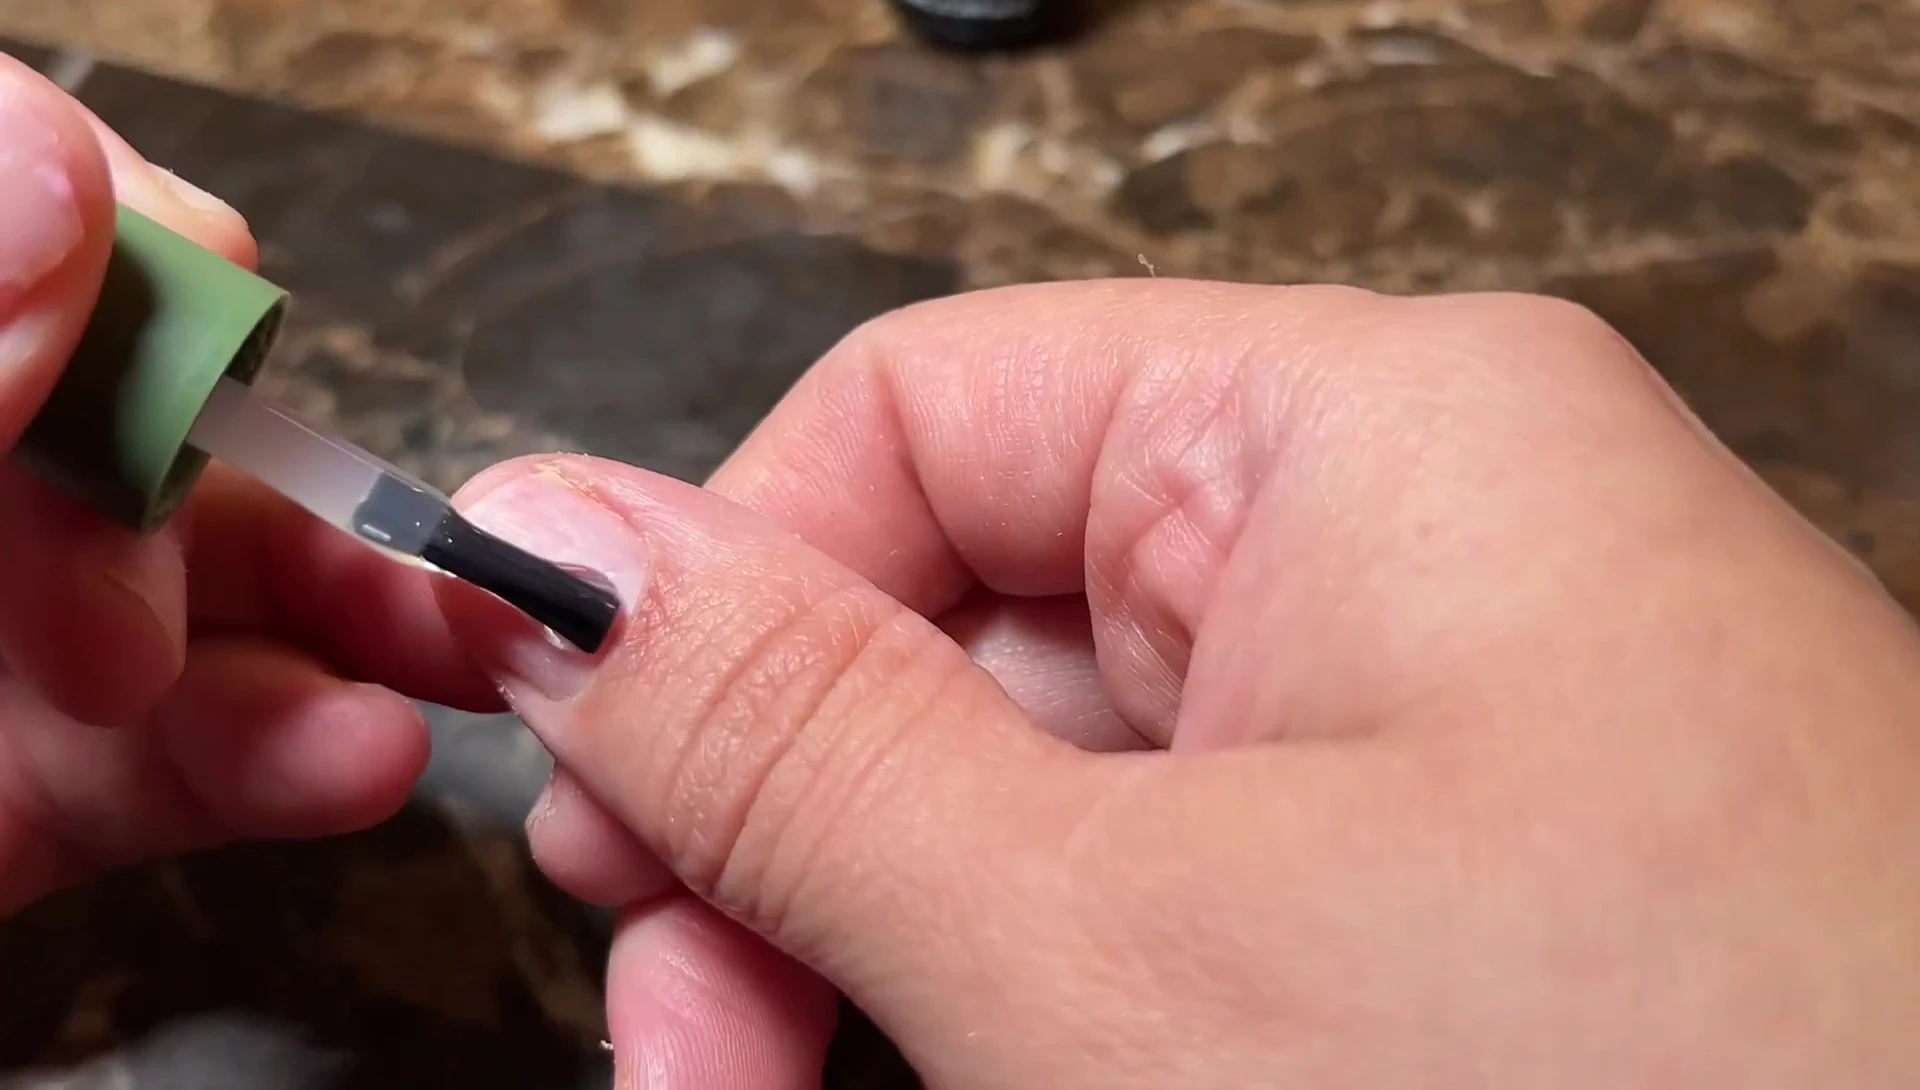
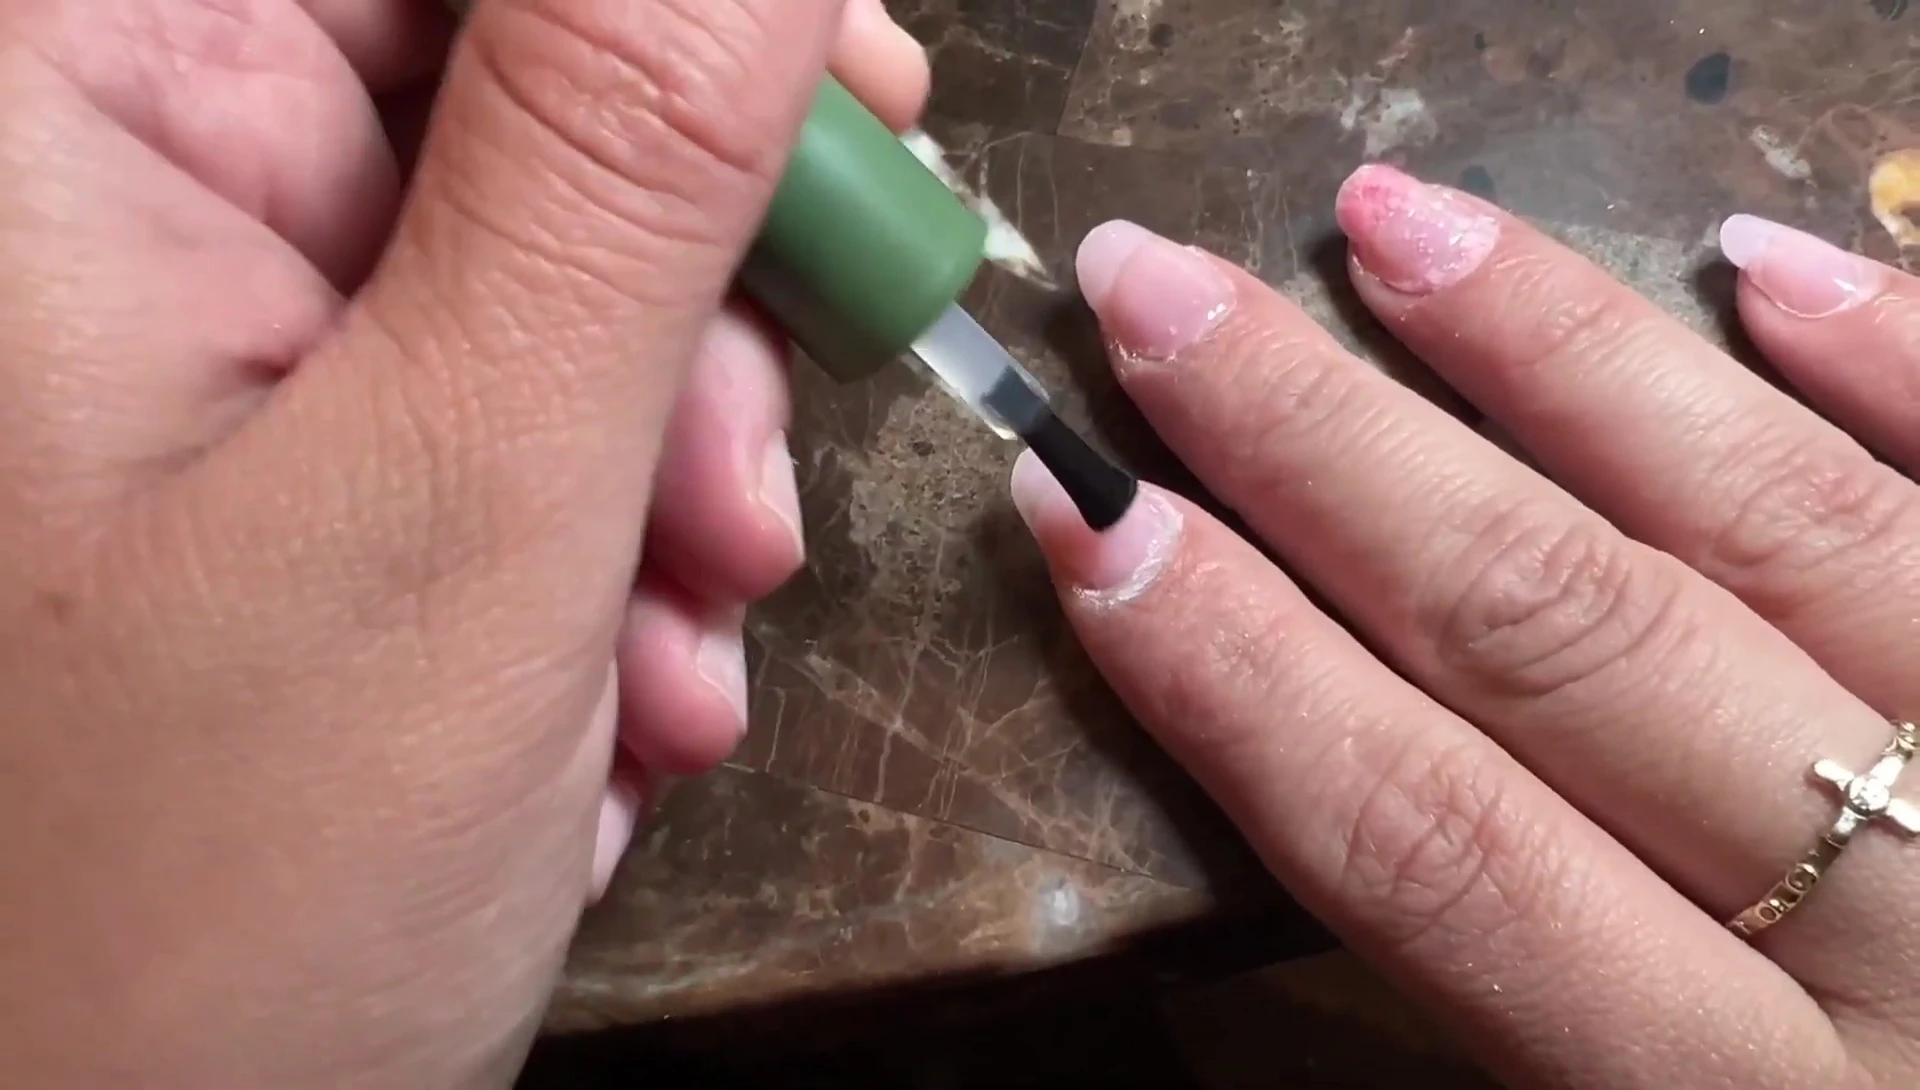
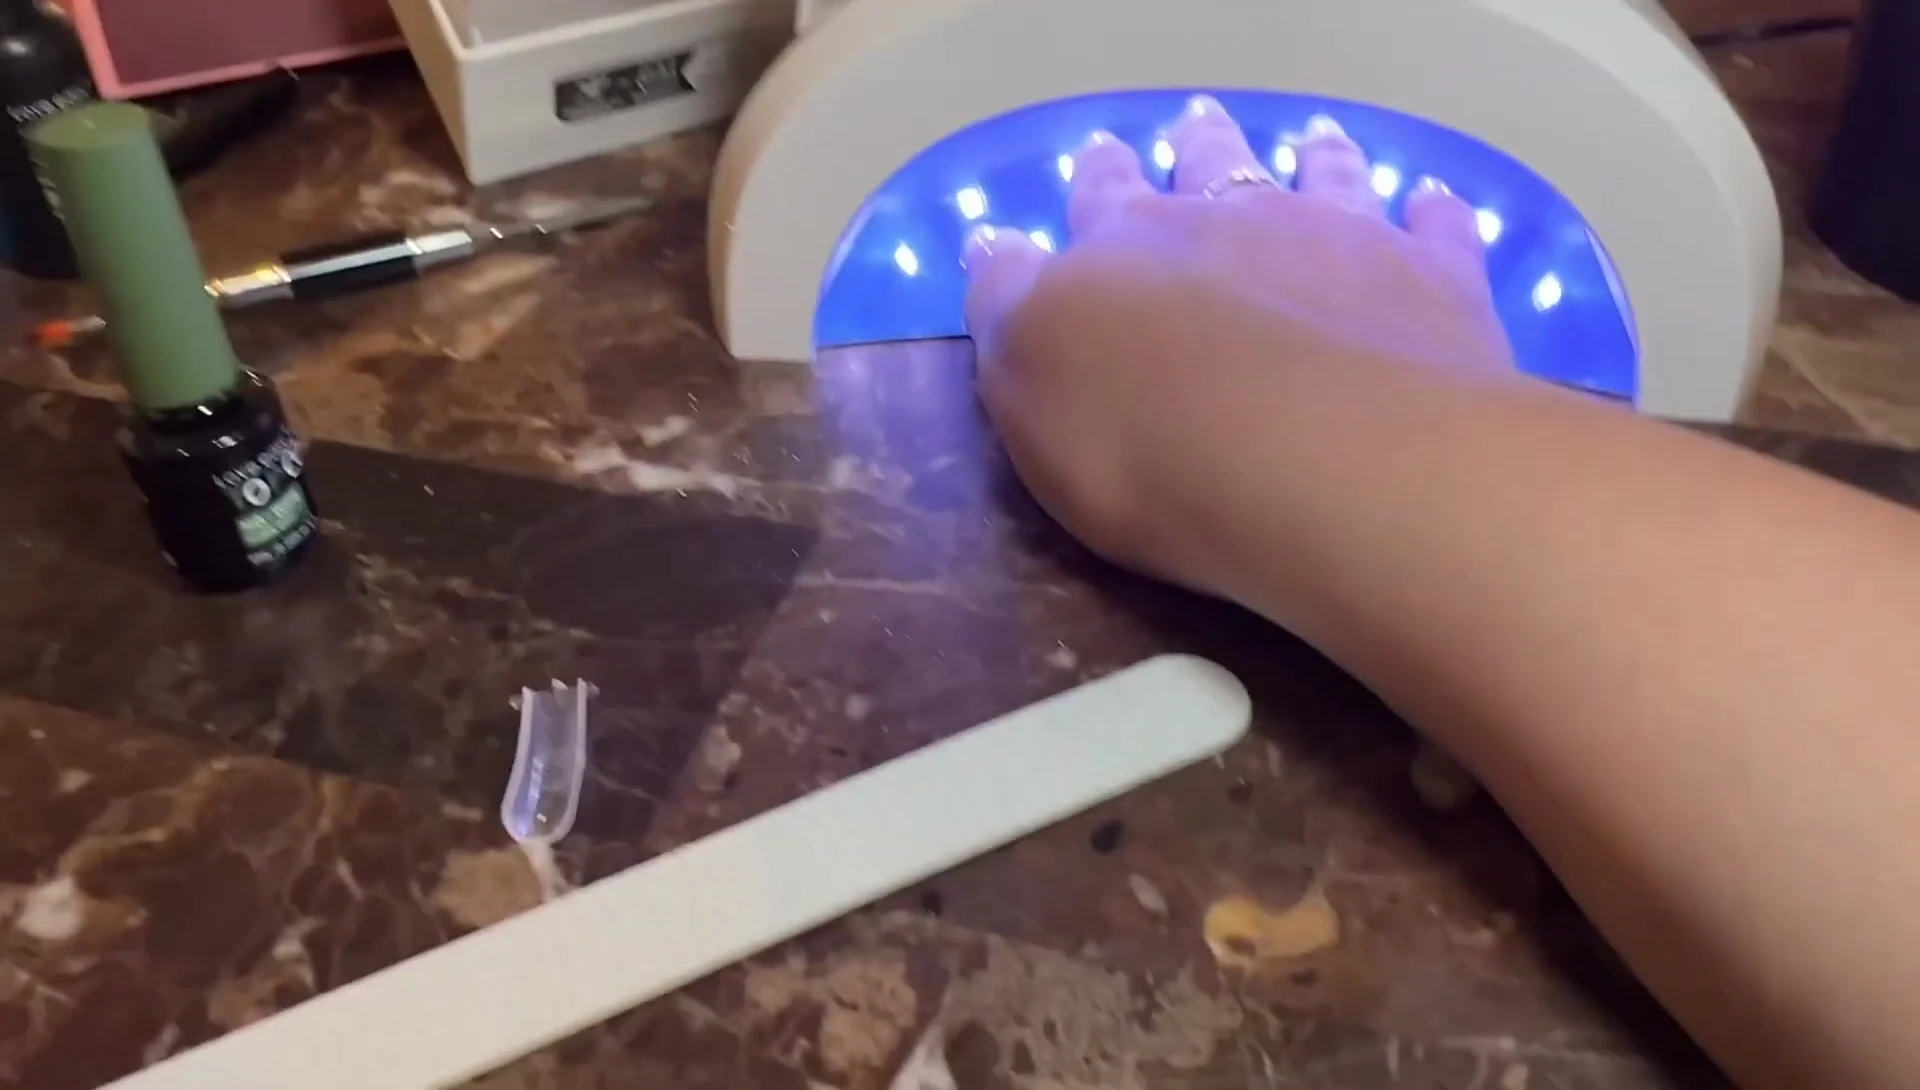
Applying the base coat to my natural nails was straightforward, followed by curing under a UV LED lamp for 60 seconds. This provided a smooth base for the extension.
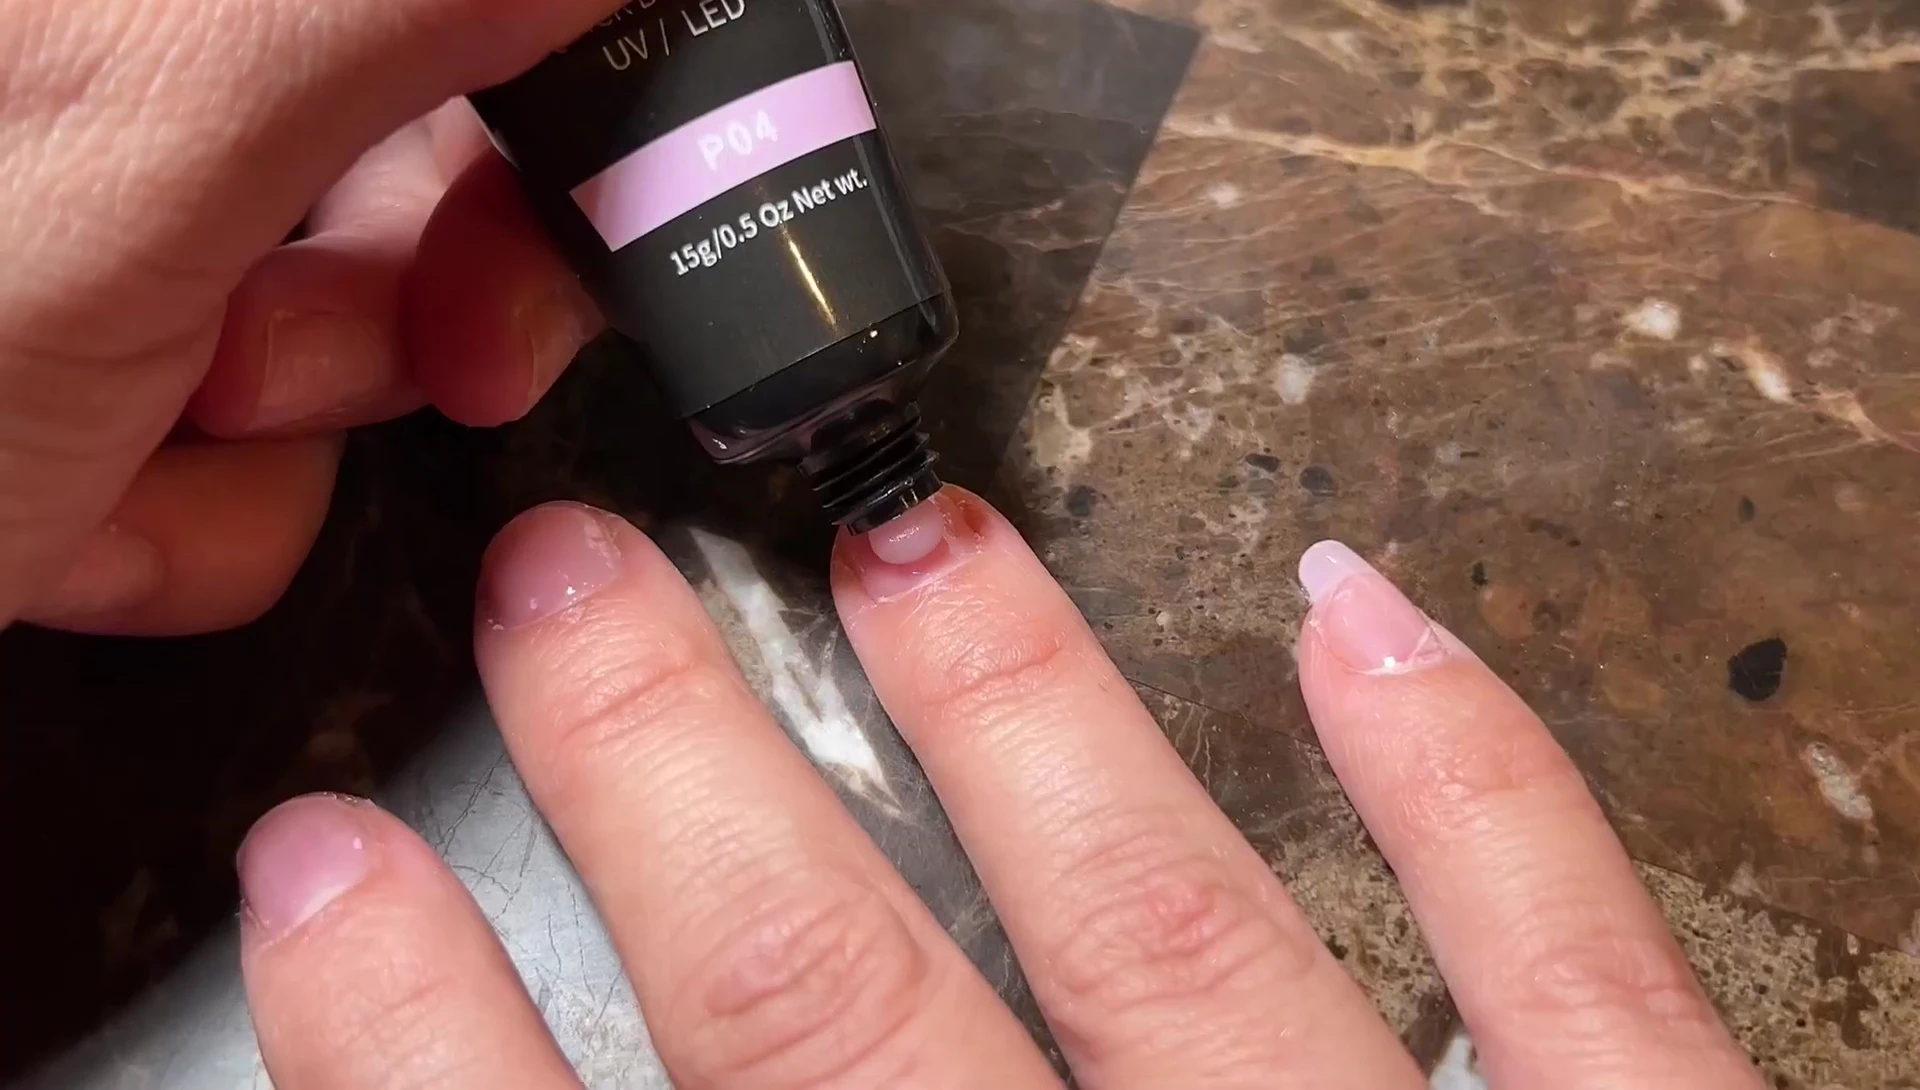
Next, I applied a small bead of the poly gel to each nail and carefully pressed on the nail tip extension. The applicator was helpful in this step.

Afterward, I cured the extensions under the UV lamp for another 60 seconds. The extensions adhered securely and neatly after this curing time.
Finishing Touches and Final Thoughts
Once the extensions were cured, I gently snapped off any excess. The process was surprisingly easy and quick. The kit's brush was handy to fill in any gaps after applying the extensions.

Finally, I applied the top coat and cured it under the UV lamp. This added shine and protection. The whole process is significantly faster than traditional acrylics.
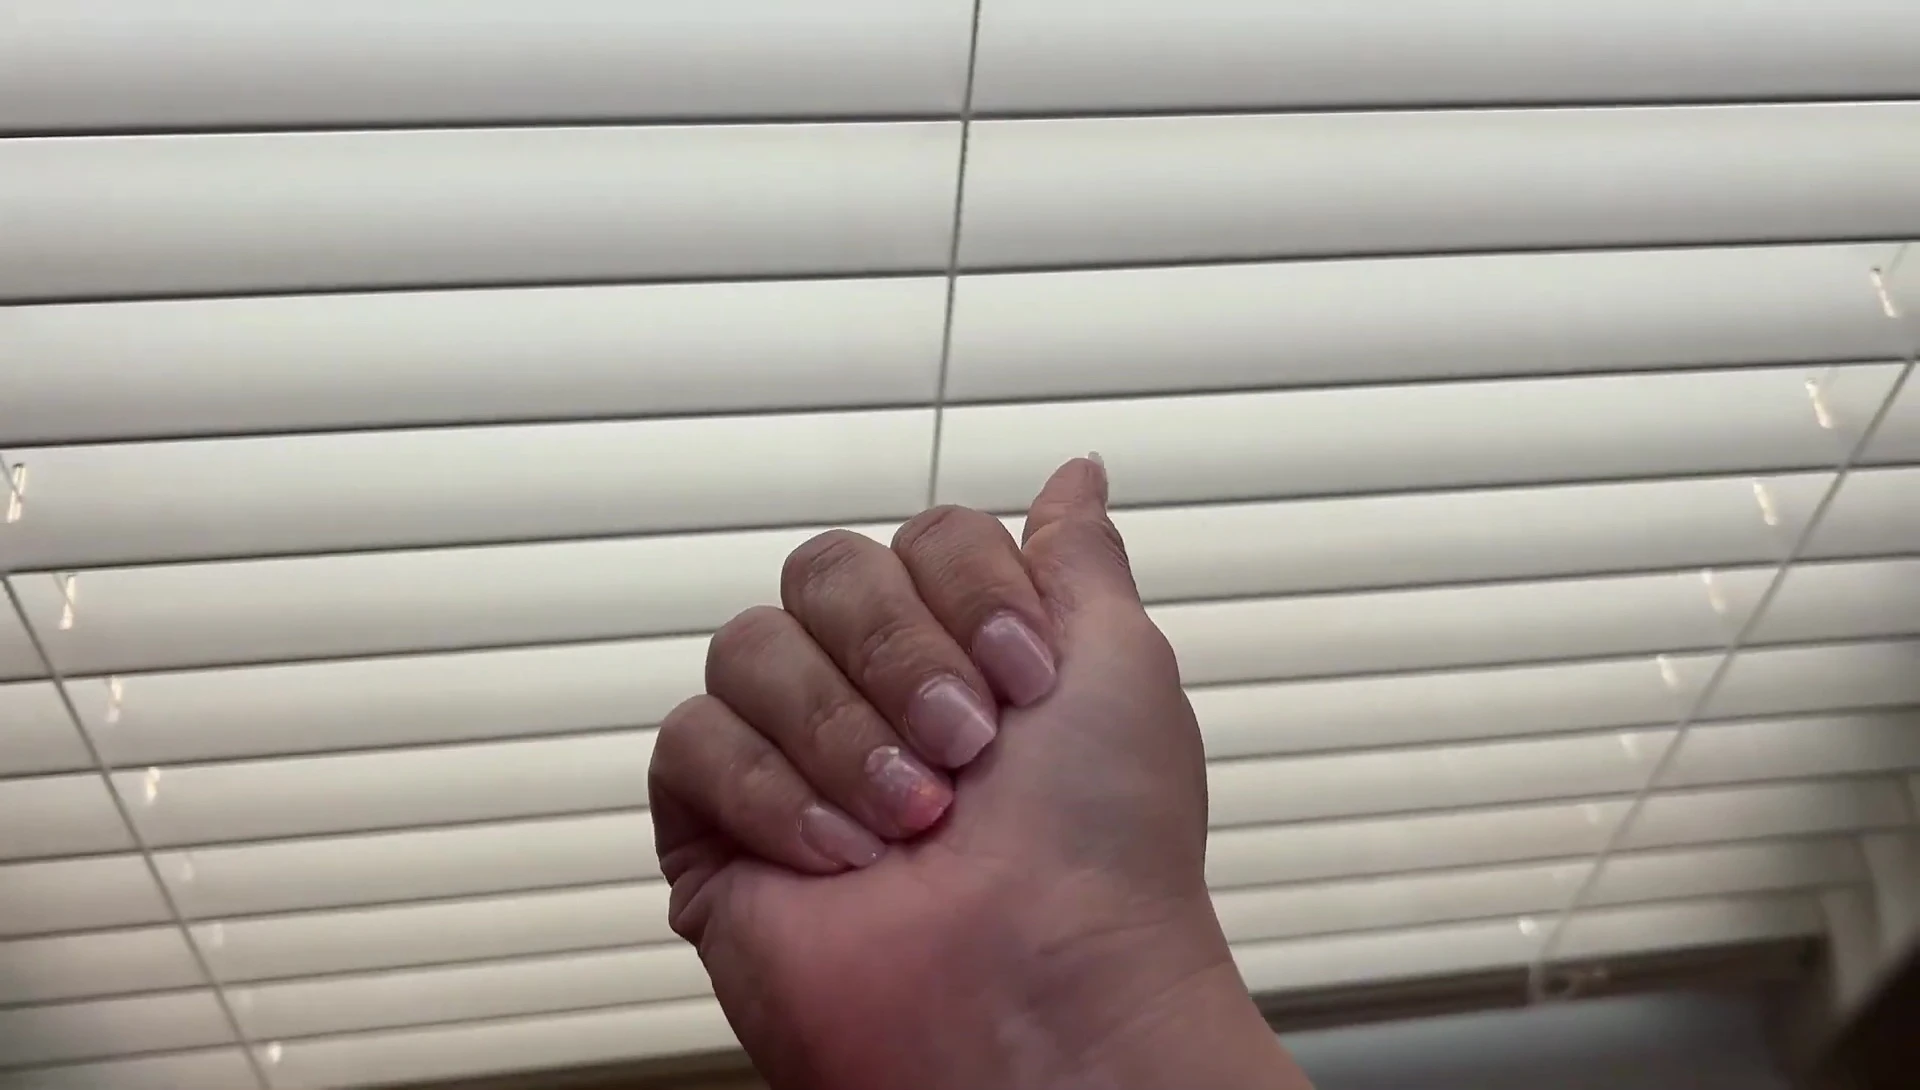
I was incredibly pleased with the results. The kit is beginner-friendly, and the final look is professional and long-lasting. The variety of colors is also a plus.
Overall Review and Recommendation
This Poly Gel Nail Kit is a fantastic option for anyone looking to create beautiful, salon-quality nail extensions at home. The entire process is straightforward and quick.
The kit's comprehensive contents make it extremely convenient for beginners. The brush included is a great addition for easy and precise application.
With its ease of use, multiple color options, and impressive results, I highly recommend this kit to anyone interested in a DIY nail extension solution. It saves time and money compared to professional salon services.