Achieve salon-worthy nails from the comfort of your home with this comprehensive guide to false nail application. Whether you're a complete beginner or looking to refine your technique, this step-by-step tutorial will walk you through the entire process, from preparing your natural nails to achieving a flawless, long-lasting finish. We'll cover everything from applying a base coat and vibrant nail polish, to the art of nail stamping and the addition of dazzling embellishments. Learn how to create stunning designs and secure them with a durable top coat, ensuring your manicure stays picture-perfect for days to come.This guide utilizes acrylic for a strong, reliable bond, offering a more affordable alternative to professional nail salons. We'll detail the application of false nails using acrylic powder and monomer, ensuring a secure and lasting hold. Discover how to expertly apply and cure a gel top coat for a glossy, chip-resistant finish. Embrace your creativity by exploring different nail art techniques and embellishments, transforming your nails into personalized works of art. Let's get started on your journey to beautifully manicured nails!
Read more: 10 Fun & Festive False Nails for Kids
Nail Preparation and Base Coat
Start with clean, dry nails. This is crucial for adhesion. Any leftover oils or dirt can prevent the nail polish from adhering properly.

Apply a base coat to protect your natural nails and help the color stick. Let it dry completely before applying the color.
Once the base coat is dry, apply three coats of your chosen nail polish. Make sure each layer is completely dry before applying the next.
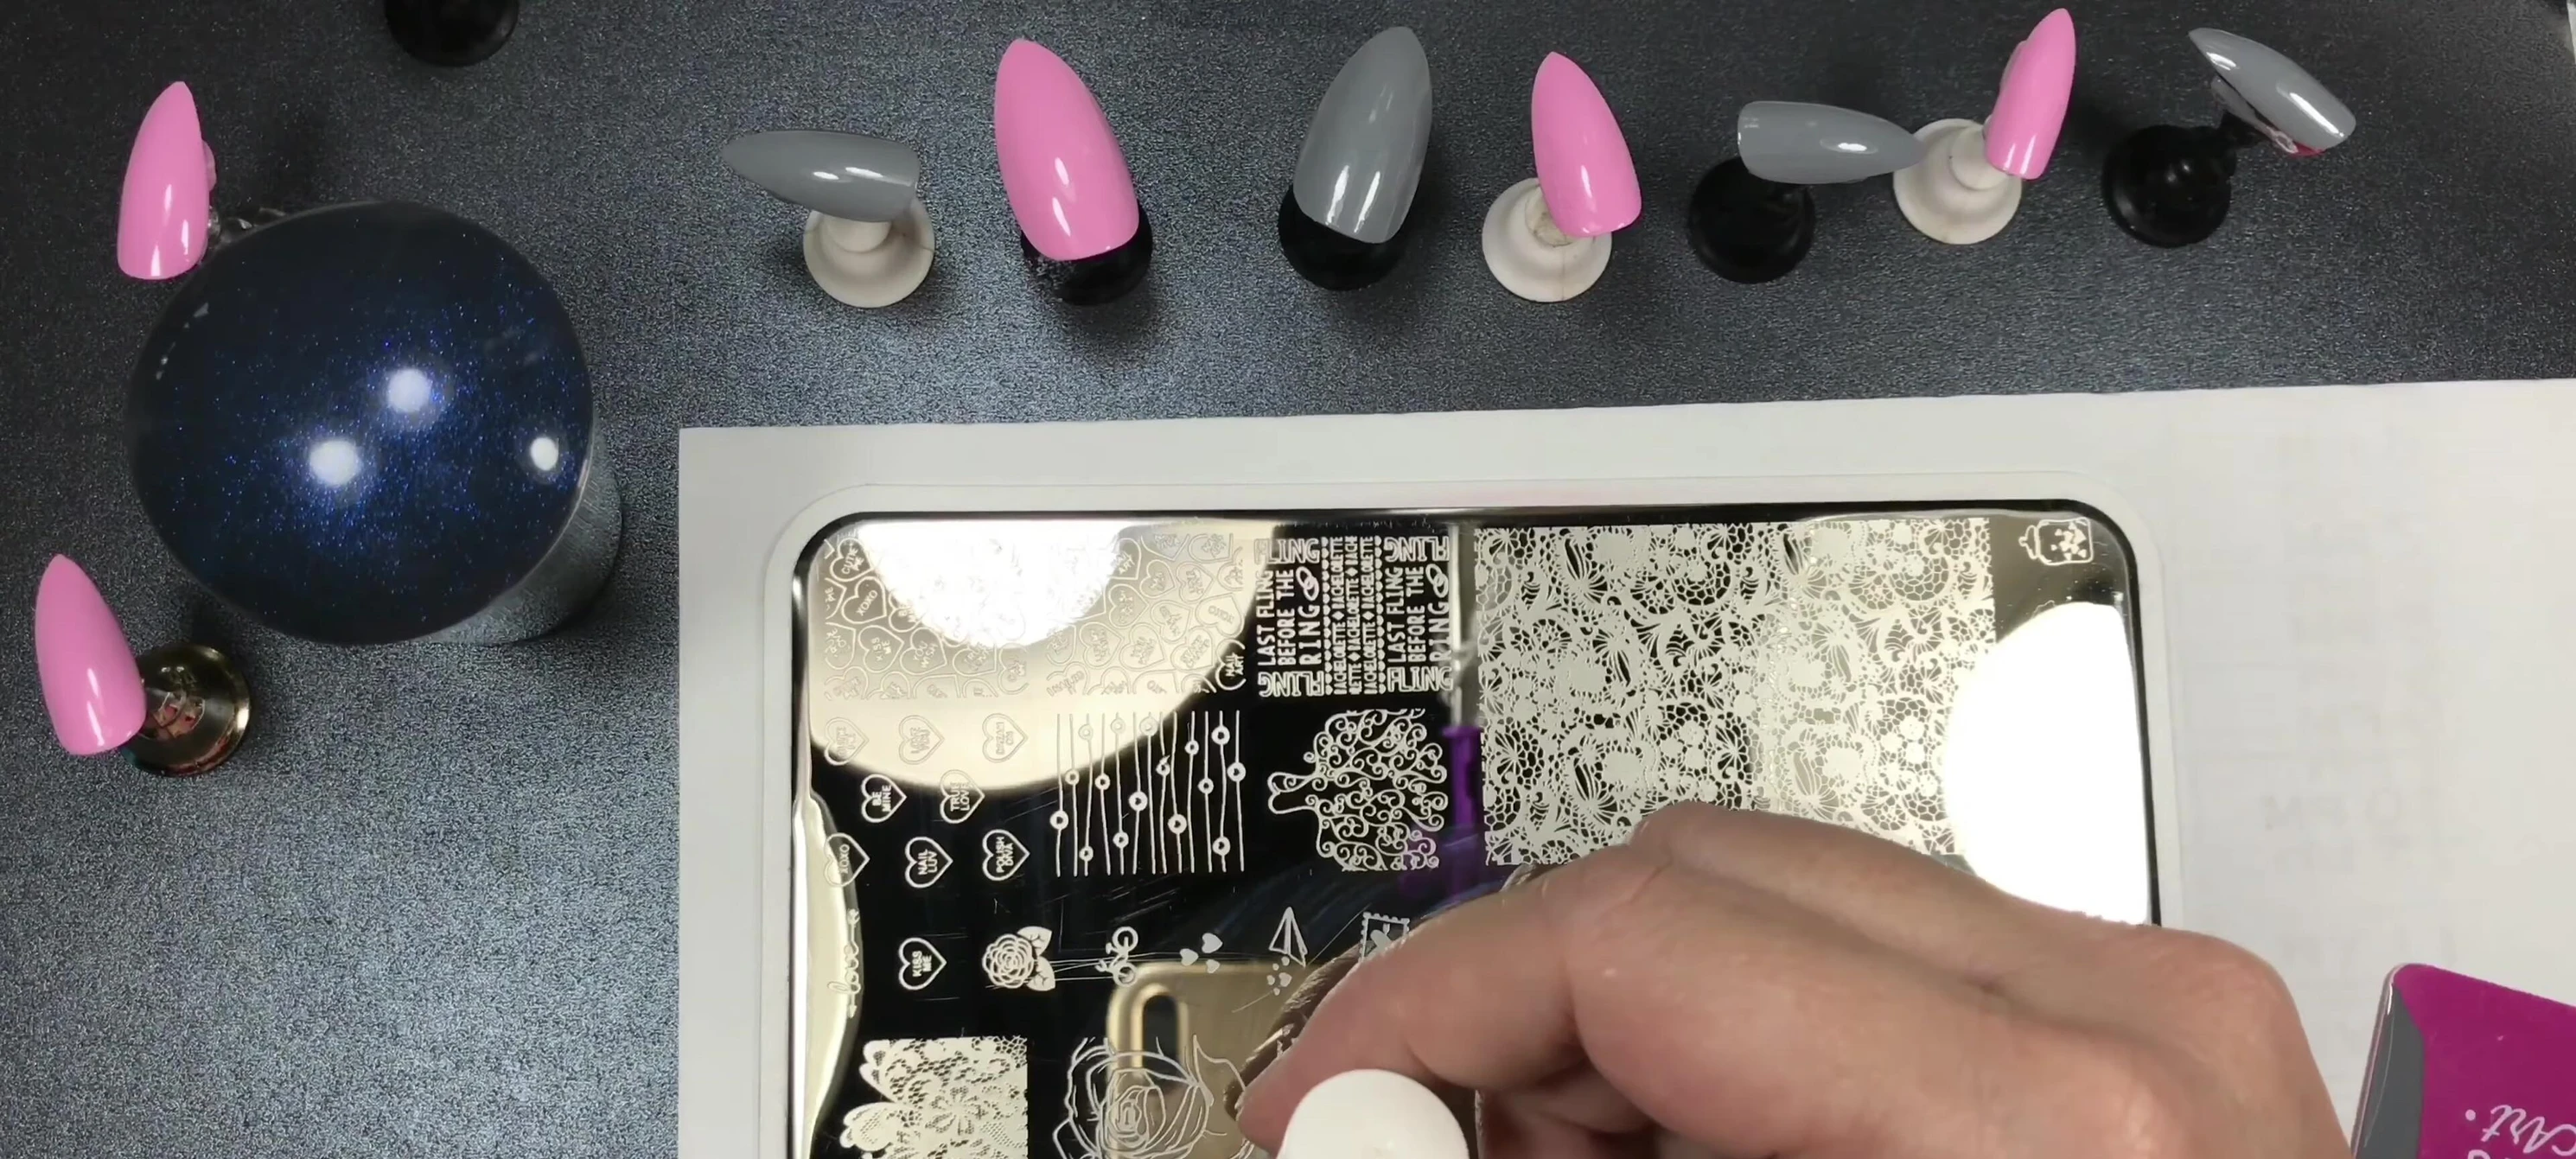
Nail Stamping
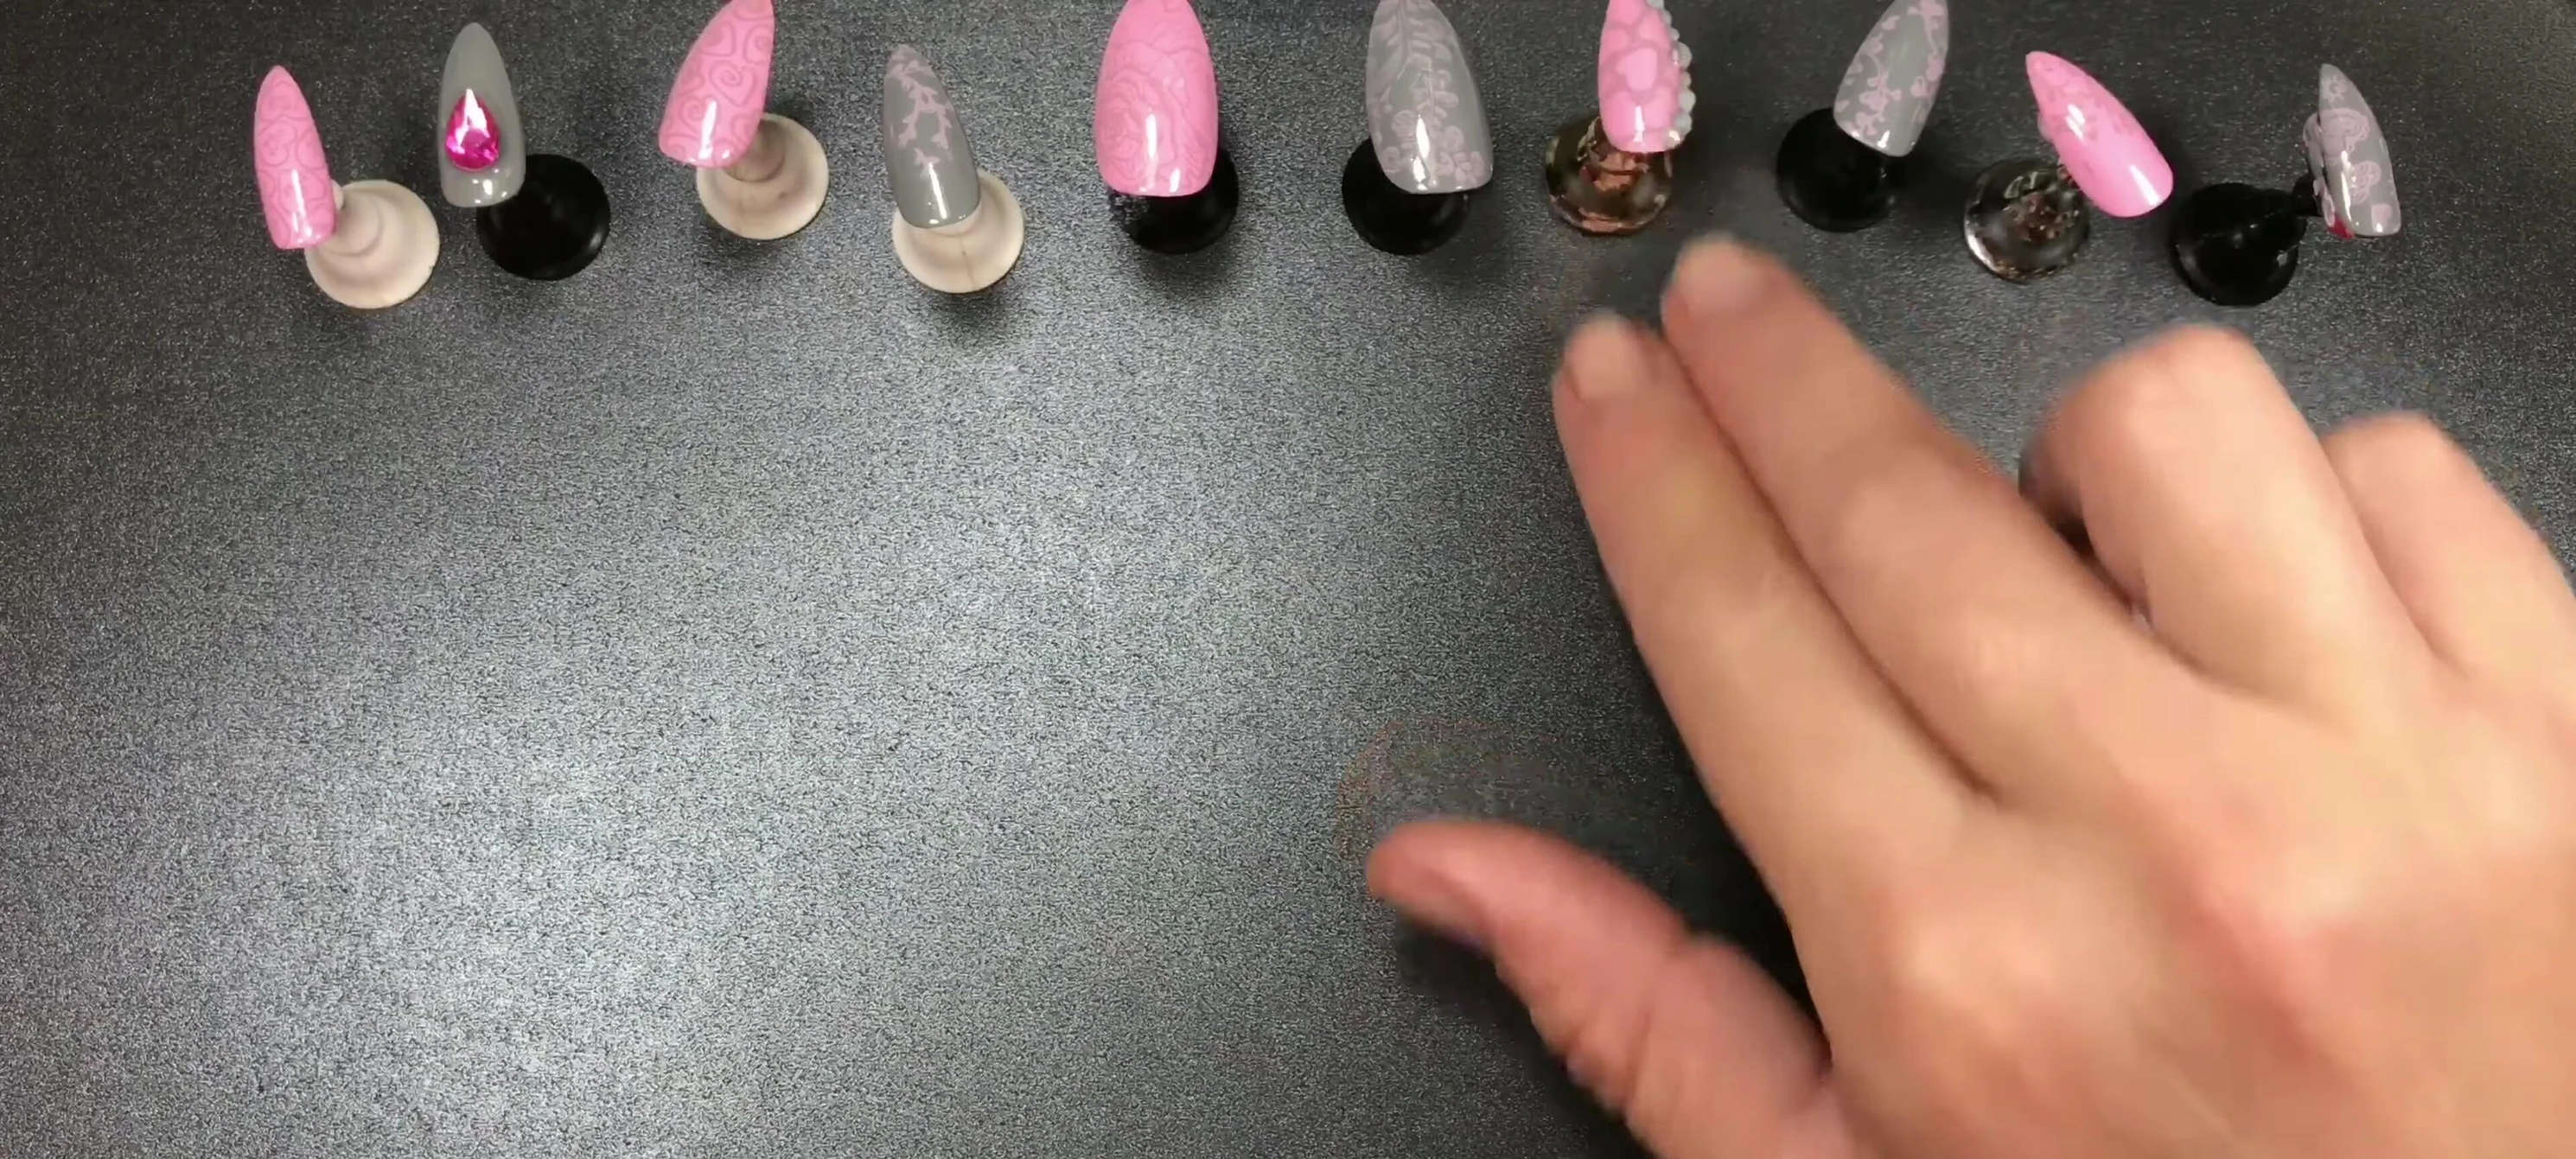
After the nail polish has completely dried, use a nail stamping kit to add a design. This tutorial uses a contrasting color for a striking effect.
This step adds a unique touch and personalized style to your nails. Experiment with different designs and colors for endless variations.
Ensure your stamping plate is clean and the image is clearly transferred to the nail.
Gel Top Coat Application
Applying a gel top coat provides a durable, glossy finish and protects your nail art. Ensure your nail polish is completely dry before applying.
This step is essential for long-lasting nail art, preventing chipping and smudging. Cure the gel top coat under a UV or LED lamp according to the manufacturer's instructions.
Apply thin coats to prevent bubbling and ensure even curing. It's best to cure each nail individually to avoid uneven drying.
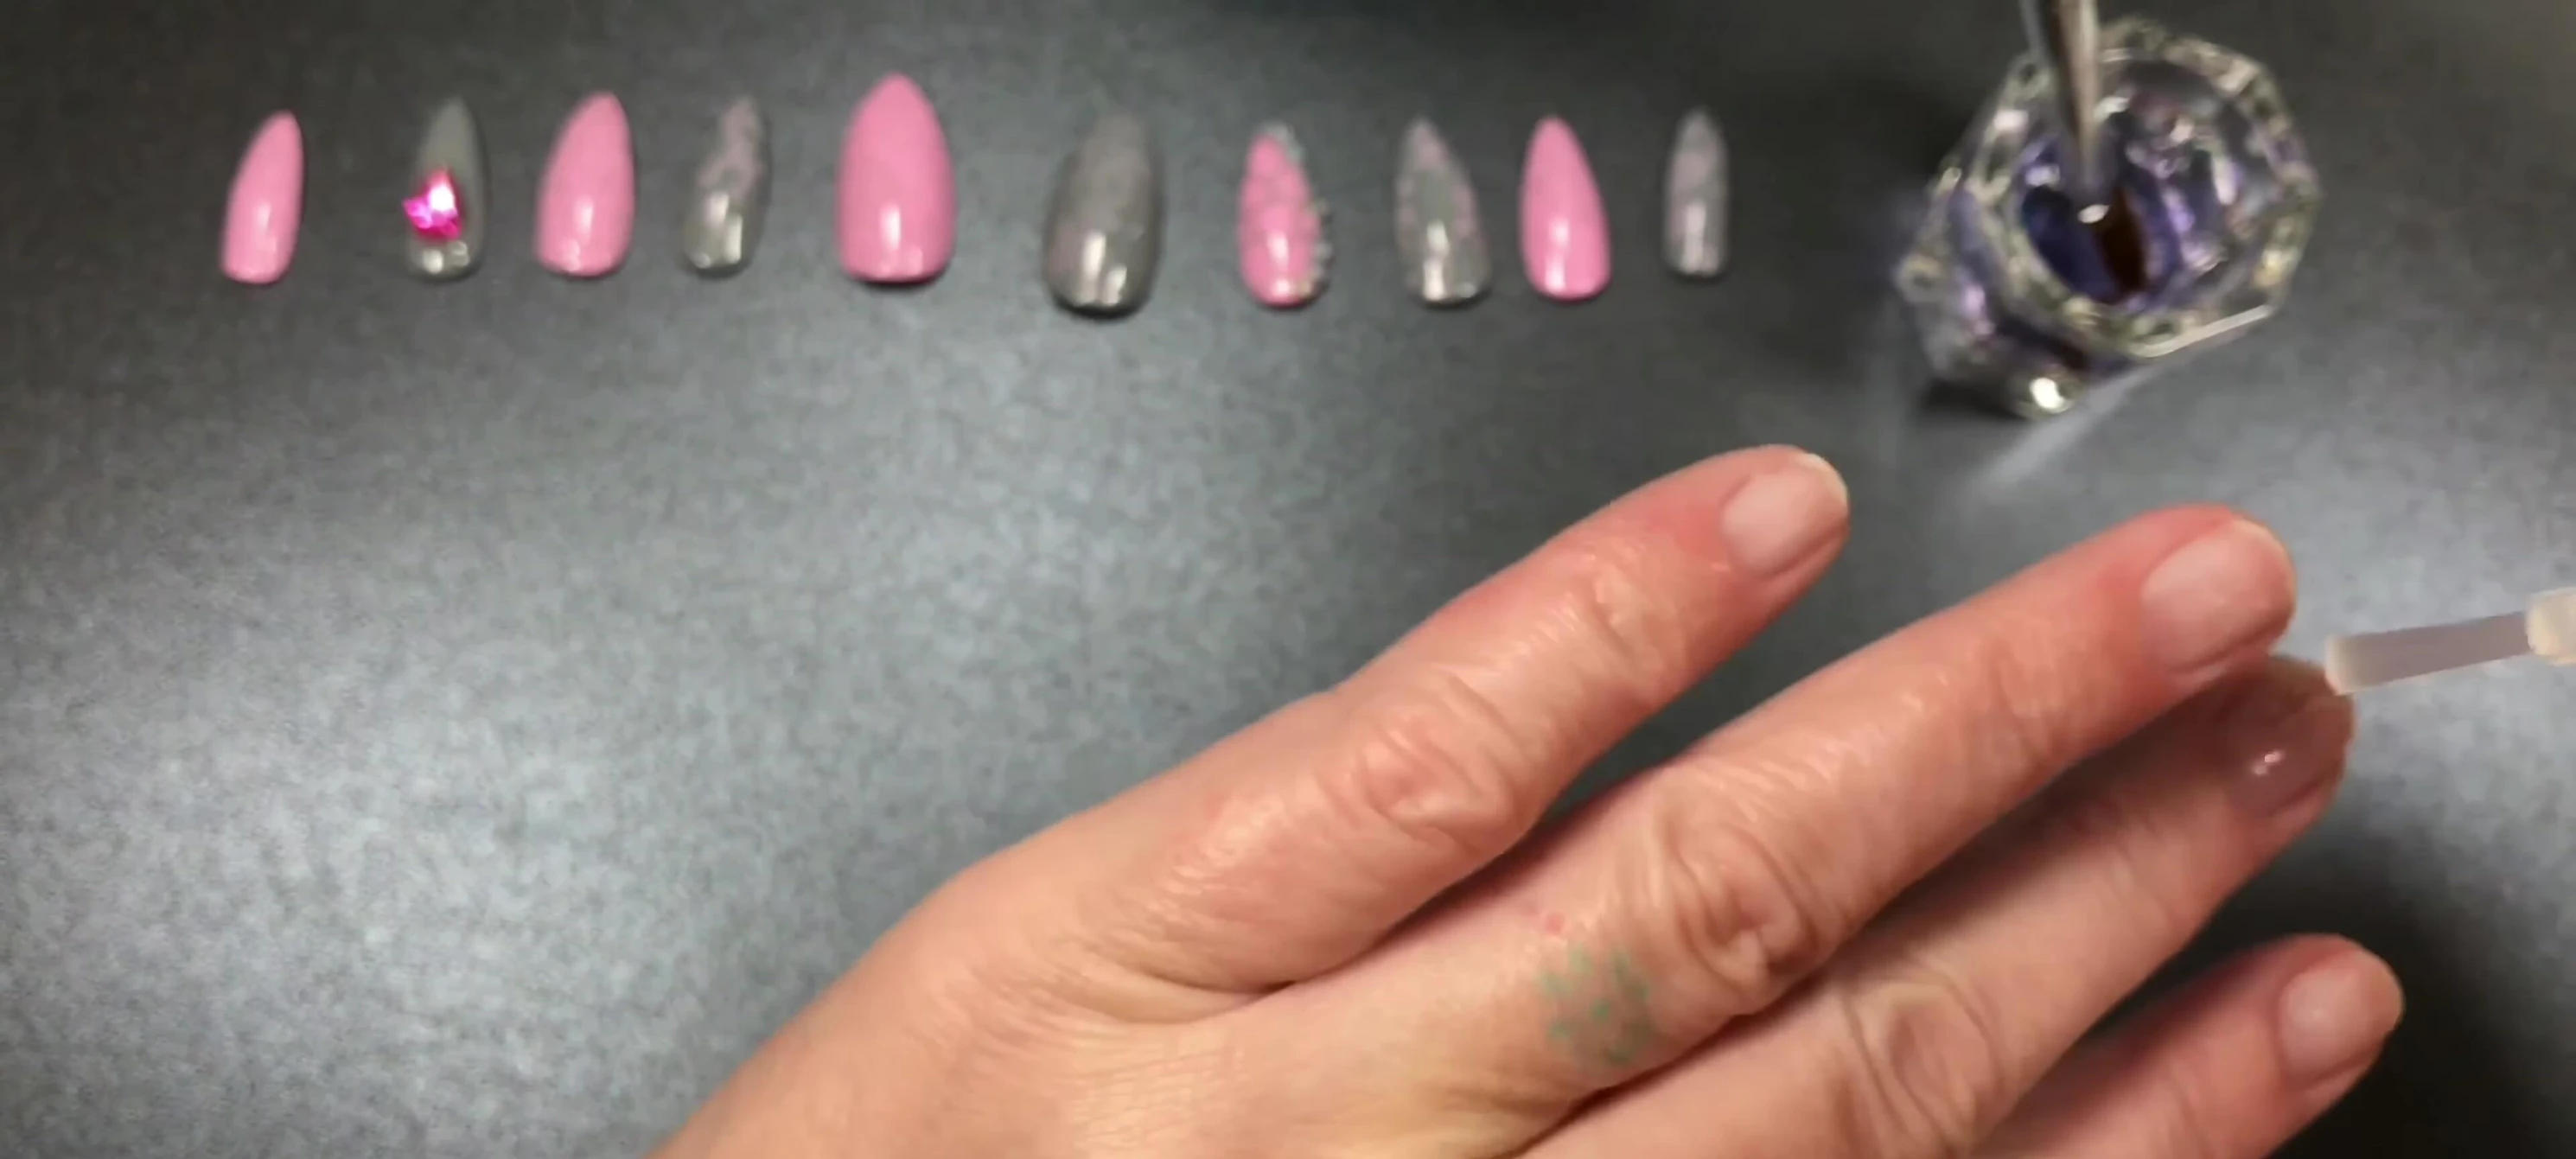
Adding Crystals and Embellishments
Adding crystals or other embellishments adds a touch of elegance and personalization. Secure the crystals with a thin layer of gel top coat, ensuring there are no sharp edges.
Cure the embellishments under the lamp to ensure they are firmly attached. This step adds a professional, finished look.
Be careful not to apply too much gel, as this can cause the crystals to lift.
Applying False Nails with Acrylic
Prepare your natural nails with a base coat and primer. This improves adhesion and protects your nails.
Use acrylic powder and monomer to adhere the false nails. Apply a small amount of the mixture to each nail and press the false nail firmly onto your natural nail.
Hold each nail in place for at least one minute to ensure a secure bond. Clean up any excess acrylic around the nail.
Final Touches and Conclusion
After the acrylic has dried, you can apply a final top coat for extra shine and protection. This adds a polished, professional finish.
This detailed method allows for a long-lasting, beautiful manicure. The use of acrylic as an adhesive is unique and ensures a strong hold.
This technique allows for creativity and customization, offering a more affordable alternative to salon manicures. The end result is a stunning, professional-looking manicure.