Express yourself with adorable, personalized emoji nail art! This fun and easy DIY tutorial shows you how to create your own custom emoji nail stickers, perfect for adding a playful touch to your manicure. Forget expensive salon treatments – this guide empowers you to achieve professional-looking results from the comfort of your own home. We'll walk you through each step, from sketching your favorite emoji expressions to applying the finished stickers for a vibrant, long-lasting design. Get ready to unleash your creativity and personalize your nails with this surprisingly simple technique.This detailed tutorial provides all the necessary steps and tips for crafting unique emoji nail stickers using readily available materials. Learn how to choose the right paints for precision and layering, ensuring a clean and professional finish. Discover the secrets to preventing smudging and achieving a glossy, long-lasting manicure. Whether you're a seasoned nail artist or a complete beginner, this guide offers a fun and accessible way to create cute, customized nail art that reflects your individual style and personality.
Pros And Cons
- Cute and fun design.
- Relatively easy to create.
- Can be customized with different colors and emojis.
- Requires patience for drying time (30-60 minutes).
- Can be challenging to peel if not fully dry.
- Using nail polish instead of art paint may result in smudging.
Read more: 9 Stunning 5D Nail Stickers for a Perfect Manicure
Preparing Your Workspace and Designing the Emojis
Begin with a clean, smooth, non-porous surface. This is crucial for the stickers to adhere properly and prevent smudging.
Next, start sketching your emoji designs directly onto the surface. Feel free to experiment with various expressions and combinations.
Keep the facial features close together to create compact, cute emojis. Remember, there's no need for perfect symmetry – embrace the charming imperfections!
Painting the Emojis and Background
For the emoji details, I used Wildflowers Art Team paint. Nail polish works too, but the thinner paint provides more control and easier application.
Pay attention to layering. If tear drops are in front, paint the smile behind. This creates depth and prevents smudging.
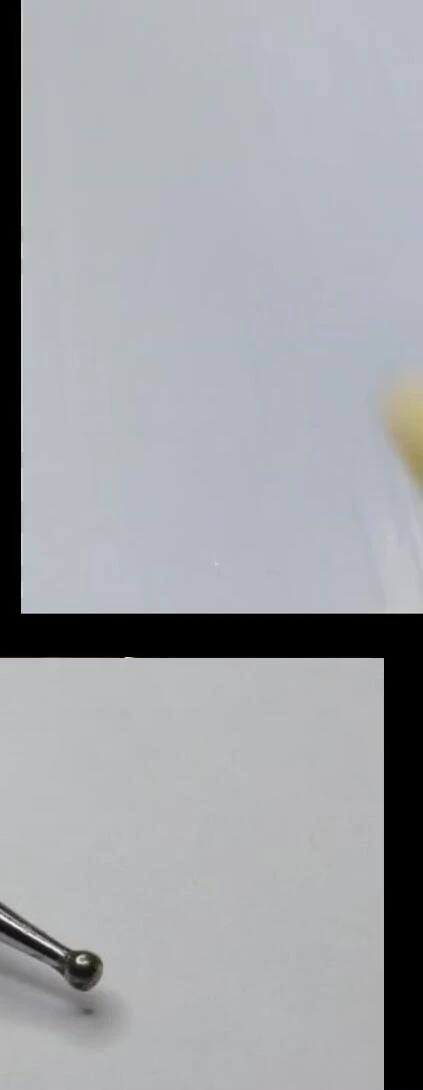
After painting the emojis, carefully apply a yellow polish background using a dotting tool. Allow ample drying time (30-60 minutes) to avoid smudging.
Peeling and Applying the Stickers
Once the yellow background is thoroughly dry, apply a quick-dry top coat to seal everything.
Carefully peel away the stickers. If some stick, wait longer before peeling. Rushing this step can ruin the design.
Trim around each emoji for a clean finish. They're now ready to be applied to your nails!
Finishing Touches and Nail Polish
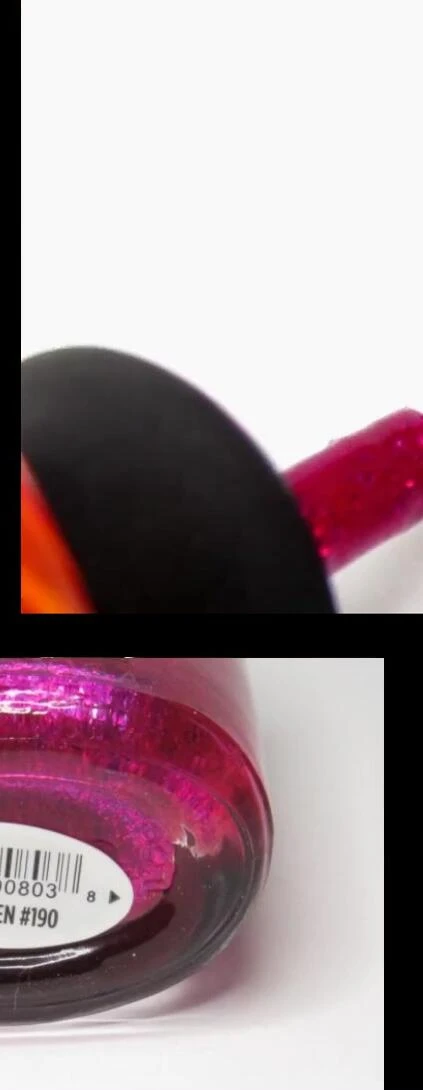
I chose a pink glitter polish (Sandy's Vinyl Looks in Butterfly Queen) for the nail base. This particular polish doesn't require a base coat, but most polishes do.
Apply the stickers to your nails. Gently press them down with your fingers; if needed, use a clear top coat to secure them.
Finish with a final top coat for a smooth, glossy finish and long-lasting wear.
Conclusion
This tutorial provides a fun and accessible method for creating personalized emoji nail art.
The use of nail art paint offers greater precision compared to nail polish, minimizing the risk of smudging during application.
The final result is a cute and unique manicure, perfect for expressing your individual style.