Learn to sculpt stunning acrylic nails using nail forms with this comprehensive beginner's guide. This step-by-step tutorial takes you through the entire process, from proper nail preparation and sanitation to the precise application of acrylic and the creation of a beautiful, natural-looking "C" curve. We cover essential techniques for achieving flawless adhesion, preventing lifting, and building strong, durable nails. Whether you're a complete novice or looking to refine your existing skills, this guide provides clear instructions and helpful tips to ensure success.Mastering acrylic nail sculpting with nail forms opens up a world of creative possibilities. This method is especially beneficial for repairing damaged nails or achieving intricate designs. This guide will equip you with the knowledge and confidence to create long-lasting, professional-quality acrylic nails. Get ready to elevate your nail artistry and provide your clients with exceptional results.
Read more: Nail Form Review: EasyFlow App and Diverse Nail Shapes
Preparing the Nails
Before you begin sculpting, ensure both you and your client sanitize your hands thoroughly. This crucial step prevents infections and ensures a hygienic application process. Next, gently push back the cuticles using a cuticle pusher, removing any dead skin from the nail plate. This prevents lifting and promotes better adhesion of the acrylic.
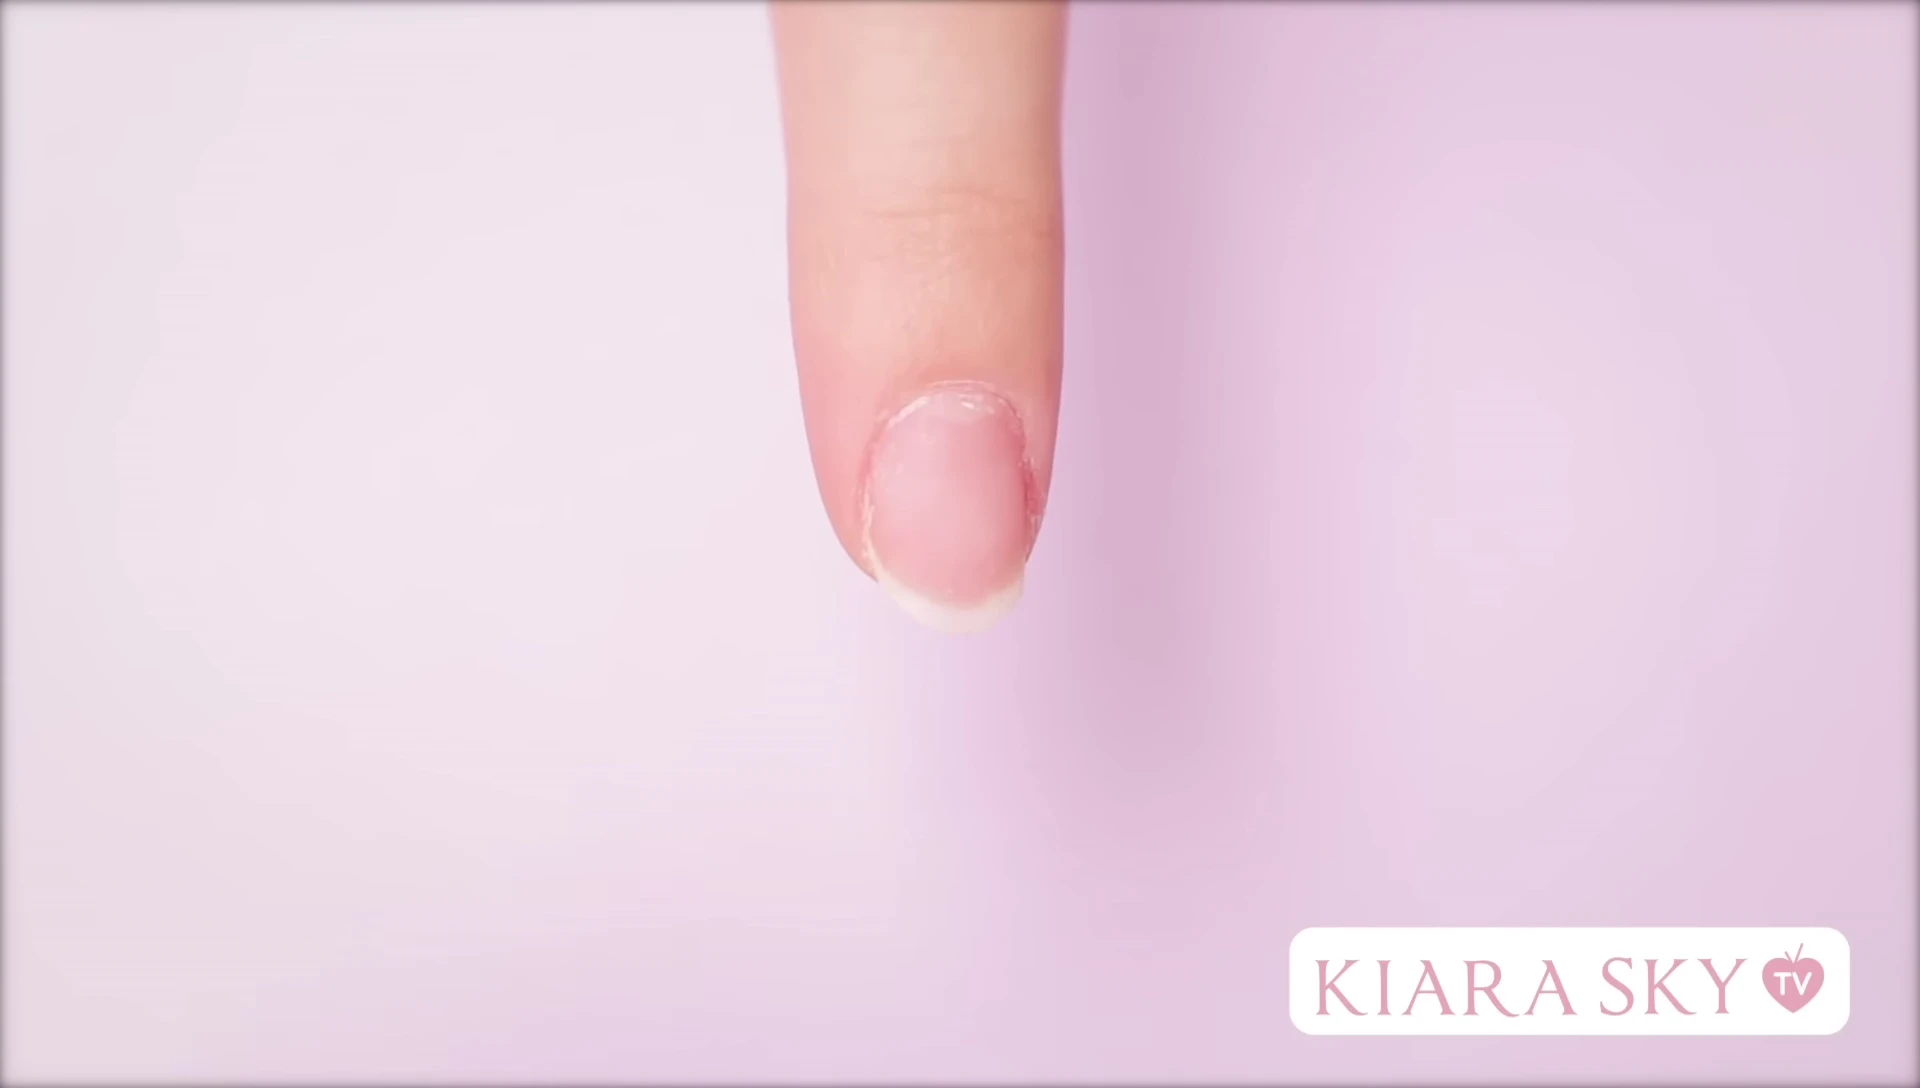
After pushing back the cuticles, lightly buff the nail plate with a medium grit sanding bit to remove any shine. This step creates a better surface for the acrylic to bond to. Remember to carefully dust off any excess dust from the nail before proceeding to the next step.
Applying Bond and Primer
Apply a thin layer of nail bond to the prepared nail plate and allow it to dry completely. The nail bond enhances the adhesion of the acrylic to the natural nail. Afterwards, apply a layer of primer. Primer dehydrates the nail plate, creating an optimal surface for long-lasting acrylic application and minimizing the risk of lifting.

Let the primer dry completely. This is important for the success of the application. Properly prepared nails are the foundation for a flawless and durable sculpted nail.
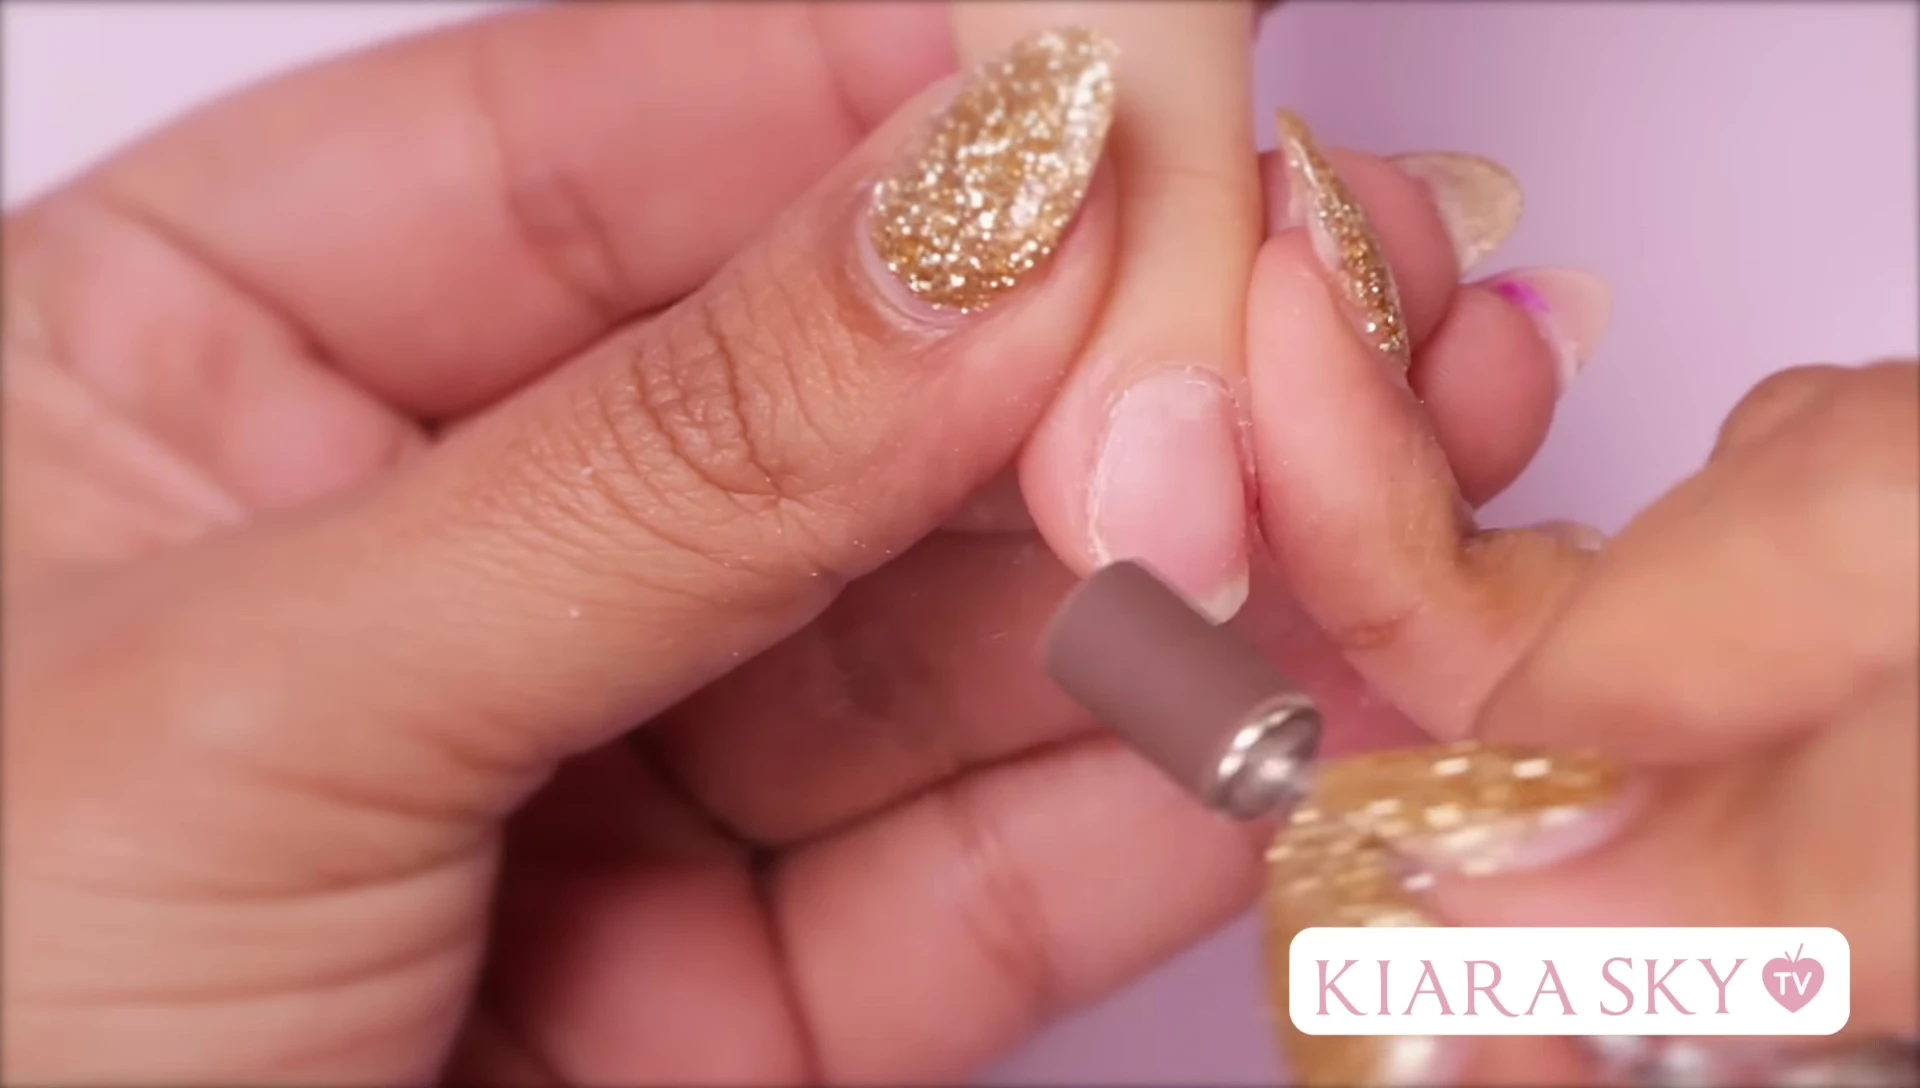
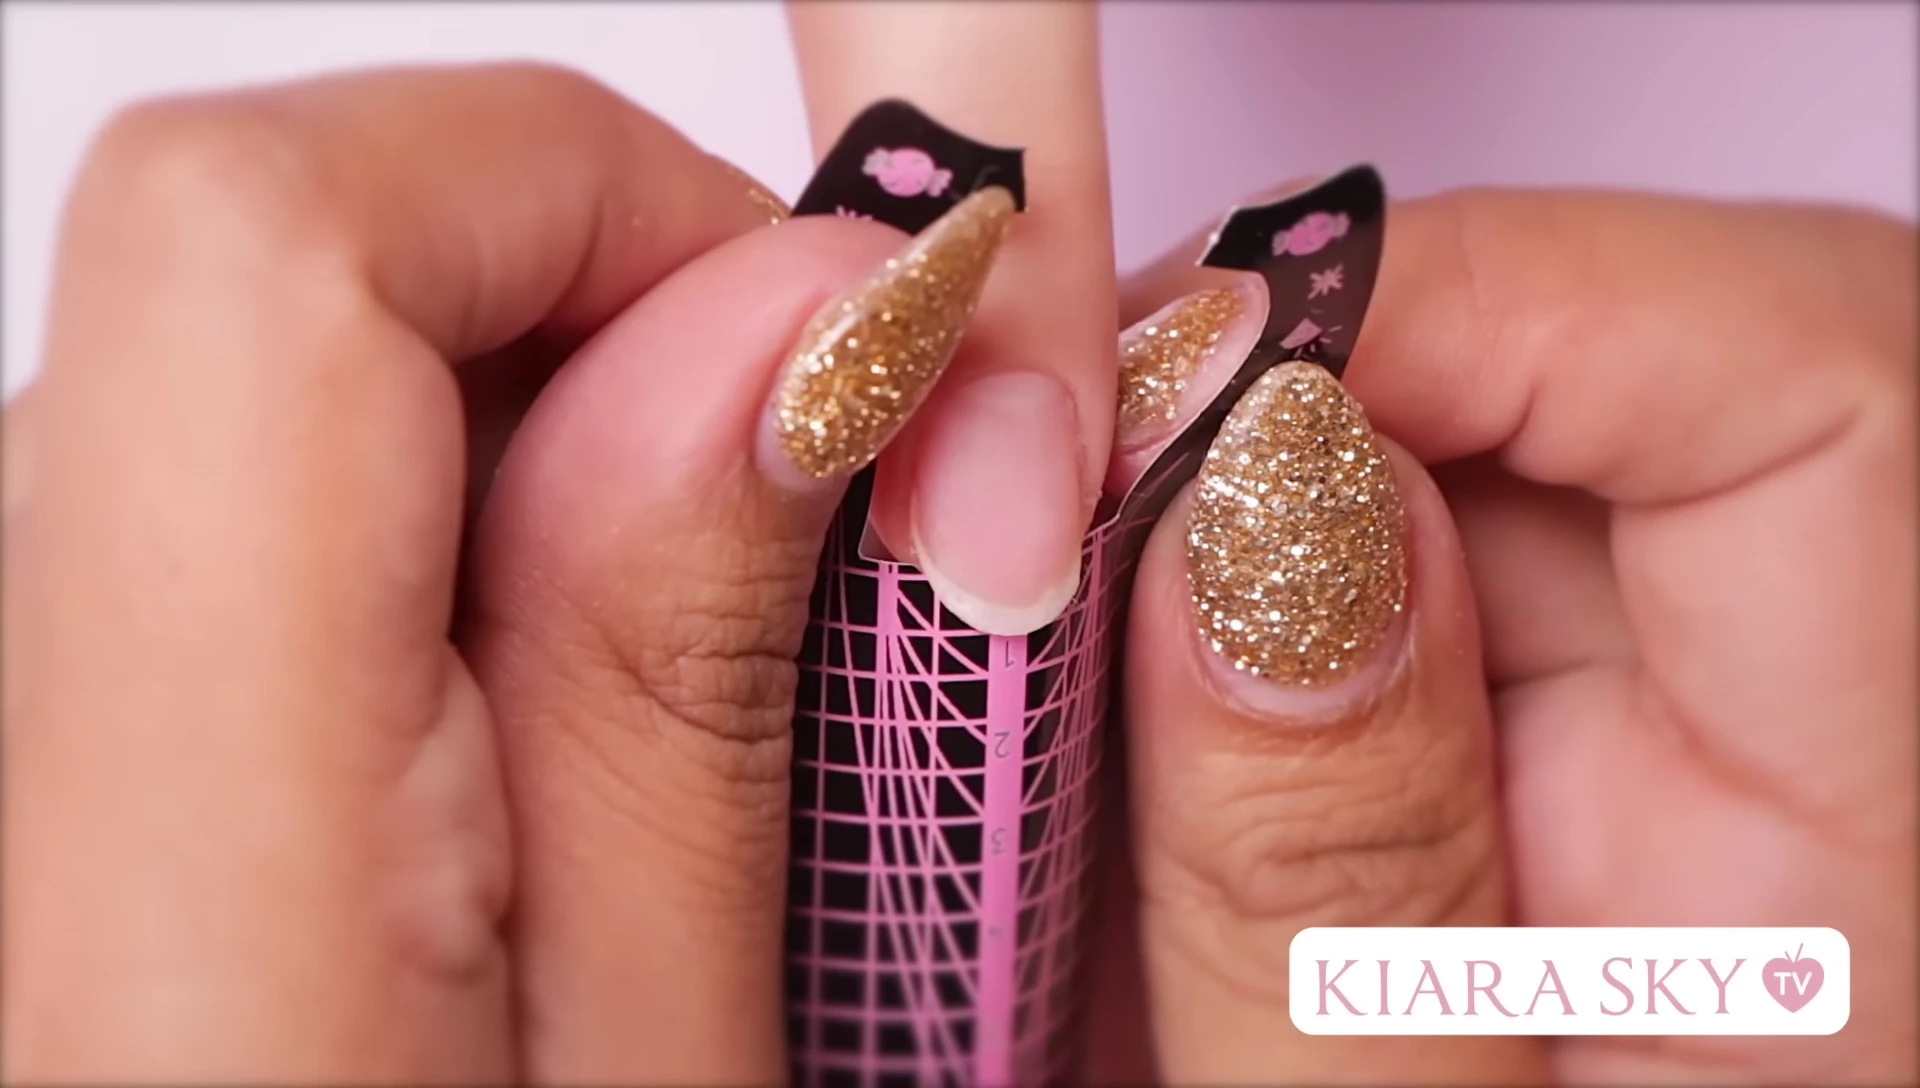
Applying and Positioning the Nail Form
Carefully remove the nail form from its paper backing. The form will usually have a small adhesive strip on the back to secure it. Roll the form gently to create a natural 'C' curve, mimicking the shape of the nail. This curve adds strength and prevents flat, unnatural looking nails.
With your client's finger angled downwards, position the form, centering it on the nail plate. Secure the form firmly against the nail, ensuring a proper seal. Pay attention to any gaps at the sides and press them together before starting the sculpting process.
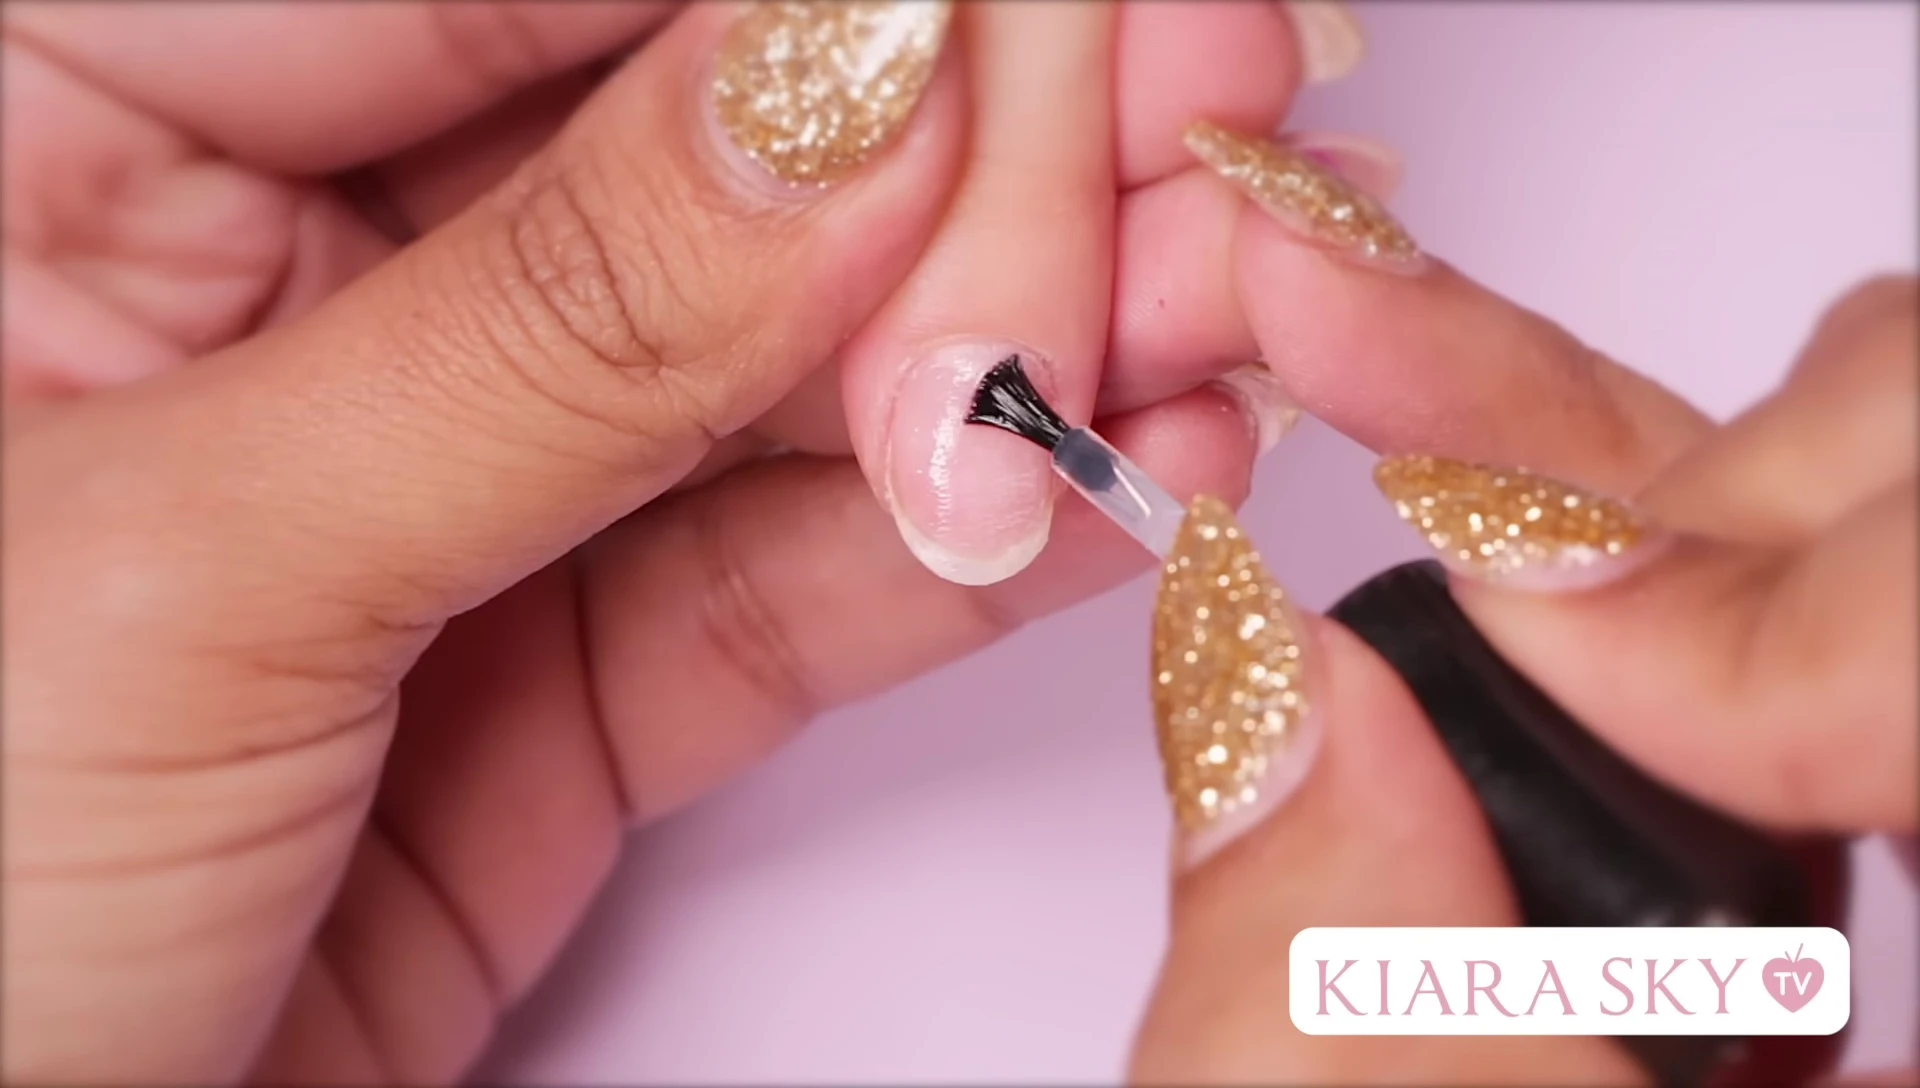
Sculpting the Acrylic Nail
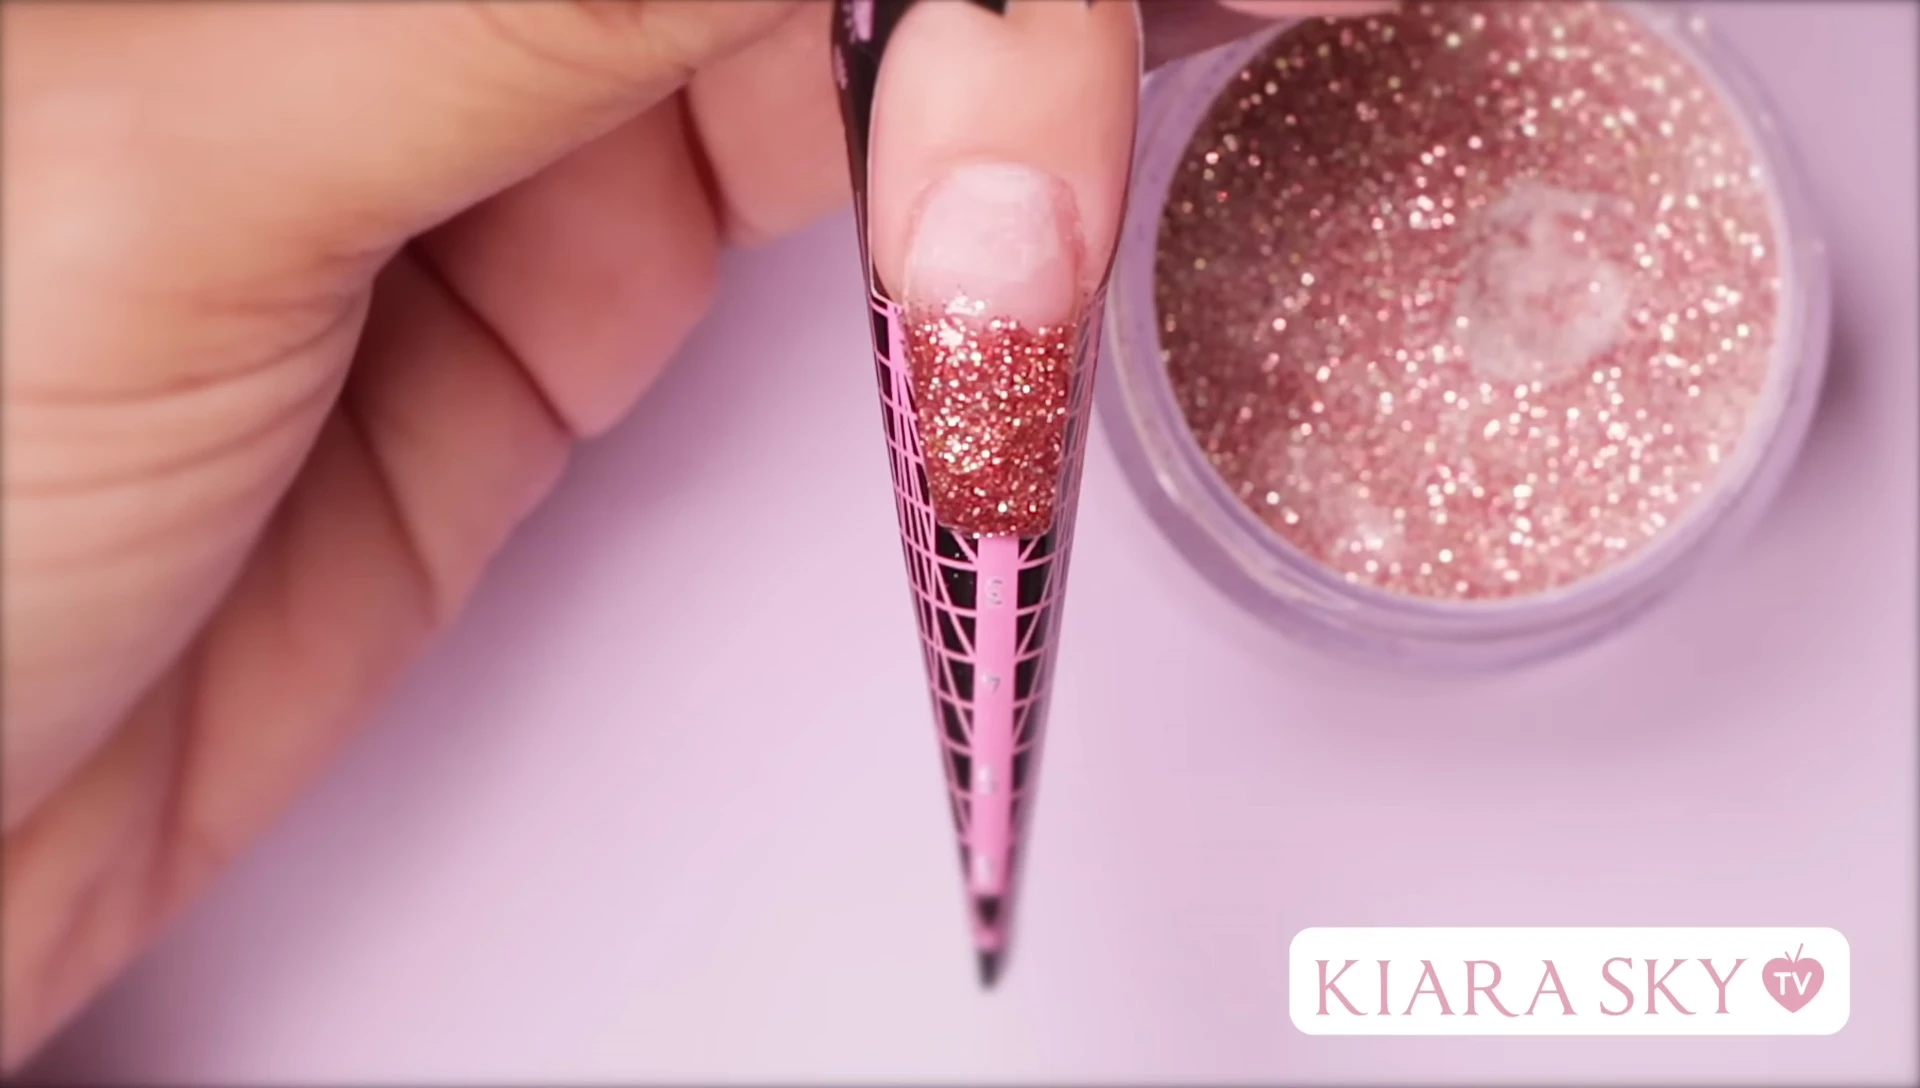
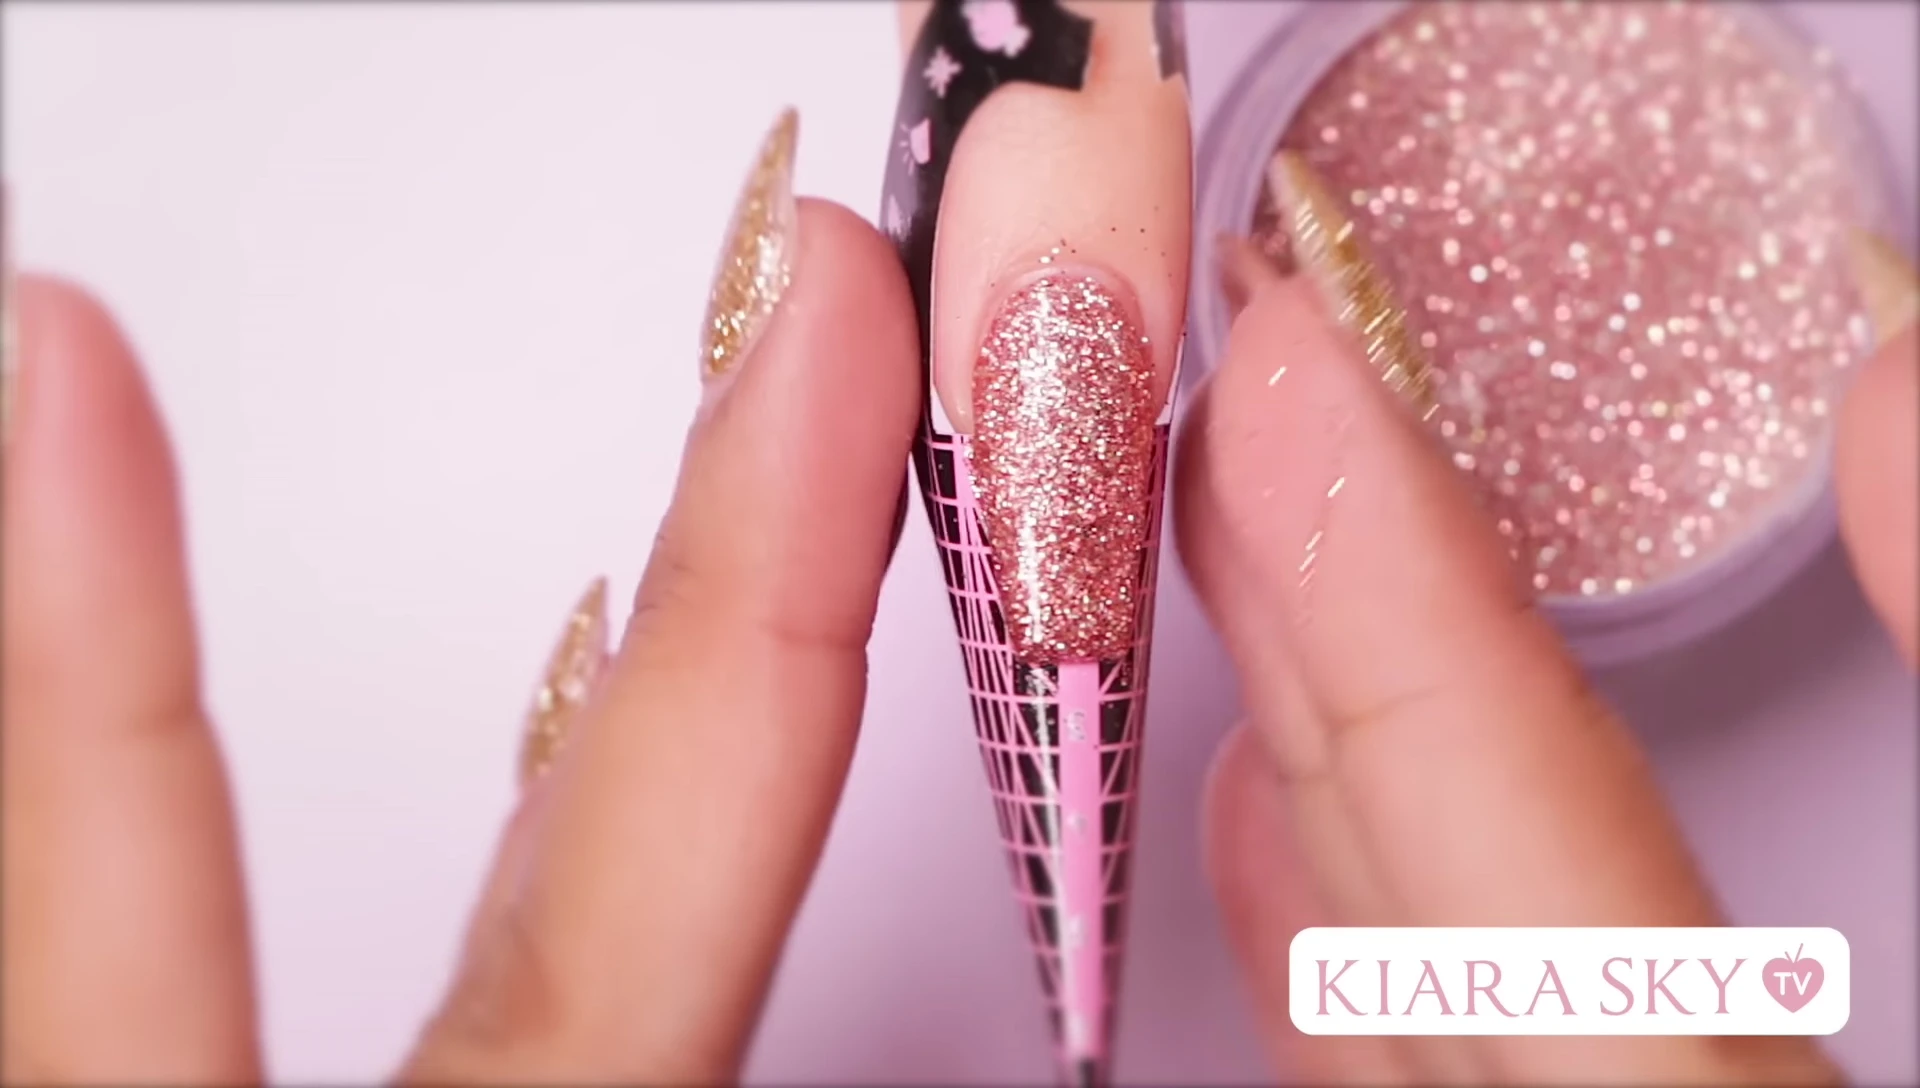
Begin by placing a small bead of acrylic at the free edge and spreading it gently, creating a seal underneath. This technique prevents snagging and adds strength to the nail. Continue building the free edge, maintaining straight sidewalls and a smooth surface.
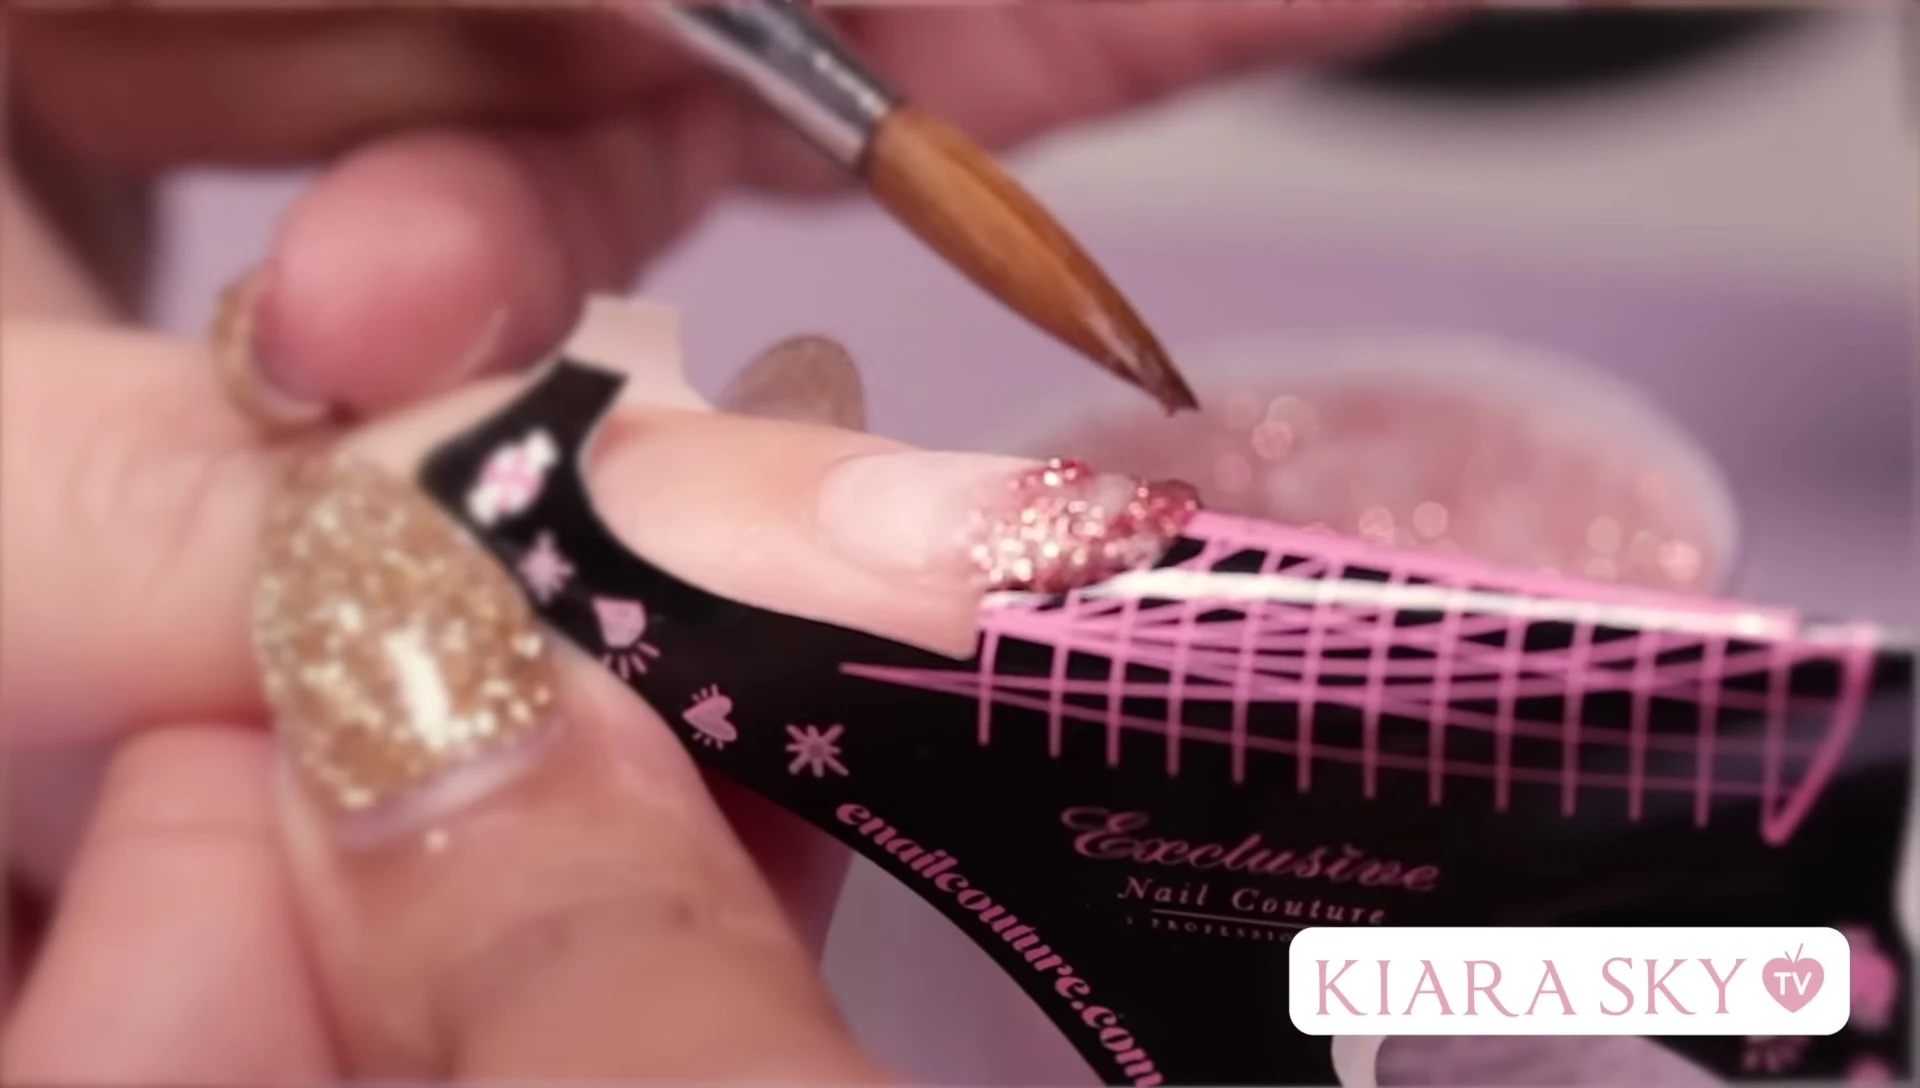
Add another bead of acrylic to the nail plate and blend it gently, using the tip of the brush to work the acrylic towards the free edge. Pay attention to the apex, the area towards the bottom of the nail, and keep it a bit thicker than other areas for added strength.
Shaping and Finishing
Once the acrylic is slightly dry, gently pinch the sides to create the desired 'C' curve. This step adds strength and improves the overall shape of the nail. You can pinch with your fingers or use pinching tools for more precise control. Don't pinch too aggressively; it could damage the nail.
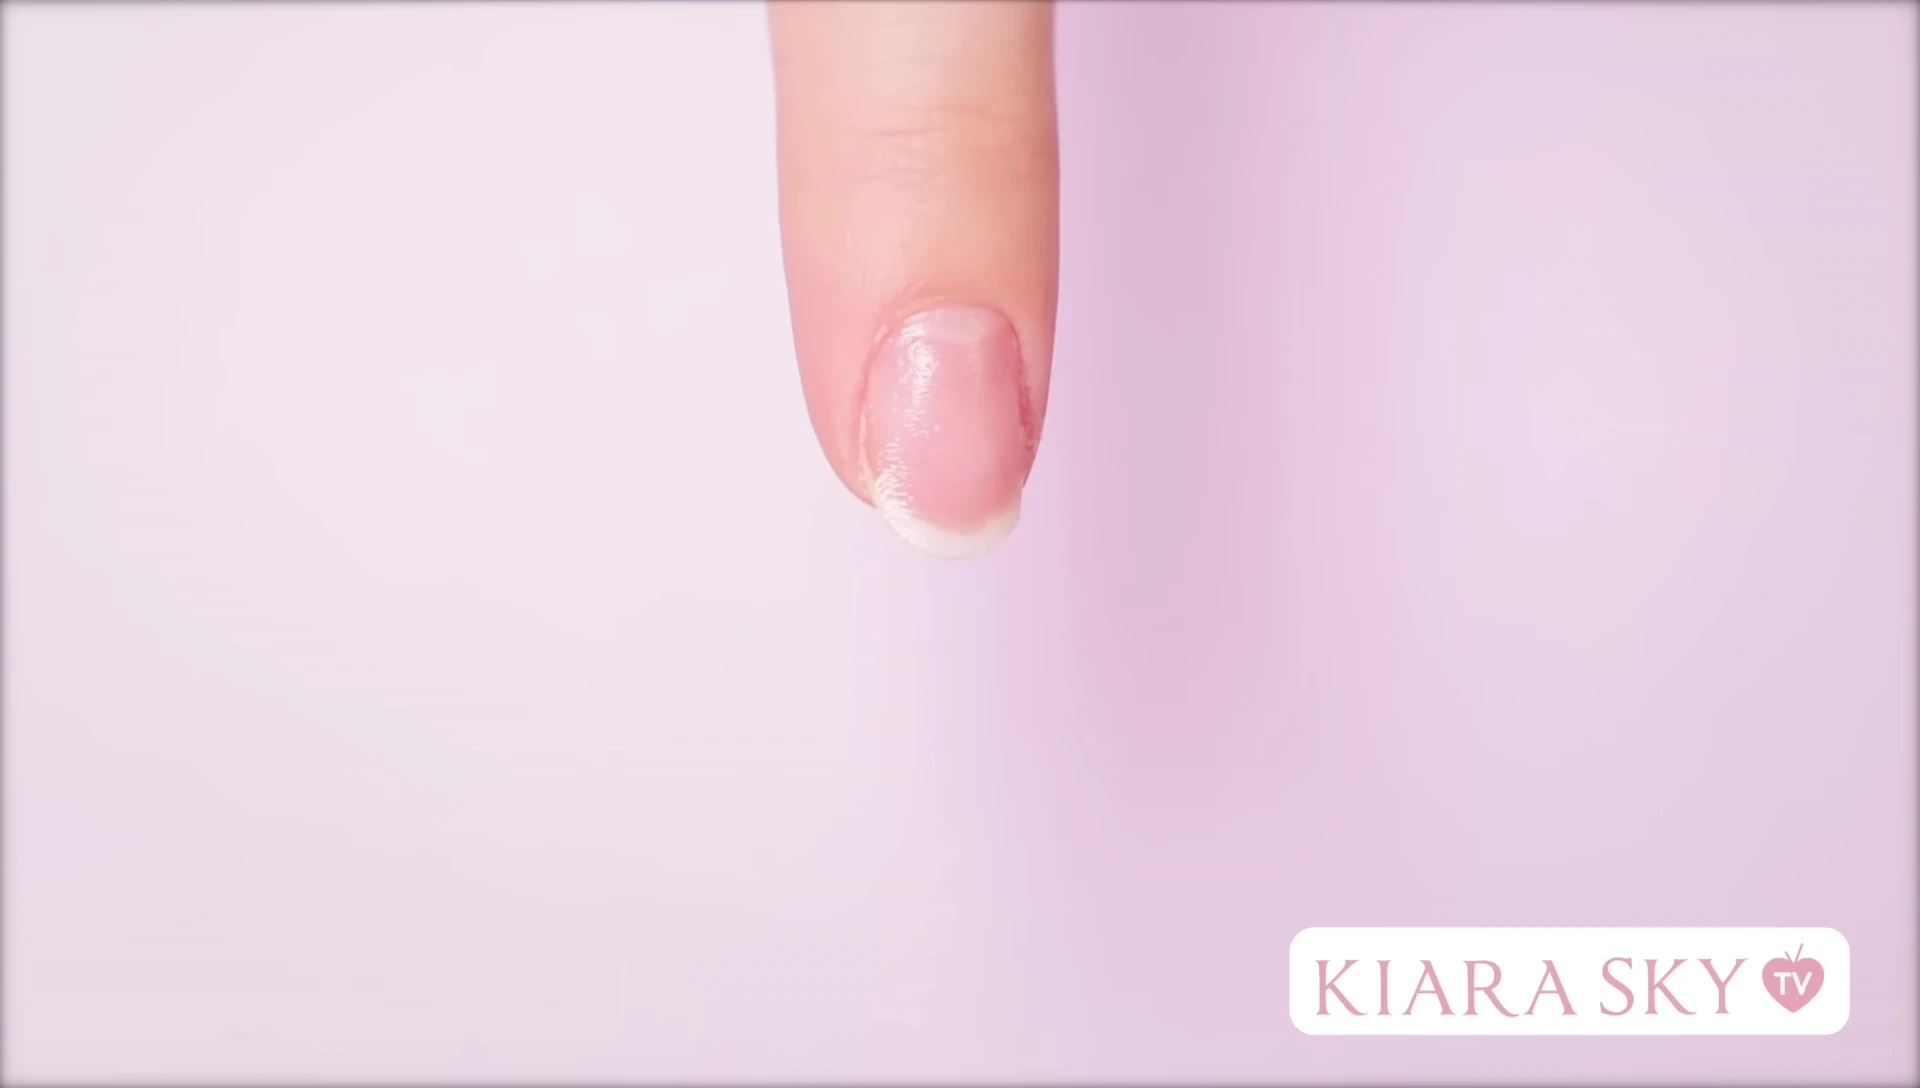
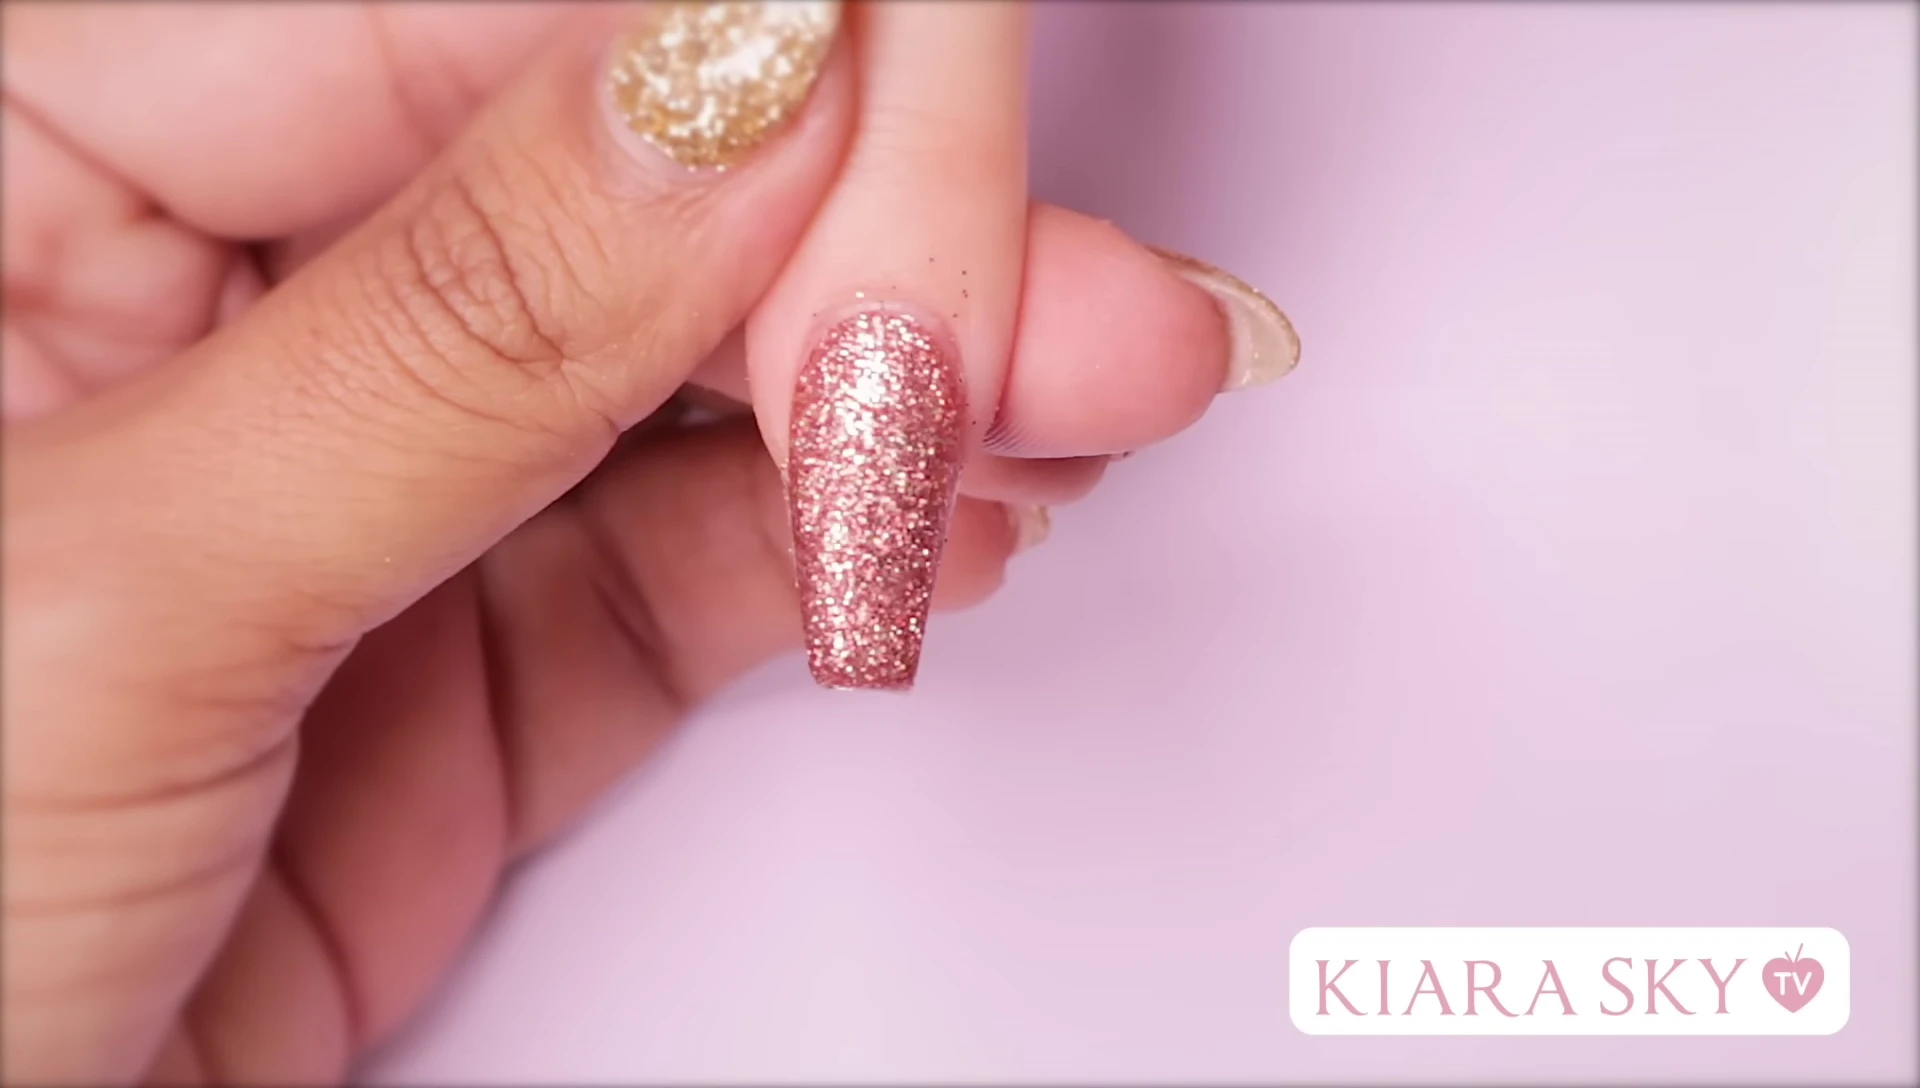
Once the acrylic is fully cured, remove the nail form and clean the area. Then use an e-file to shape and file the sidewalls, ensuring clean lines and a smooth finish. Finish by cleaning up the cuticle area for a professional look. Apply a top coat to seal in the design and add shine
Conclusion
Sculpting acrylic nails with nail forms offers a versatile method, particularly useful for clients with bitten nails or those desiring intricate designs. This technique allows for precise shaping and creates a durable, naturally-curved nail. While it requires practice, mastering this skill greatly enhances your nail artistry.
The use of nail forms is a valuable tool to add to your nail technician's repertoire. It's highly recommended to practice this method to build confidence and precision. Remember, proper preparation and careful application are key to achieving excellent results.