Achieve stunning, textured nails with this step-by-step guide to using Cuccio Crinkle Nail Forms. This innovative technique utilizes crinkled foil to create a unique, dimensional effect, adding a touch of artistry to your manicure. Using Cuccio Color Veneer products, this guide will walk you through each stage, from preparing your nails and applying the foil to layering gels and achieving a flawless finish. Whether you're a seasoned nail technician or a passionate DIY enthusiast, this tutorial provides the precise instructions and product knowledge necessary for successful crinkle nail art.This detailed guide breaks down the process into easily manageable steps, accompanied by clear instructions and helpful tips. From prepping your nails for optimal adhesion to mastering the application of gels and achieving a perfectly smooth smile line, you'll learn how to create a professional-looking manicure that lasts. The use of Cuccio's high-quality products ensures a long-lasting, beautiful finish, adding a unique and stylish touch to your look. Prepare to elevate your nail game with this comprehensive crinkle nail art guide.
Pros And Cons
- Saves time buffing scratches
- Leaves nail glossy smooth
Read more: Nail Form Review: EasyFlow App and Diverse Nail Shapes
Creating the Crinkle Form
Begin by gathering your materials: Cuccio Color Veneer soak-off nail foil, Scotch double-sided tape, scissors, and a Cuccio Color Veneer nail form. The foil will be manipulated to create a unique texture for your nail art.
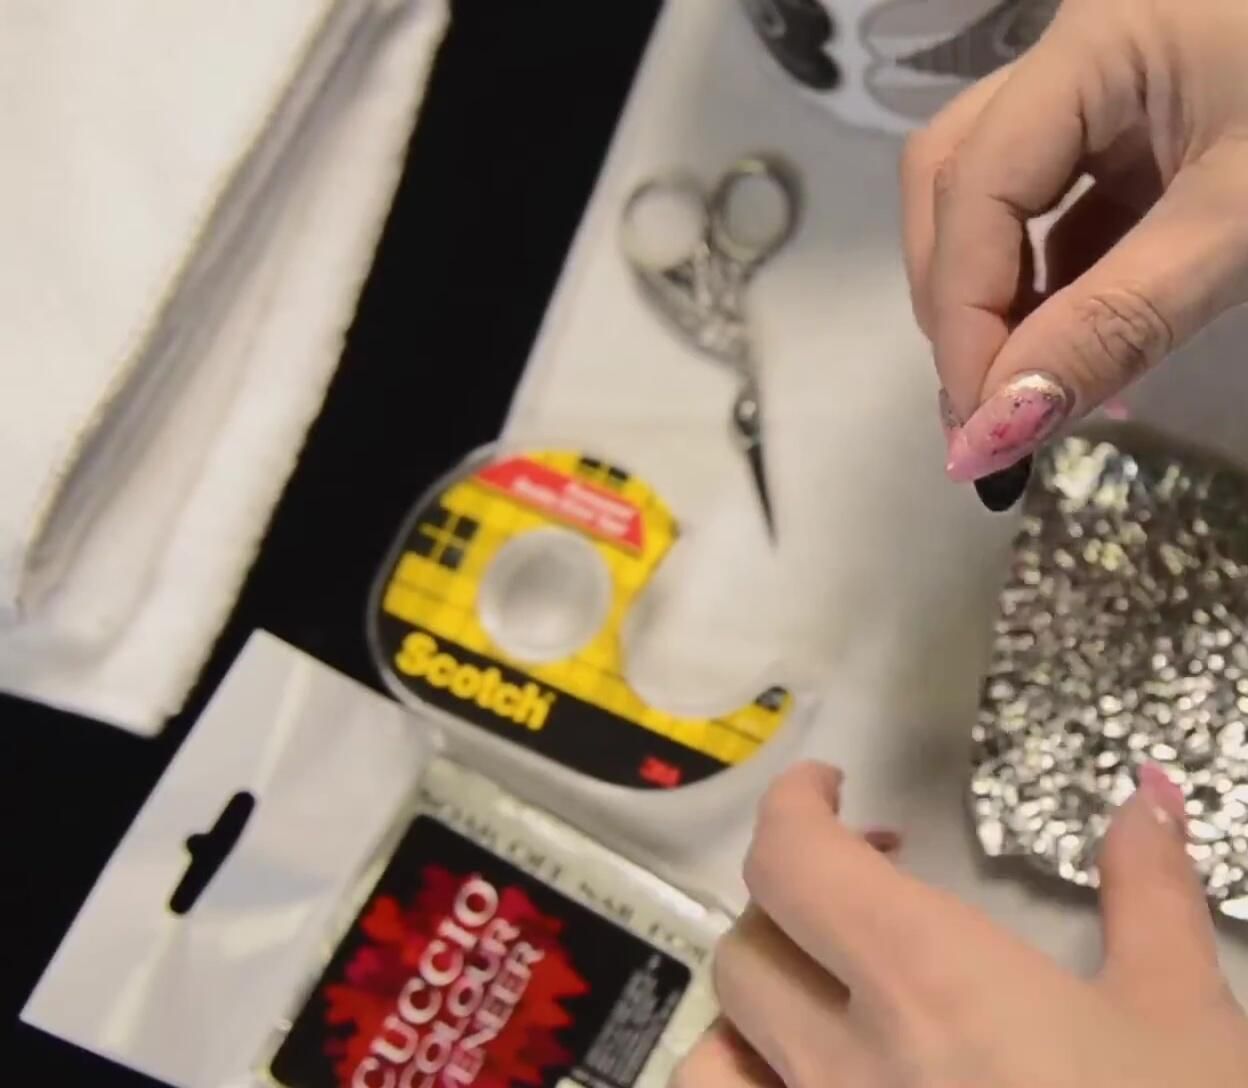
Crinkle a sheet of foil, experimenting to achieve your desired pattern. The more you work with the foil, the more interesting the design will be. This crinkled texture is key to the final nail look.
Remove the center sticker from the nail form and carefully position it on the foil. Use the form as a template to cut the foil to the correct shape. This ensures a perfect fit for your nail.
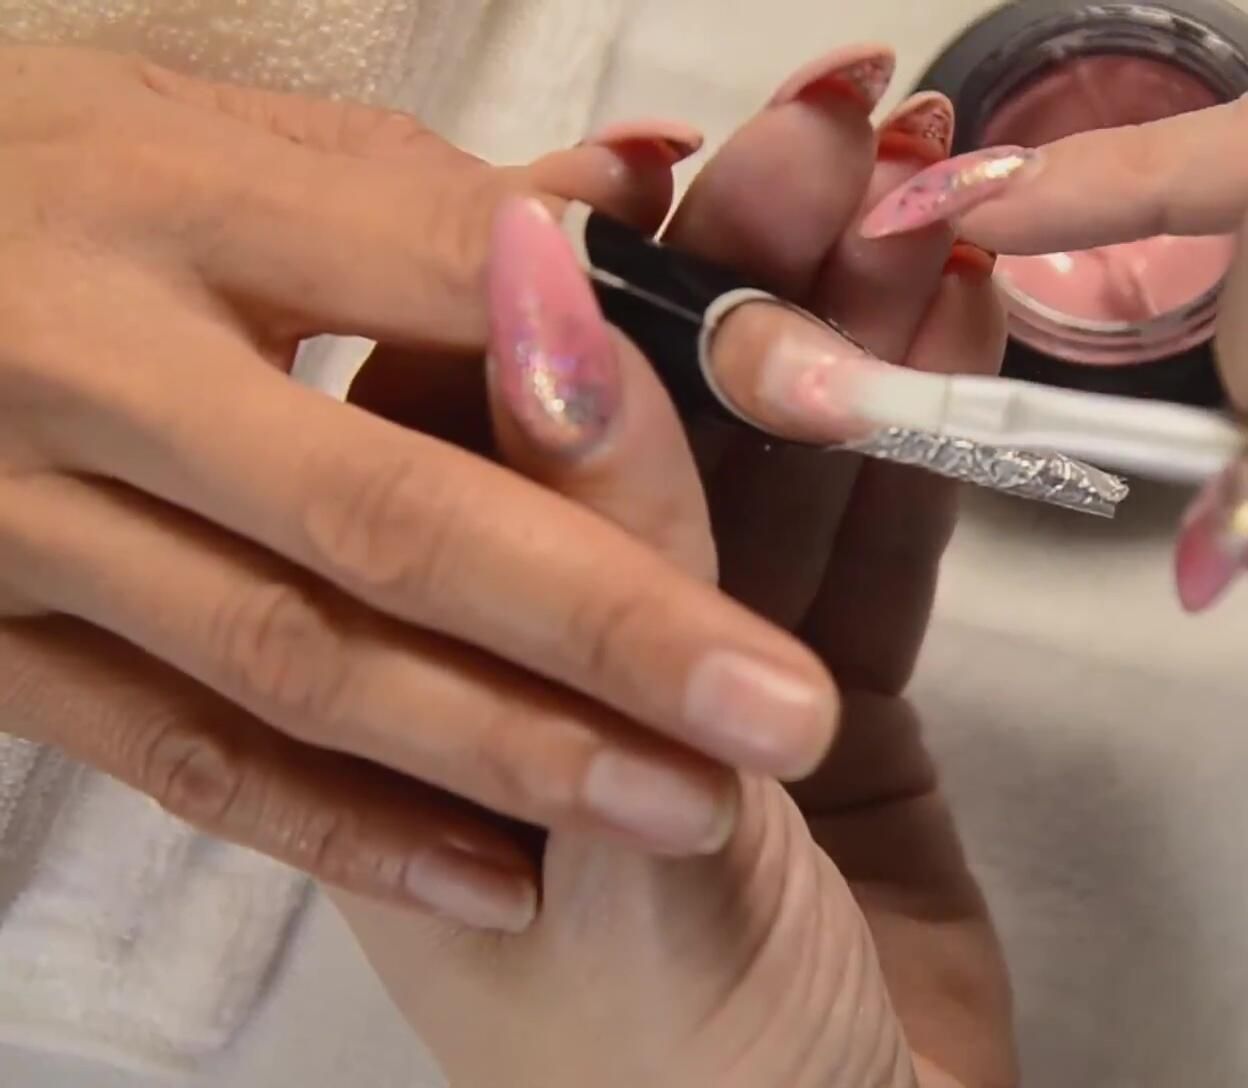
Nail Preparation and Form Application
Prepare your nails by gently pushing back and removing the cuticle. Shape the nail using a white board file and then buff the nail plate with a yellow buffer block to remove shine. This creates a better surface for adhesion.
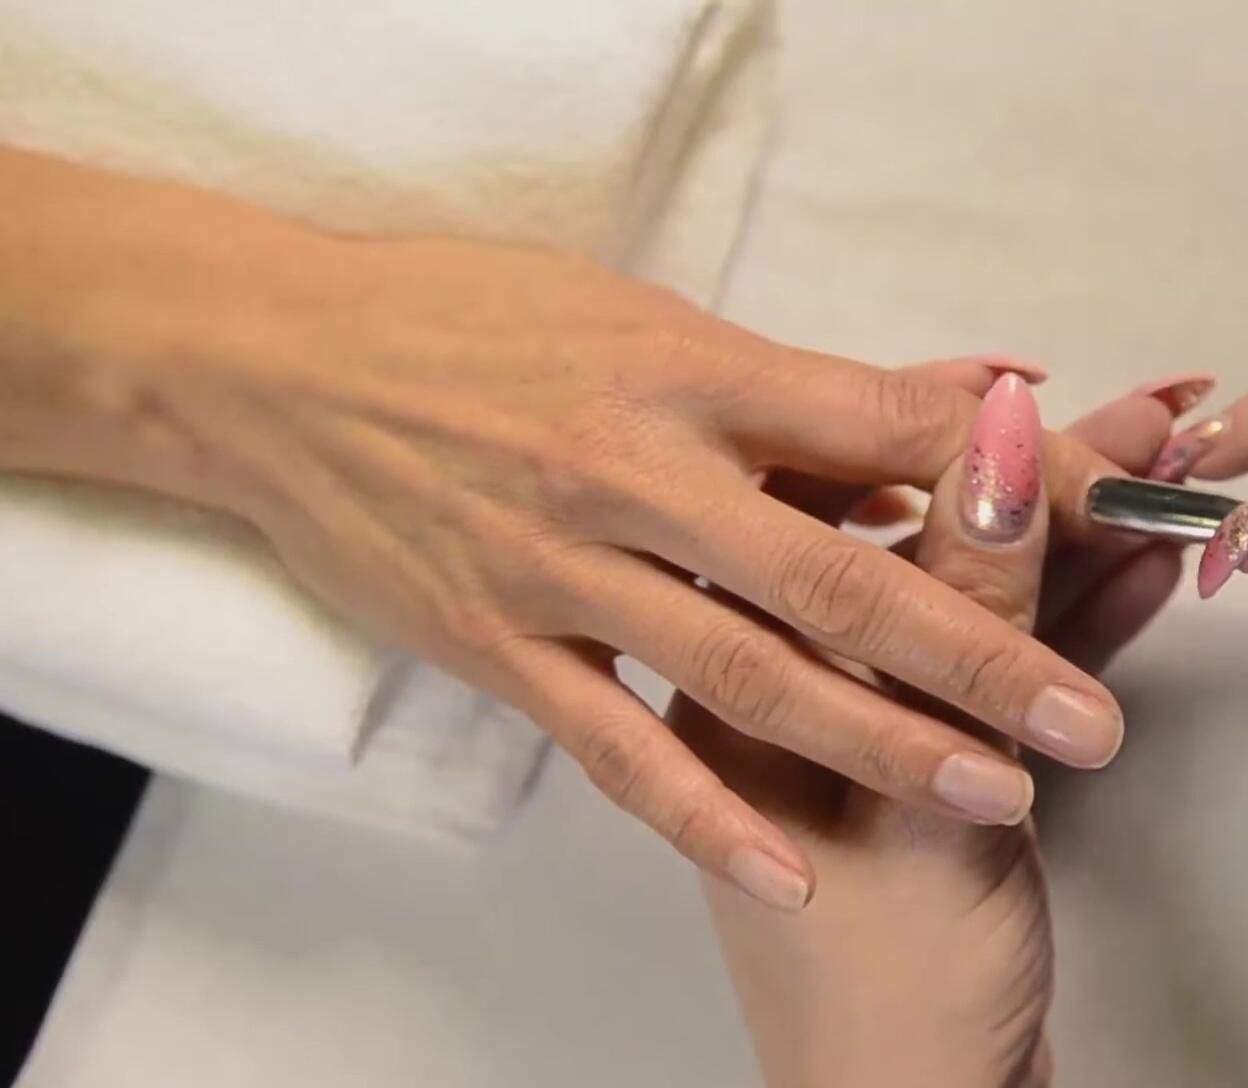
After removing dust with a clean brush, apply Cuccio Veneer #1 Prep to dehydrate the nail plate. This ensures optimal adhesion of the gel to the nail. Then, apply the crinkled foil to the nail using double-sided tape, ensuring it's securely attached.
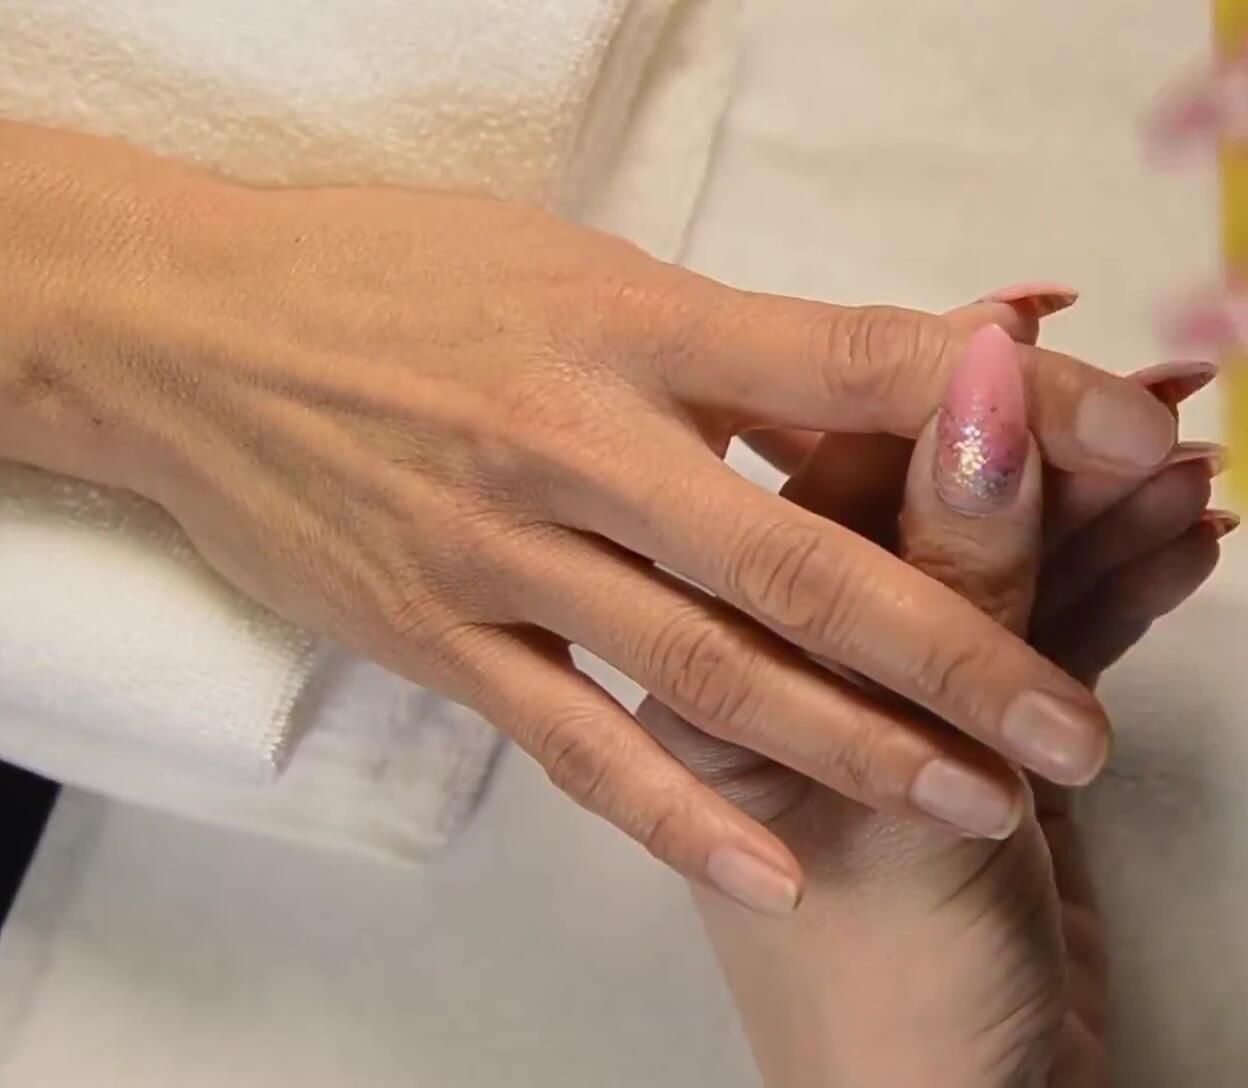
The prepared nail is now ready for the application of the gel and the creation of the stunning crinkle effect.

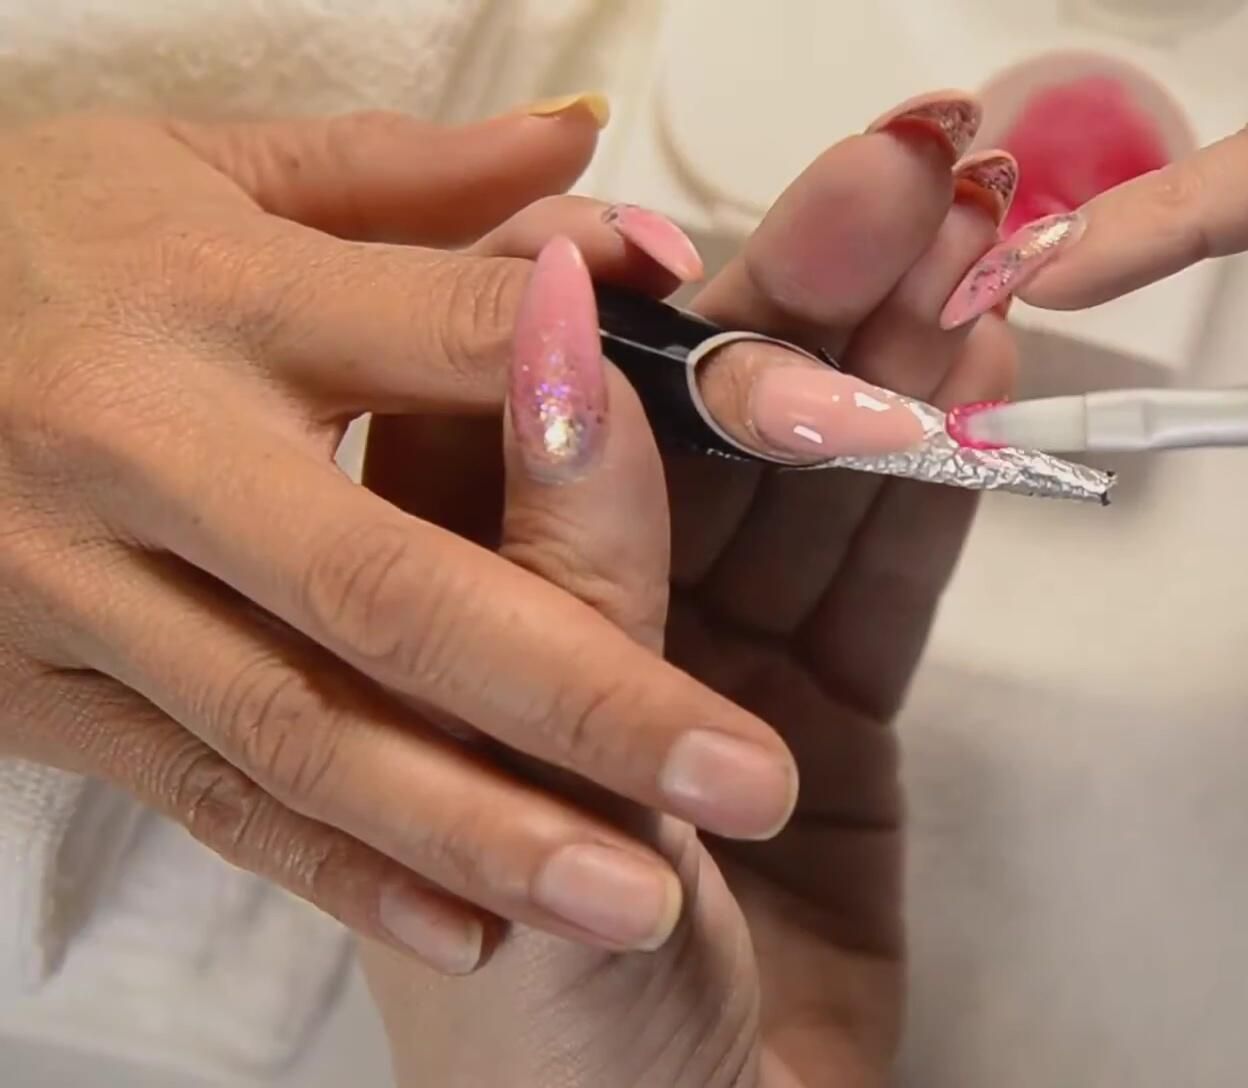
Gel Application and Curing
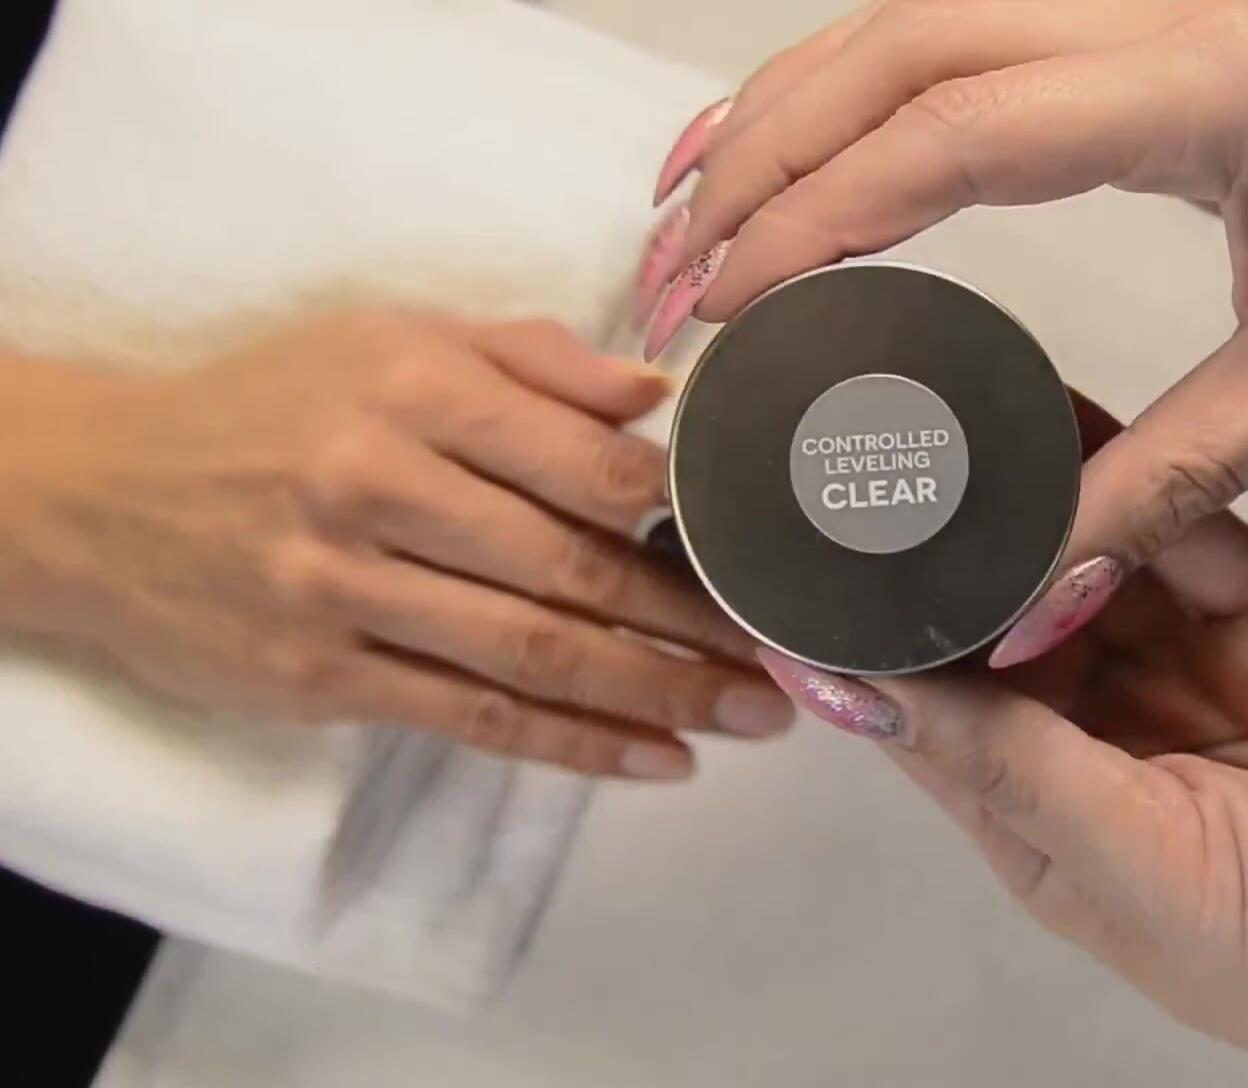
Apply a layer of clear T3 LED UV controlled leveling gel to the free edge of the nail on the crinkle form. This evens out the thickness and prepares for the next steps. This layer will create a base for the design.

Cure this layer in an LED lamp for one minute or a UV lamp for two minutes. Then, apply Cuccio Veneer #2 Fuse to the entire nail plate, except the free edge. This provides a strong and long-lasting bond for the gel.
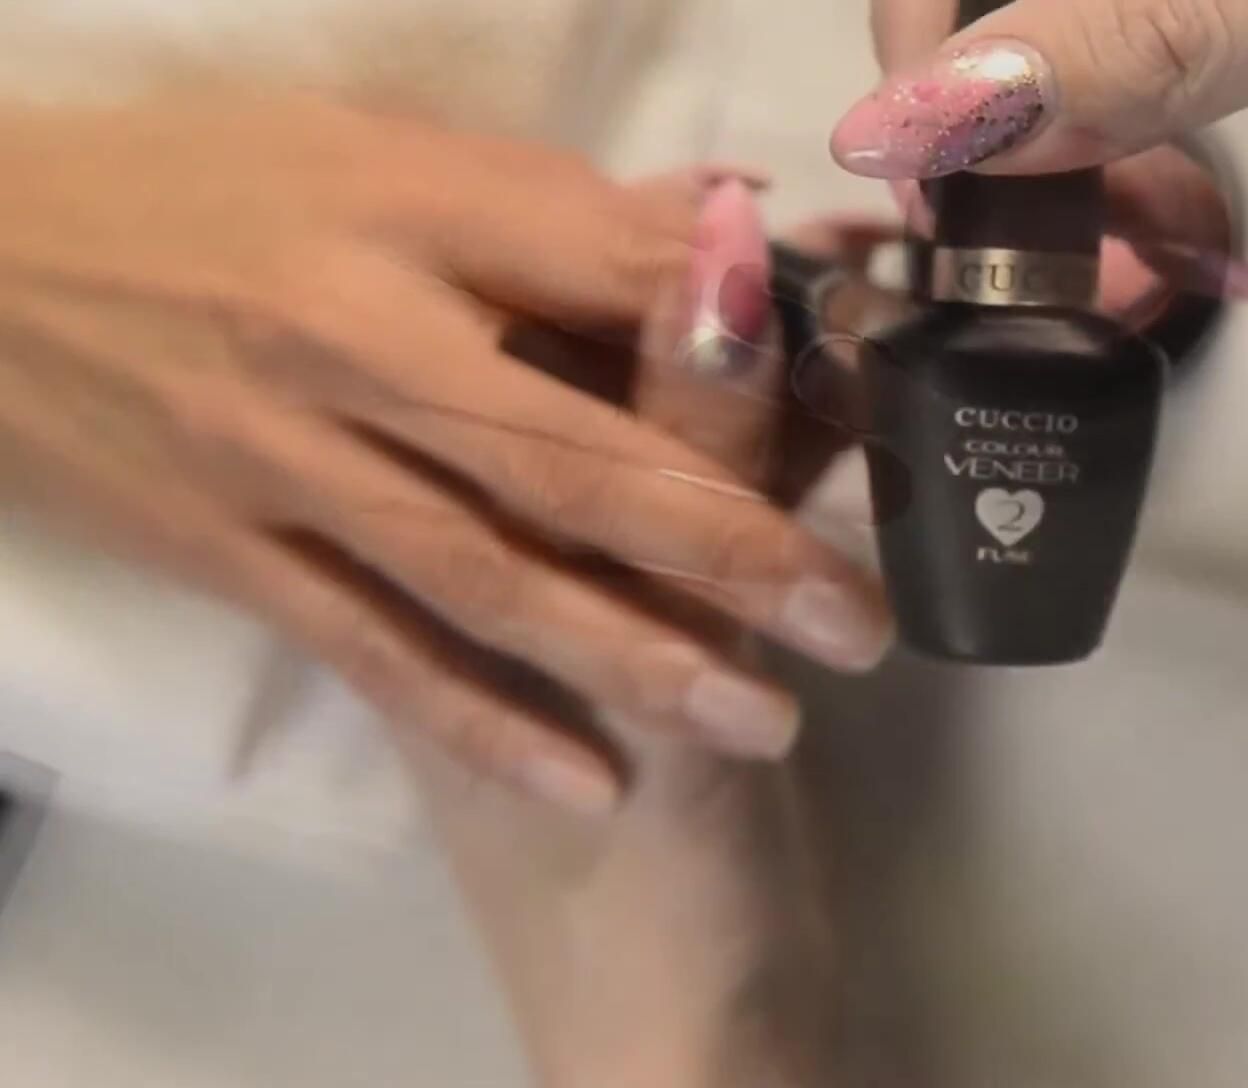
Apply opaque petal pink T3 LED UV controlled leveling gel to the nail plate, ensuring a smooth application to avoid peaks. Create a reverse smile line by pulling the gel down. Cure this layer as well.
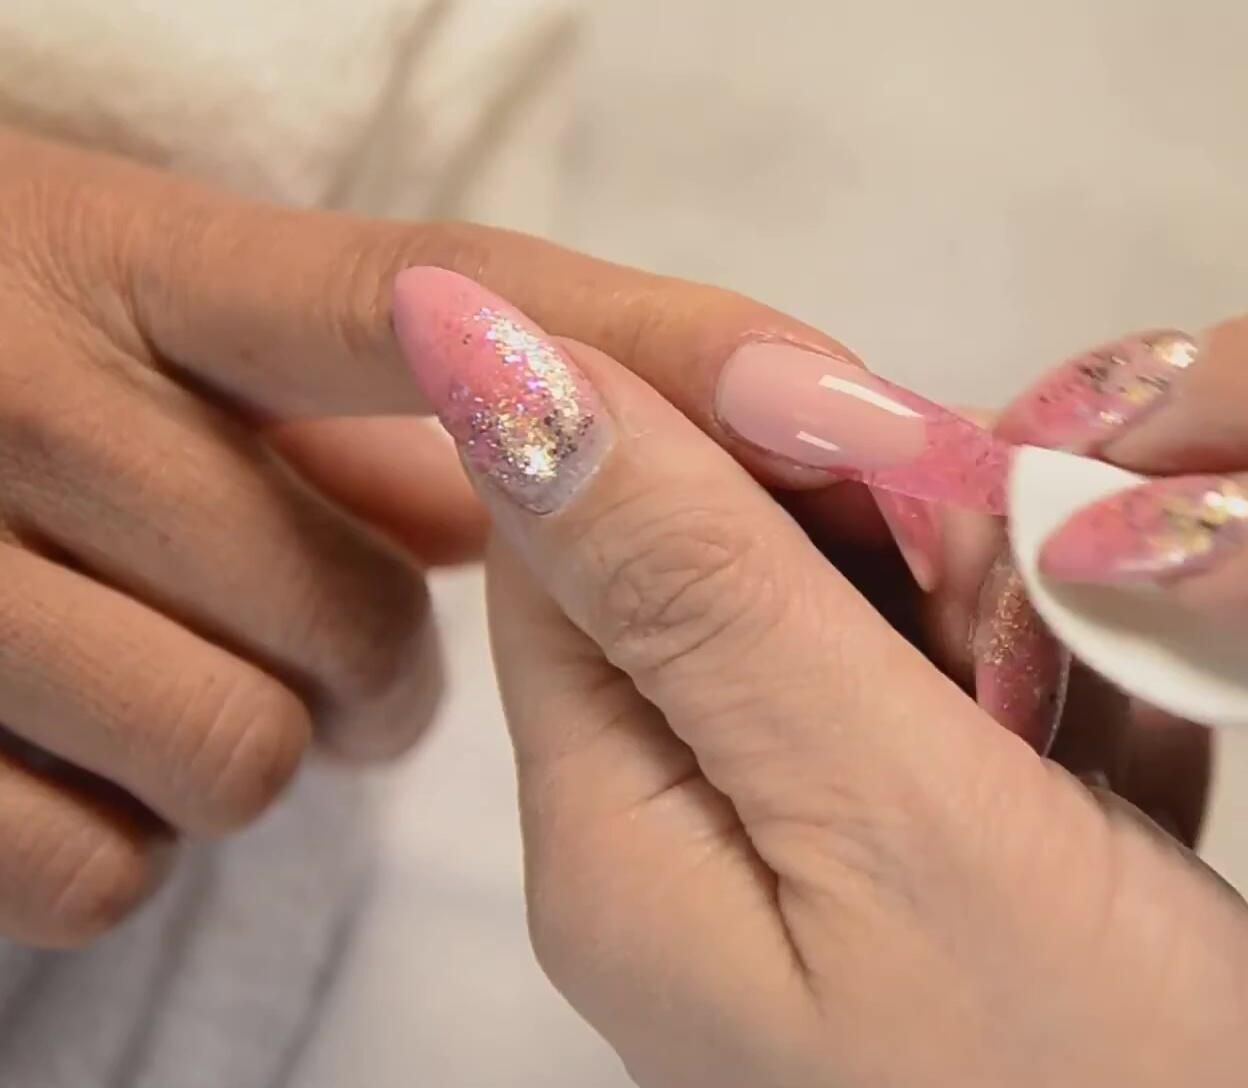
Color Application and Finishing Touches
Apply your pre-mixed color gel to the free edge up to the reverse smile line. Perfect your smile line using a detail cleaning brush before curing. This step ensures a clean and professional finish.
After curing (one minute in LED, two in UV), apply a clear hard gel coat to fill any gaps. This seals the design and prevents color pulling. Cure this final layer as well.
Remove the sticky layer with Cuccio Pro Cleansing Spray (oil-free). Then remove the form and use a 180 grit file if needed to refine the nail surface, removing any excess gel or imperfections. Cleanse the nail again to remove any dust.
Final Steps and Conclusion
Apply Cuccio Veneer 5 Top Coat for a glossy, smooth finish. Cure for 30 seconds in an LED lamp or one minute in a UV lamp. This top coat adds shine and protects the nail design.
Cleanse the nail again with Cuccio Pro Cleansing Spray and finish by applying Cuccio Solutions cuticle oil. This final step nourishes the cuticles and completes the nail treatment.

This detailed guide demonstrates how to create a unique and stylish crinkle nail design using Cuccio products. The final result is a professional-looking manicure with a beautiful and long-lasting finish. The process, while detailed, is achievable for those with some nail experience.