Learn how to achieve salon-worthy nail extensions at home with this comprehensive guide to using Blackbird Dips builder gel. This step-by-step tutorial will walk you through the entire process, from meticulous nail preparation and form application to the final shaping and top coat. We'll cover essential techniques for creating a natural-looking, long-lasting extension that minimizes filing and maximizes durability. Even if you're a beginner, this detailed guide, complete with helpful tips and tricks, will empower you to confidently achieve professional-quality results.Discover the secrets to mastering Blackbird Dips builder gel's slightly runnier consistency, which, surprisingly, contributes to its remarkable self-leveling properties. This unique characteristic simplifies the application and shaping process, reducing the need for extensive filing. This guide covers everything from choosing the right tools and prepping your nails to properly applying the gel and achieving a flawless finish. Get ready to transform your nails with stunning, strong, and durable extensions, all from the comfort of your own home.
Read more: Nail Form Review: EasyFlow App and Diverse Nail Shapes
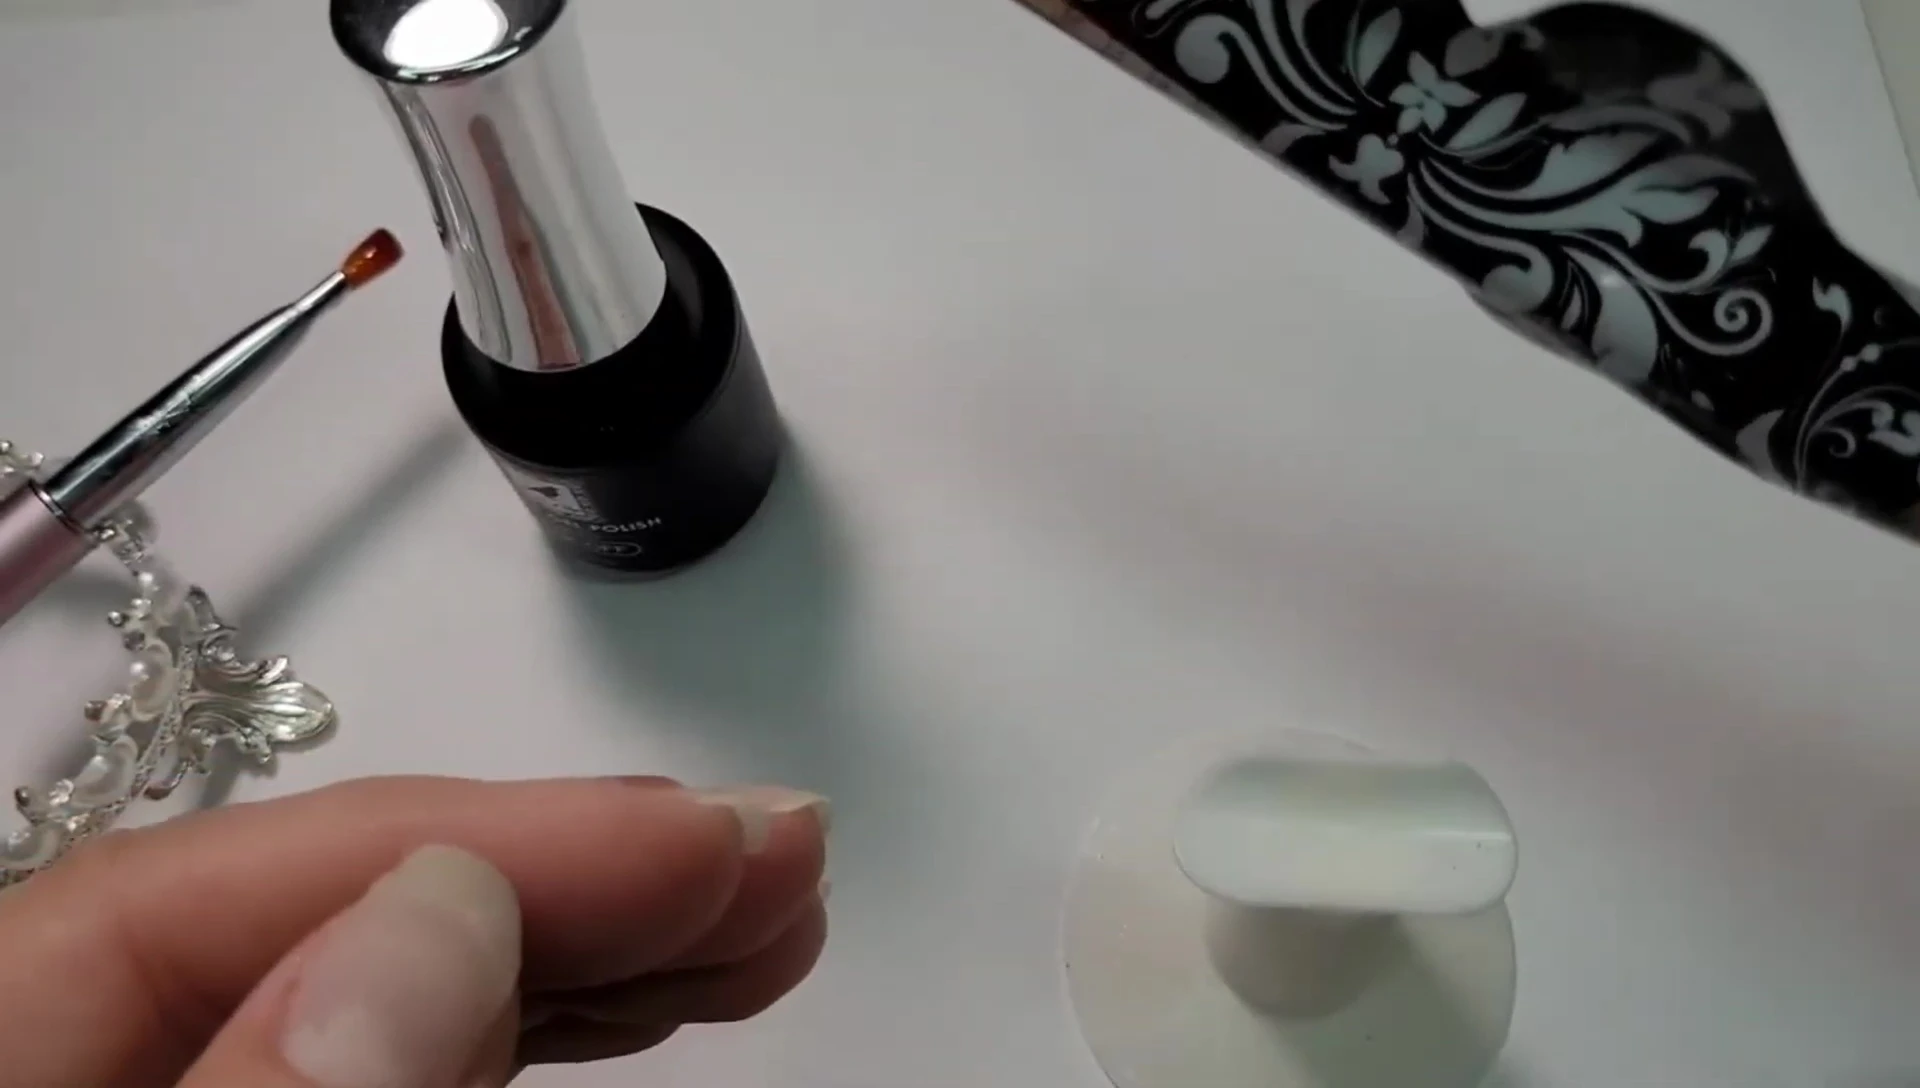
Essential Tools and Prep
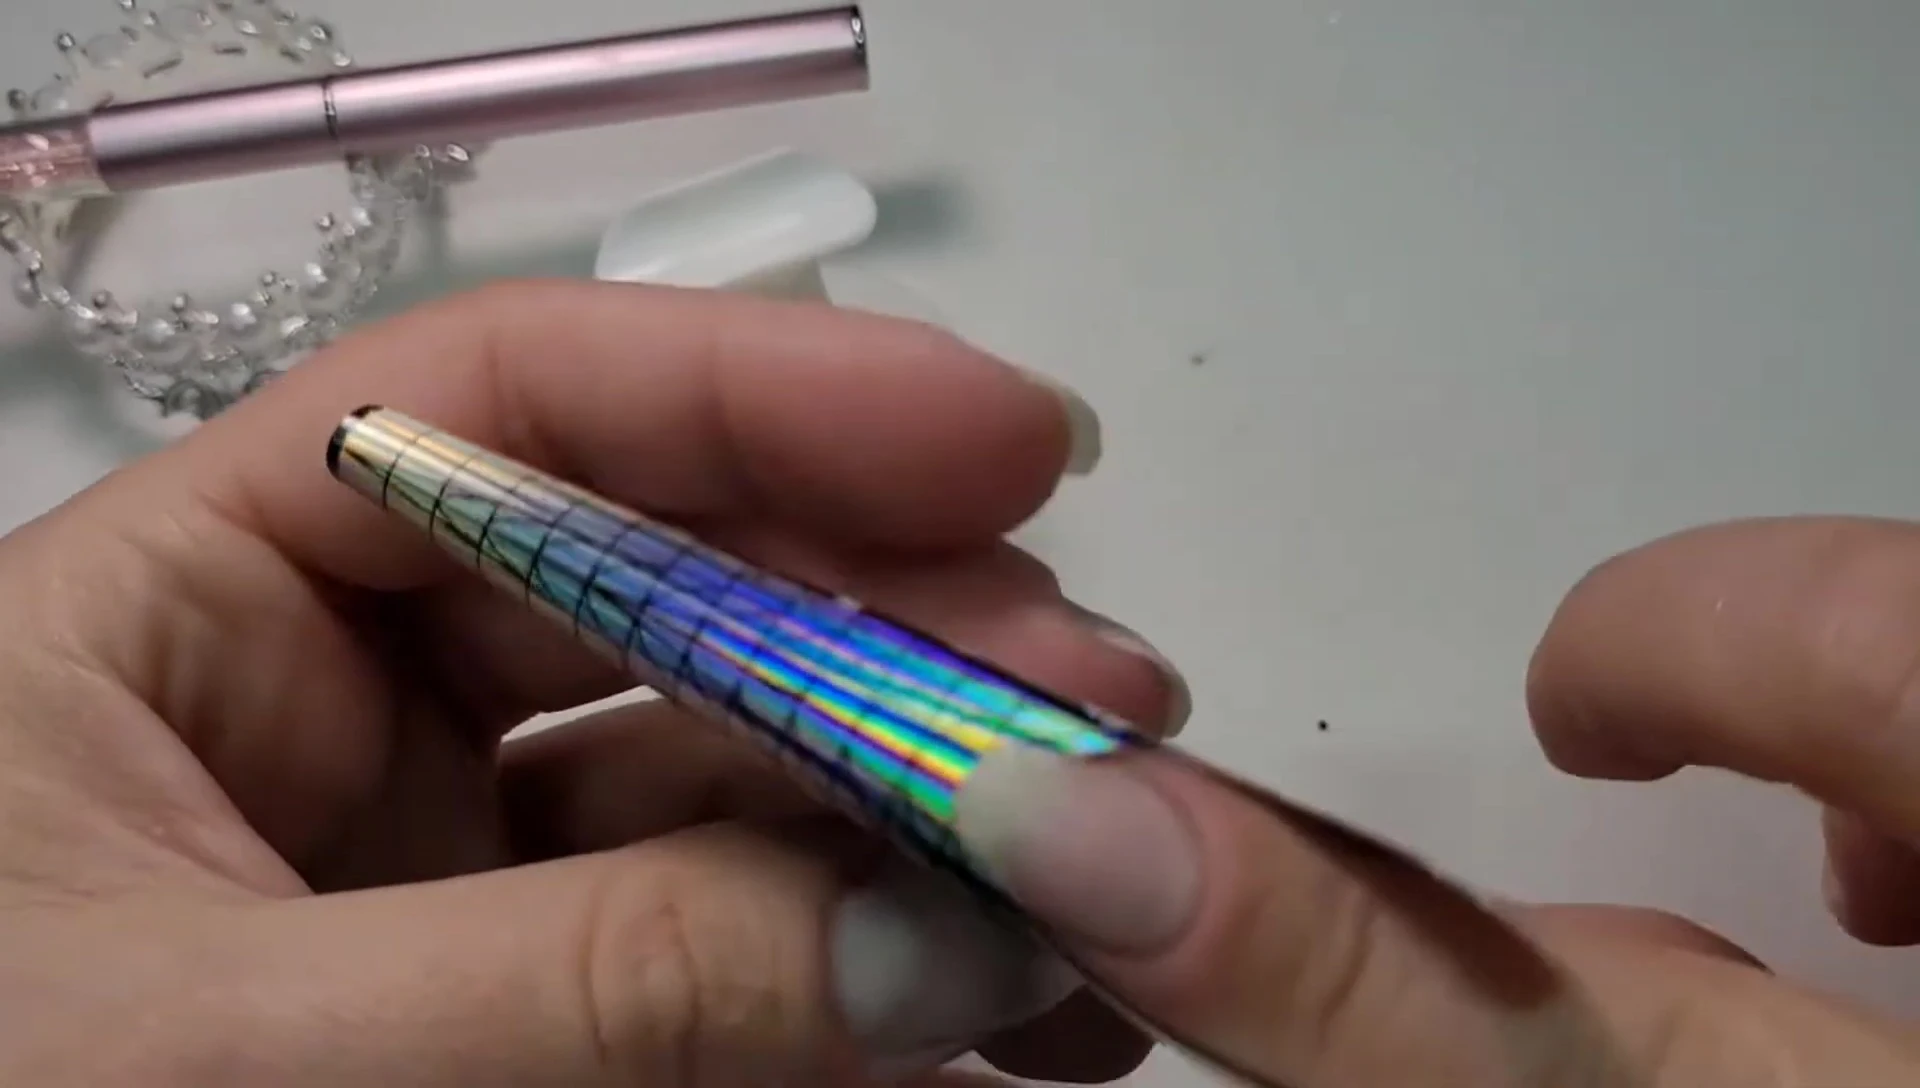
Before embarking on your builder gel extension journey, gather the necessary supplies. You'll need Blackbird Dips builder gel (I prefer using it with a separate brush, not the one provided), nail forms, isopropyl alcohol or alcohol wipes, and lint-free wipes for a clean application. Proper nail preparation is crucial; completely strip your nails, perform meticulous cuticle care, and thoroughly clean your nails with soap to remove any oils.

Begin by gently pushing back your cuticles and cleaning your nails with a mild soap. Then, apply a bond primer to ensure optimal adhesion of the builder gel to your natural nails. This step enhances the longevity and durability of your extensions.
Applying Nail Forms
Applying nail forms correctly is key to achieving a natural-looking extension. Start by rolling the form slightly to create a curve mimicking your natural nail's curvature. Then, pinch the far ends of the form together before gently applying it to your nail bed, ensuring it's centered and adheres smoothly to your nail.
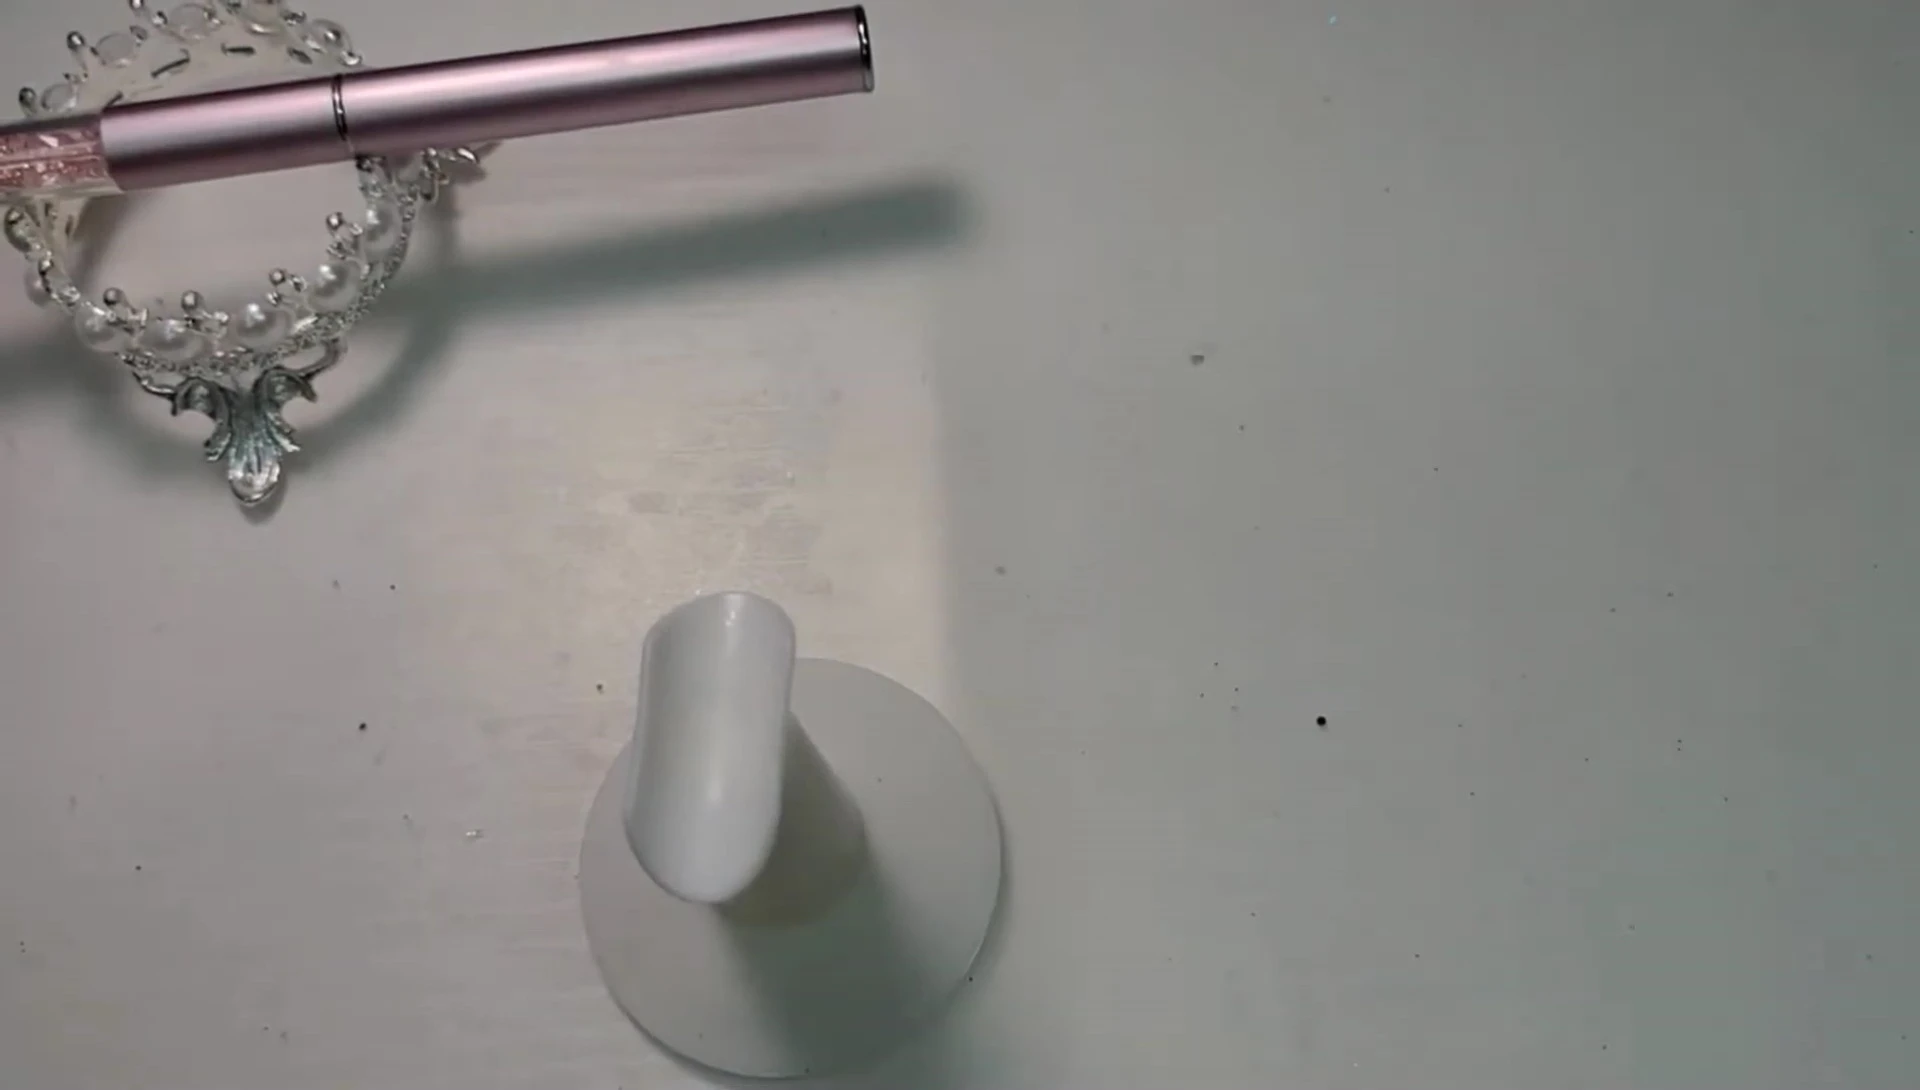
The curve of the form should naturally follow the curvature of your fingertip, preventing an unnatural 90-degree angle. Once properly positioned, carefully pinch the form snugly against your nail, ensuring it's comfortable and won't impede the application process.
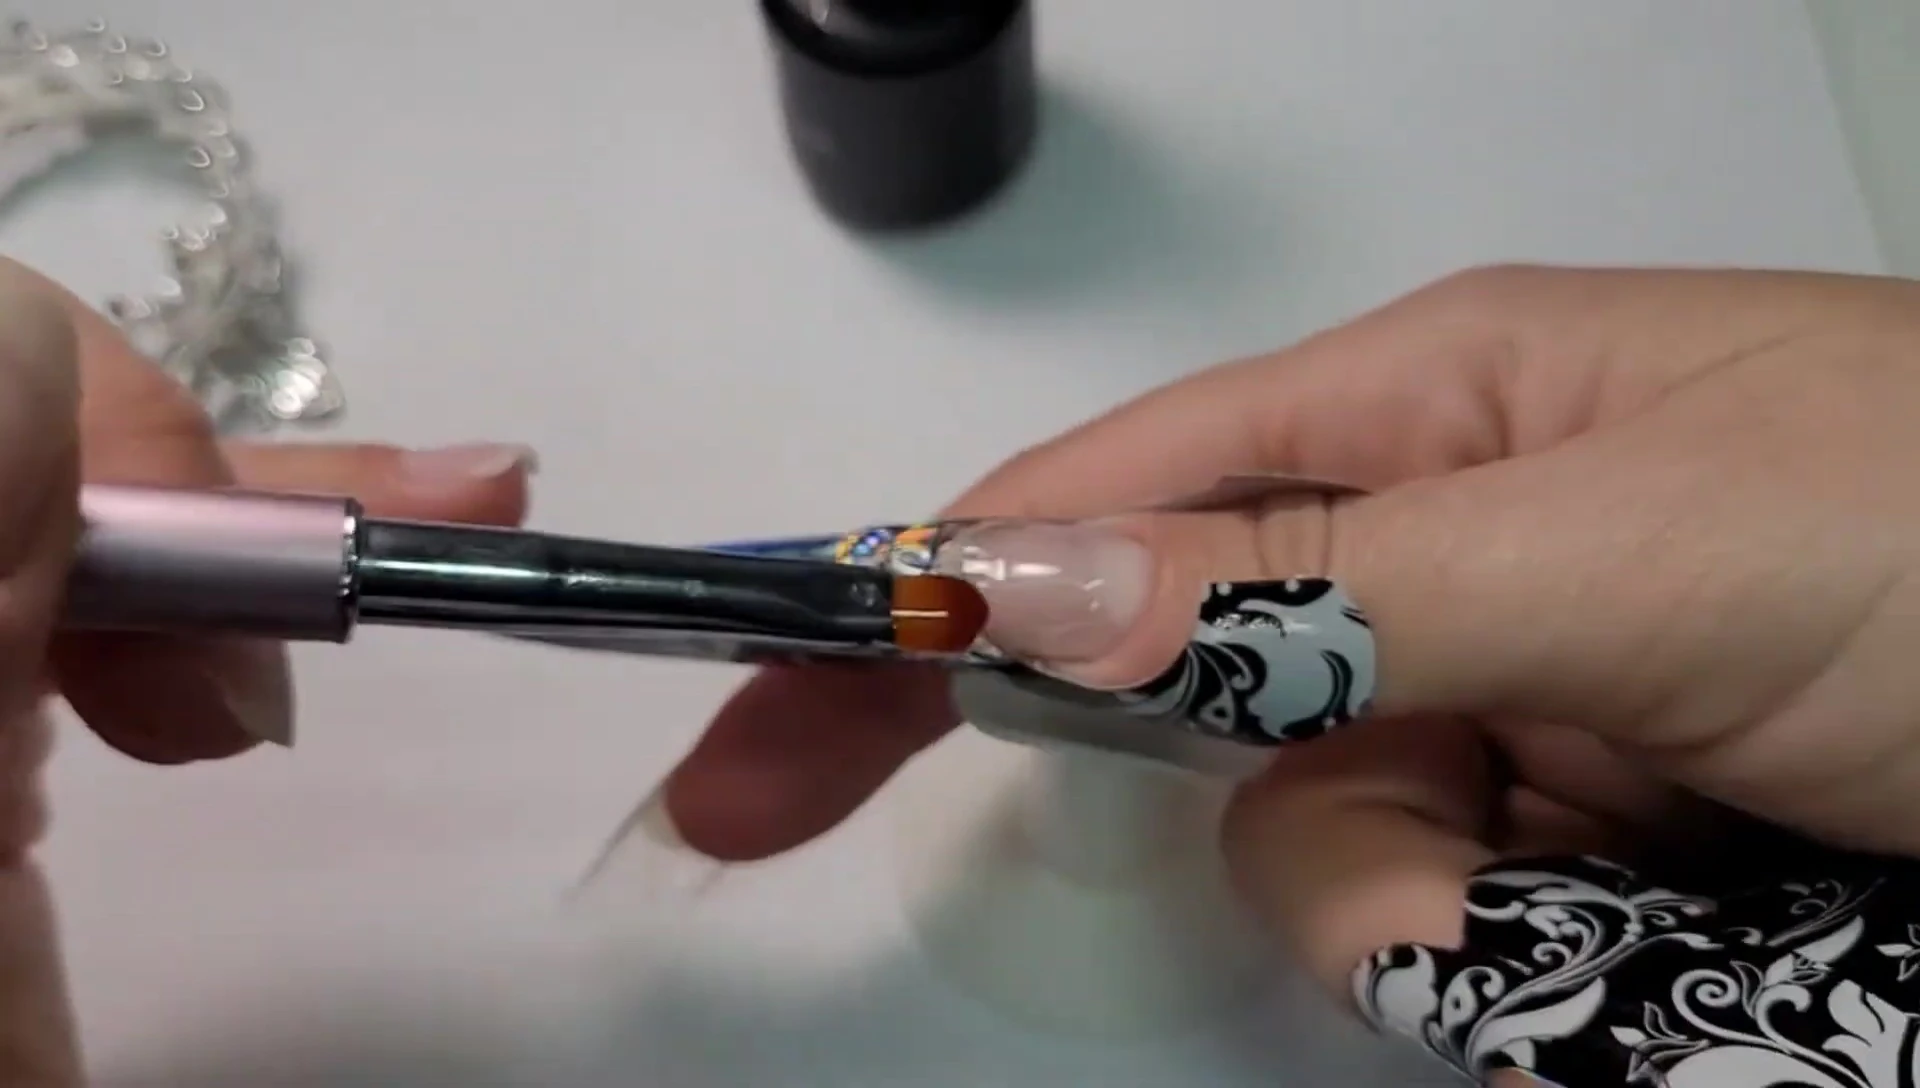
Building the Gel Extensions
Begin applying the builder gel by wiggling it onto the nail from side-to-side and straight across where your natural nail meets the form. Don't start at the cuticle; focus on creating a solid foundation. Gradually build up the layers, curing each layer for a full minute in a UV/LED lamp.

Start with a thin layer at the base, focusing on the area where the natural nail meets the form, gradually working your way up the nail. Remember to cure each layer completely before adding the next one, and let gravity assist in creating a smooth apex by flipping the hand upside down for 15 seconds before curing.
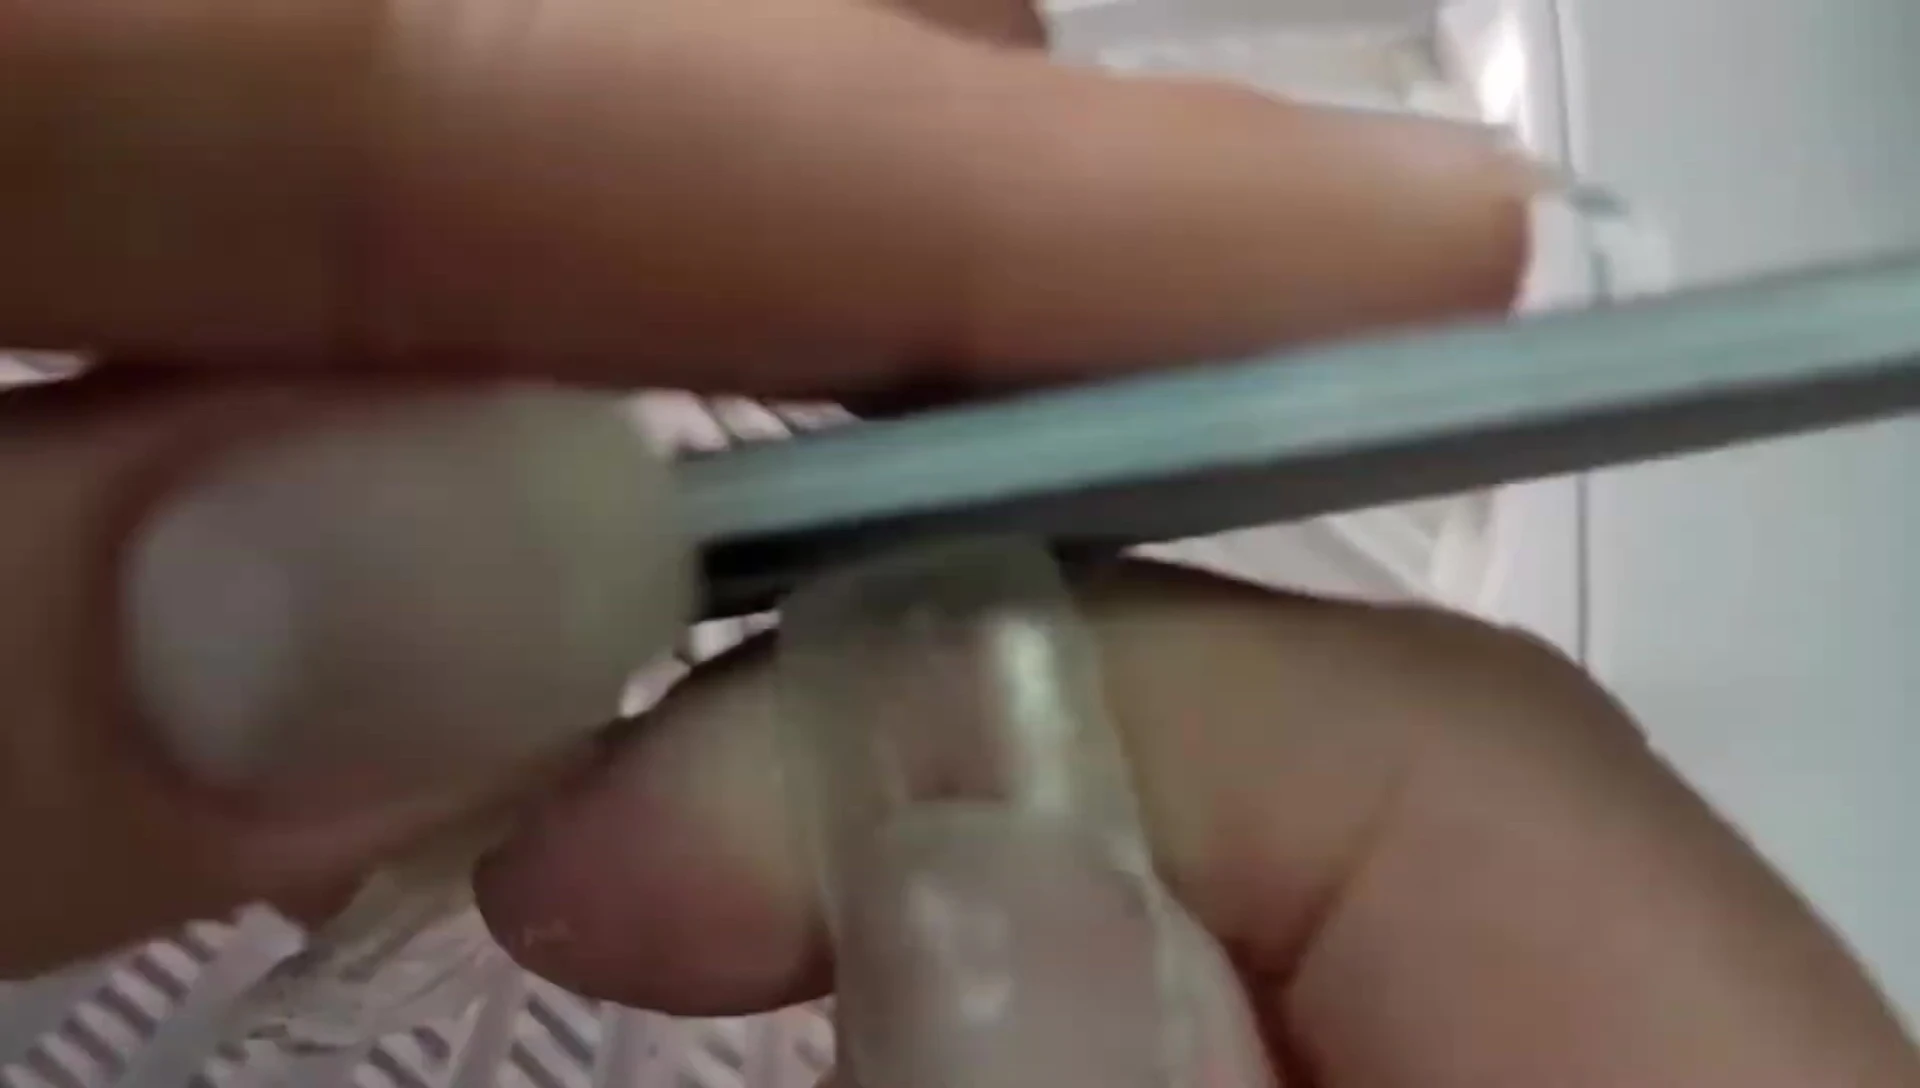
Removing Forms and Shaping
Before removing the nail forms, it's crucial to wipe away the sticky layer with alcohol and a lint-free wipe. This prevents accidental removal of the freshly applied gel. Once the sticky layer is gone, the forms will easily peel away. After removing the forms, proceed to file and shape your extensions.
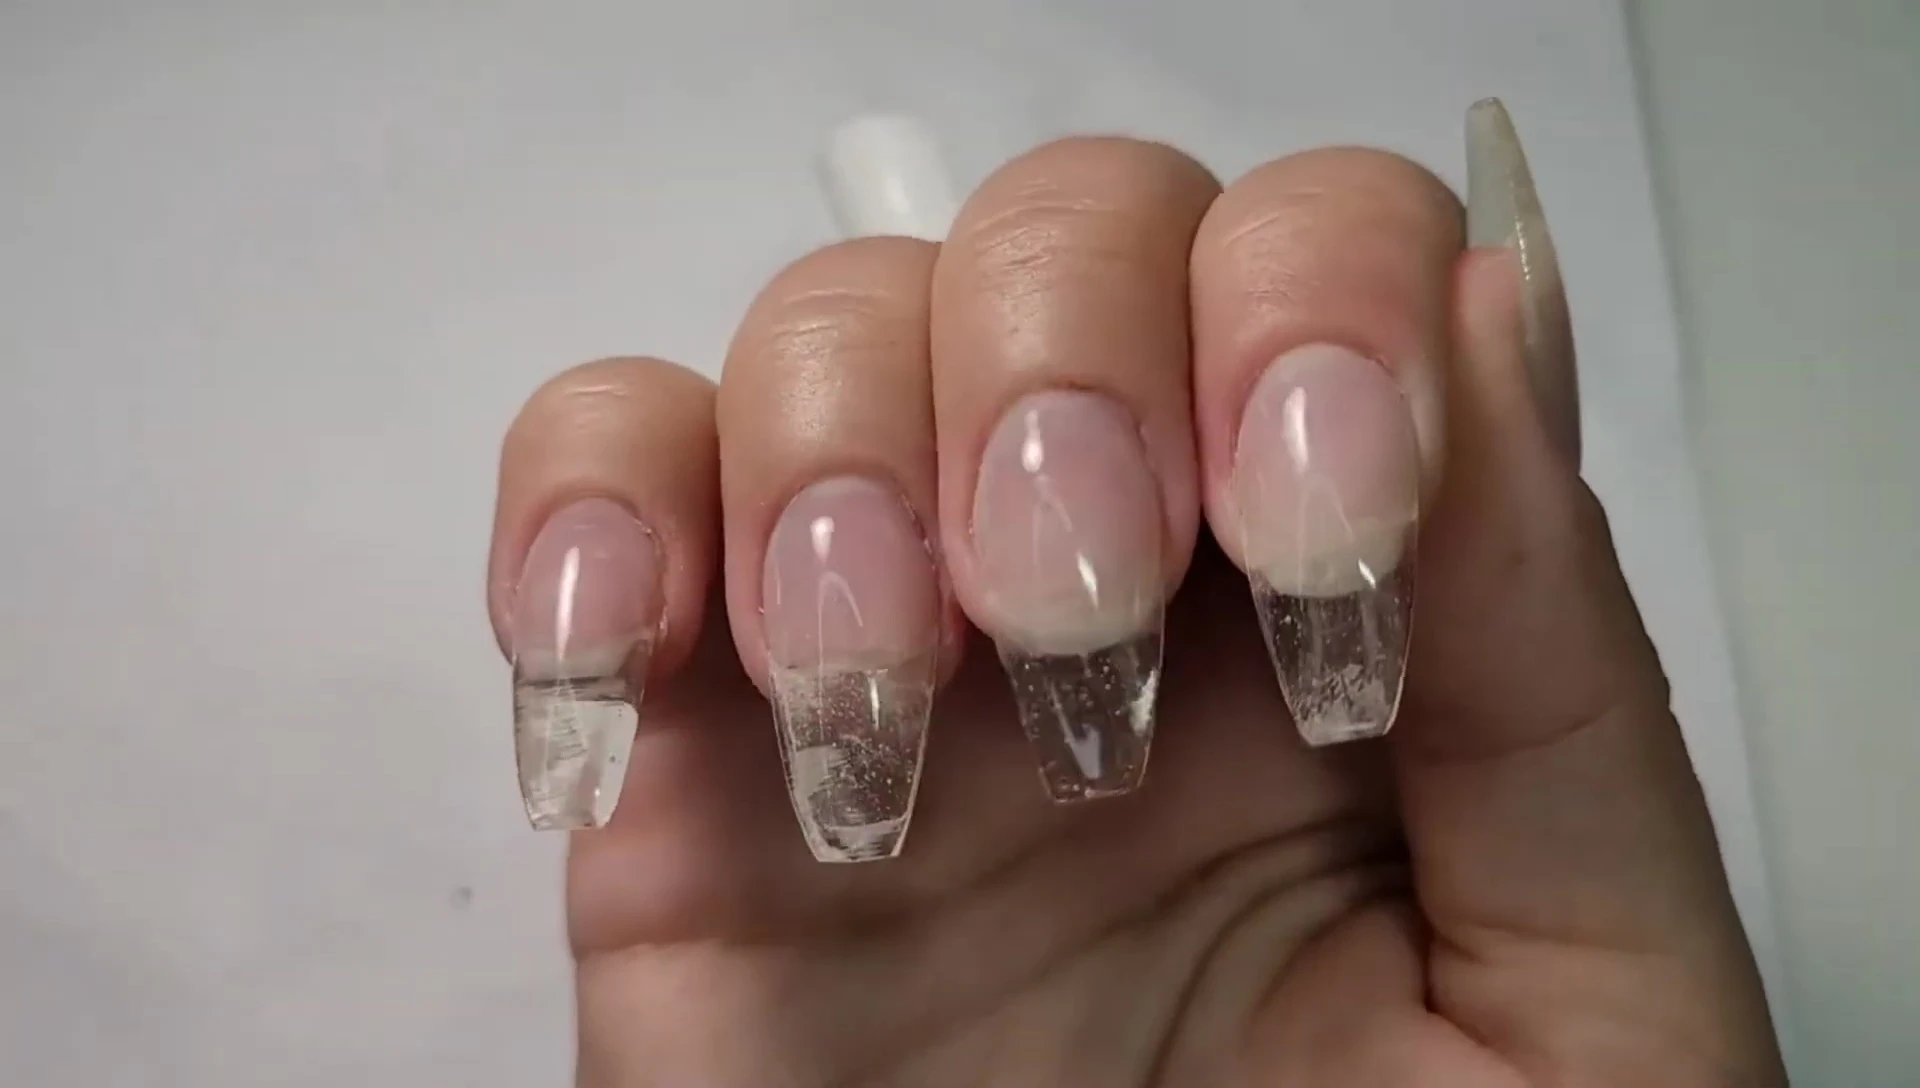
File carefully to create the desired nail shape, avoiding overly thin tips. Use a nail file to refine the edges and achieve a seamless transition from the natural nail to the extension. Remember, shaping before reducing bulk will prevent cracking.
Final Touches and Conclusion
Once the shaping is complete, apply a base coat followed by a top coat, ensuring a smooth, professional finish. Cure each coat thoroughly. Blackbird Dips builder gel, despite a slightly runnier consistency, self-levels beautifully, resulting in minimal filing and a smooth finish. This self-leveling property simplifies the shaping process considerably.
Blackbird Dips builder gel offers several advantages. Its self-leveling nature makes for easier application and less filing. The resulting nails are strong and durable. However, the slightly runnier consistency may require some adjustment for those accustomed to thicker gels. Overall, it’s a high-quality product with a more challenging learning curve due to the runny consistency, but the superior self-leveling makes up for it.