Achieve salon-worthy gel nail extensions from the comfort of your home with this comprehensive guide. Using dual nail forms, this step-by-step tutorial will walk you through the process of creating beautiful, long-lasting extensions. Learn the essential techniques for proper preparation, application, and finishing, ensuring professional results every time. Whether you're a seasoned nail enthusiast or a complete beginner, this guide provides clear instructions and helpful tips to help you master the art of gel nail extensions. Get ready to transform your nails with stunning, customized designs.From prepping your natural nails for optimal adhesion to expertly applying builder gel and shaping your extensions, this guide covers every detail. We'll show you how to use dual nail forms to create a seamless, natural-looking extension that is both strong and durable. Discover the secrets to achieving a flawless finish, complete with a high-gloss shine and lasting wear. With a little patience and practice, you'll be amazed at the professional results you can achieve with this accessible and detailed method.
Read more: Nail Form Review: EasyFlow App and Diverse Nail Shapes
Nail Prep and Base Coat Application
Begin by thoroughly cleaning your nails with acetone and a cotton ball to remove any oils or residues. This ensures optimal adhesion for the gel.
Gently push back your cuticles and use a 100/180 grit nail file to lightly buff the nail surface. This creates a slightly textured base for better gel adherence.
Apply a bonding agent (alcohol-based) to dehydrate the nail plate, further enhancing the gel's grip. This step is crucial for long-lasting extensions.
Applying the Dual Nail Forms and Builder Gel
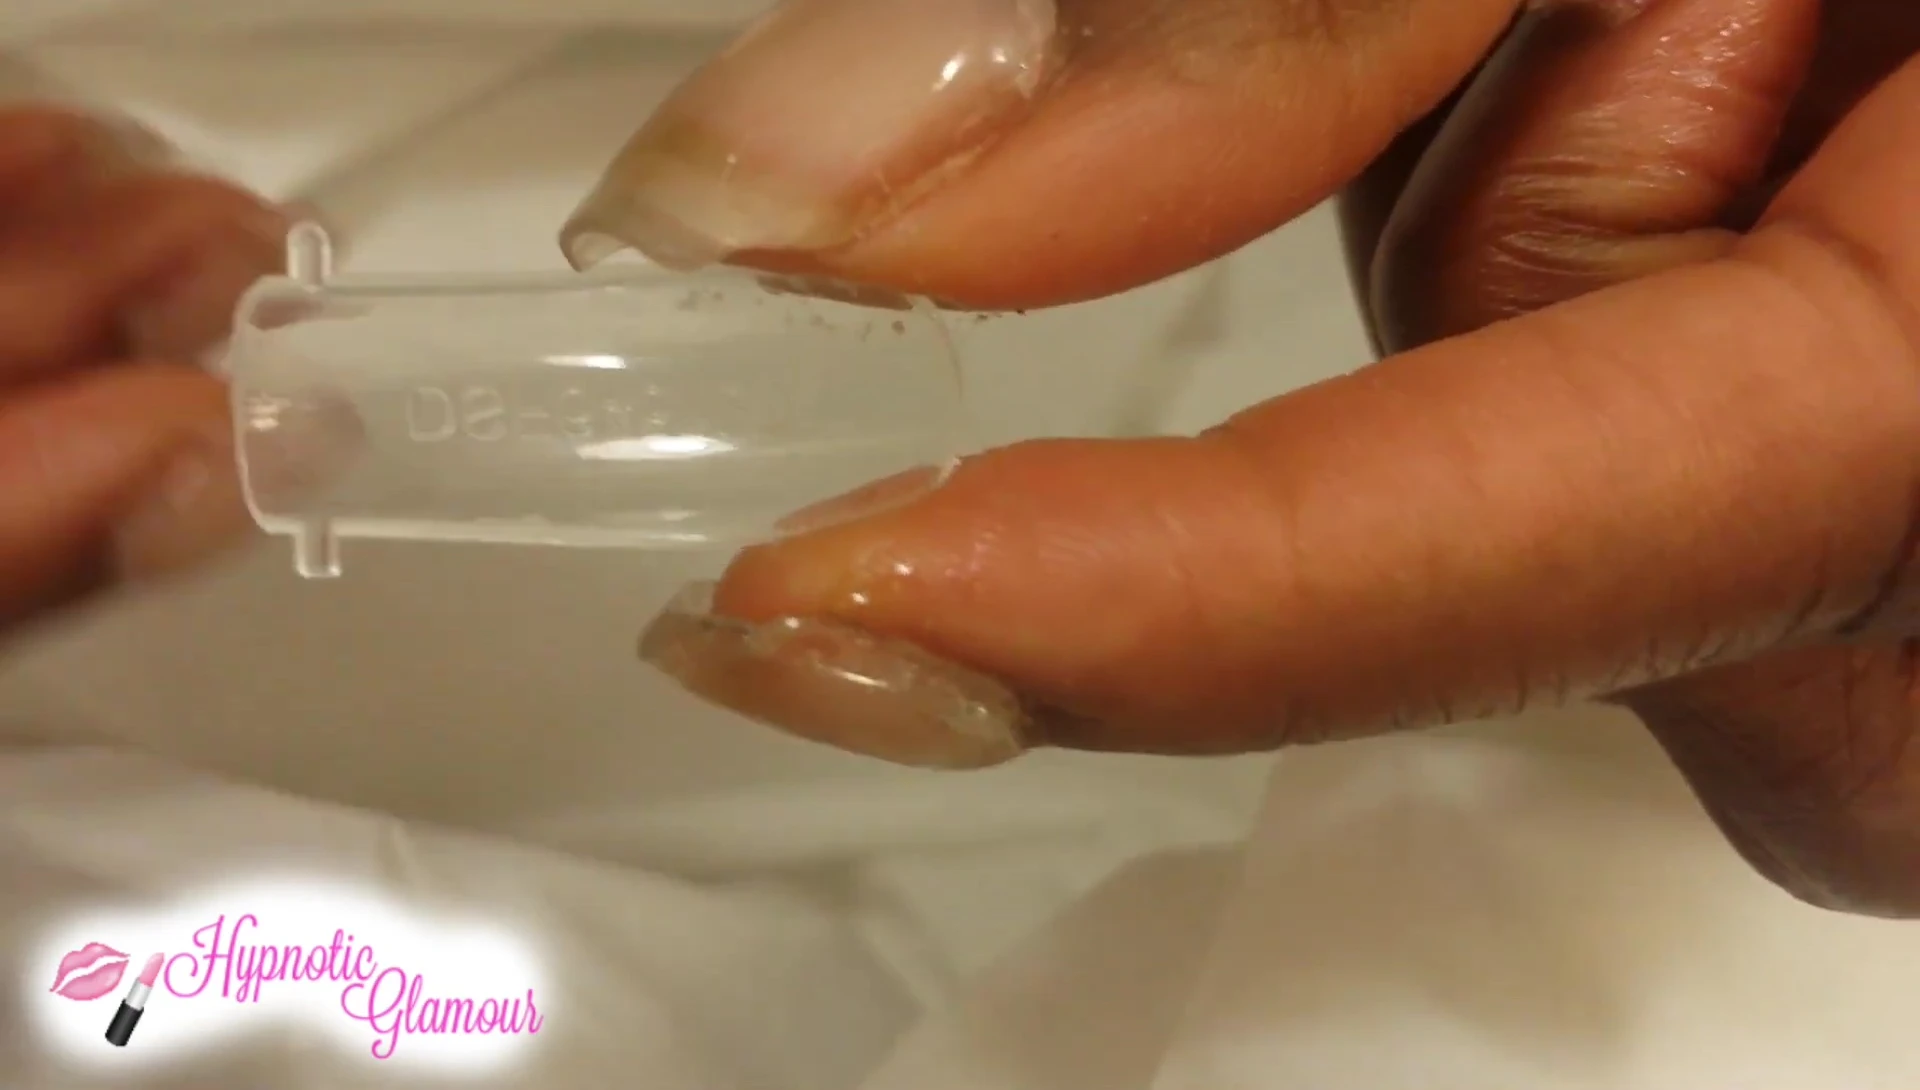
Select the appropriately sized dual nail forms for your natural nails. Ensure a snug fit for optimal shaping and extension.
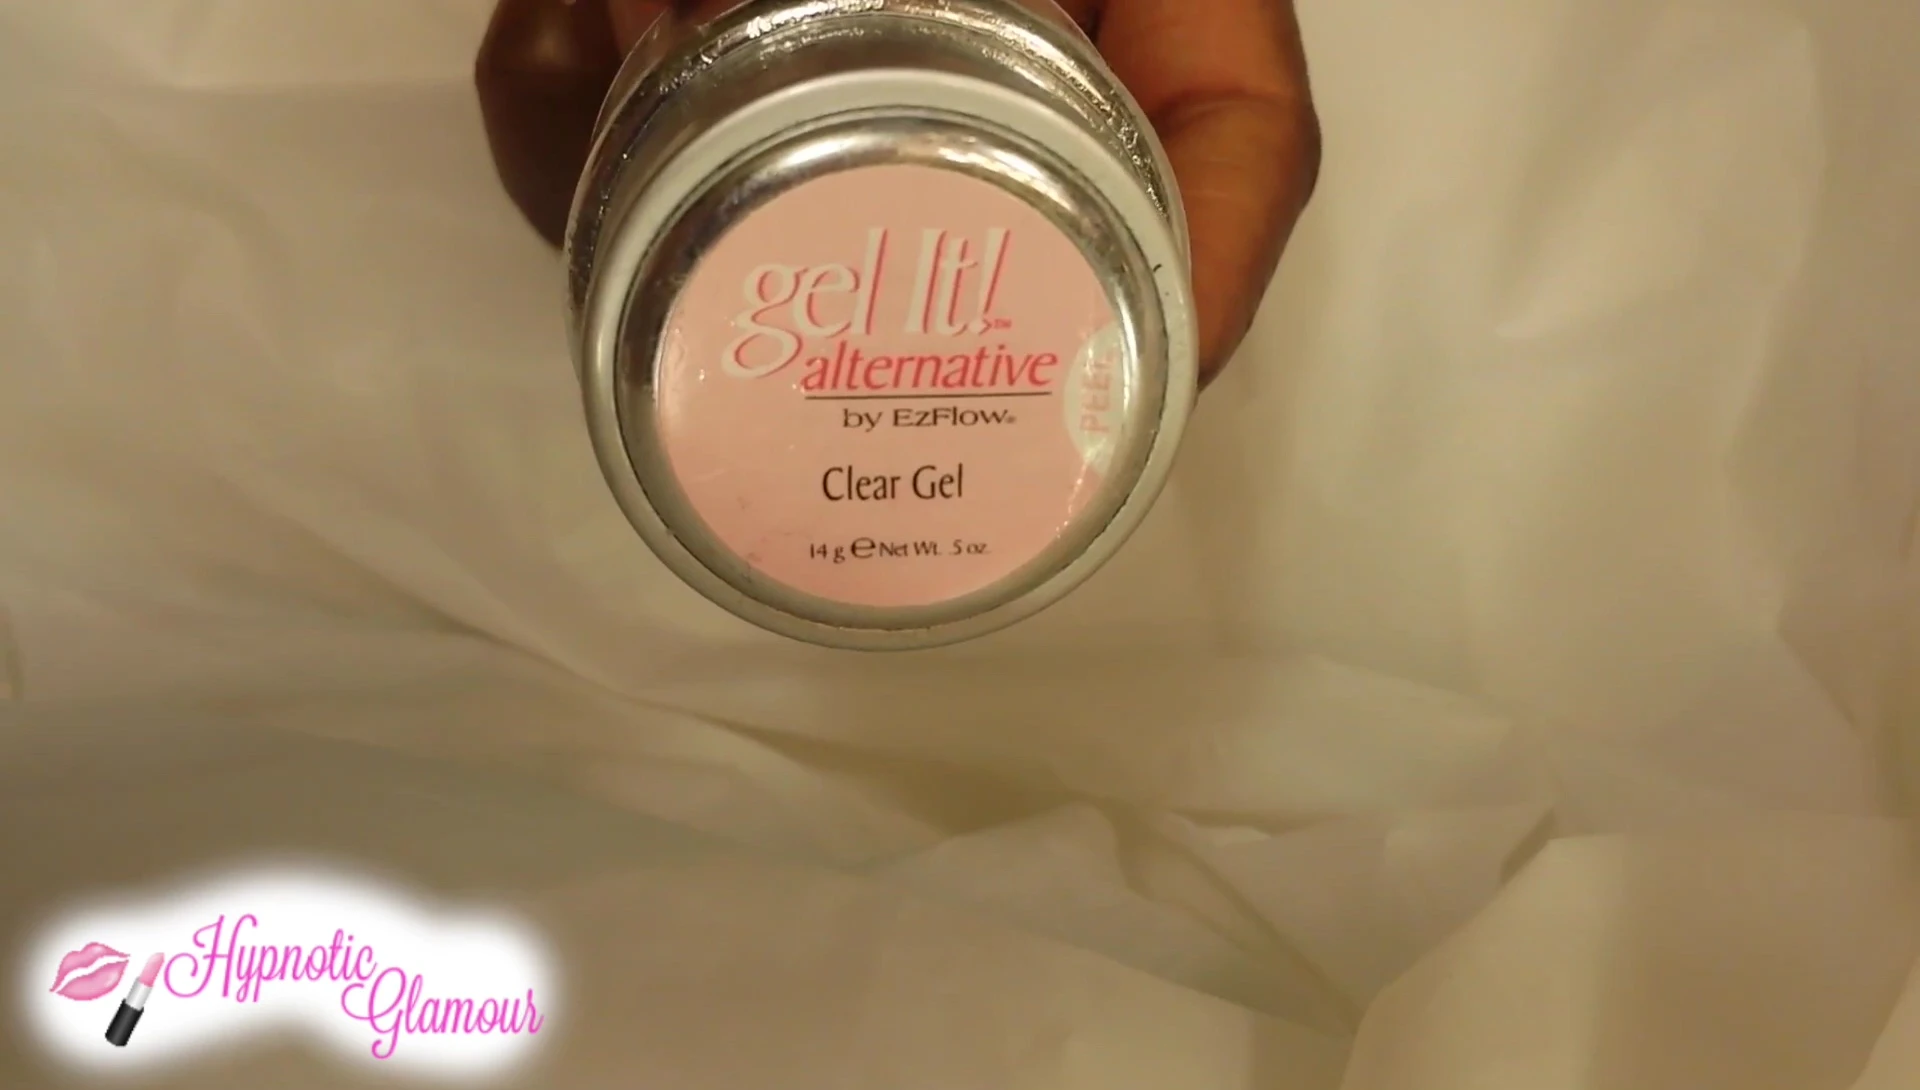
Apply a thin layer of clear gel to your natural nails before applying the nail forms. This acts as a base for better bonding between the forms and your nail.
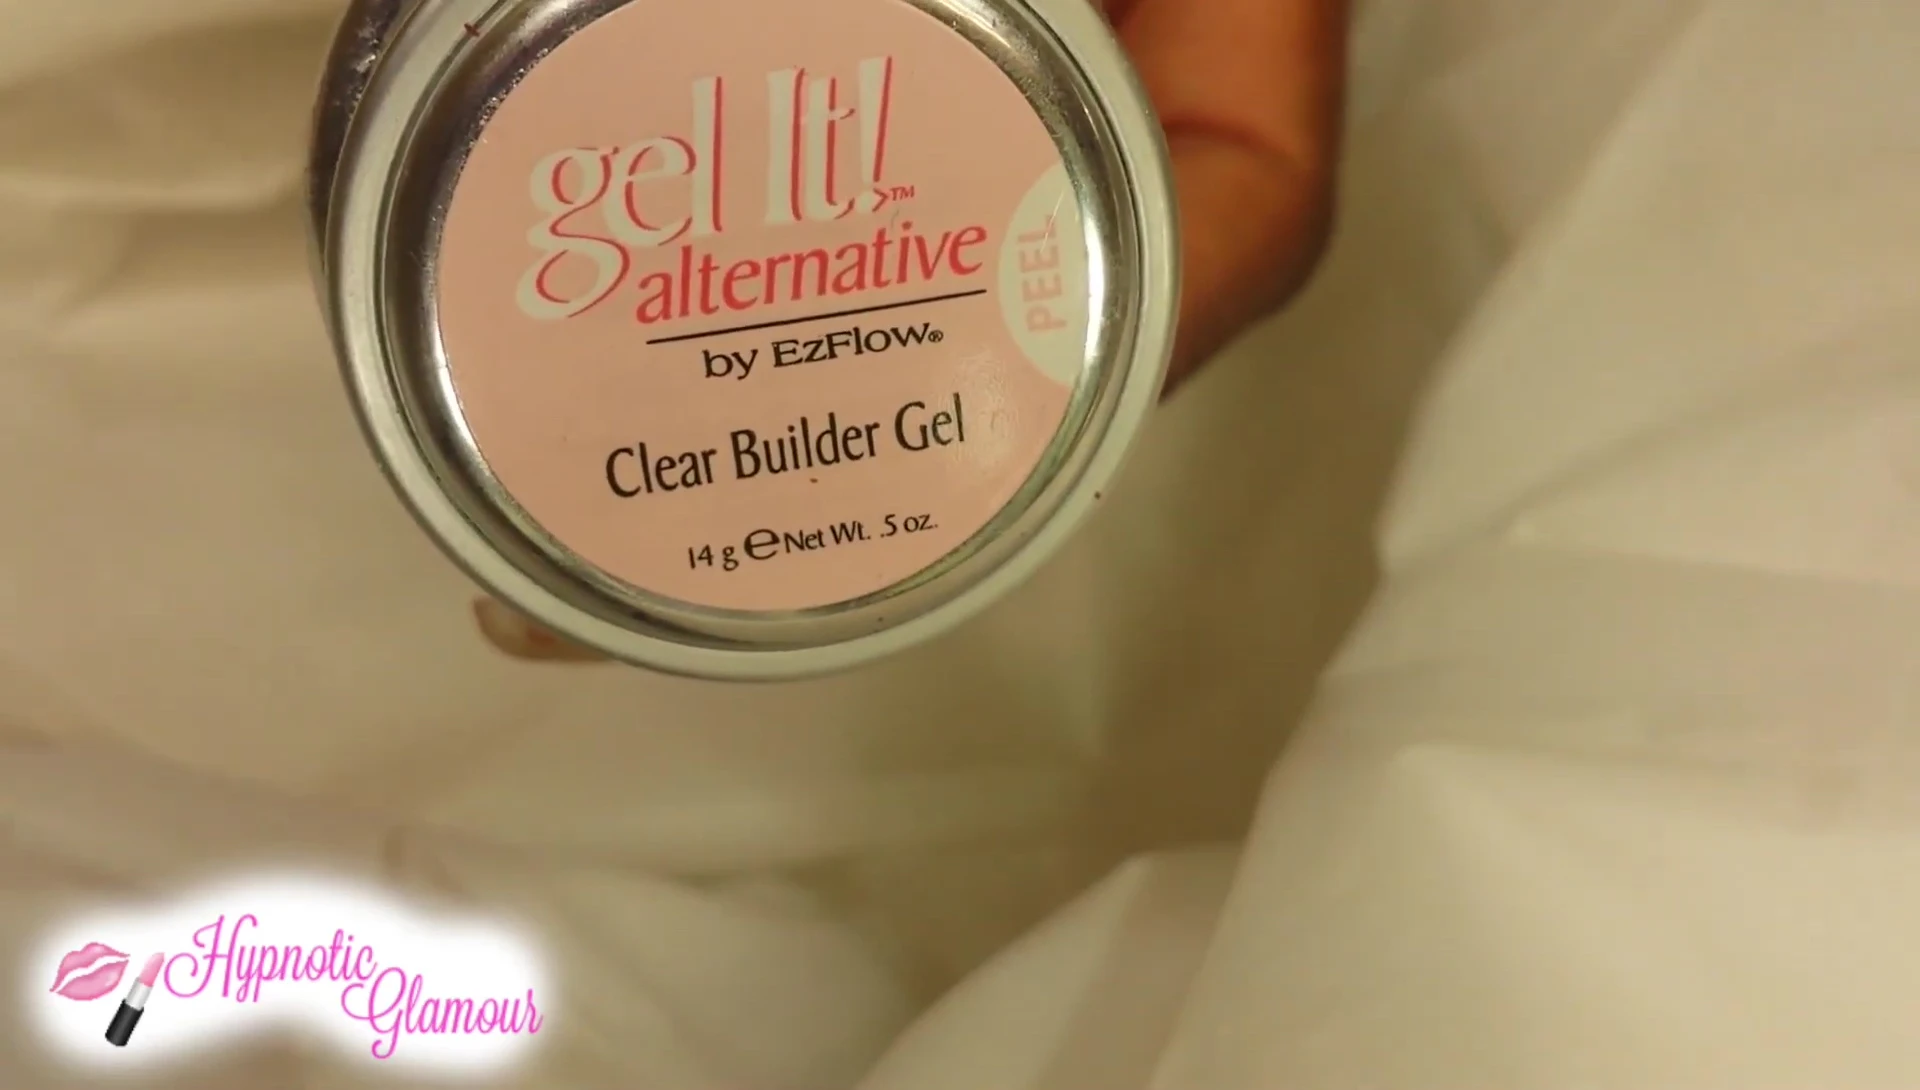
Fill the dual nail forms with a generous amount of builder gel, ensuring even distribution to avoid air bubbles and gaps.
Curing and Shaping the Extensions
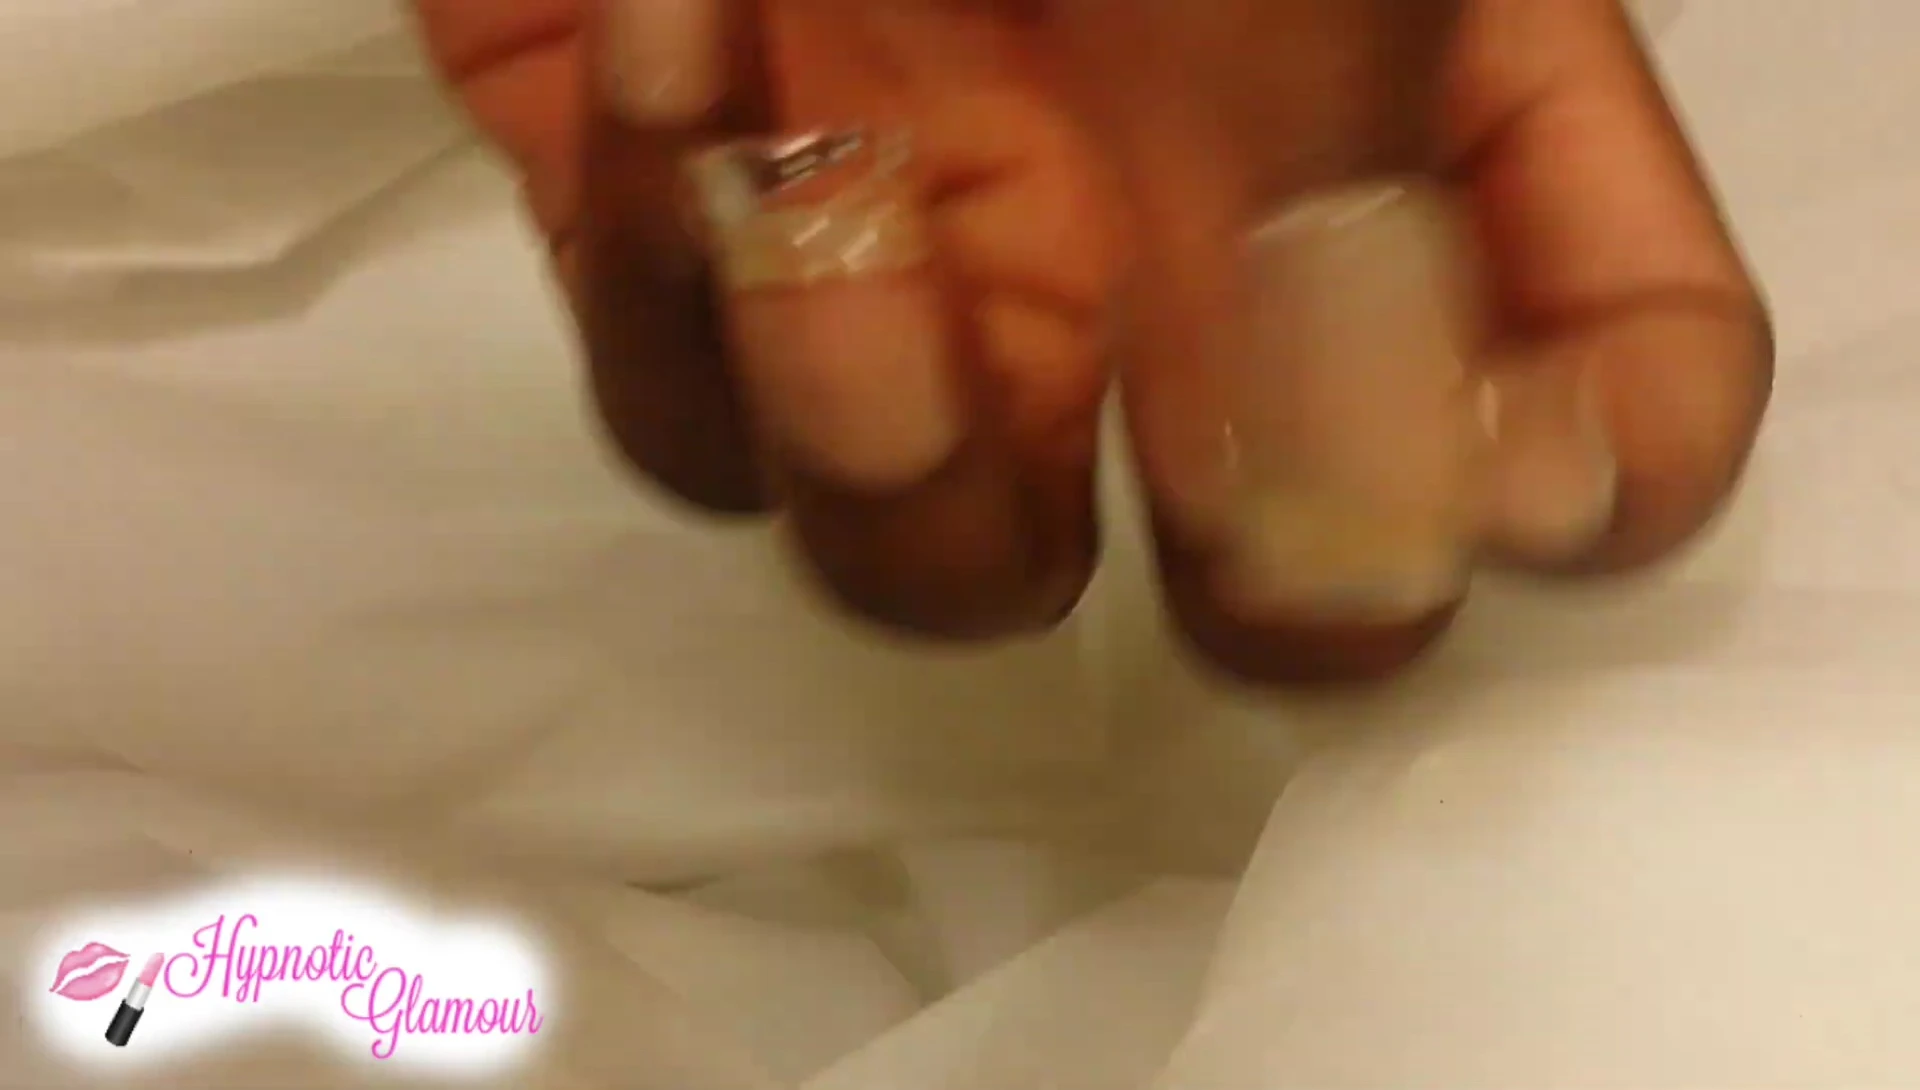
Carefully attach the filled dual nail forms to your natural nails, pressing firmly to eliminate air pockets and ensuring a secure bond.
Cure the builder gel under a UV lamp as per the manufacturer's instructions. This hardens the gel, setting the extensions.
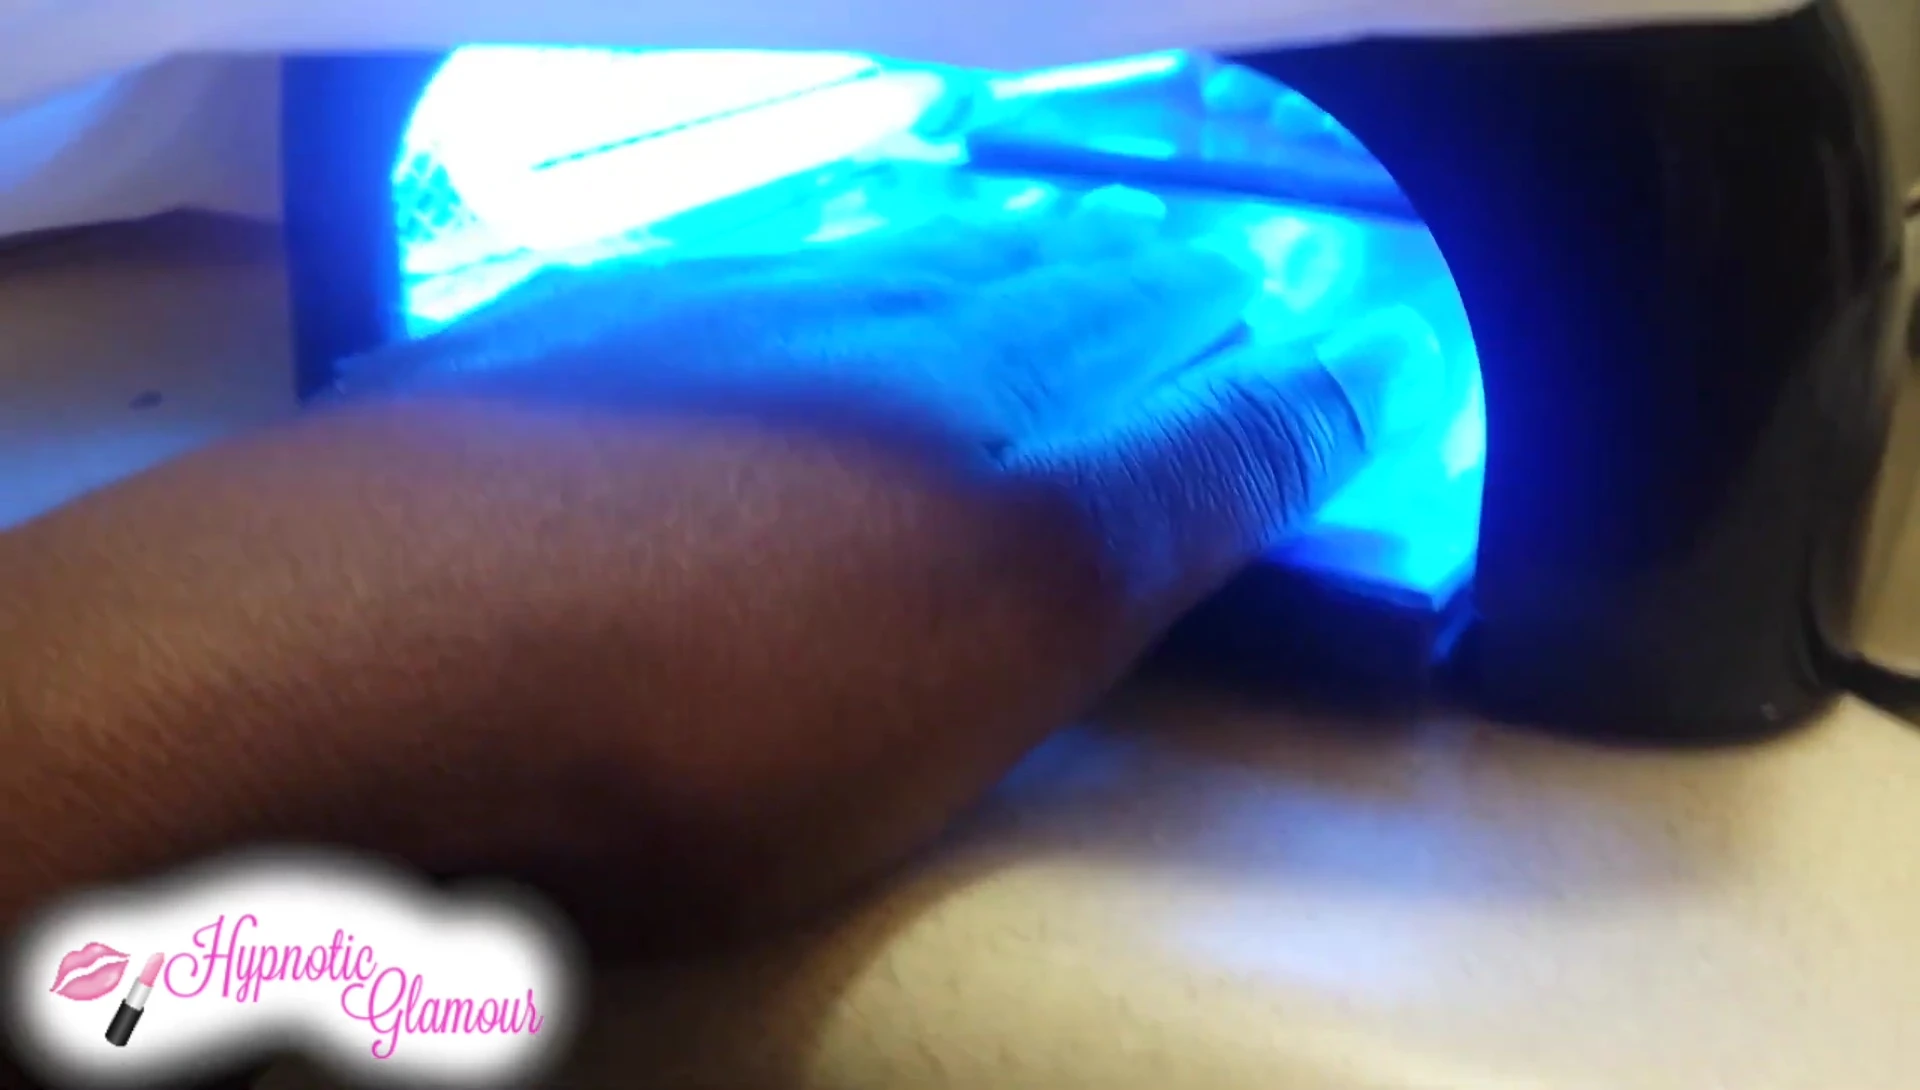
Once cured, carefully remove the nail forms. File and shape the extensions to your desired length and style.
Finishing Touches and Top Coat
Apply additional clear builder gel for added strength and durability, ensuring even application and curing after each layer.
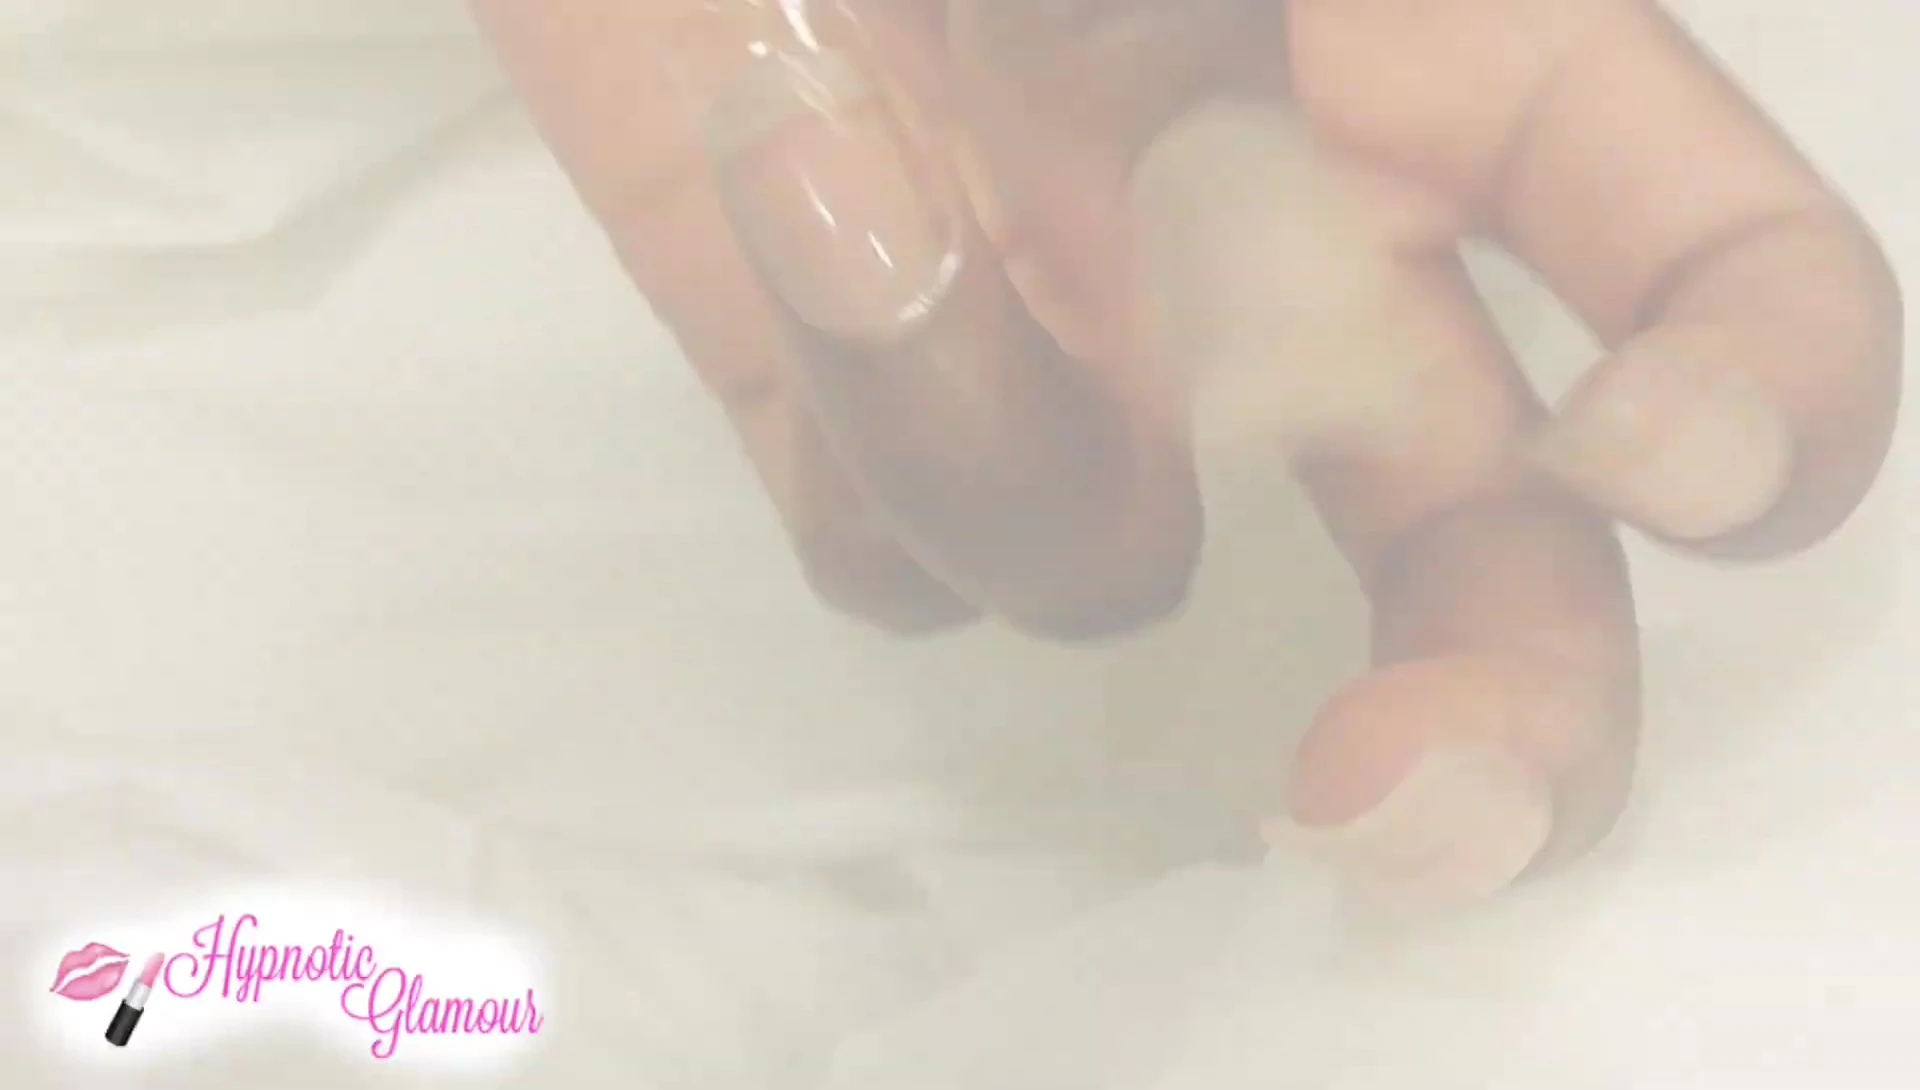
Finish with a top coat of gel, adding shine and protection to the extensions. This enhances the overall look and longevity.
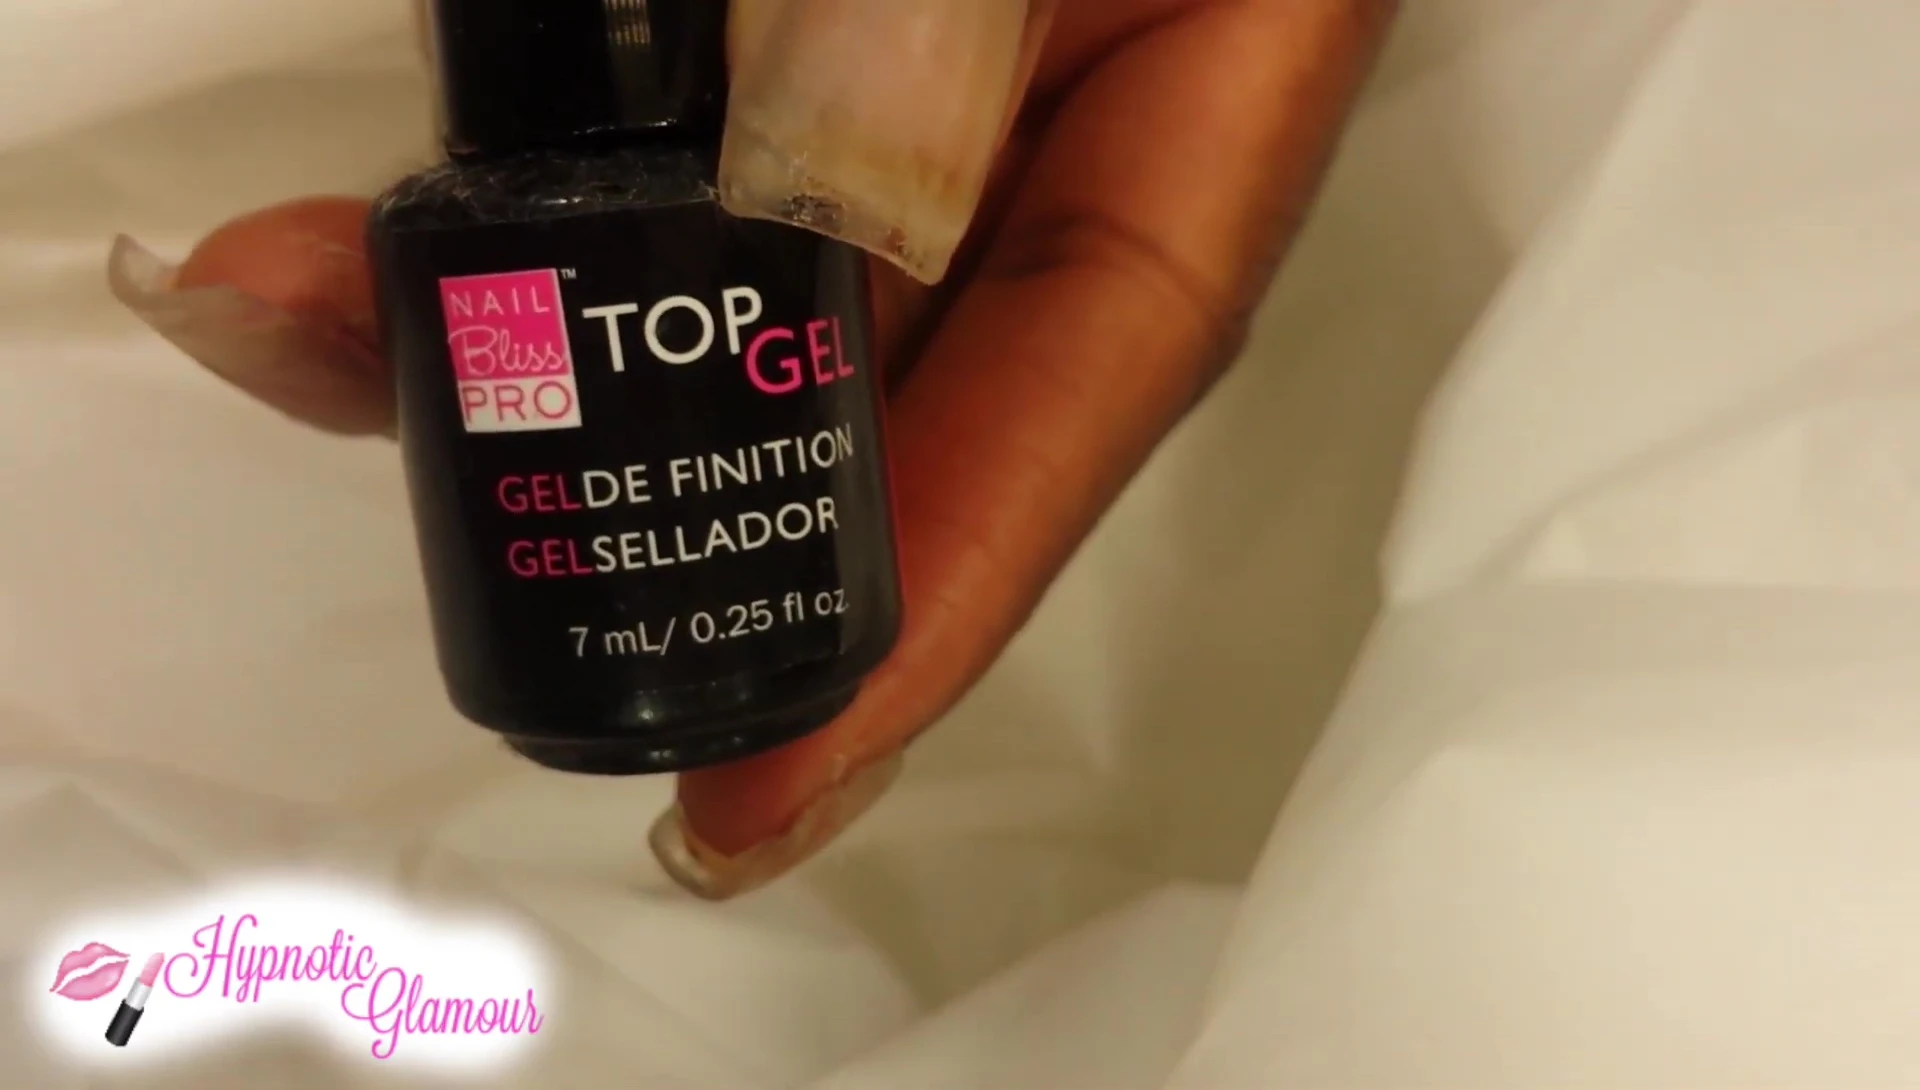
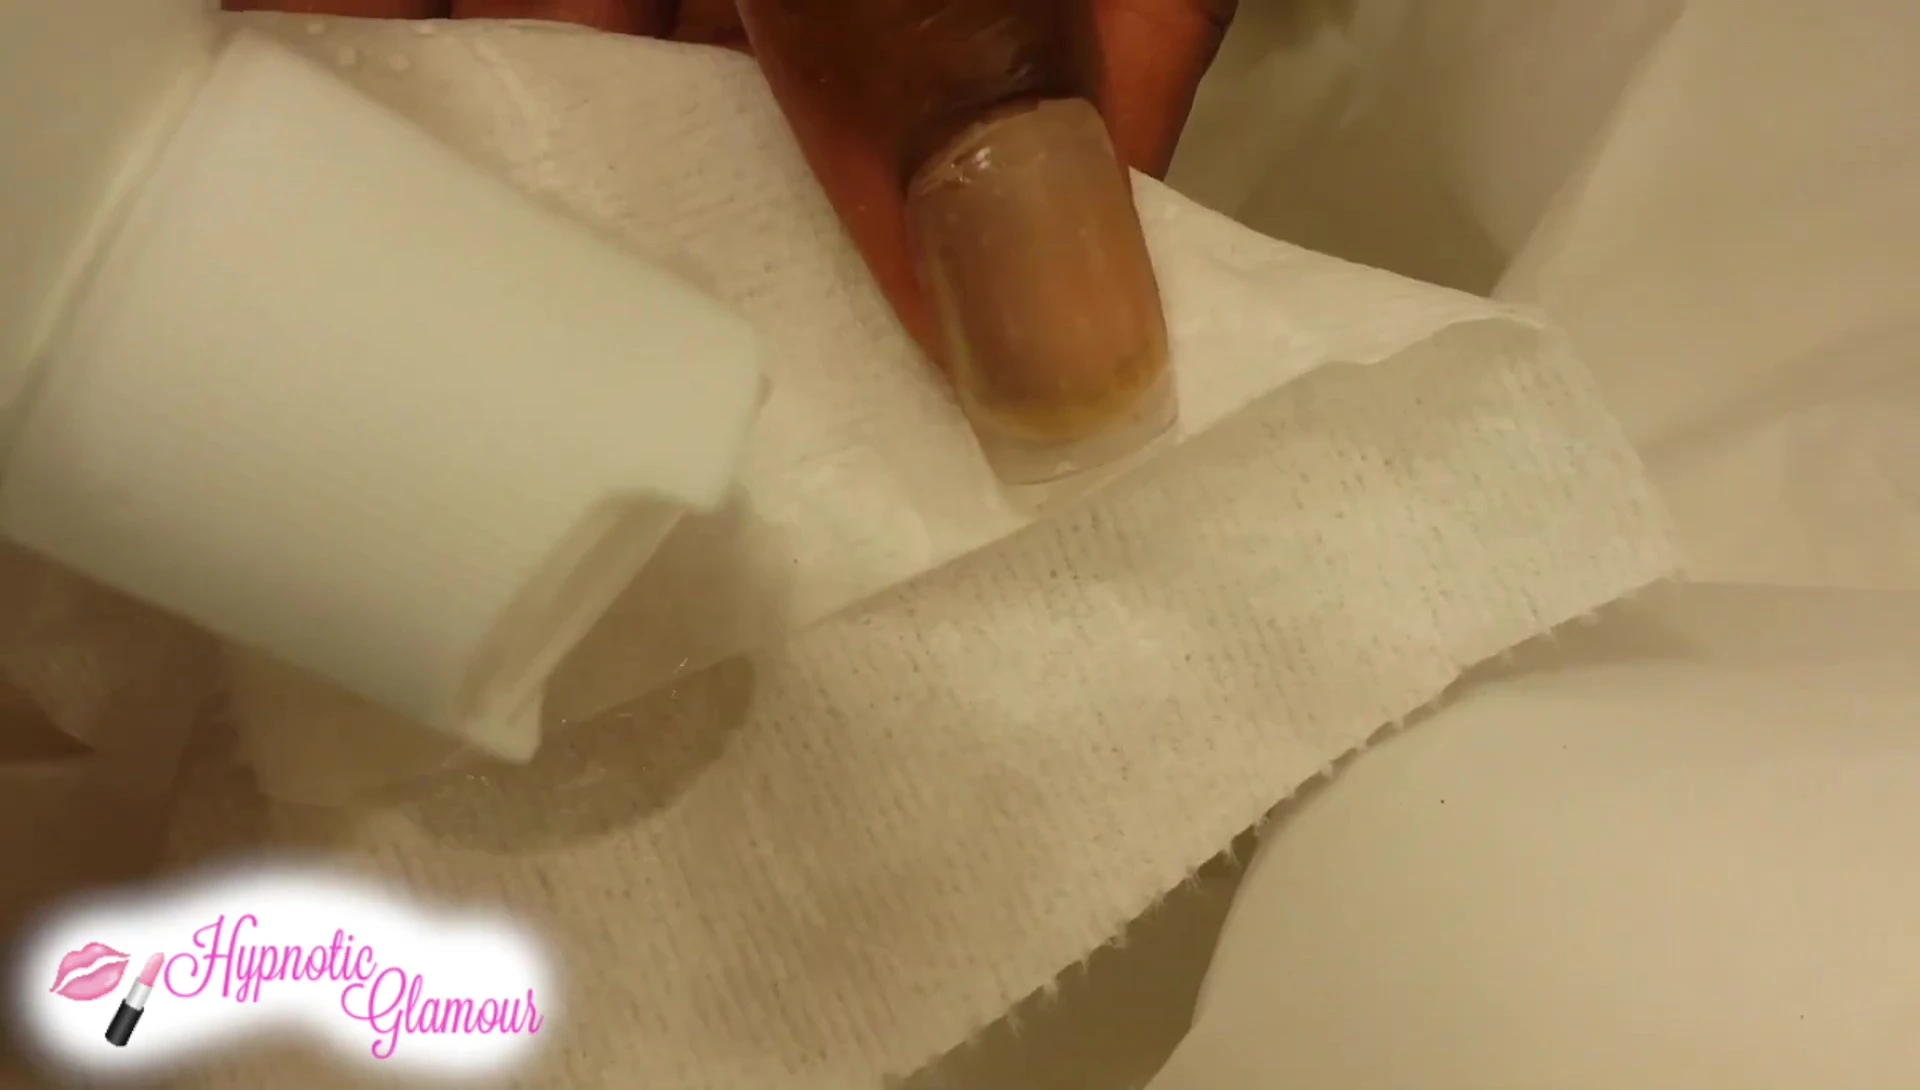
Remove the sticky residue with a cleanser to achieve a smooth, polished finish. This final step ensures a flawless look.
Conclusion
This step-by-step guide provides a comprehensive approach to creating gel nail extensions using dual nail forms. The process is relatively straightforward and yields professional results.
Remember careful nail preparation is crucial for long-lasting extensions. Proper curing time under the UV lamp is also essential for durability.
While this guide focuses on a specific kit, the techniques are generally applicable to similar products. Experiment with different shades and styles to achieve your desired nail look.