Achieve salon-quality French tip nails from the comfort of your home with this comprehensive step-by-step guide. Using nail forms and acrylic, this tutorial simplifies the process of creating a flawless, professional-looking manicure. Learn how to prepare your nails for optimal adhesion, select and apply the perfect nail tips, and master the art of acrylic application using high-quality nail forms for a smooth, even finish. This method minimizes the risk of lifting and ensures long-lasting results, surpassing the limitations of traditional French manicure techniques.We'll walk you through each stage, from prepping your nails and choosing the right tips to applying acrylic with nail forms and achieving that perfect C-curve. Discover the recommended products, including specific nail tips, glue, bonding agents, and nail forms, which will help you recreate this elegant look with ease. Whether you're a nail art beginner or seeking to enhance your existing skills, this guide provides clear instructions and helpful tips to ensure your French manicure is both beautiful and durable.
Read more: Nail Form Review: EasyFlow App and Diverse Nail Shapes
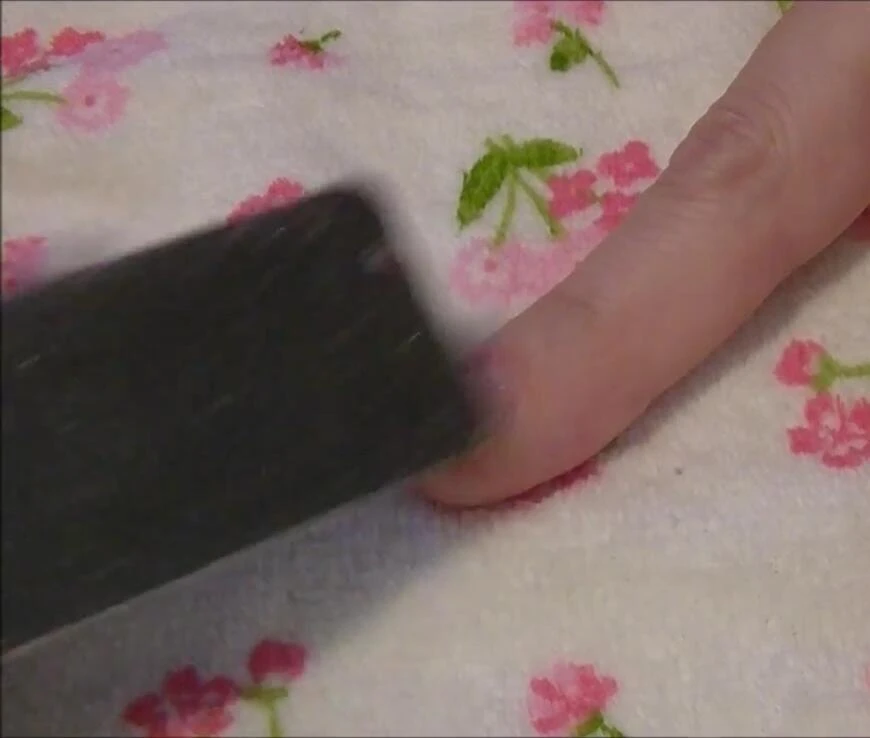
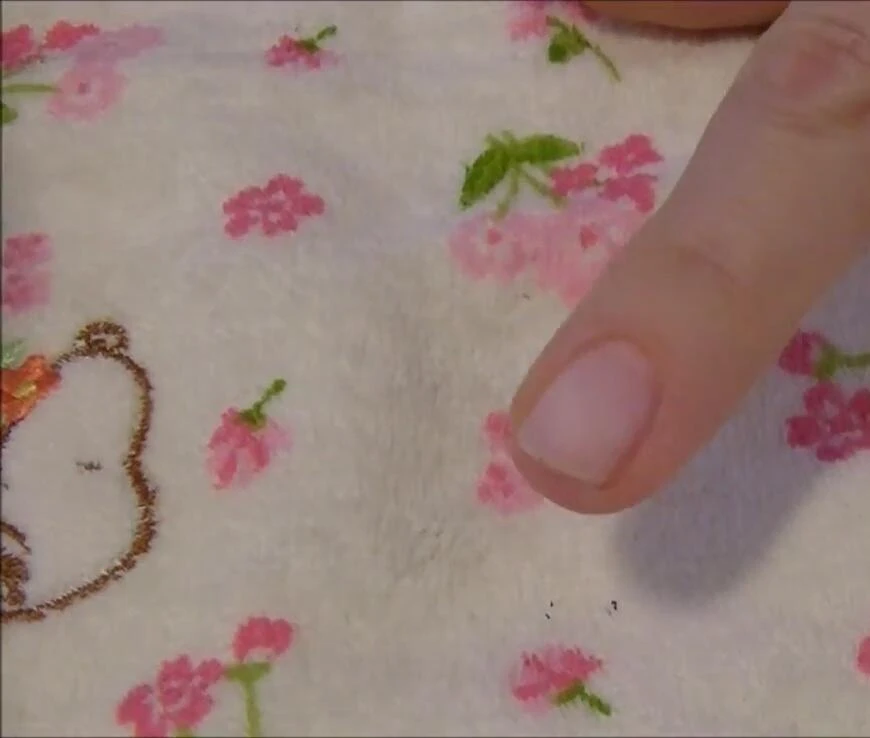
Nail Preparation
Begin by gently pushing back your cuticles and removing any dead skin cells around the sidewalls. This is crucial for preventing lifting, especially when using acrylic or gel.

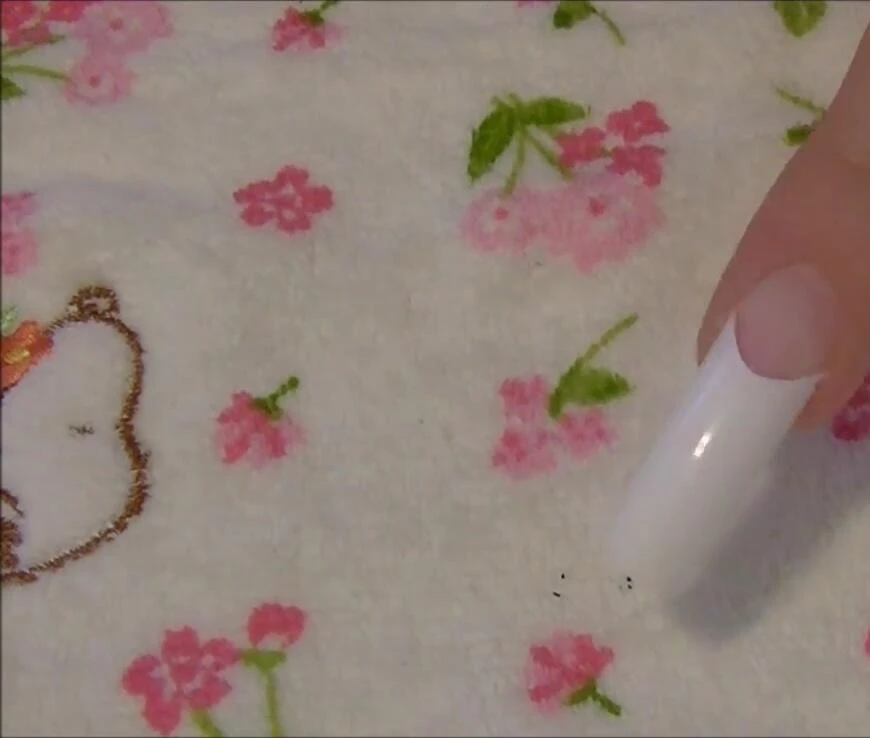
Cleanse the nail surface thoroughly to remove oils and debris. Rubbing alcohol is a readily available and effective option.
After cleansing, further dehydrate the nail with a prep and clean solution like the ASB Prep & Clean, ensuring optimal adhesion for the nail tip.
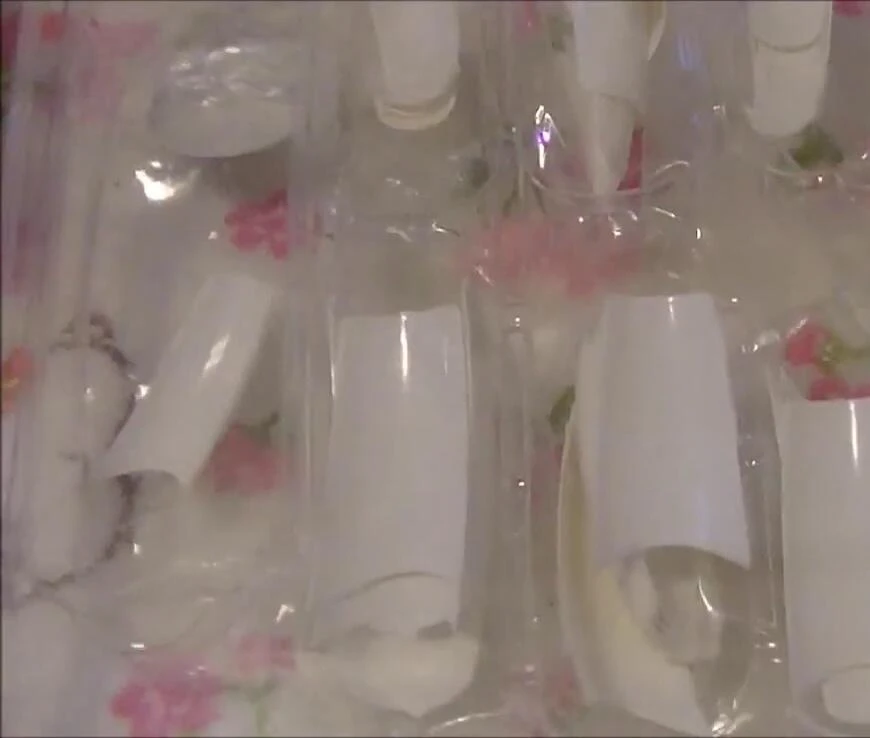
Applying Nail Tips
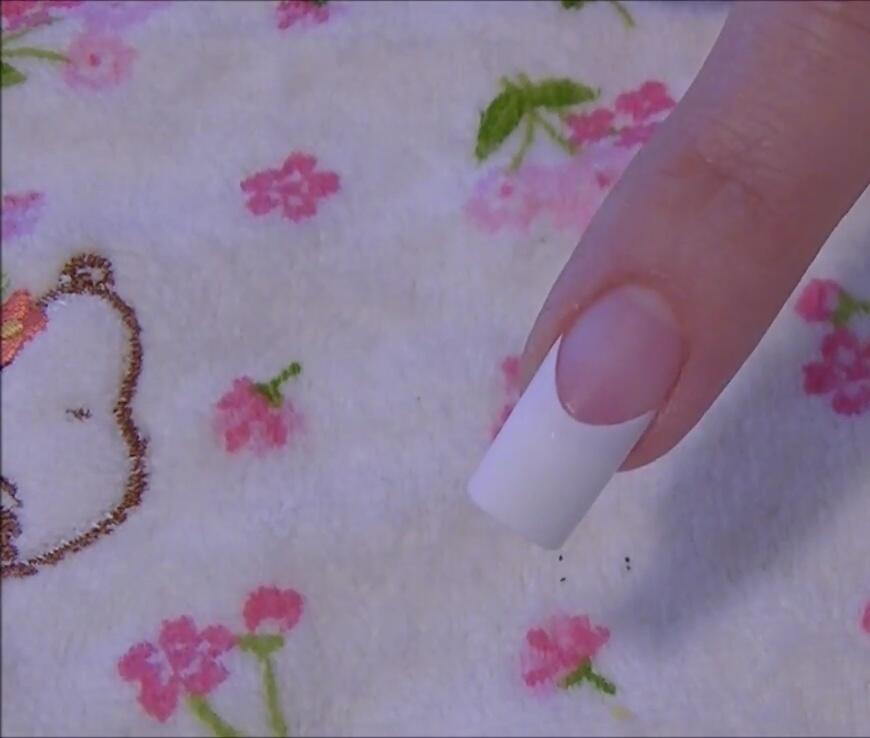
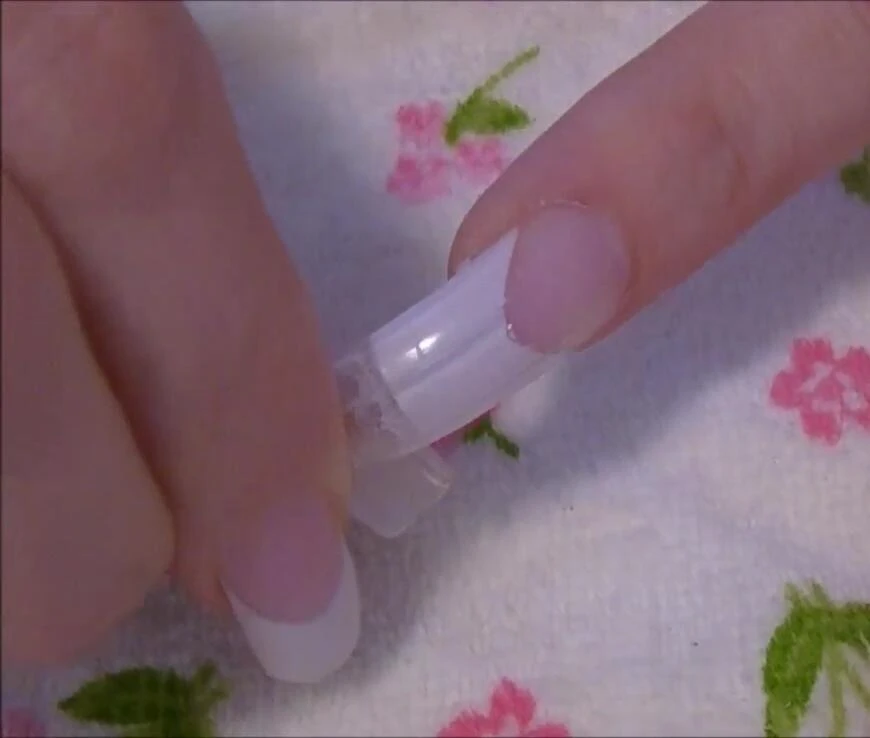
Choose well-fitting nail tips. The speaker prefers tips without a well, like the ASP tips from Sally Beauty Supply, allowing for flexible placement.
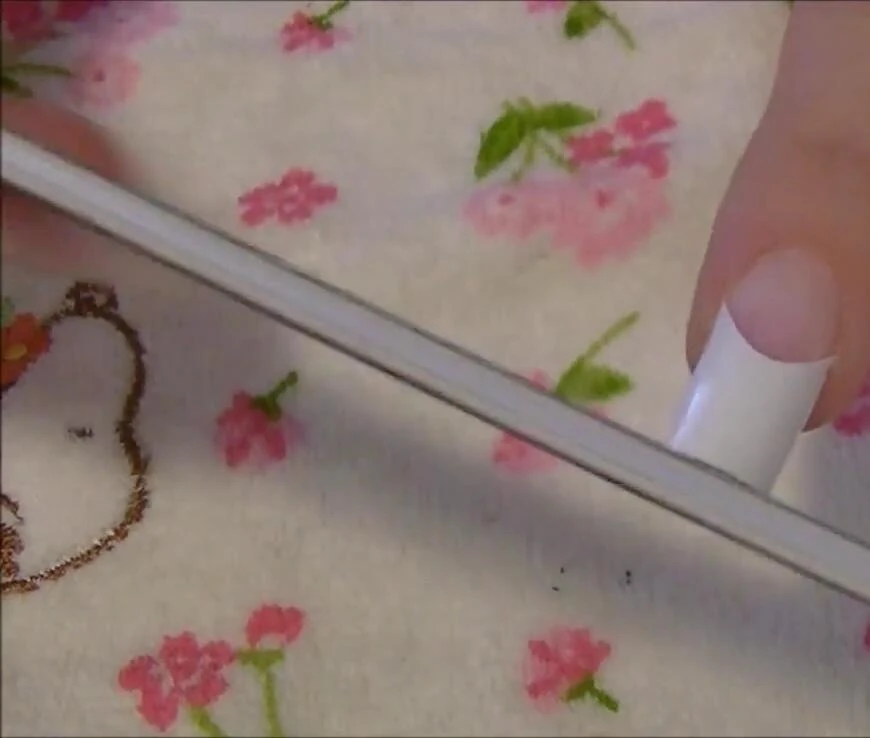
Measure the tip from sidewall to sidewall to ensure a perfect fit. It’s better to slightly oversize and file down than to use a tip that’s too small.
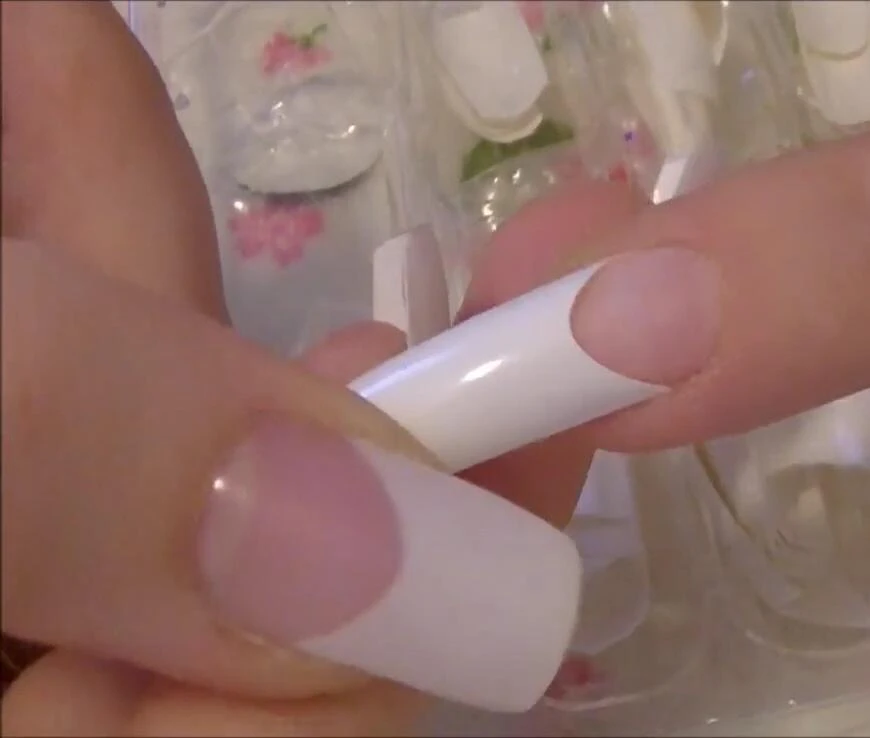
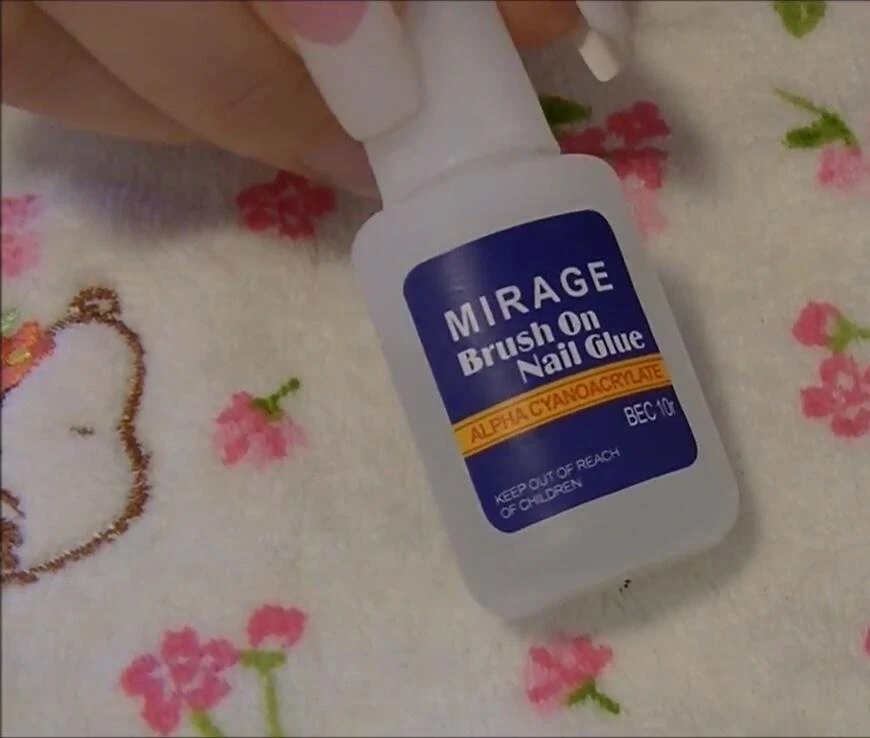
Apply a thin layer of nail glue (Mirage Brush-on Nail Glue is mentioned as an example) to the natural nail and secure the tip, ensuring complete contact.
Preparing for Acrylic Application
After gluing the tips, trim and file them to create a uniform length and shape. Make sure the surface is even and smooth.
Lightly file the shine off the tip to improve acrylic adhesion. A grainy surface provides better grip.
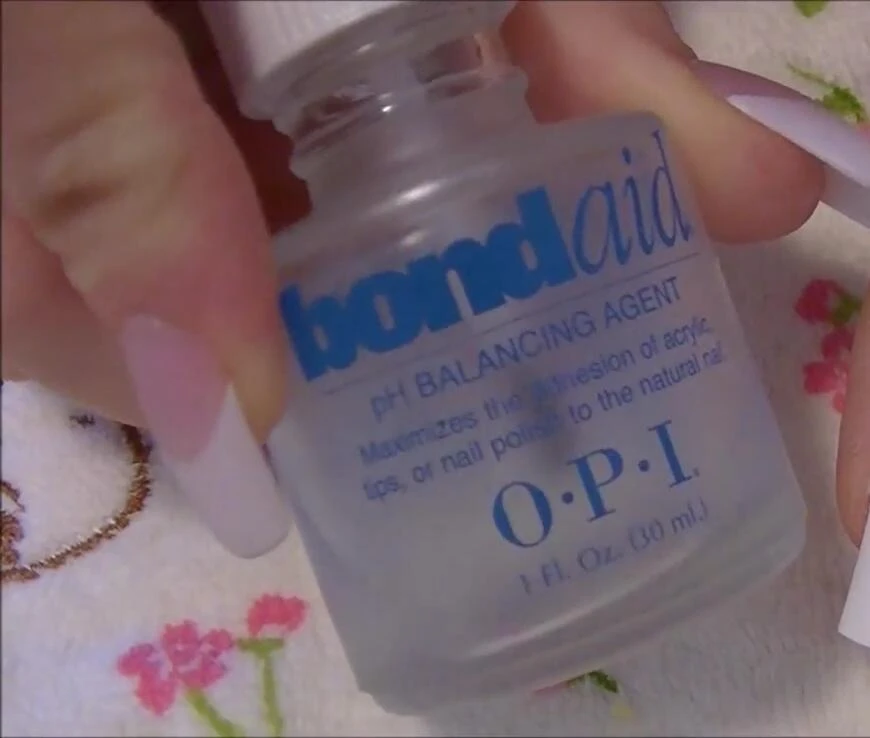
Apply a pH balancing agent (OPI Bond Aid) to the natural nail, followed by a bonding agent (Bondex) for enhanced durability and reduced lifting.
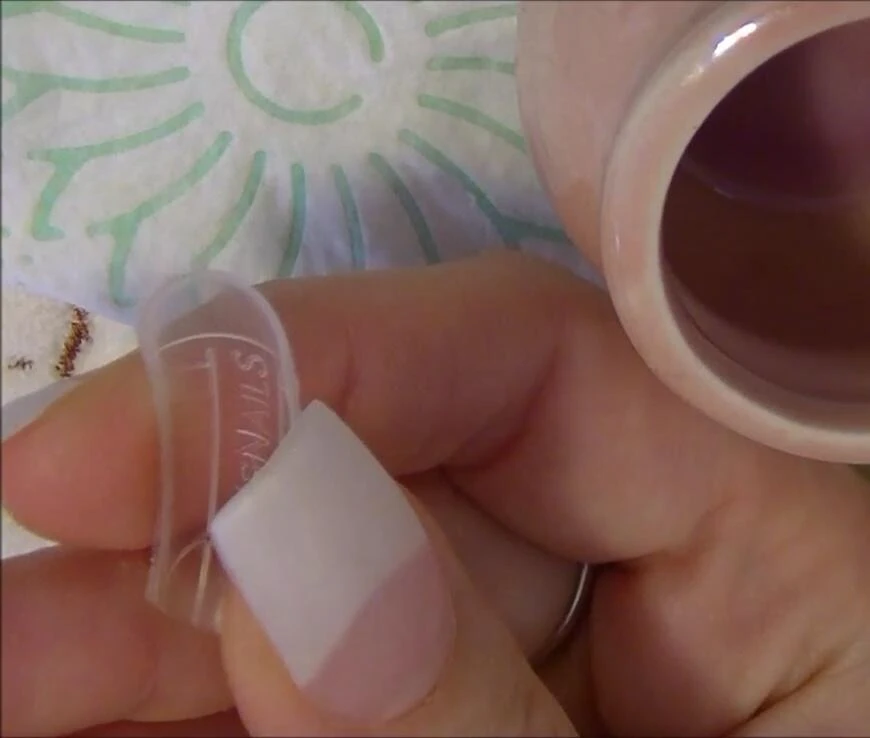
Acrylic Application with Nail Forms
Use high-quality nail forms, such as the Ys Nails forms. These forms are highly recommended for ease of use.
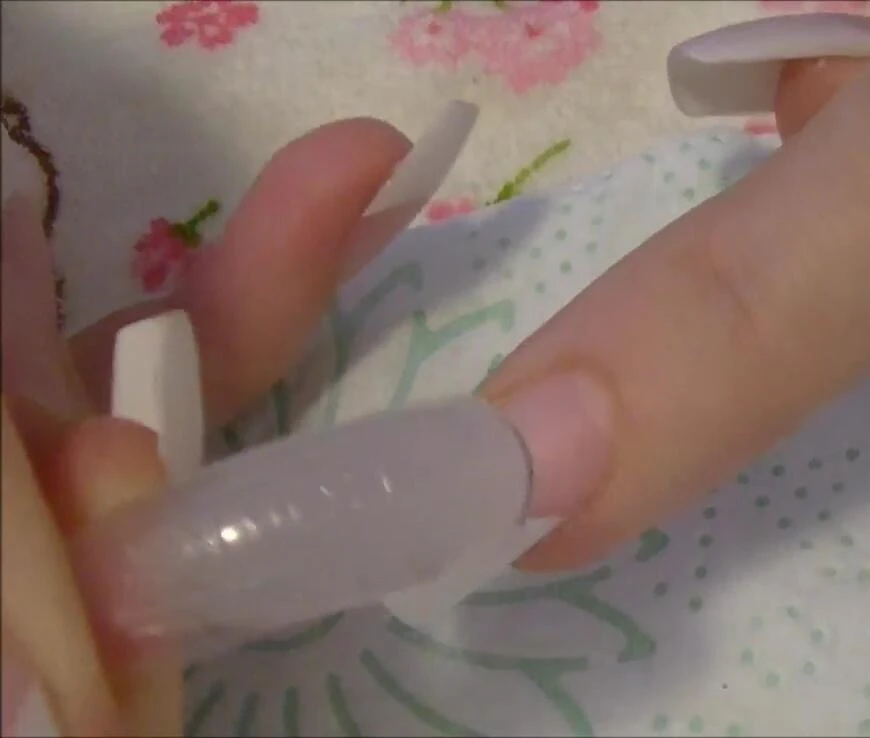
Apply a medium-sized bead of acrylic onto the nail form, using a technique that involves building up the acrylic in layers from sidewall to sidewall to prevent sinking to the center.
Secure the form to the nail, pressing firmly to ensure the acrylic encapsulates the nail tip and adheres to the natural nail
Finishing and Results
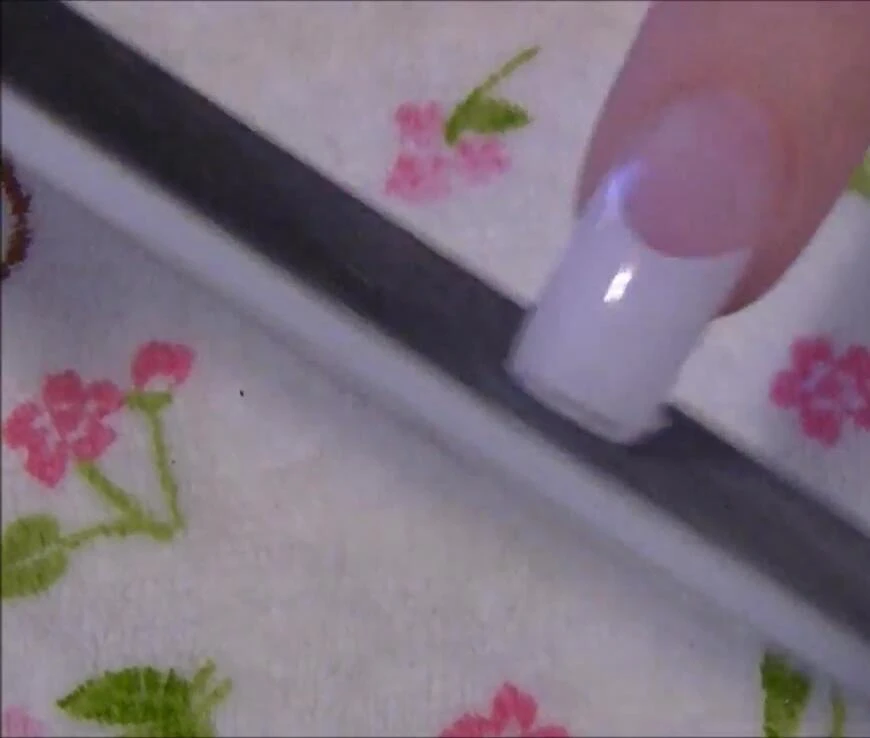
After the acrylic has set (approximately 4 minutes, or when the form feels warm), gently remove the form.
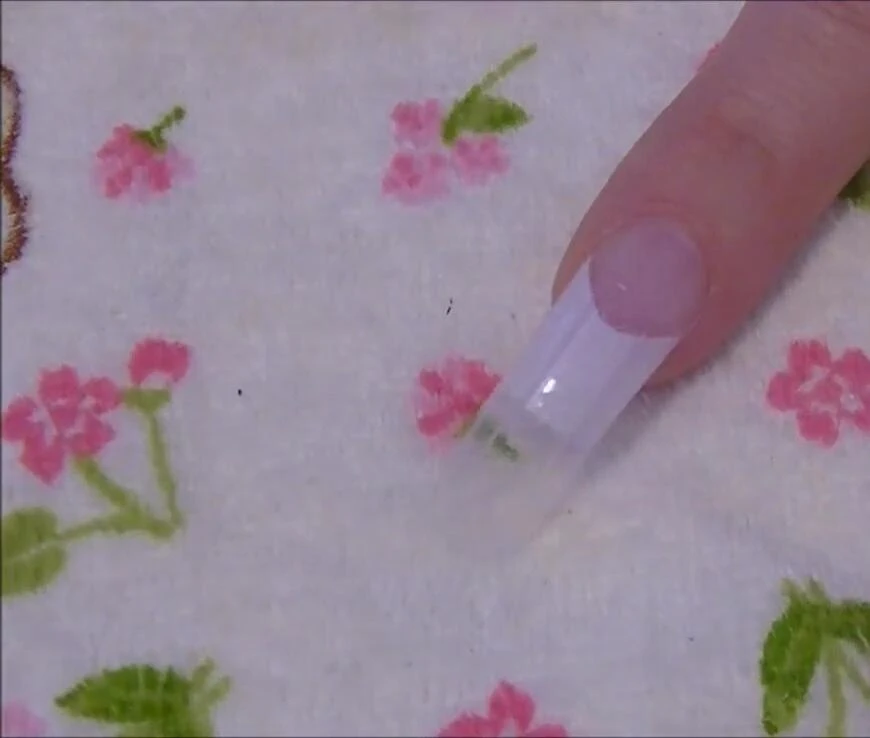
Use tweezers to gently squeeze the free edge to enhance the C-curve if needed.
File and shape the nails to achieve the desired look. A top coat is optional. The final product is a clean, professional-looking French manicure.
Conclusion
This tutorial demonstrates a comprehensive method for creating beautiful French tip nails using nail forms and acrylic. The use of nail forms simplifies the process and produces a professional finish.
Key products used include ASP nail tips from Sally Beauty Supply, Mirage Brush-on Nail Glue, OPI Bond Aid, Bondex, and Ys Nails forms. While other products may work, these are specifically highlighted for their performance in the video.
Overall, the technique is effective and yields excellent results. The Ys Nail forms are particularly praised for their ease of use, although it may require some practice.