Achieving flawless artificial nails starts with mastering nail form application. This comprehensive guide provides a step-by-step approach for beginners, taking you from initial form preparation to achieving a seamless, natural-looking result. We'll cover crucial techniques like properly securing the adhesive, optimizing form curvature, and correcting common placement issues. Whether you're using acrylics or other nail enhancement products, a properly applied nail form is the foundation for a long-lasting, beautiful manicure.This guide will walk you through each stage of the process, highlighting key considerations and troubleshooting common mistakes. Learn how to avoid gaps, achieve a smooth curve, and ensure even pressure for a perfect application every time. From pre-application adjustments to final placement, we'll equip you with the knowledge and techniques to confidently create a flawless base for your next nail enhancement project. Get ready to elevate your nail artistry with this essential guide to mastering nail form application.
Pros And Cons
- Adds extra support to the nail, preventing flimsiness.
- Allows for the creation of a nice curve.
- Can be difficult to apply correctly, potentially resulting in gaps or a pointed down form.
- If not applied properly, can create a weak spot in the nail due to product getting caught under the form.
Read more: Nail Form Review: EasyFlow App and Diverse Nail Shapes
Preparing the Nail Form
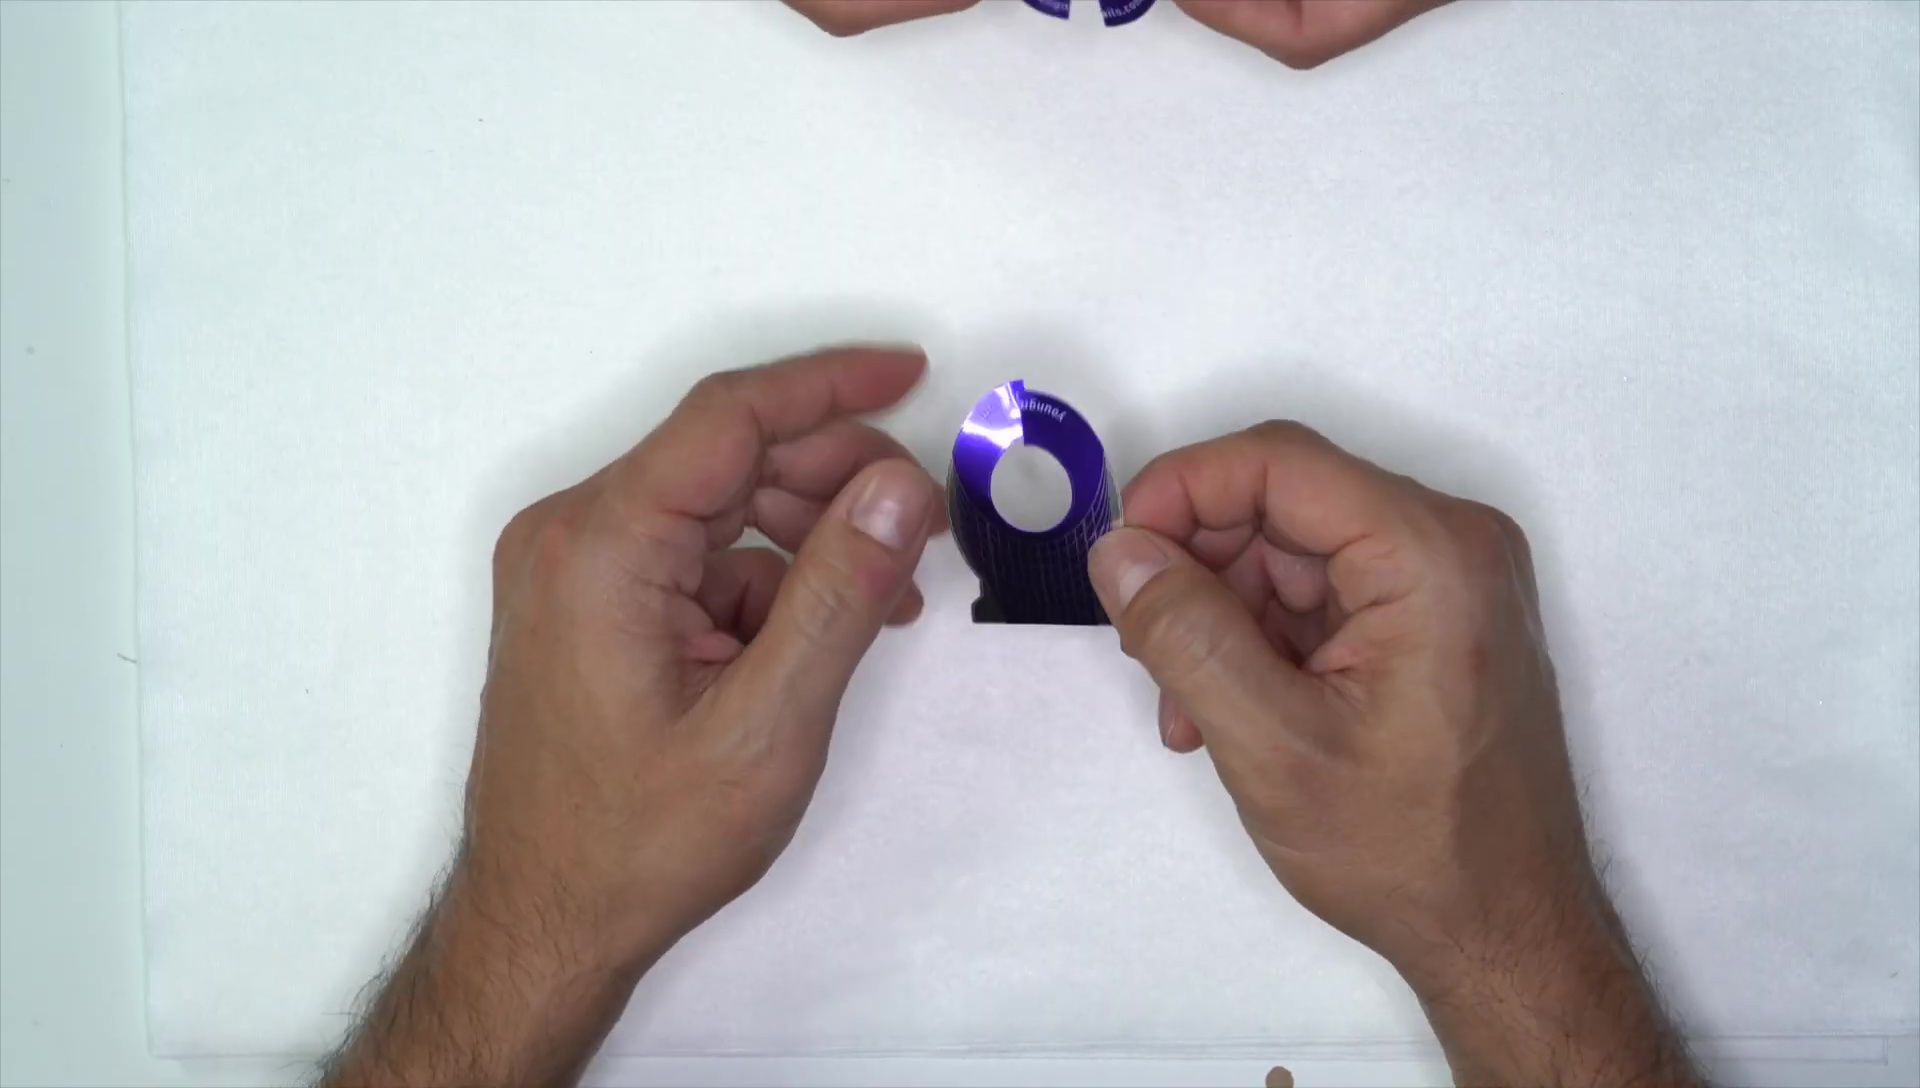
Begin by removing the small, circular adhesive from the nail form. Attach this circle to the designated area on the form, enhancing its support and preventing it from becoming flimsy. This addition provides extra stability and helps create a natural curve, making it easier to mold the artificial nail.

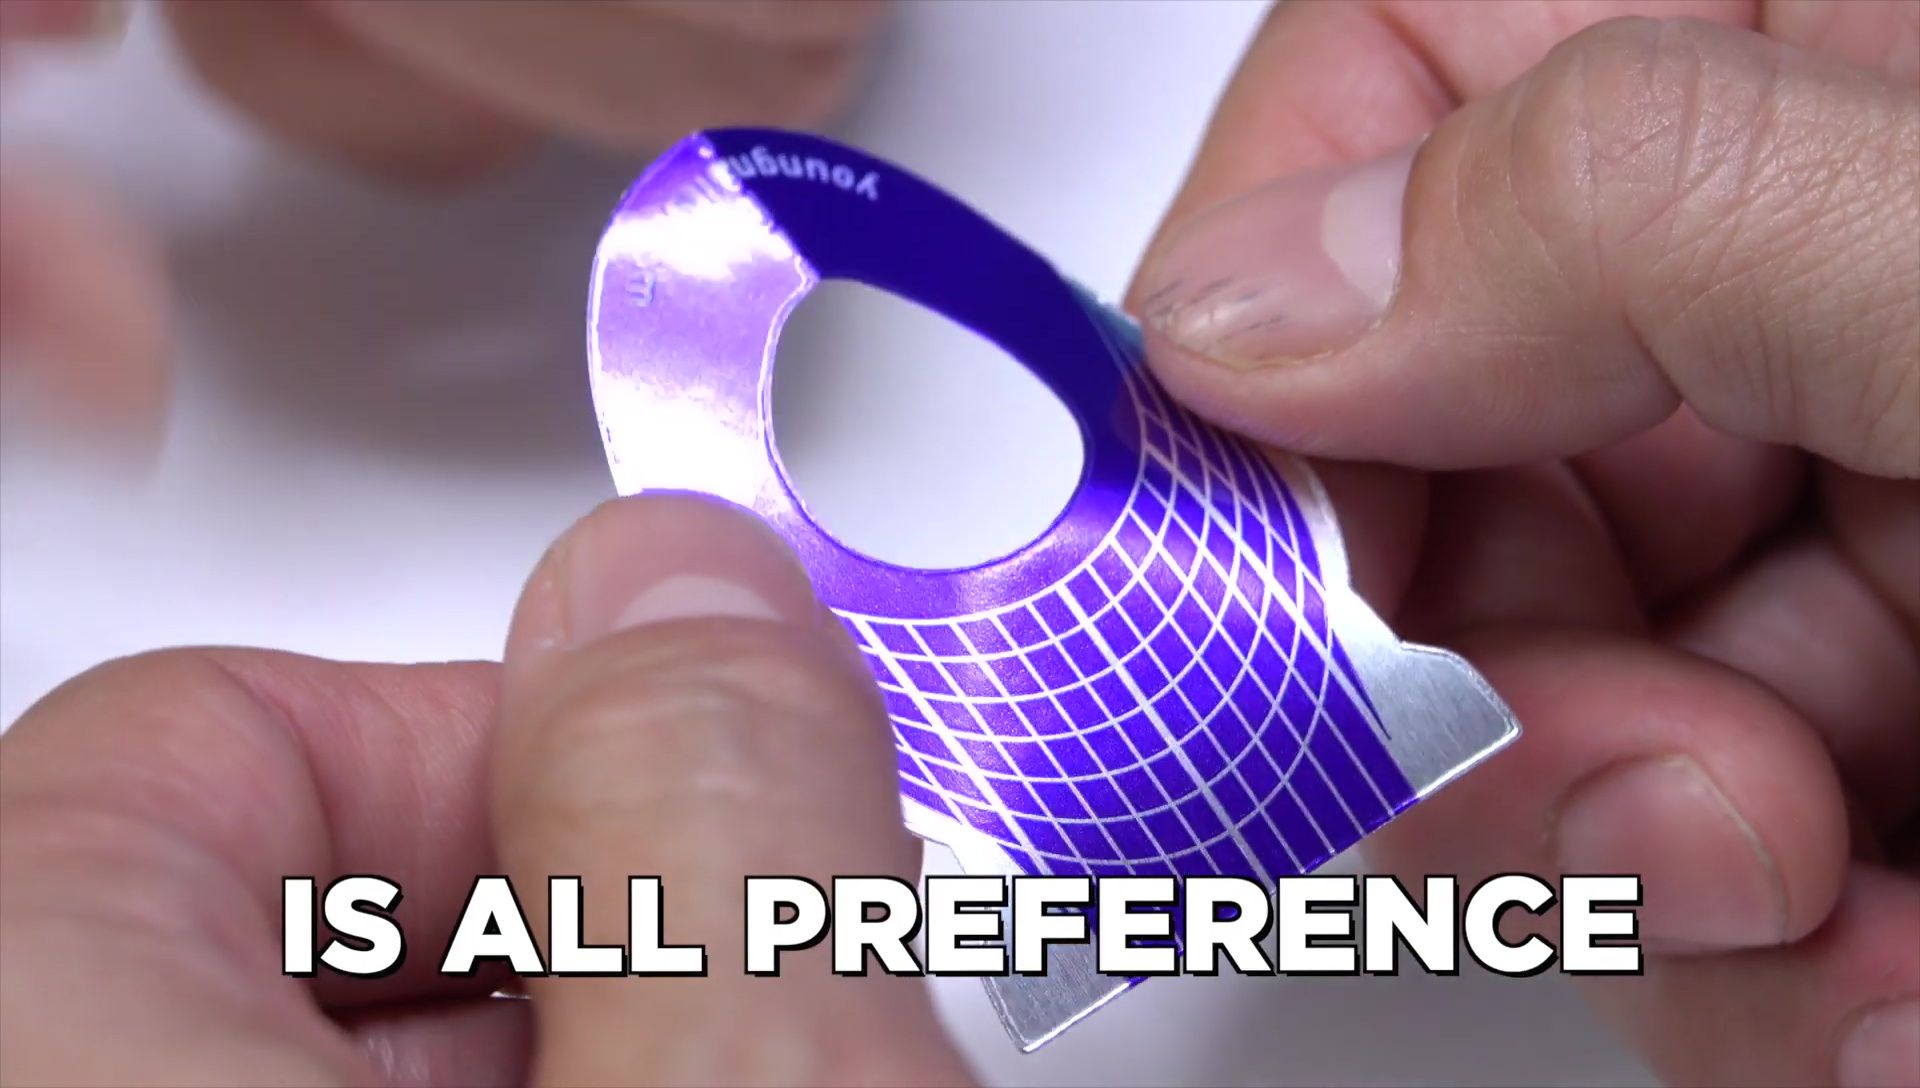
Next, decide whether to pre-break the perforation on the form or leave it intact. You may also choose to pre-pinch the form before application or skip this step entirely – it's all a matter of personal preference and what works best for your technique.
Applying the Nail Form
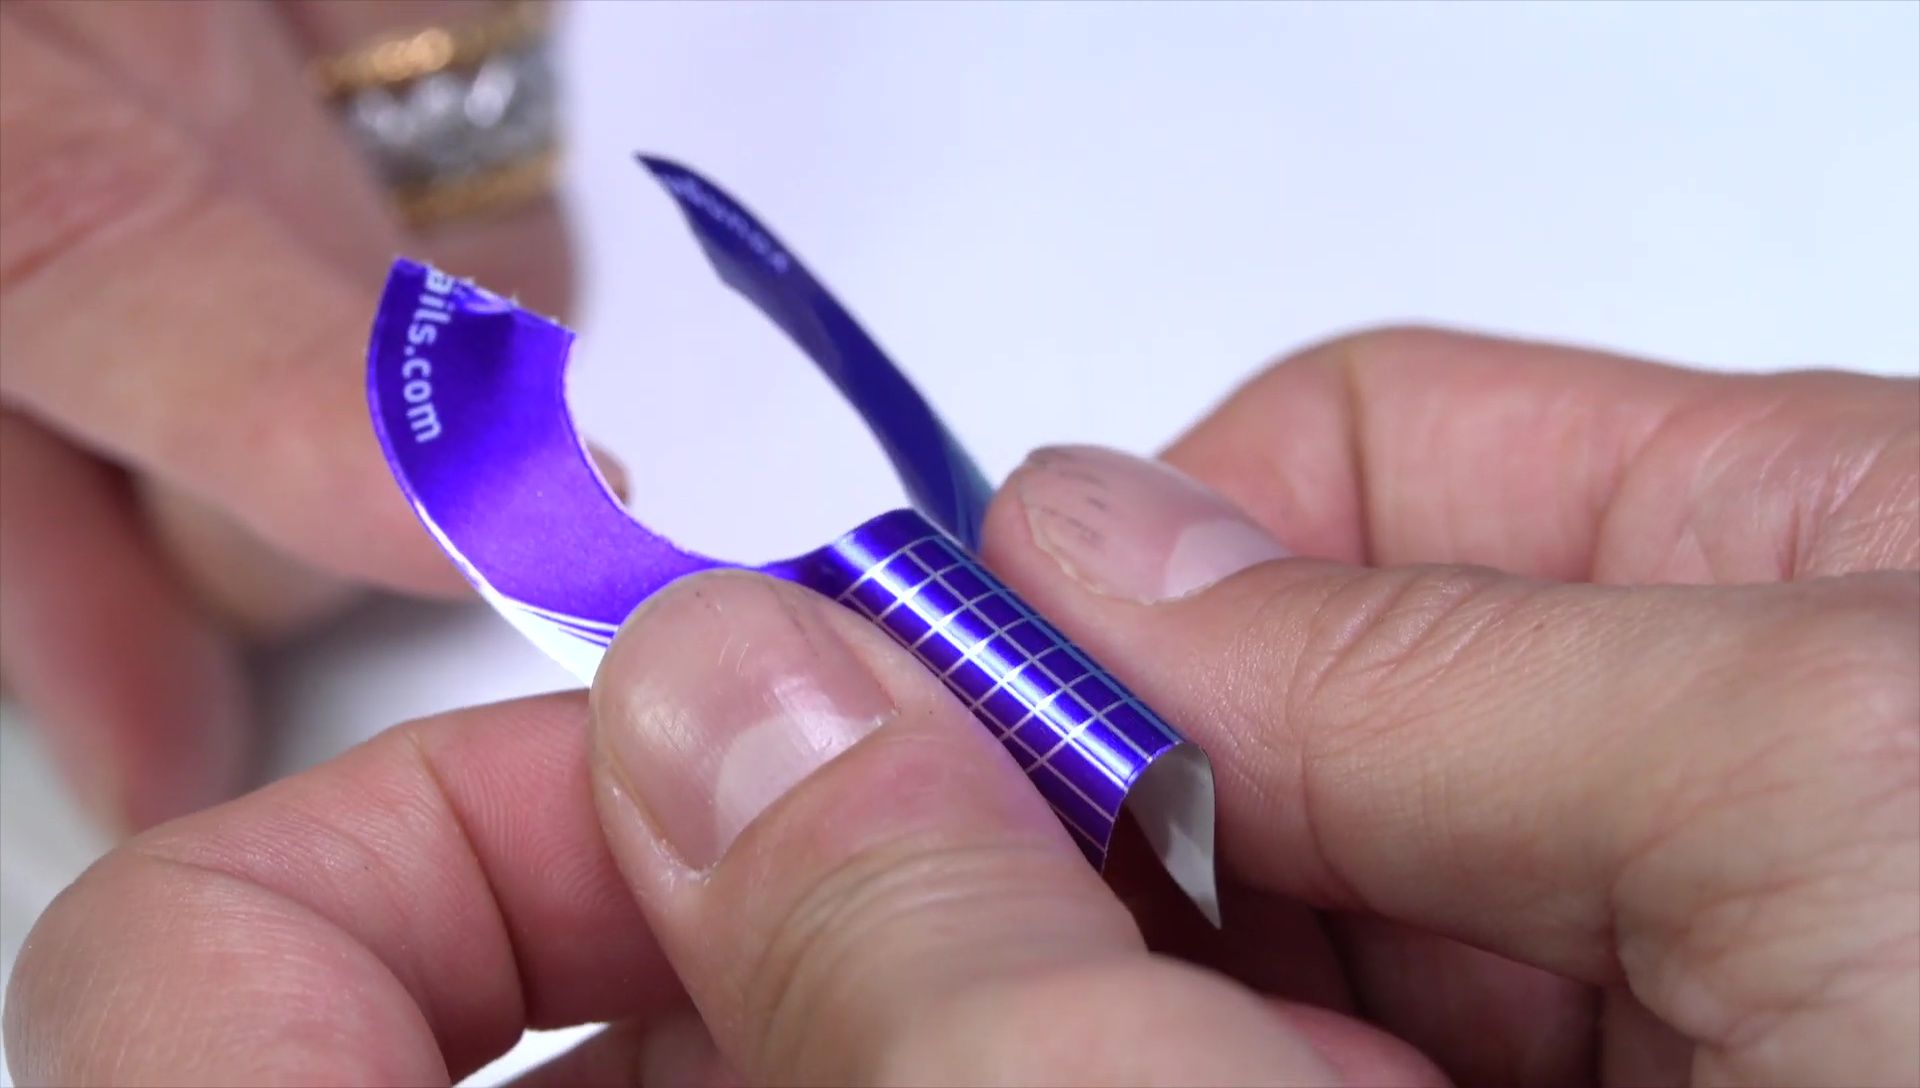
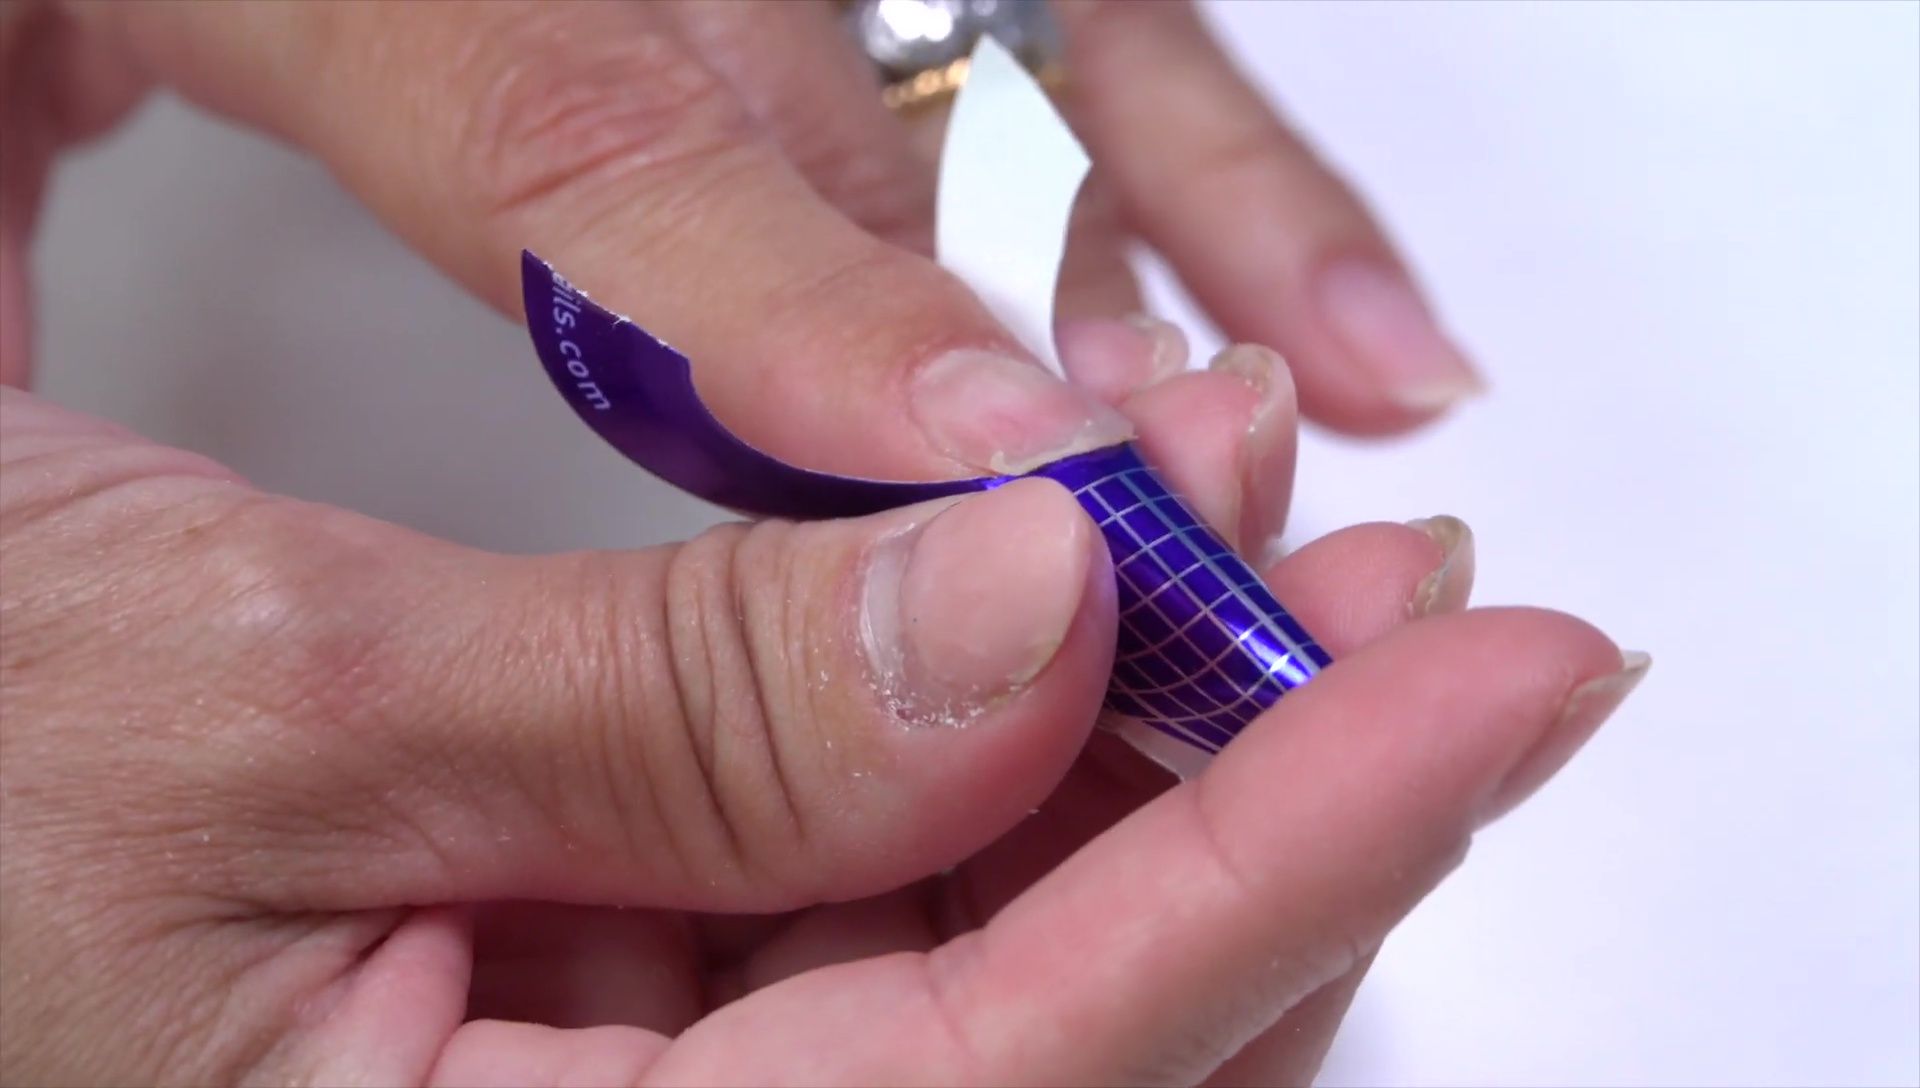
Using your fingers or thumbs, gently curve the form to match the shape of the natural nail. This creates a smooth transition and helps guide the form underneath the nail bed for a seamless fit. Apply pressure to the sides of the form, opening it slightly to create space for the nail tip.
Approach the nail at an angle rather than straight on. This prevents gaps between the form and the nail, ensuring a secure attachment and a more natural-looking result. Focus on placing the form under the free edge of your natural nail.
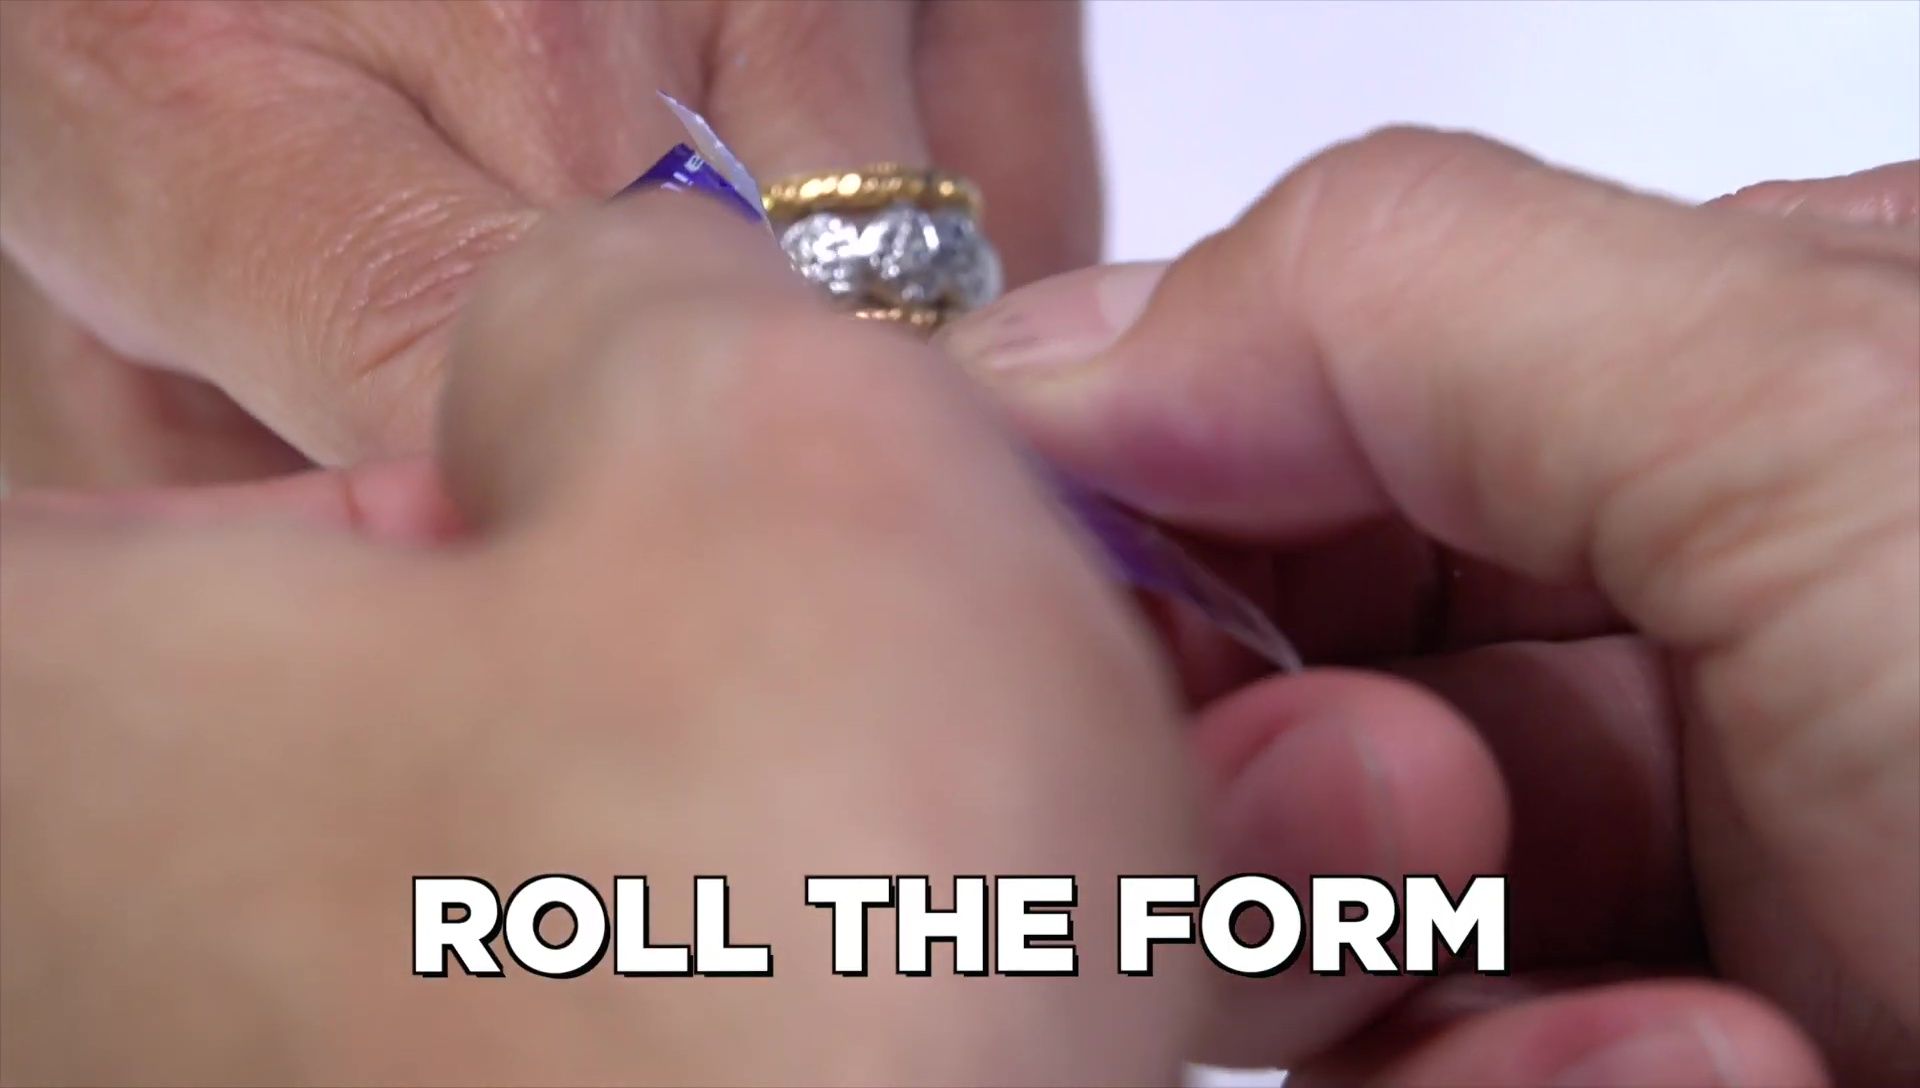
Once the form is partially in place, carefully roll it upward, securing the sides with your thumbs. This technique helps to create the curve of the artificial nail and ensures a tight fit. Slide your fingers down the form to achieve the desired curve and lock the form into position.
Addressing Common Issues
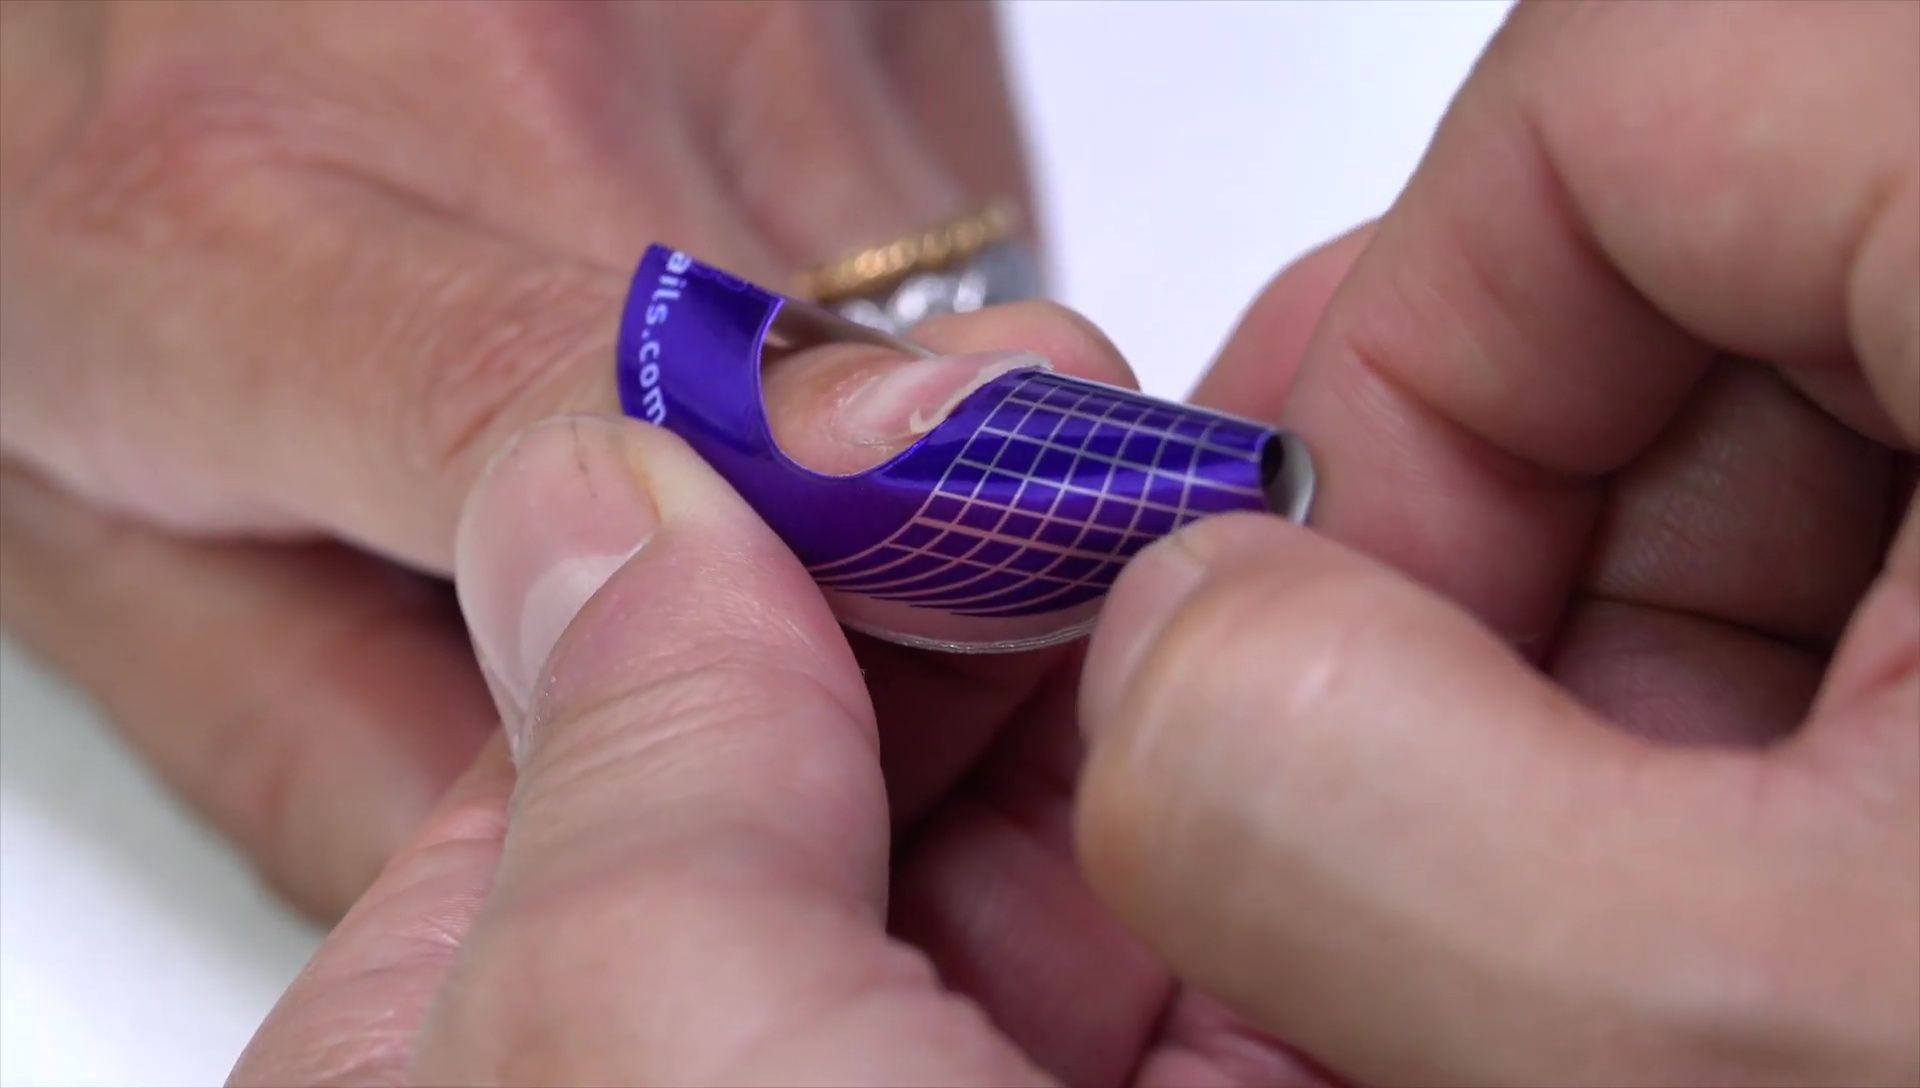
Common problems include gaps between the form and the nail, and the form being too pointed or angled downward. Gaps lead to weak spots and uneven application, while an angled form prevents the acrylic from flowing smoothly. To correct these issues, slightly loosen the form and readjust its position.
Roll the form to achieve a straighter alignment and ensure a snug fit along the natural nail. Aim for even pressure along the form's edges, preventing it from being too pointed or creating gaps. The goal is to ensure that the artificial nail product can flow smoothly over and around the form without getting caught.
Tips and Tricks for Success
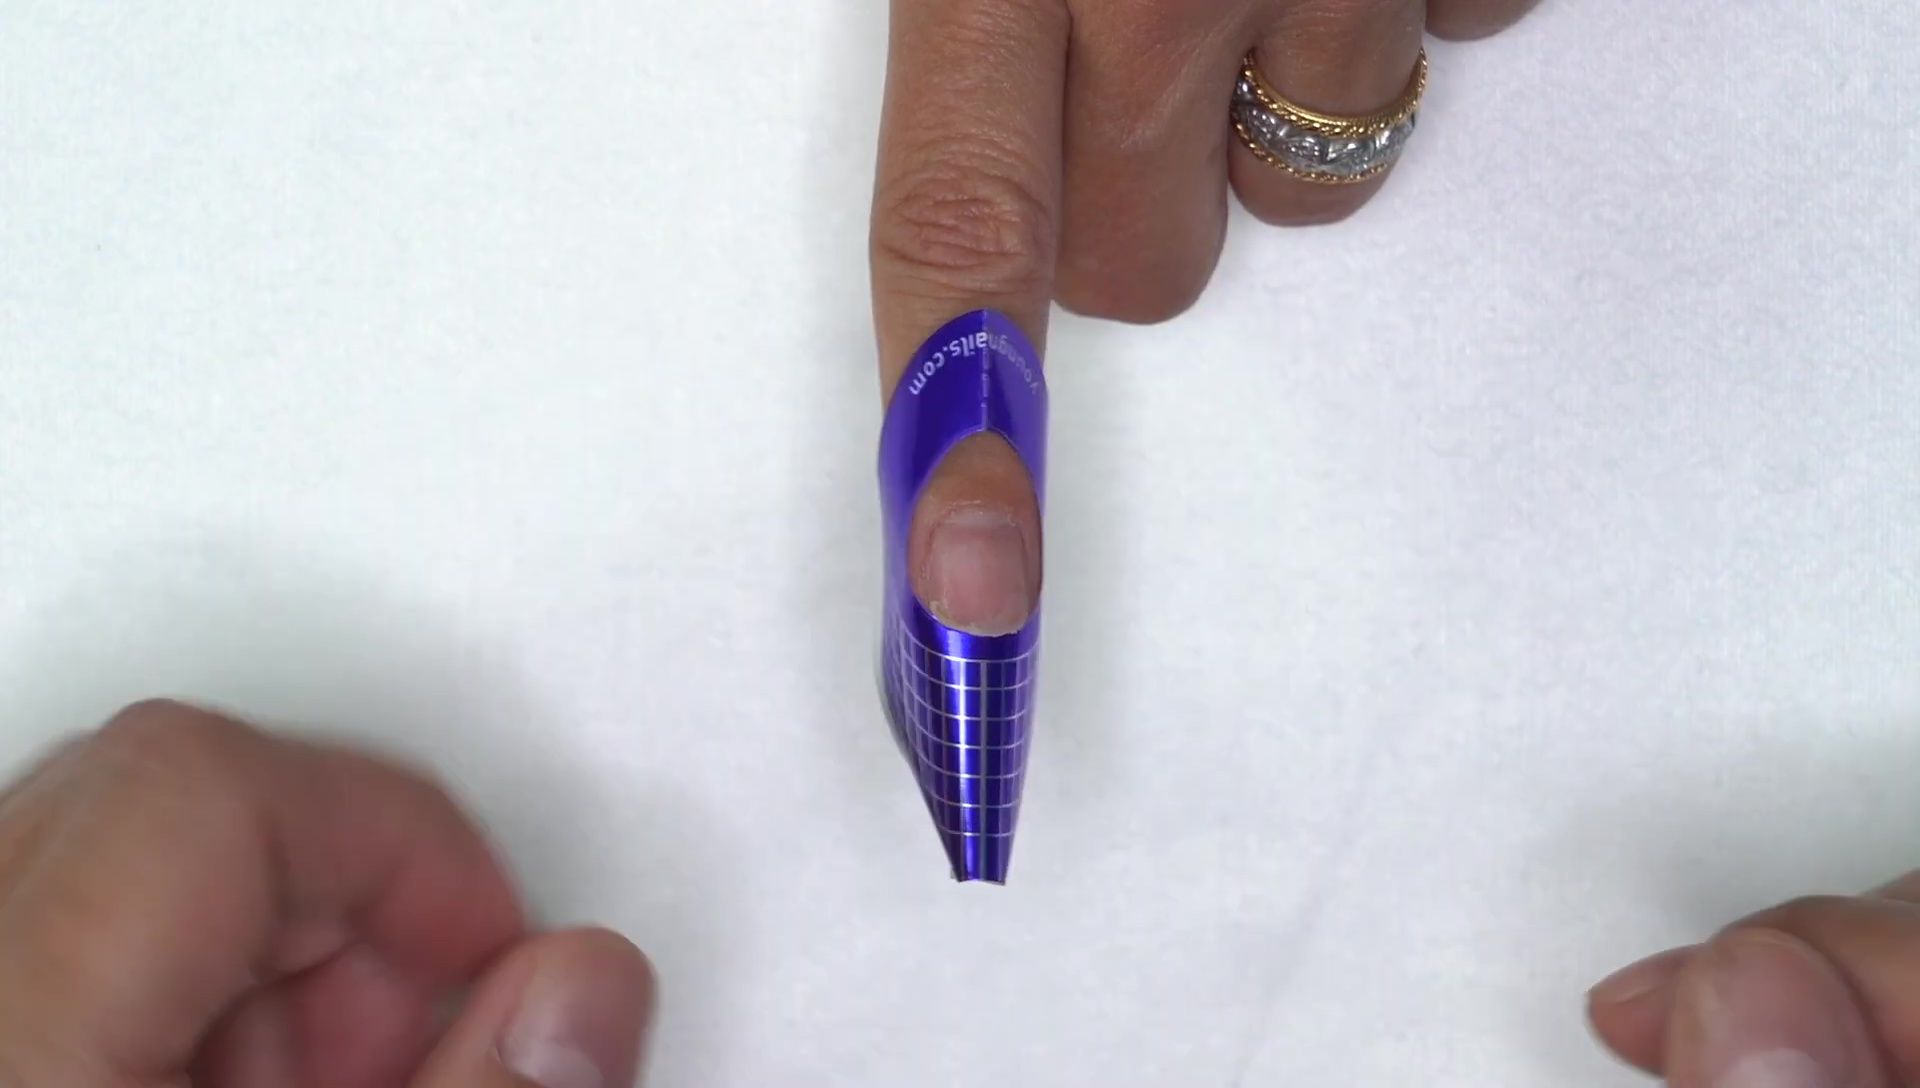
To determine the correct placement of the form, particularly with different nail lengths, try this tip: Turn the nail form sideways. Observe how the light reflects on the curve; this shows the direction of the curve and helps determine if the form is pointed down or up. Adjust as needed.

Experiment with different techniques, such as breaking the perforation before application or pre-pinching the form, to discover what works best for you and your nail type. Keep the form snug against the nail to prevent gaps and ensure that the product flows smoothly across the entire nail surface.
Conclusion: Achieving a Perfect Application
Mastering nail form application requires practice and attention to detail. By following these steps and paying attention to the form’s alignment and fit, you can achieve a natural-looking, flawless application. Remember to avoid gaps, ensure a smooth curve, and adjust the form as needed to create the best possible canvas for your acrylic application.
Experimentation is key. Try different techniques, such as pre-breaking the perforation or pre-pinching, to discover your preferred method. Ultimately, the goal is to create a secure, even base that allows for a seamless application of acrylic or other nail enhancement products.
