Achieve salon-quality nail extensions from the comfort of your home with this comprehensive guide to DIY polygel nail extensions using paper forms. This step-by-step tutorial will walk you through the entire process, from preparing your natural nails to achieving a flawless, long-lasting finish. Learn how to seamlessly apply polygel using paper forms, ensuring a smooth, even application every time. We'll cover essential techniques for shaping, filing, and curing, helping you avoid common mistakes and achieve professional results. Whether you're a beginner or have some experience with nail enhancements, this guide provides clear instructions and helpful tips to elevate your at-home manicure.This guide offers a detailed approach to creating stunning polygel extensions, focusing on proper preparation, application techniques, and finishing touches. You'll discover the importance of choosing the right base gel for optimal adhesion and learn how to efficiently use paper forms to create perfectly shaped extensions. We also highlight the significance of proper curing and filing to ensure durability and a natural-looking finish. By following these simple steps, you can enjoy beautiful, resilient polygel nails that last for weeks, all while saving money and gaining a valuable new skill.
Read more: Nail Form Review: EasyFlow App and Diverse Nail Shapes
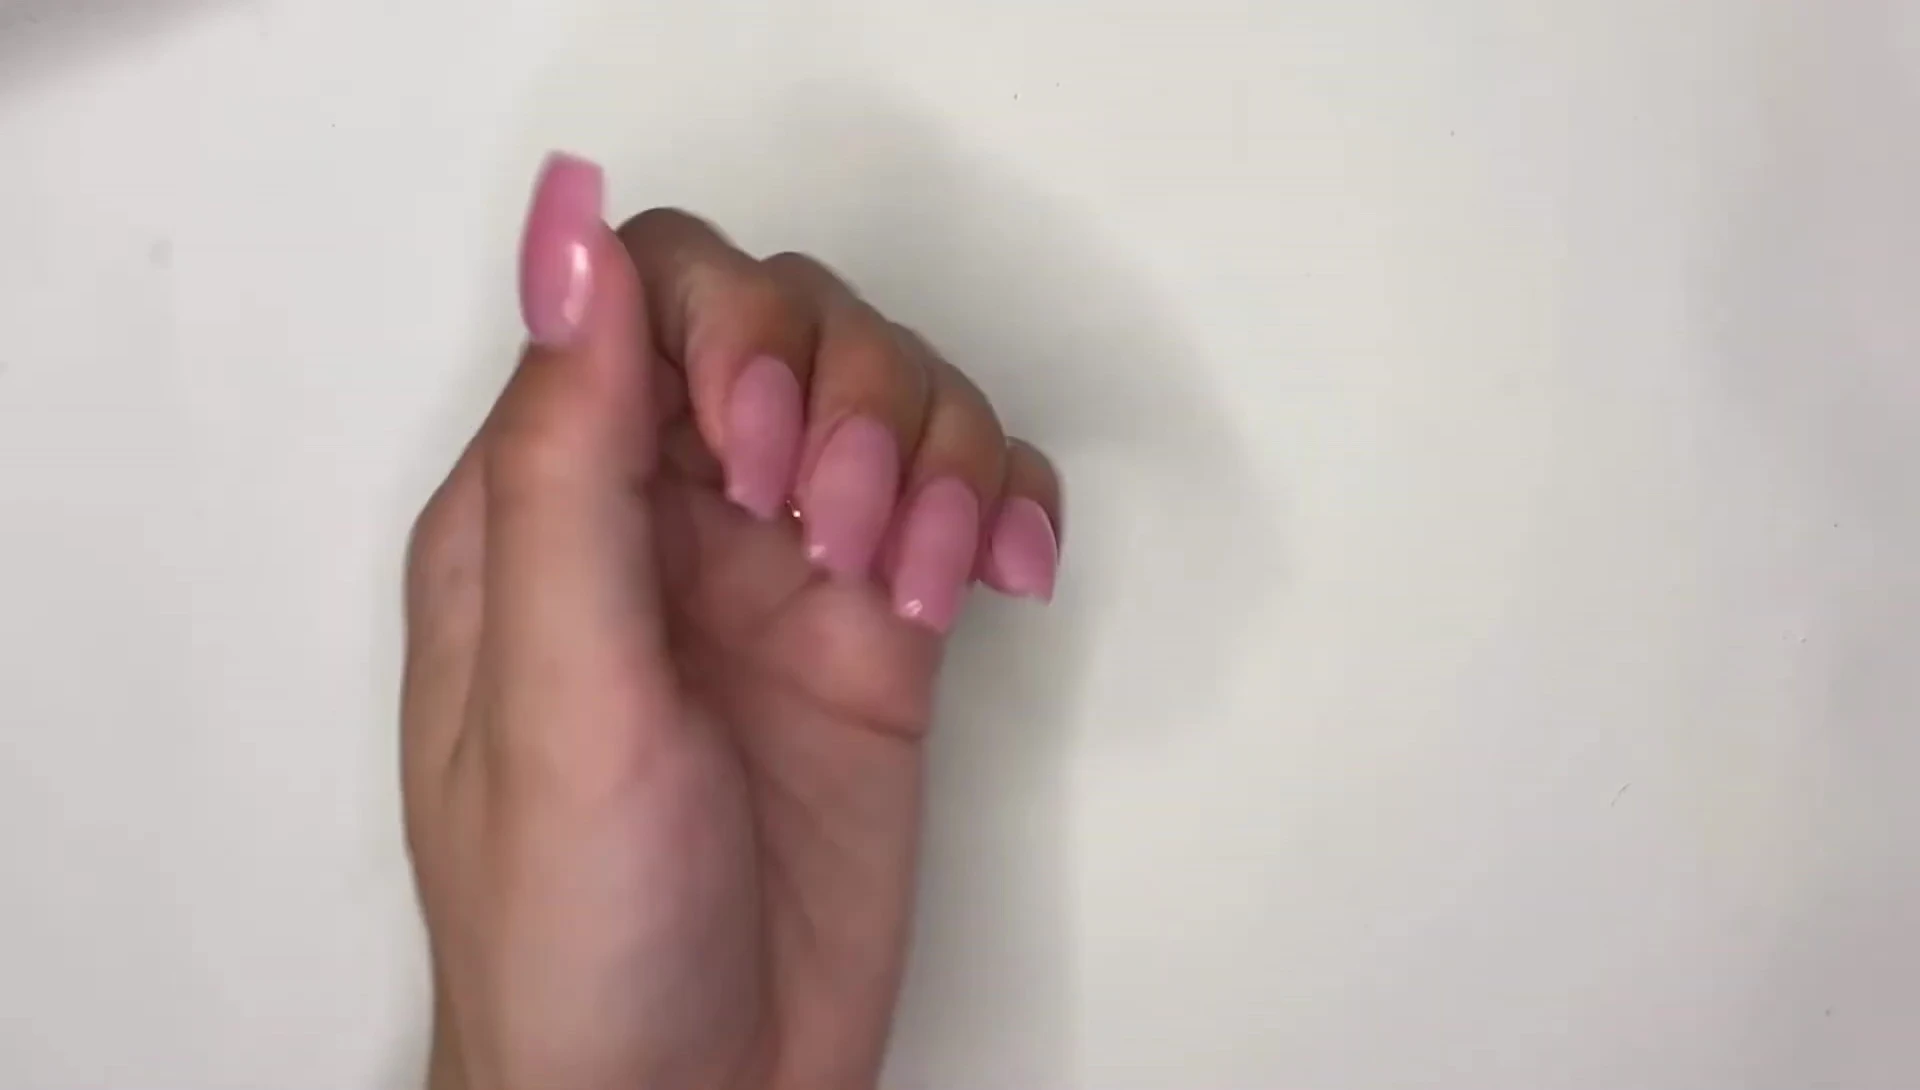
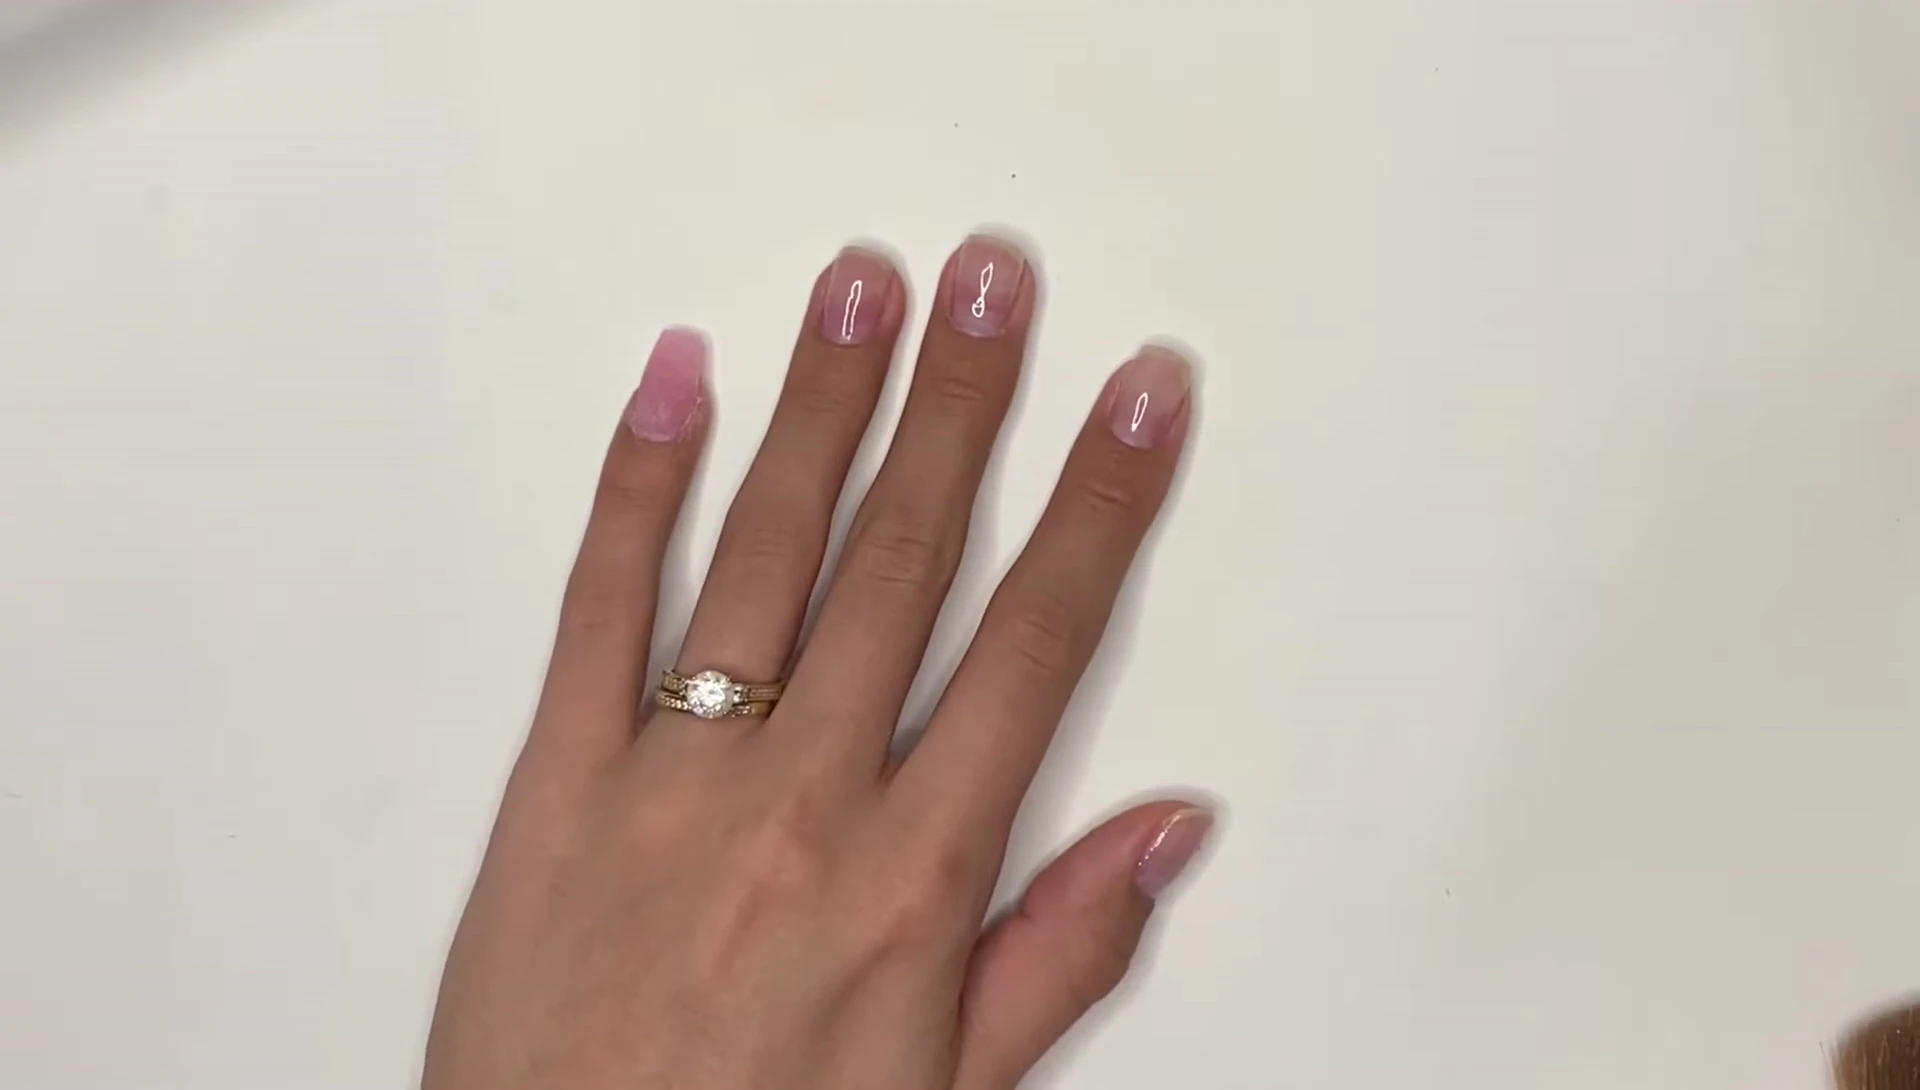
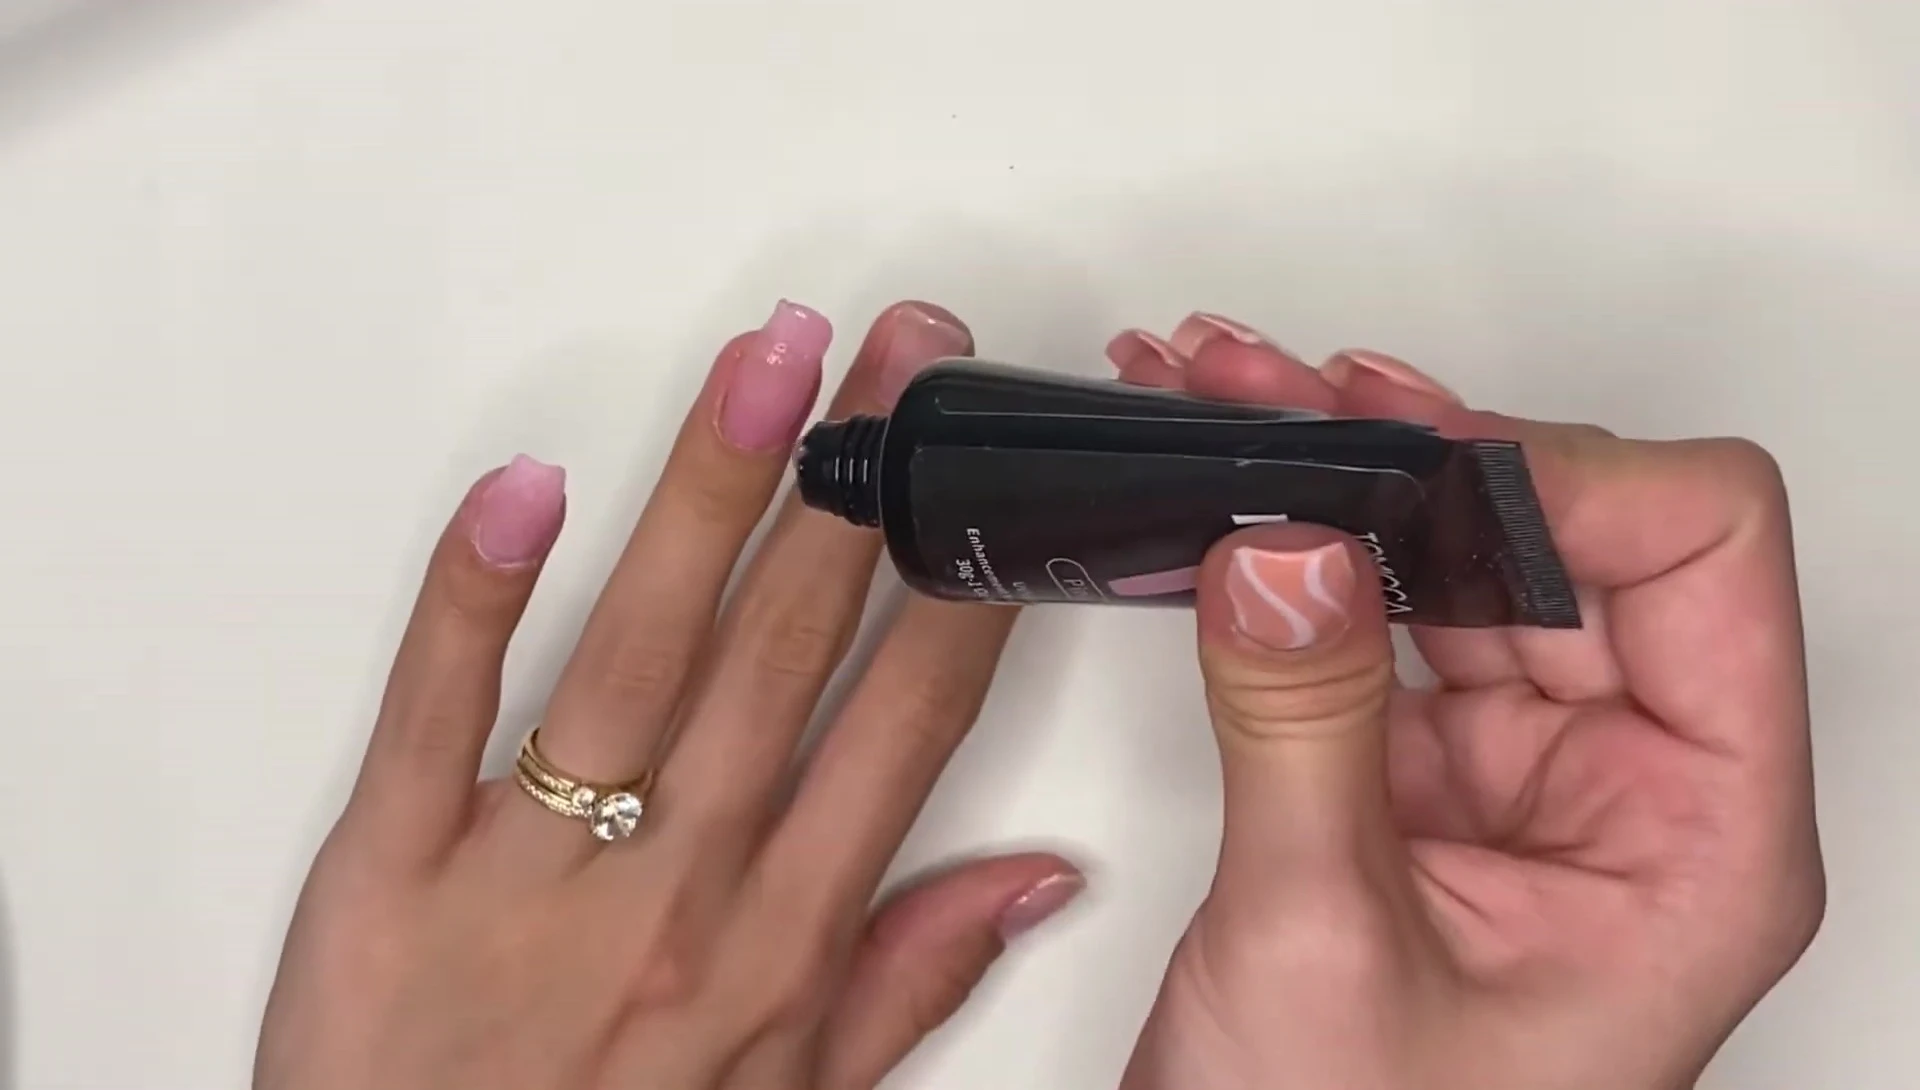
Preparing Your Nails and Applying the Base Gel
Before starting your polygel nail extension process, meticulously prepare your natural nails. This involves cleaning and shaping them to your desired length and form. A crucial next step is applying a thin layer of base gel. This ensures optimal adhesion and prevents lifting. The base gel should be fully cured under a UV/LED lamp before proceeding.

Choosing the right base gel is important for the longevity of your manicure. The base gel sets the stage for the rest of your process and will affect how well the polygel adheres. This is also a good time to consider nail health; healthy nails will make for a better overall manicure.
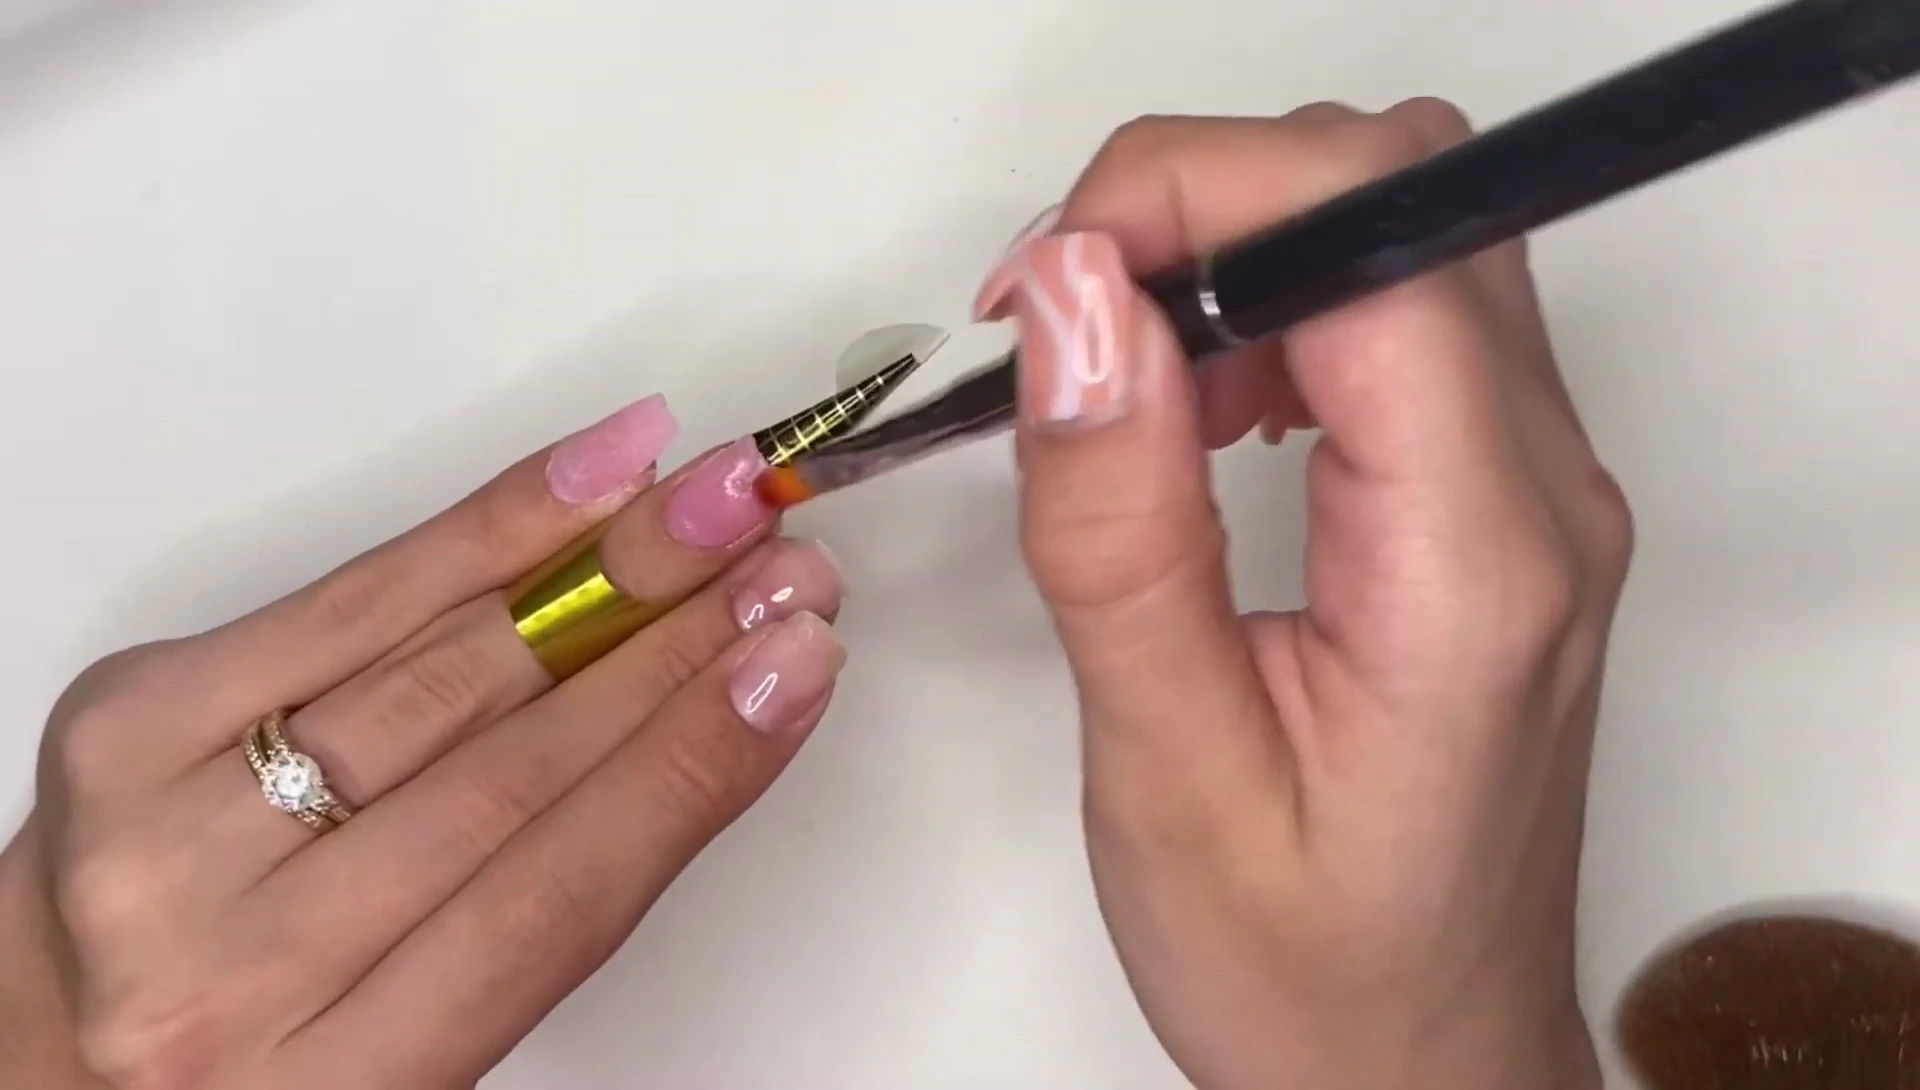
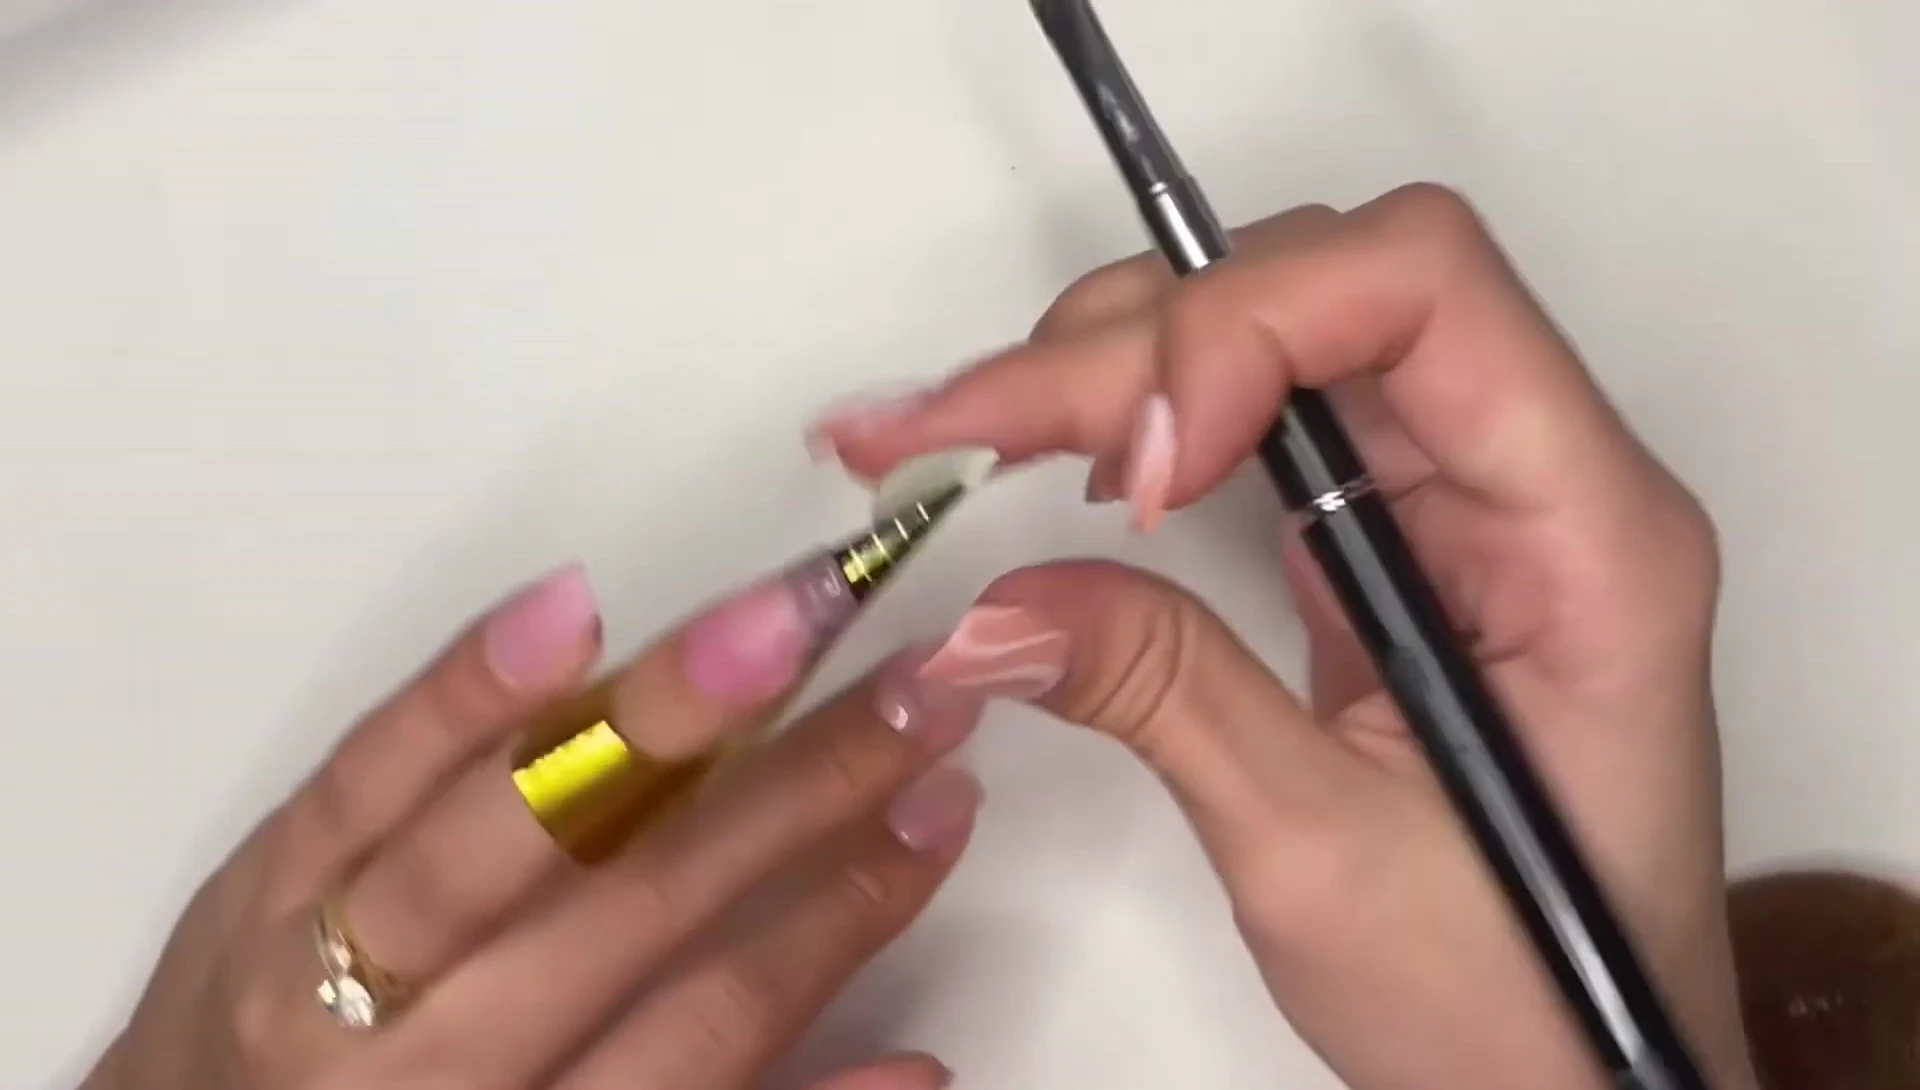
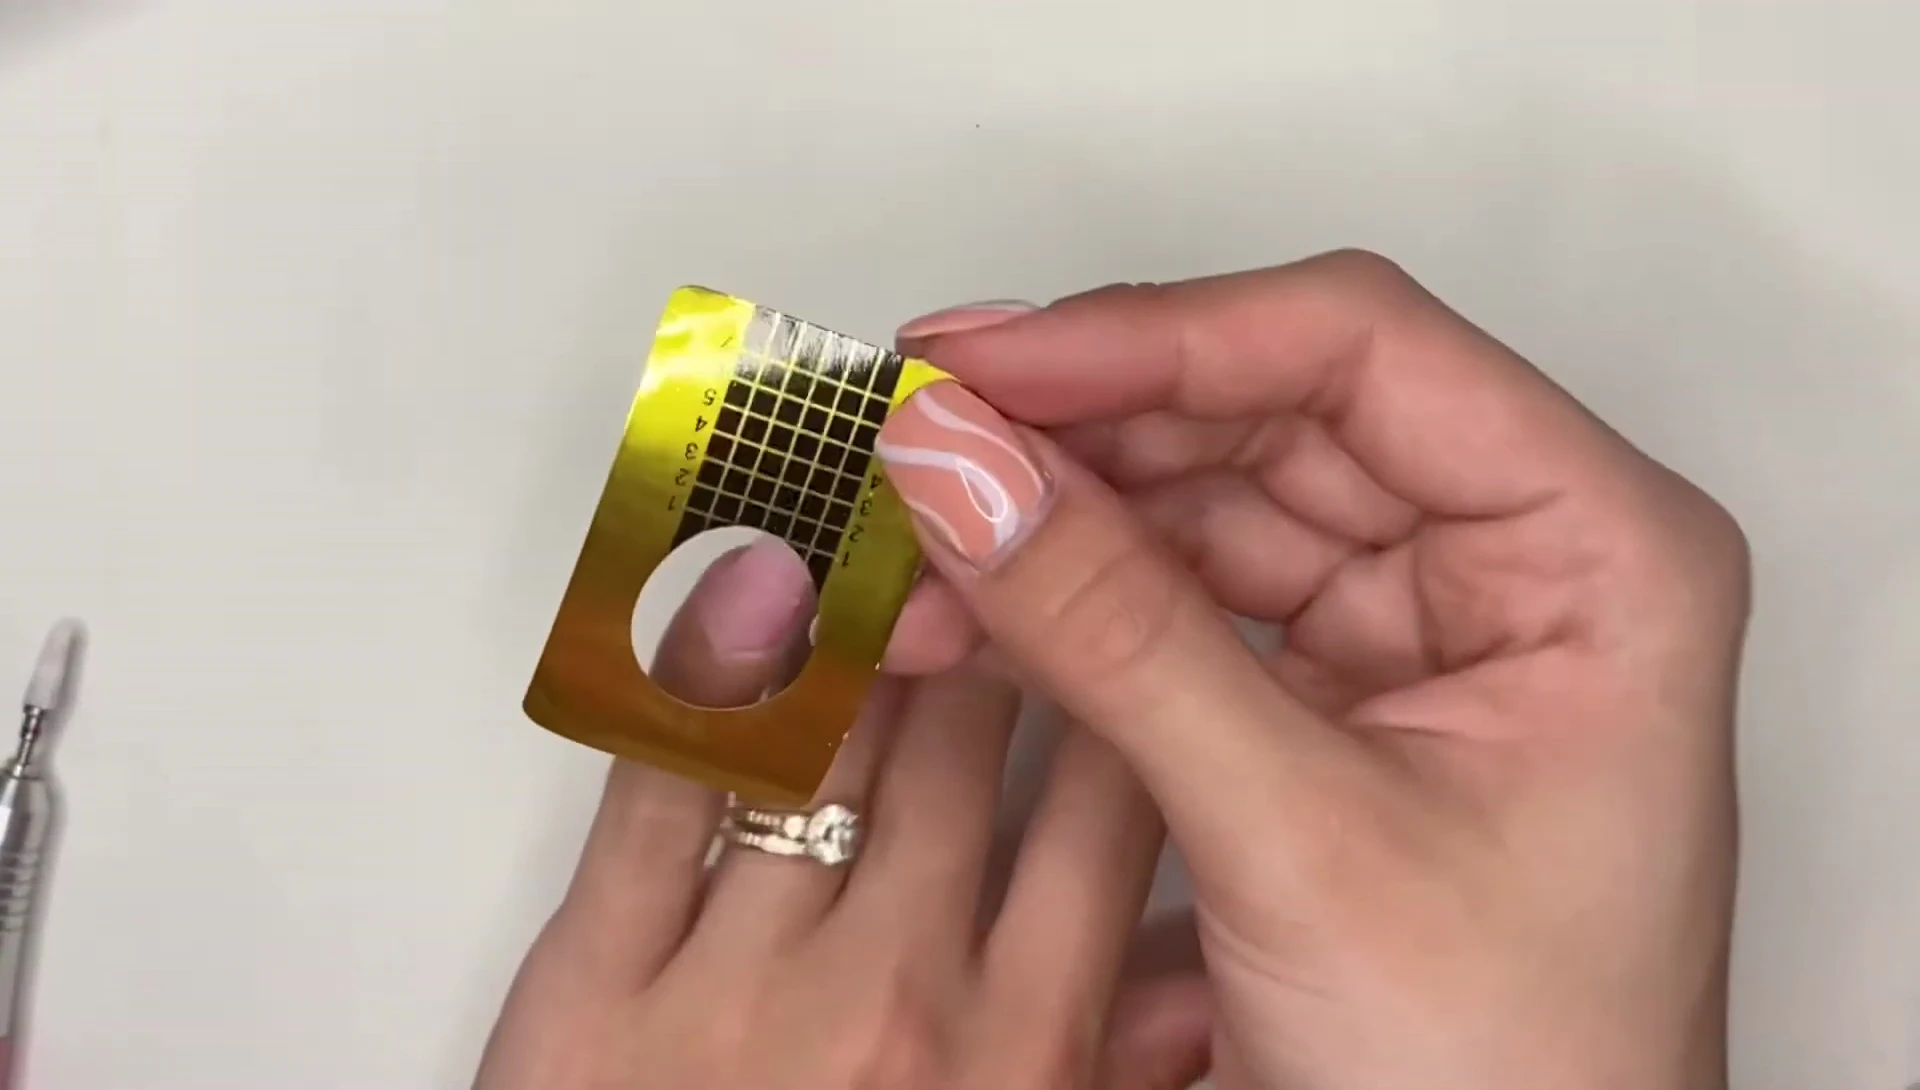
Applying the Polygel with Paper Nail Forms
Position the paper nail form securely under the free edge of your natural nail. Securely squeeze the sides together, ensuring a tight fit to create a seamless extension. This is crucial for preventing air bubbles and achieving a smooth finish. This can be tricky with some forms; some stick better than others.
Apply a moderate amount of polygel using a brush, starting at the cuticle area. Smooth it out carefully, extending it evenly across the nail and onto the form. Shape the nail as you go to minimize filing later. Ensure a smooth surface by working the polygel carefully. Remember that less filing later is always appreciated!
Curing and Removing the Forms
Once the polygel is applied and shaped, cure it completely under a UV/LED lamp. After curing, carefully remove the paper nail forms. This might require some gentle maneuvering; be patient and avoid applying too much force to prevent damage to your extension. A fully cured polygel layer should peel away from the paper easily.
Now that the initial layer is set, apply a second layer of polygel directly onto the nail, focusing on building structure and strength. Again, cure under the lamp before removing any sticky residue. This step adds durability and prevents breakage.
Filing and Shaping
Use an e-file or hand file to carefully shape and smooth the polygel extensions. Begin by focusing on the cuticle and sidewall areas, gradually smoothing the rest of the nail. Pay attention to the underside of the nail to ensure a smooth and even finish. Consistent filing creates a natural and refined look.
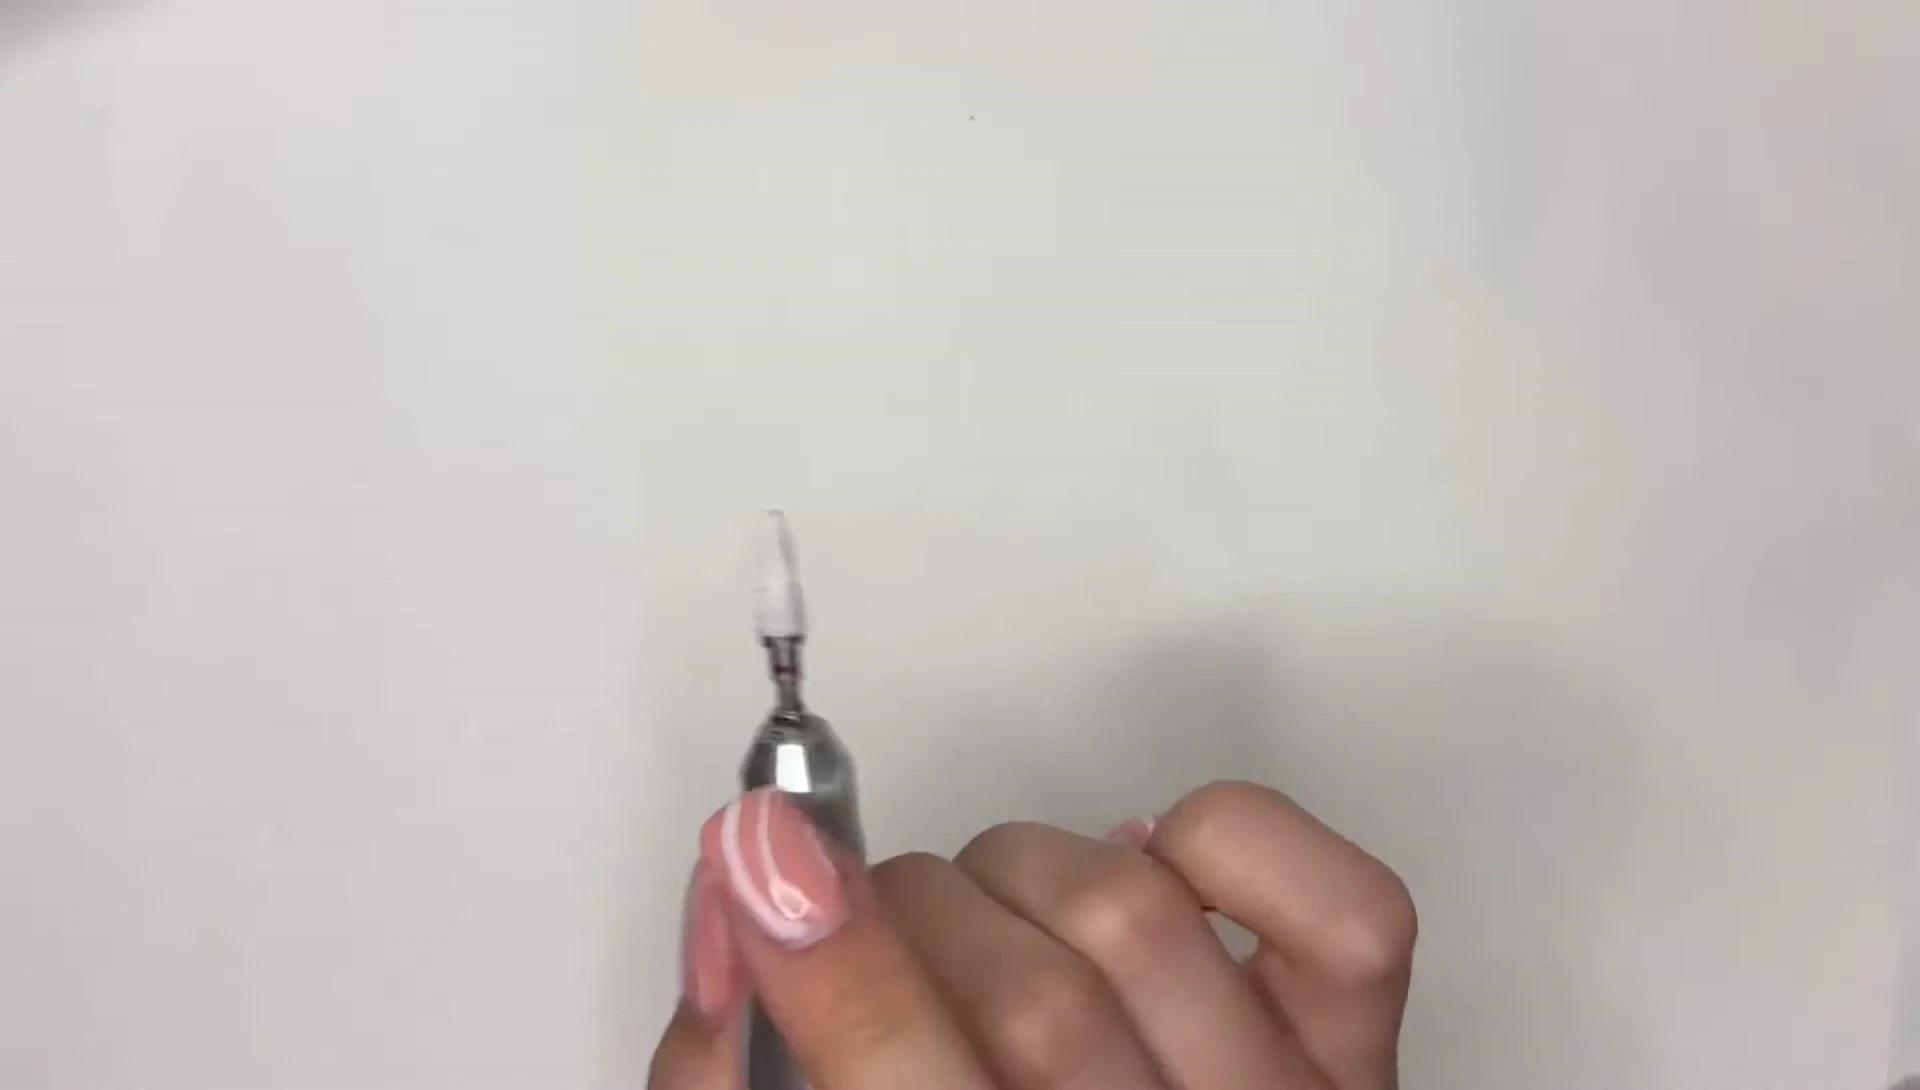
To achieve even nail length, use a paper nail form as a guide to measure and file down the longer nails. This helps maintain uniformity and prevent unevenness across your fingertips. Take your time filing to avoid any damage to the polygel extensions.
Top Coat and Final Touches
Apply a high-quality no-wipe gel top coat for a glossy and long-lasting finish. A no-wipe top coat eliminates the need for sticky residue removal. Remember to remove any excess dust from filing before applying the top coat. This step ensures perfect adhesion and an impeccable shine.
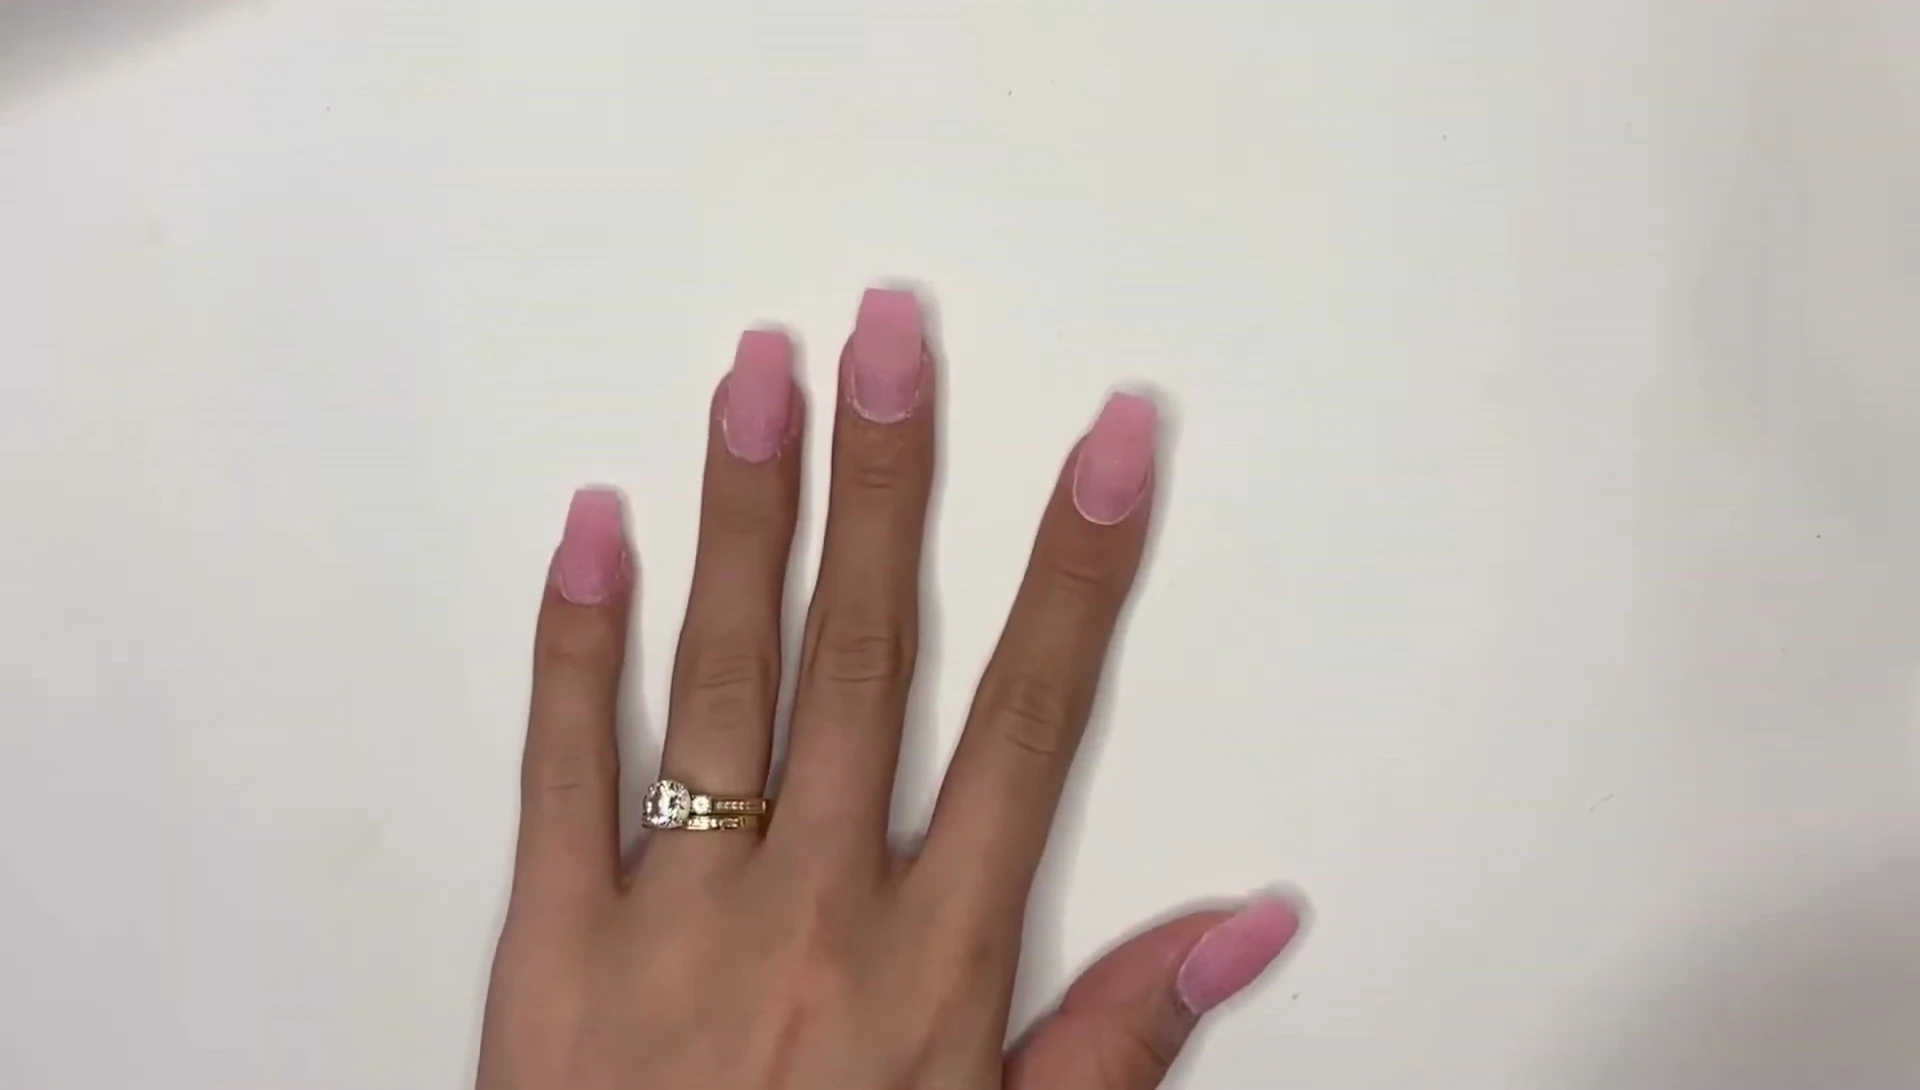
After curing the top coat, apply cuticle oil to moisturize and nourish your cuticles. This leaves your manicure looking healthy and well-maintained. Congratulations on completing your polygel nail extensions!