Achieve salon-quality acrylic nails from the comfort of your home with the Sassy Saints Nail Kit. This comprehensive kit provides everything you need for a luxurious DIY manicure, exceeding expectations with its high-end packaging and stunning color selection. Forget expensive salon visits; this kit empowers you to create beautiful, long-lasting acrylics with ease. From sophisticated shades to essential tools, Sassy Saints has meticulously curated a collection designed for both beginners and experienced nail enthusiasts.The kit's intuitive design and high-quality products make creating intricate designs a breeze. Detailed instructions and included tools ensure a seamless application, resulting in a flawless finish. Experience the joy of personalized nail art without the hefty price tag. Discover the secret to effortlessly achieving professional results with the Sassy Saints Nail Kit – your key to stunning, salon-worthy nails at home.
Pros And Cons
- Luxury appearance
- Includes all necessary items (base coat, top coat, activator, brush cleaner)
- Offers a choice of colors
- Includes extra brush lid and brush for powder
- Contains cuticle oil, primer, file, and cuticle pusher
- High-quality materials
- Small powder pots may make application difficult for larger nails (like thumbs)
Read more: Let's Talk About Legs Part 2: A Deep Dive into the Margaret Dabbs Leg Range
Unboxing the Sassy Saints Kit
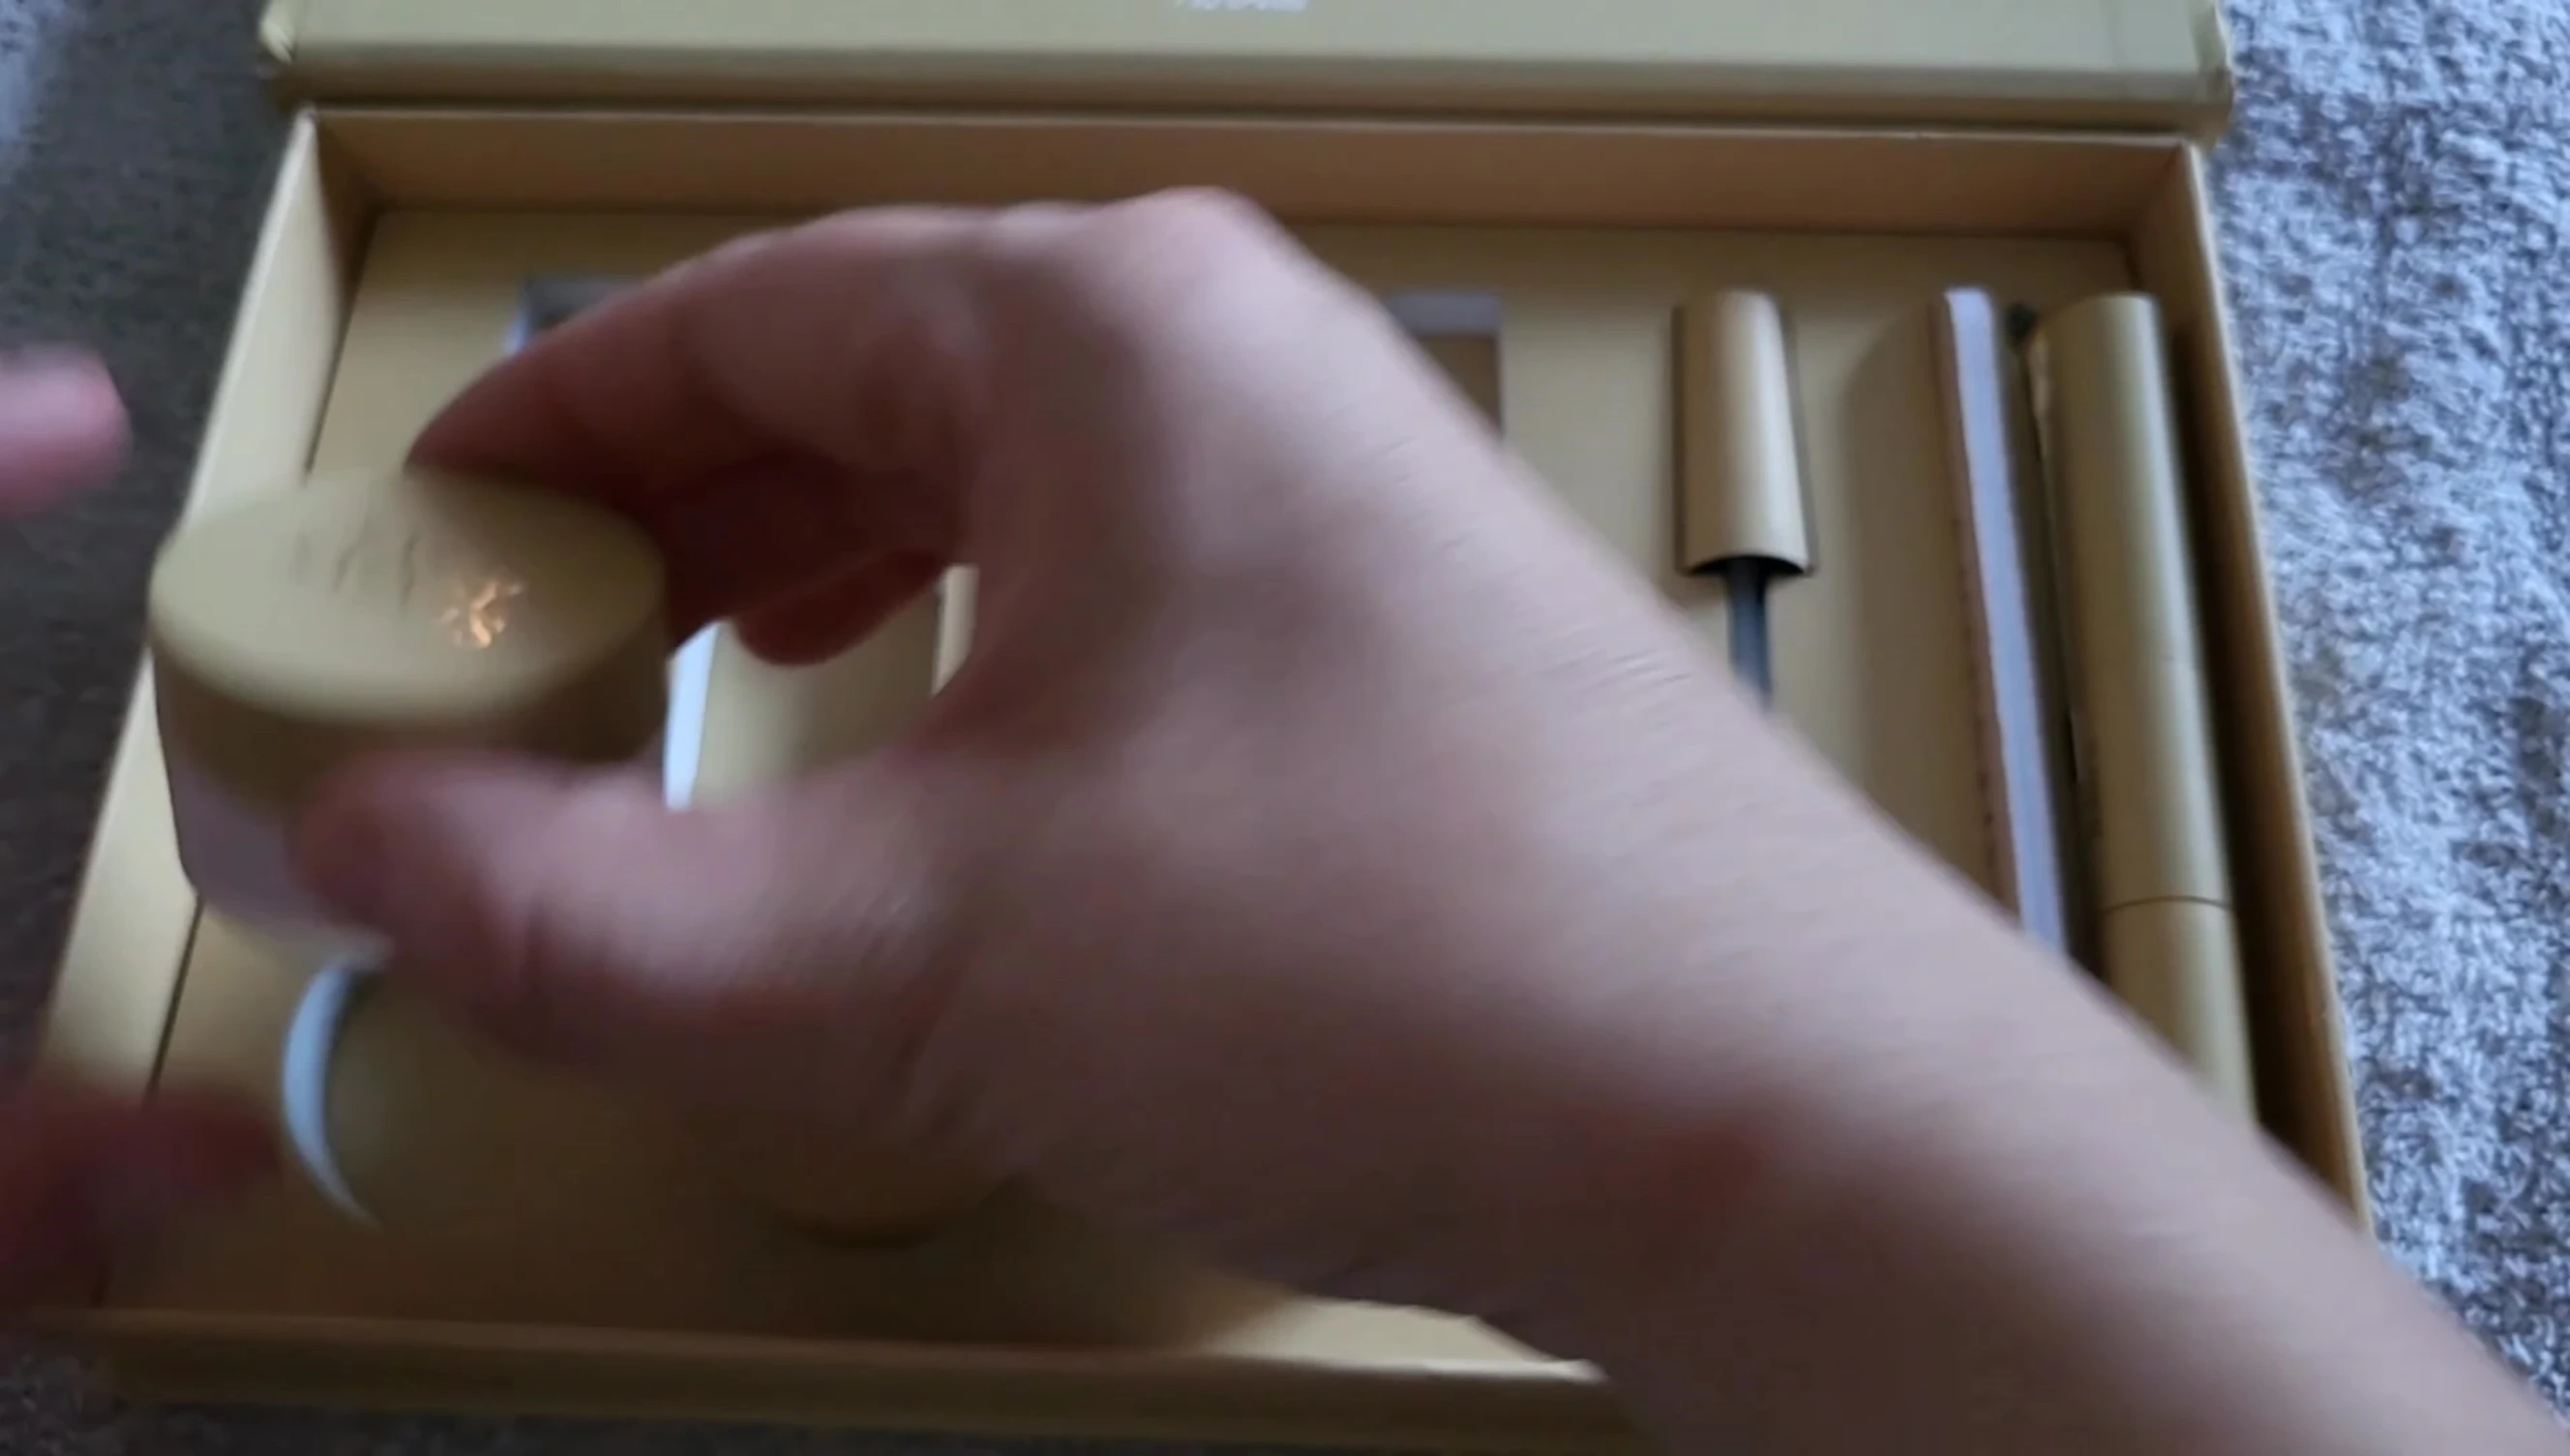
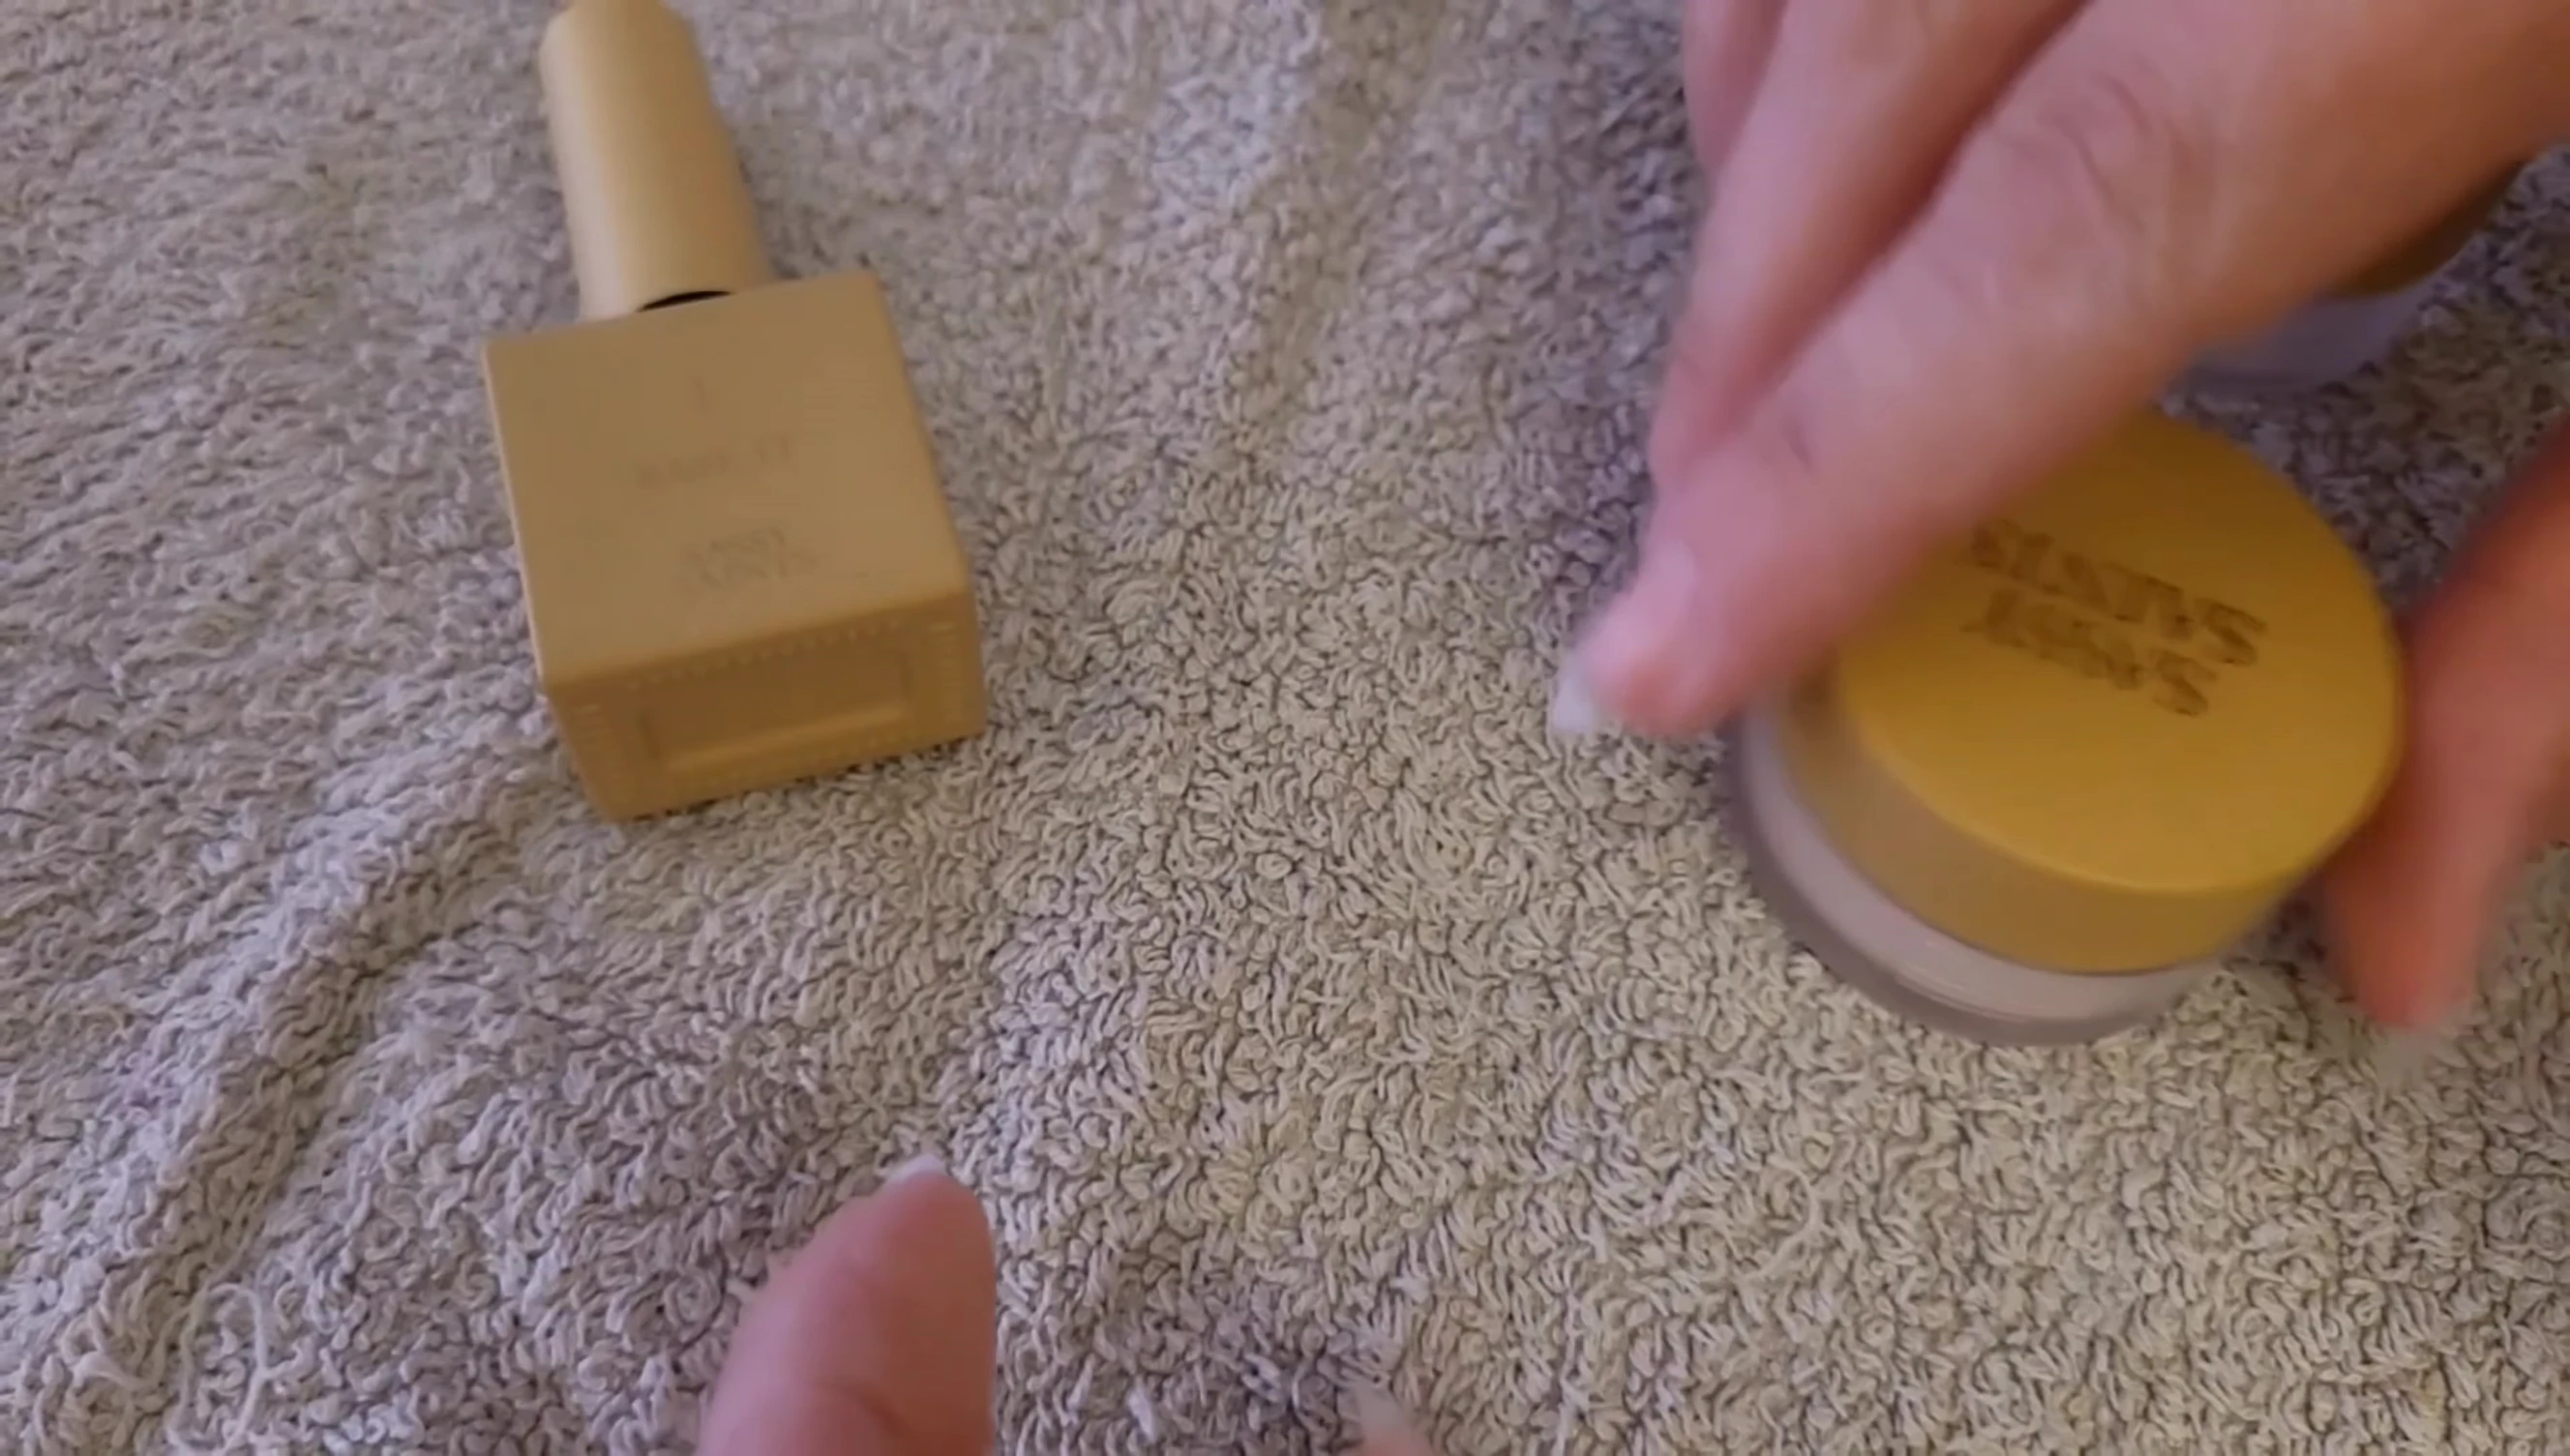
The Sassy Saints nail kit arrived, promising a luxurious at-home acrylic experience. The packaging itself felt high-end, exceeding my expectations. The color selection was stunning, offering a range of sophisticated shades.
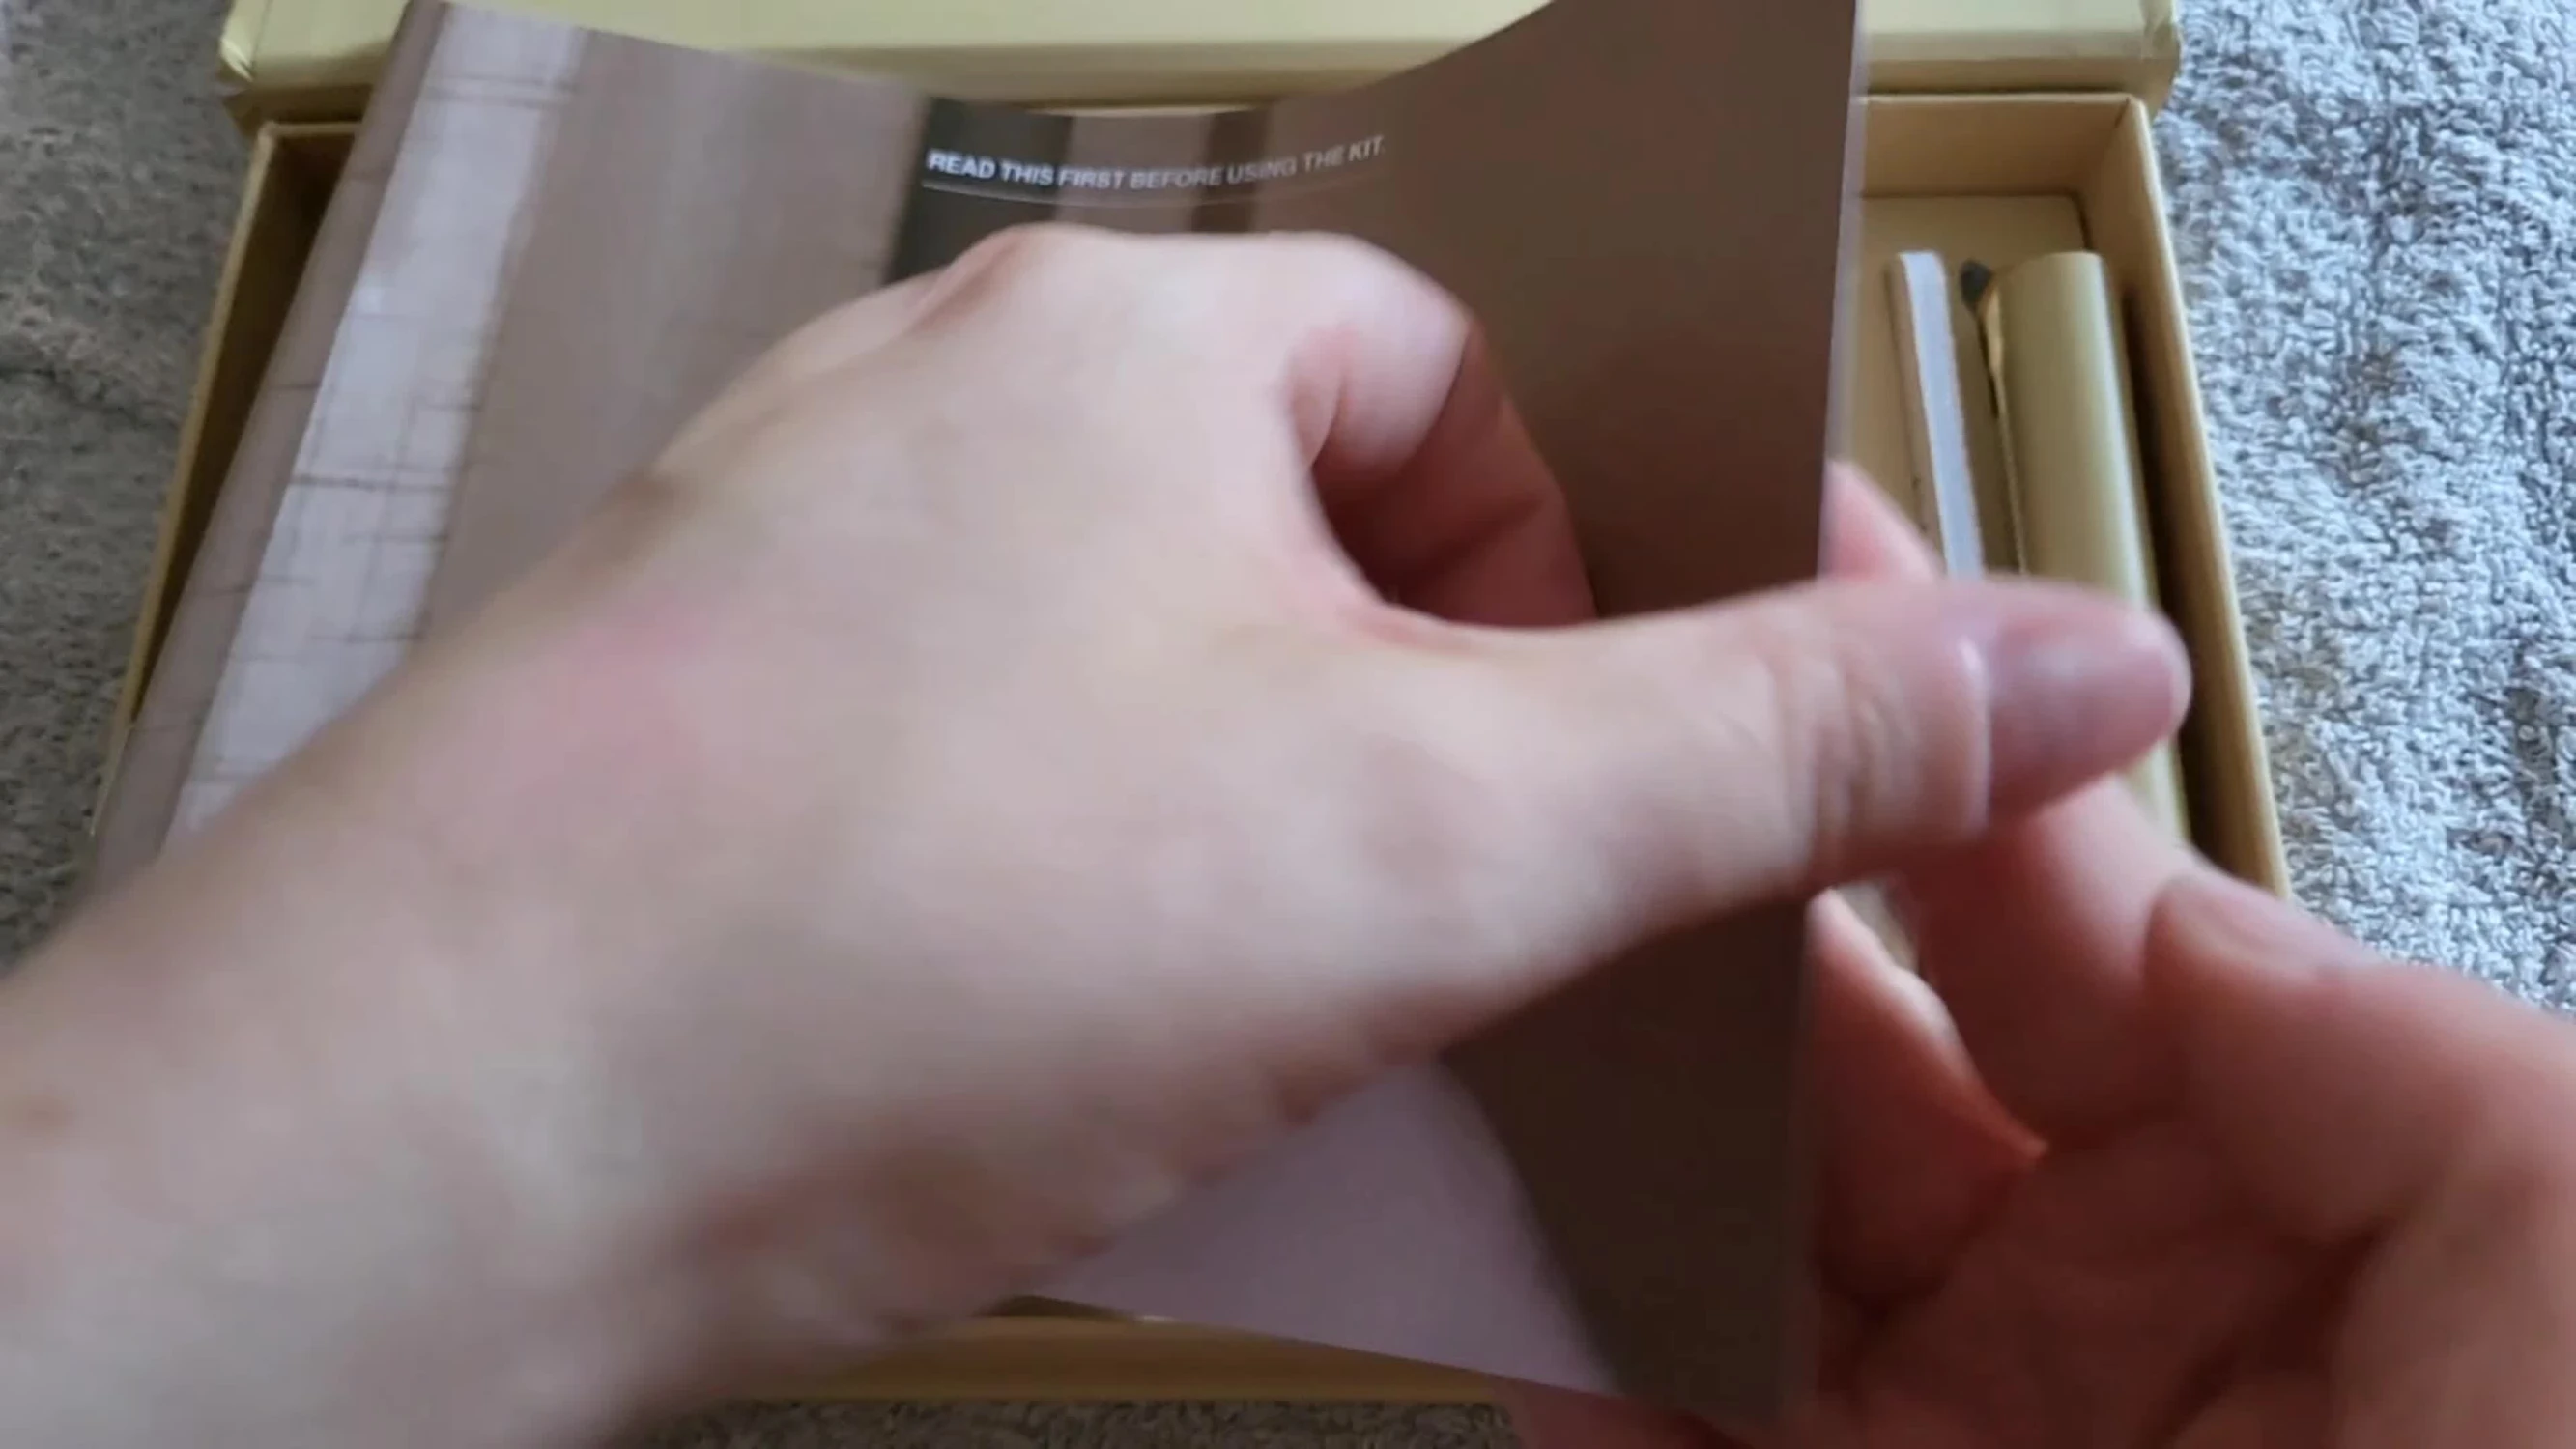
Inside, I found everything needed for a complete manicure: base coat, top coat, activator, brush cleaner, three color choices, and essential tools. The inclusion of a spare brush lid and a small brush for dusting powder showed attention to detail.
Nail Prep and Tip Application
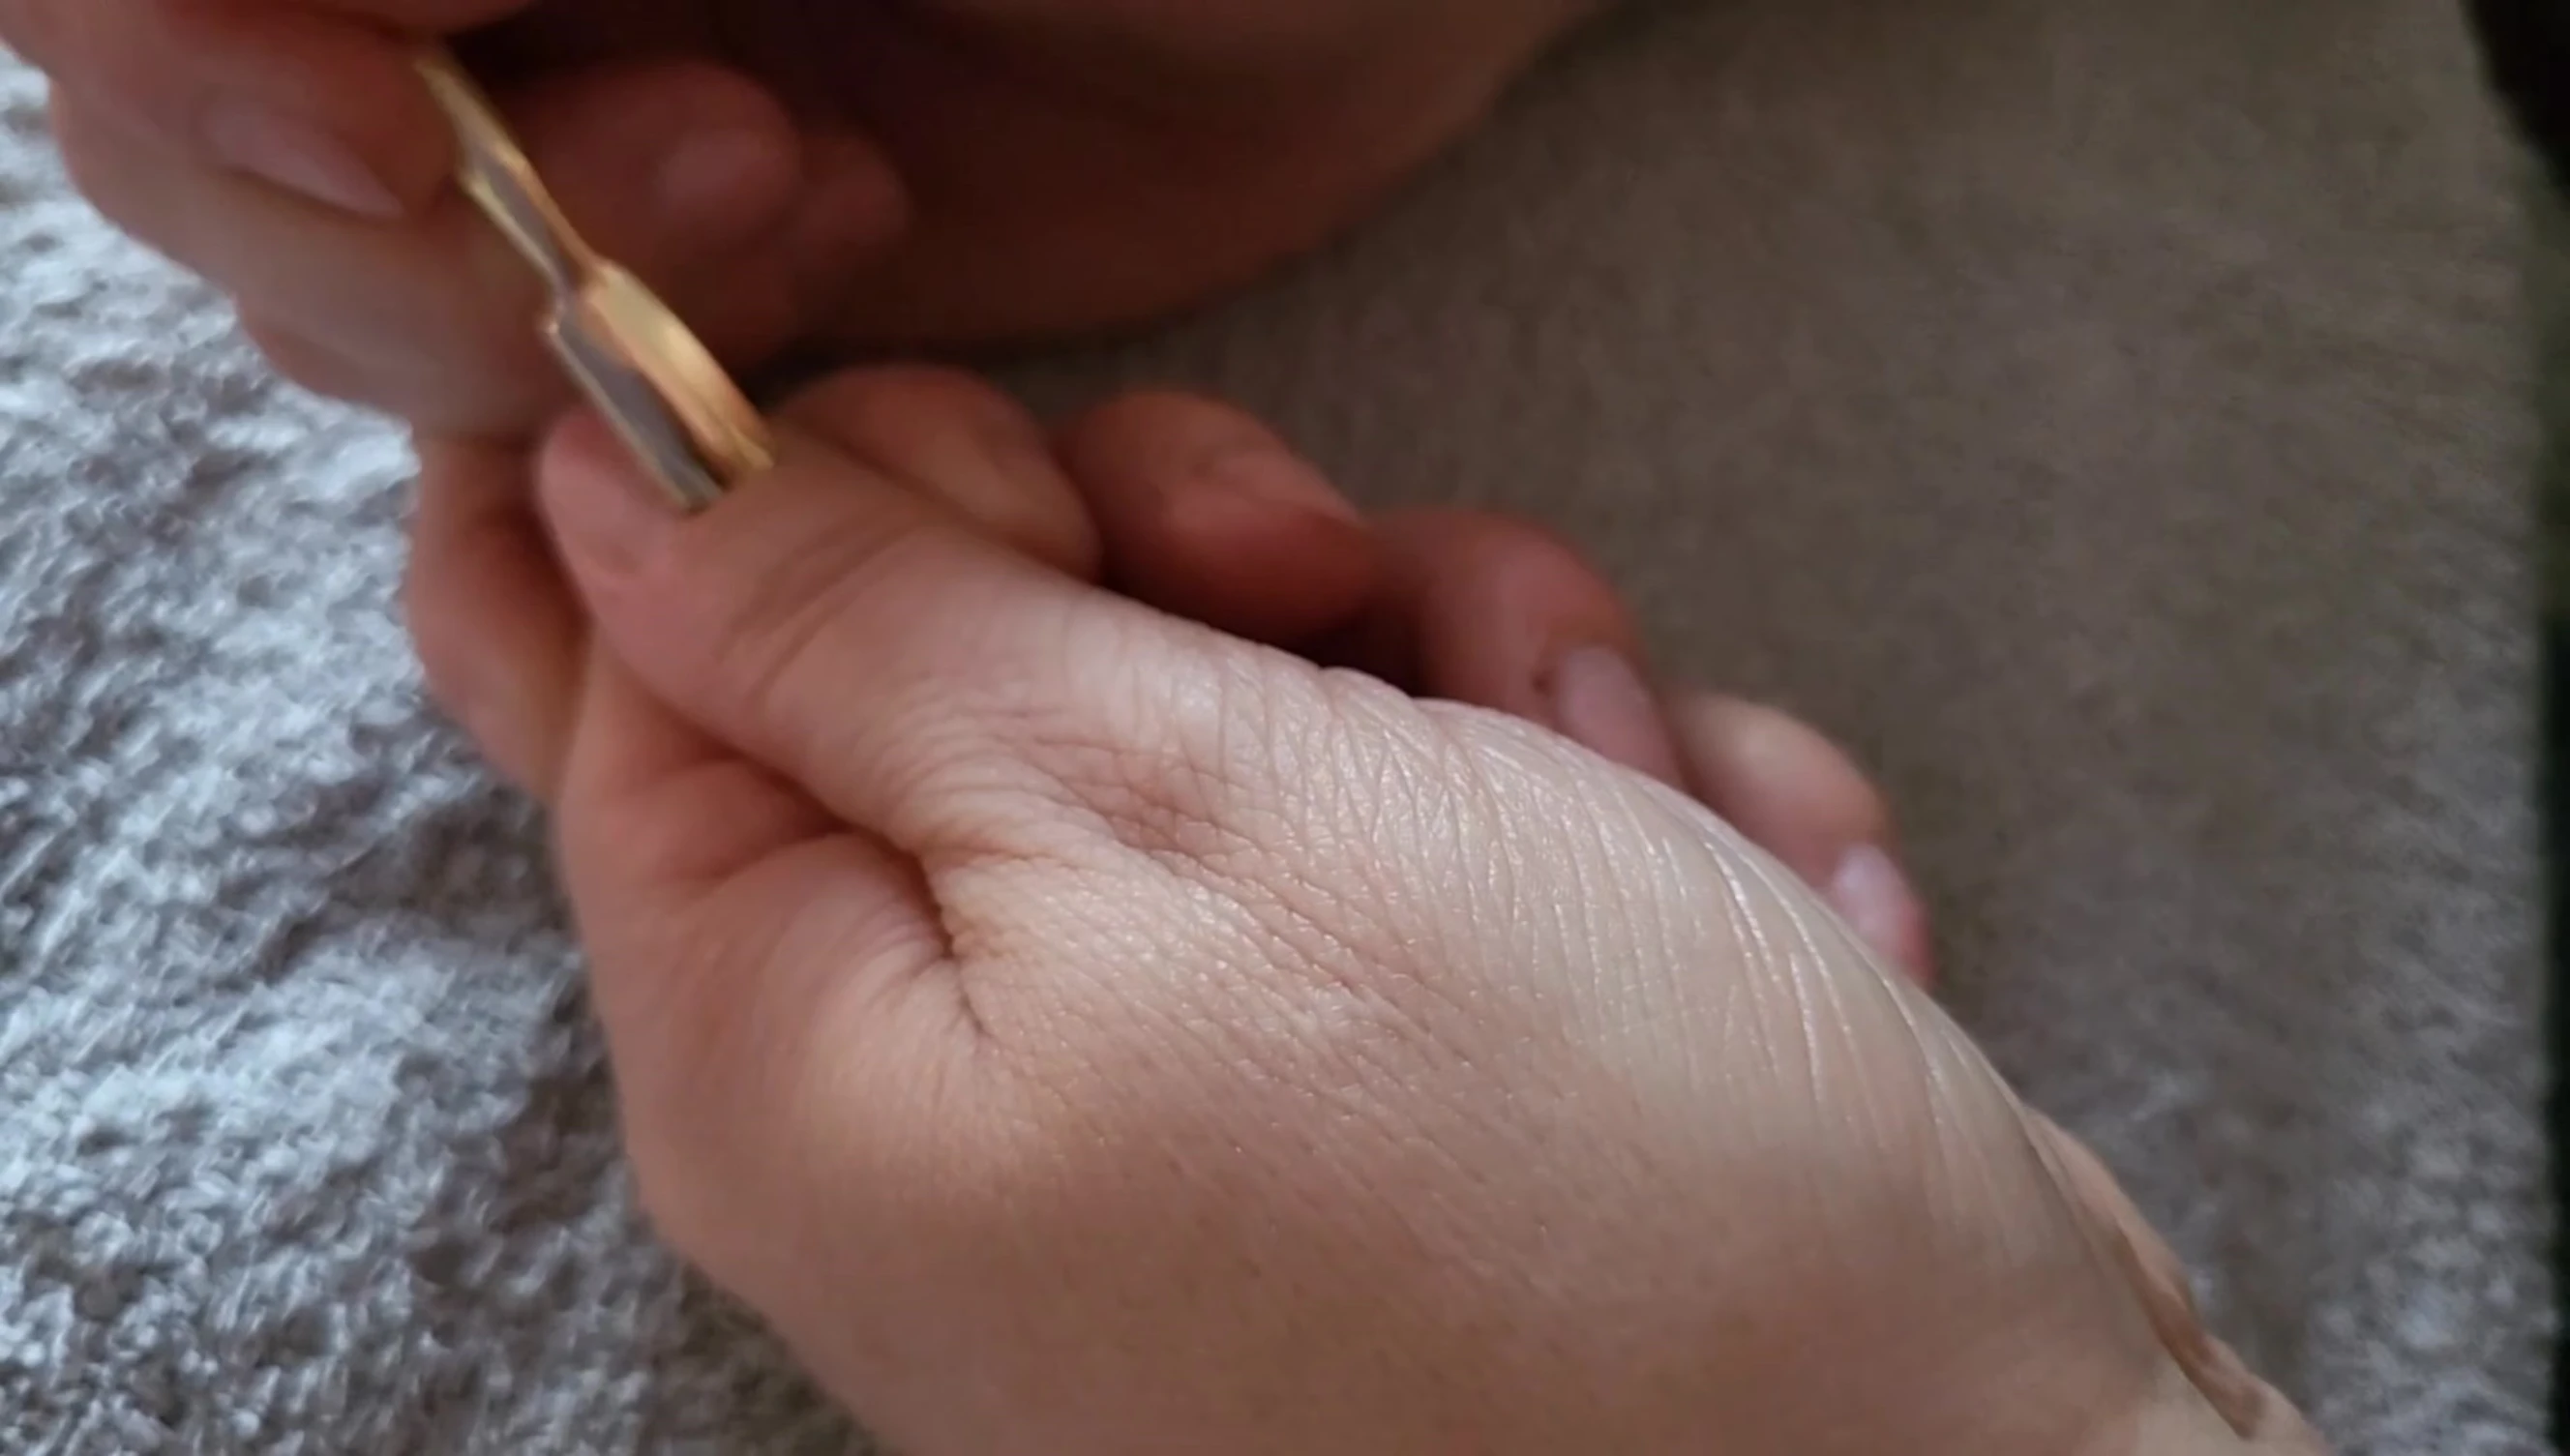
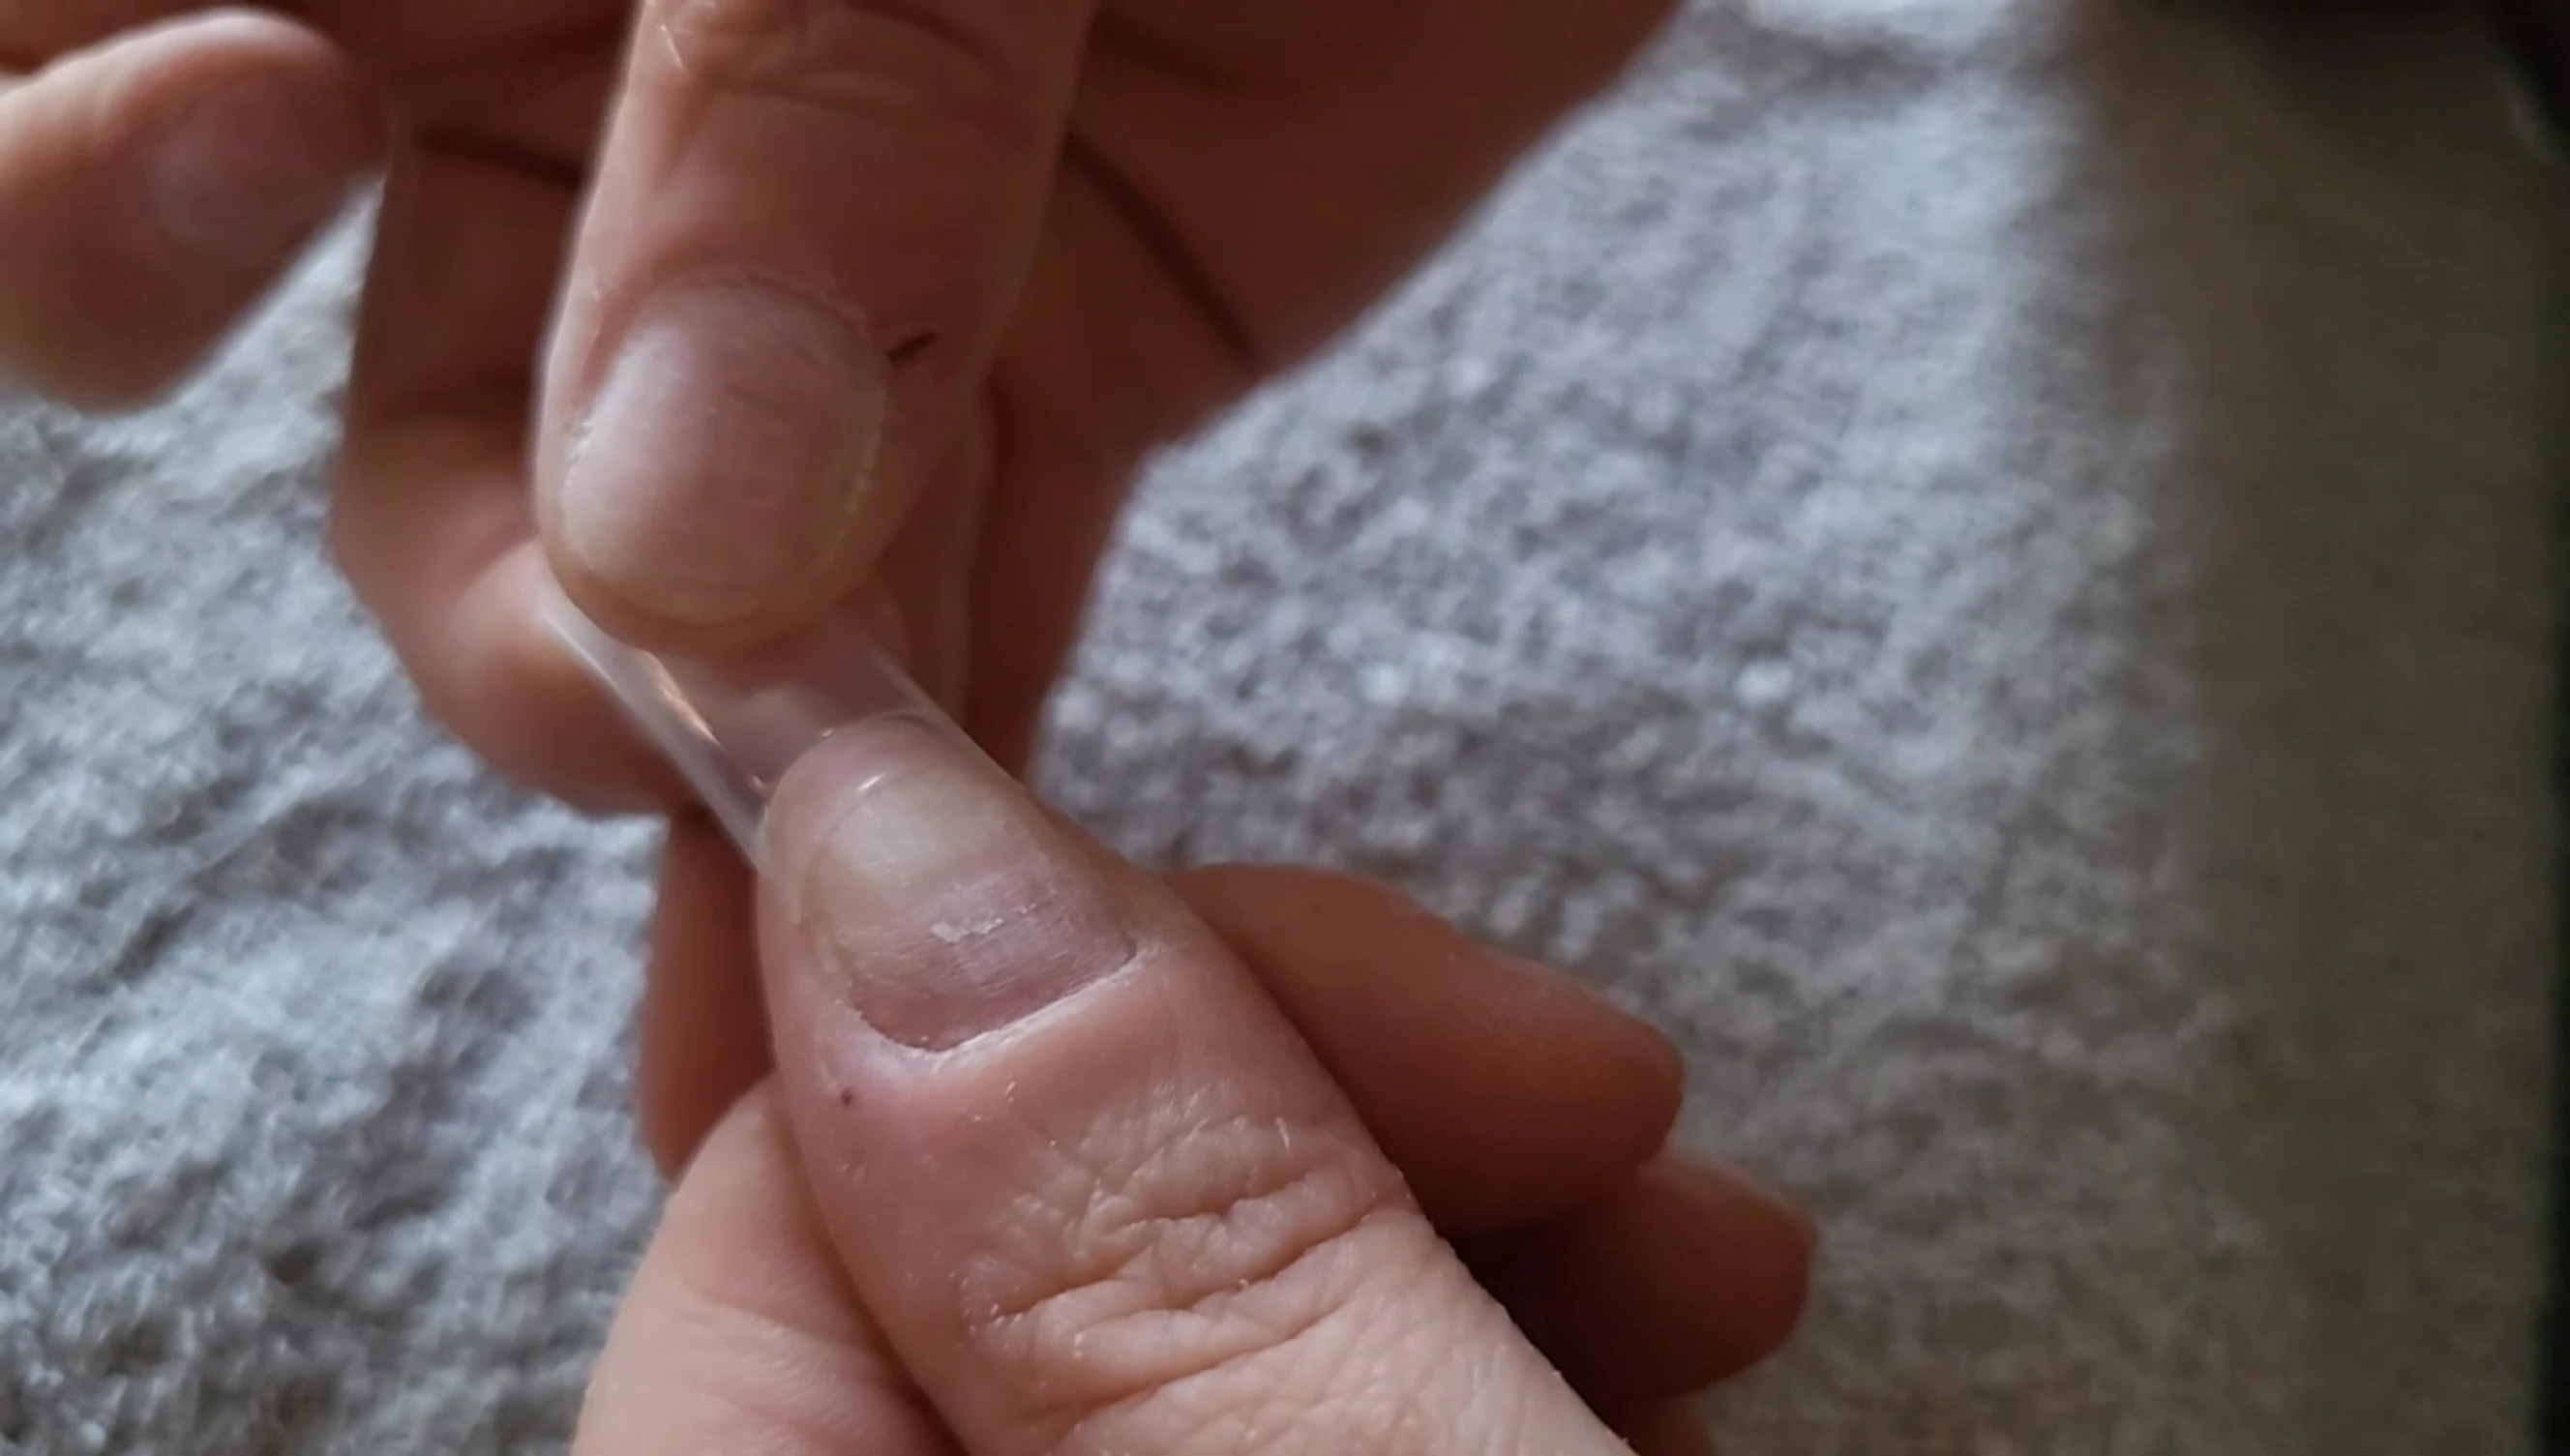
Before starting, I prepped my nails using the provided cuticle pusher and file. Gentle pushing back of the cuticles and smoothing the nail surface are crucial for a long-lasting manicure. This step helps ensure the acrylic adheres properly and prevents lifting.
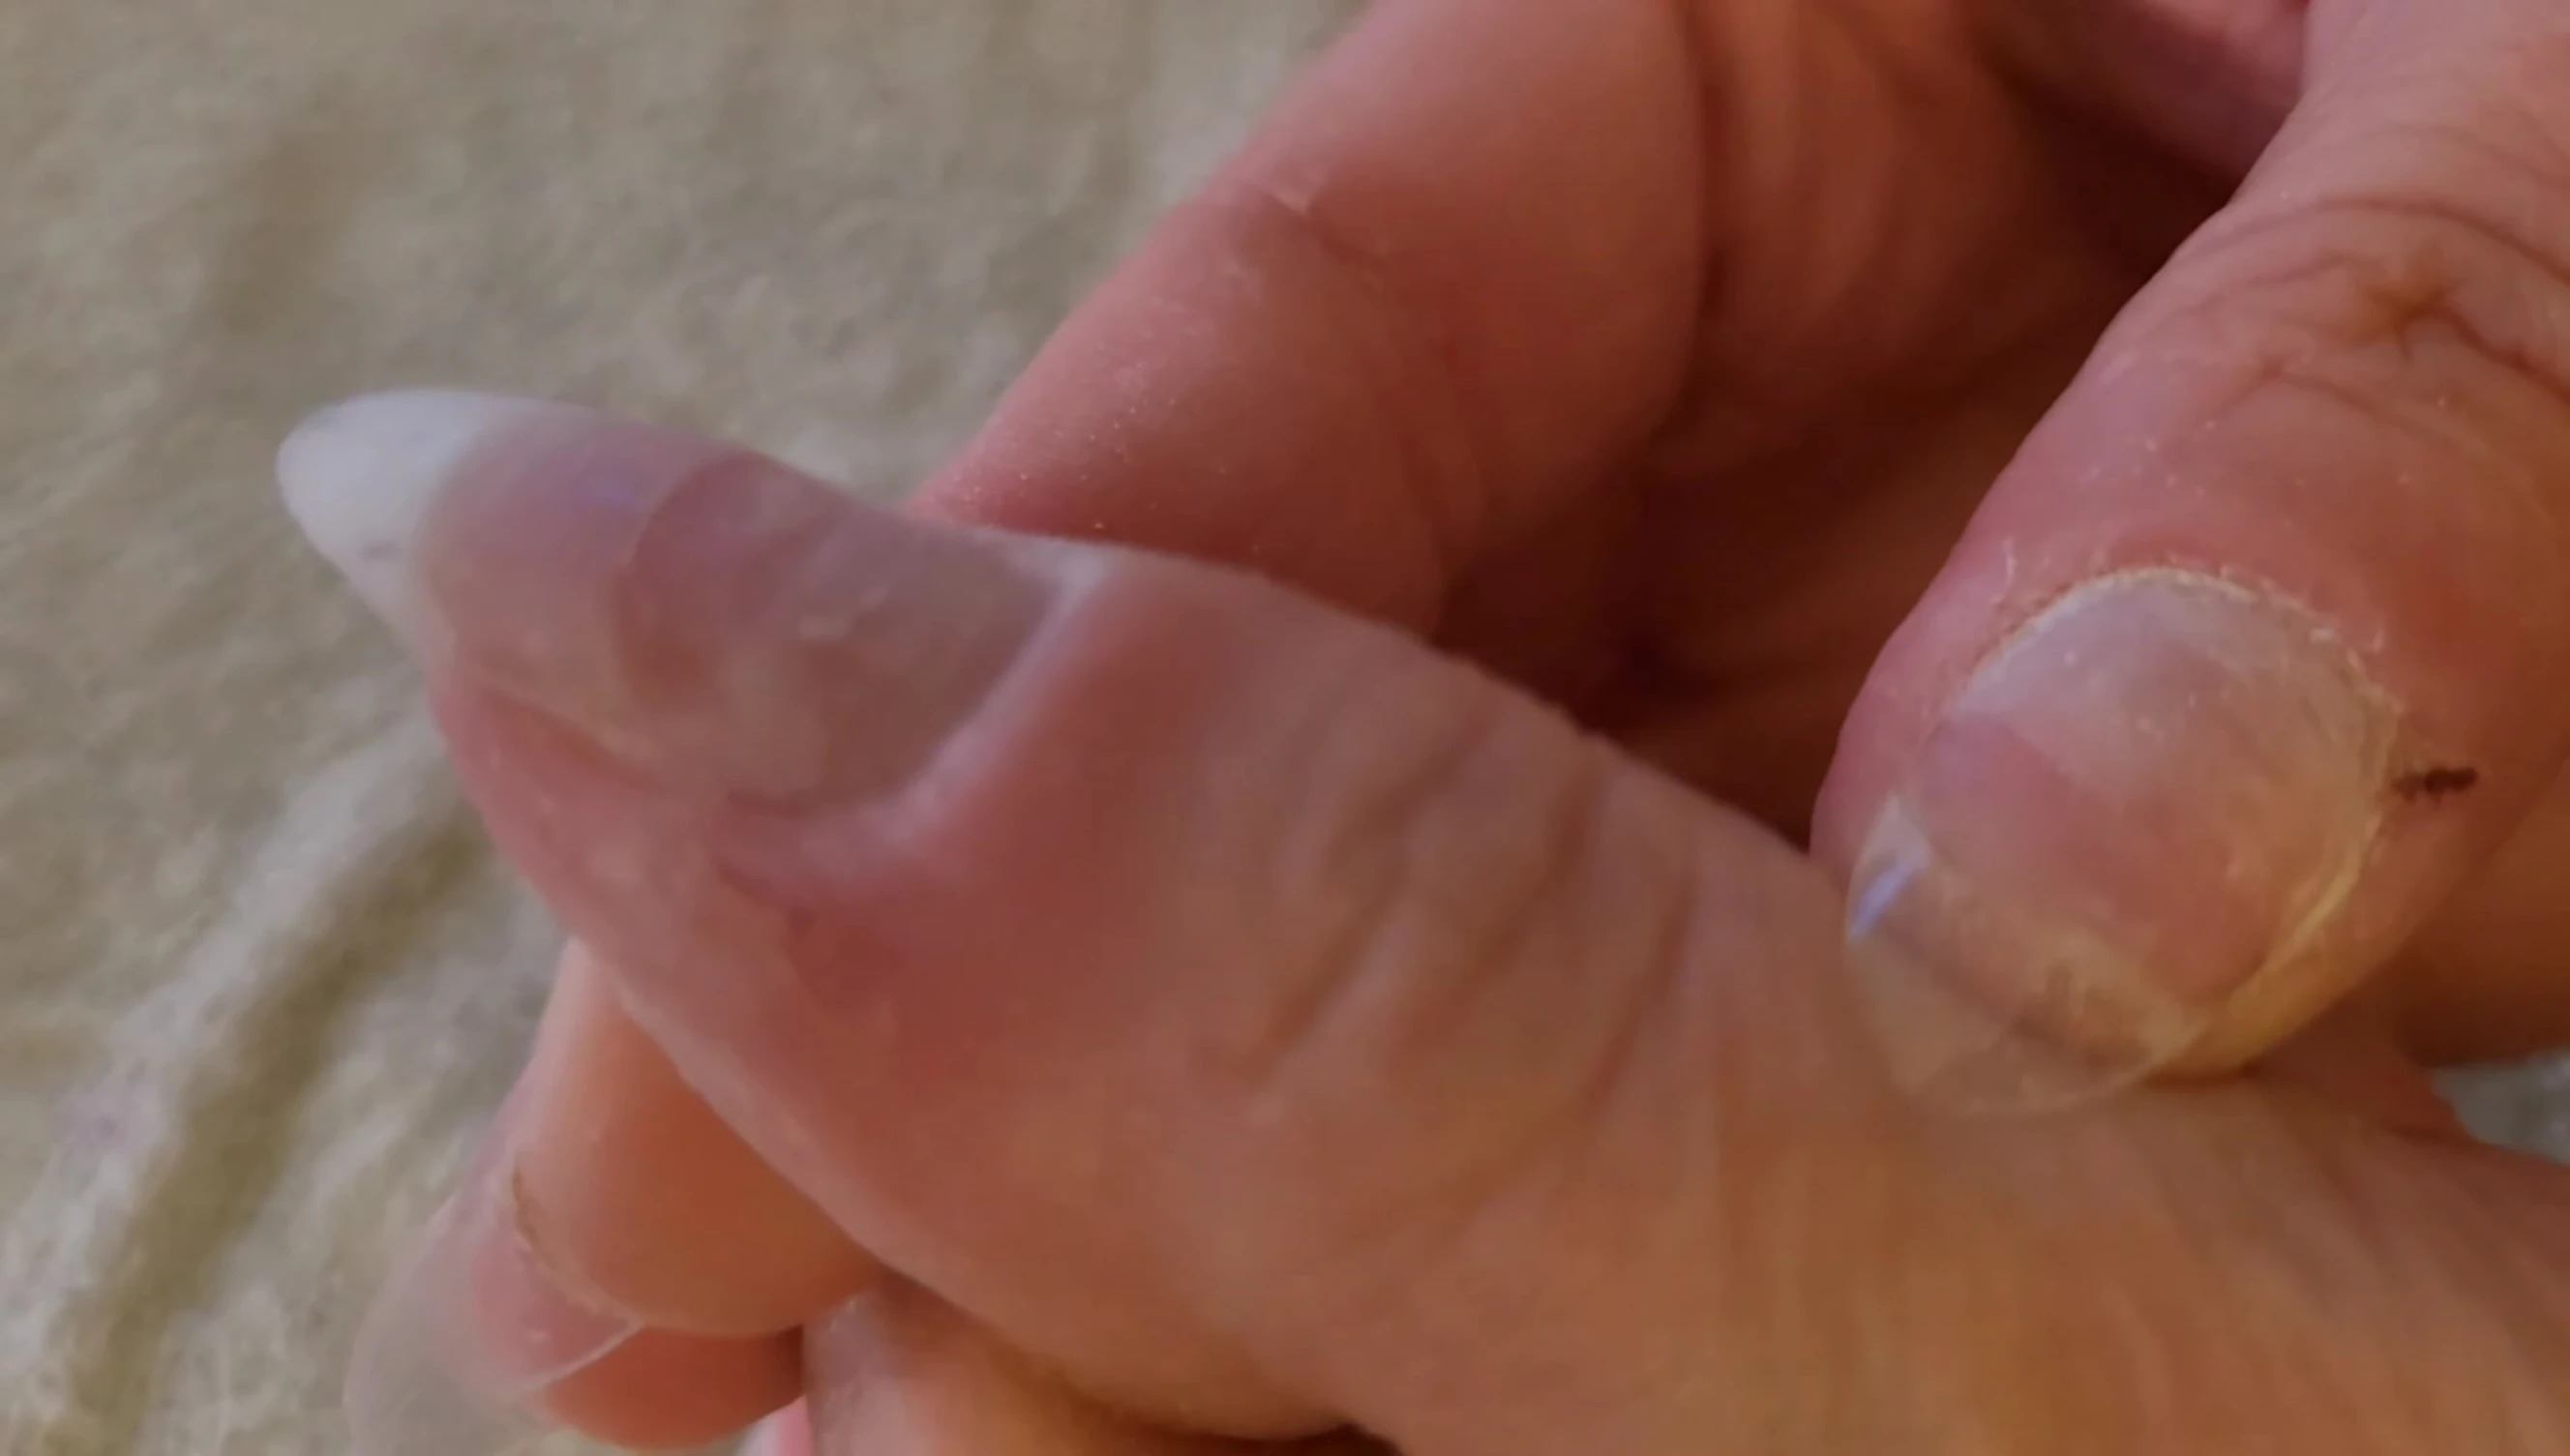
Next, I selected and applied the tips using nail glue. Proper application involves pressing from the bottom to the top to avoid air bubbles. I carefully sized and shaped the tips to achieve the desired almond shape.
Acrylic Application and Design
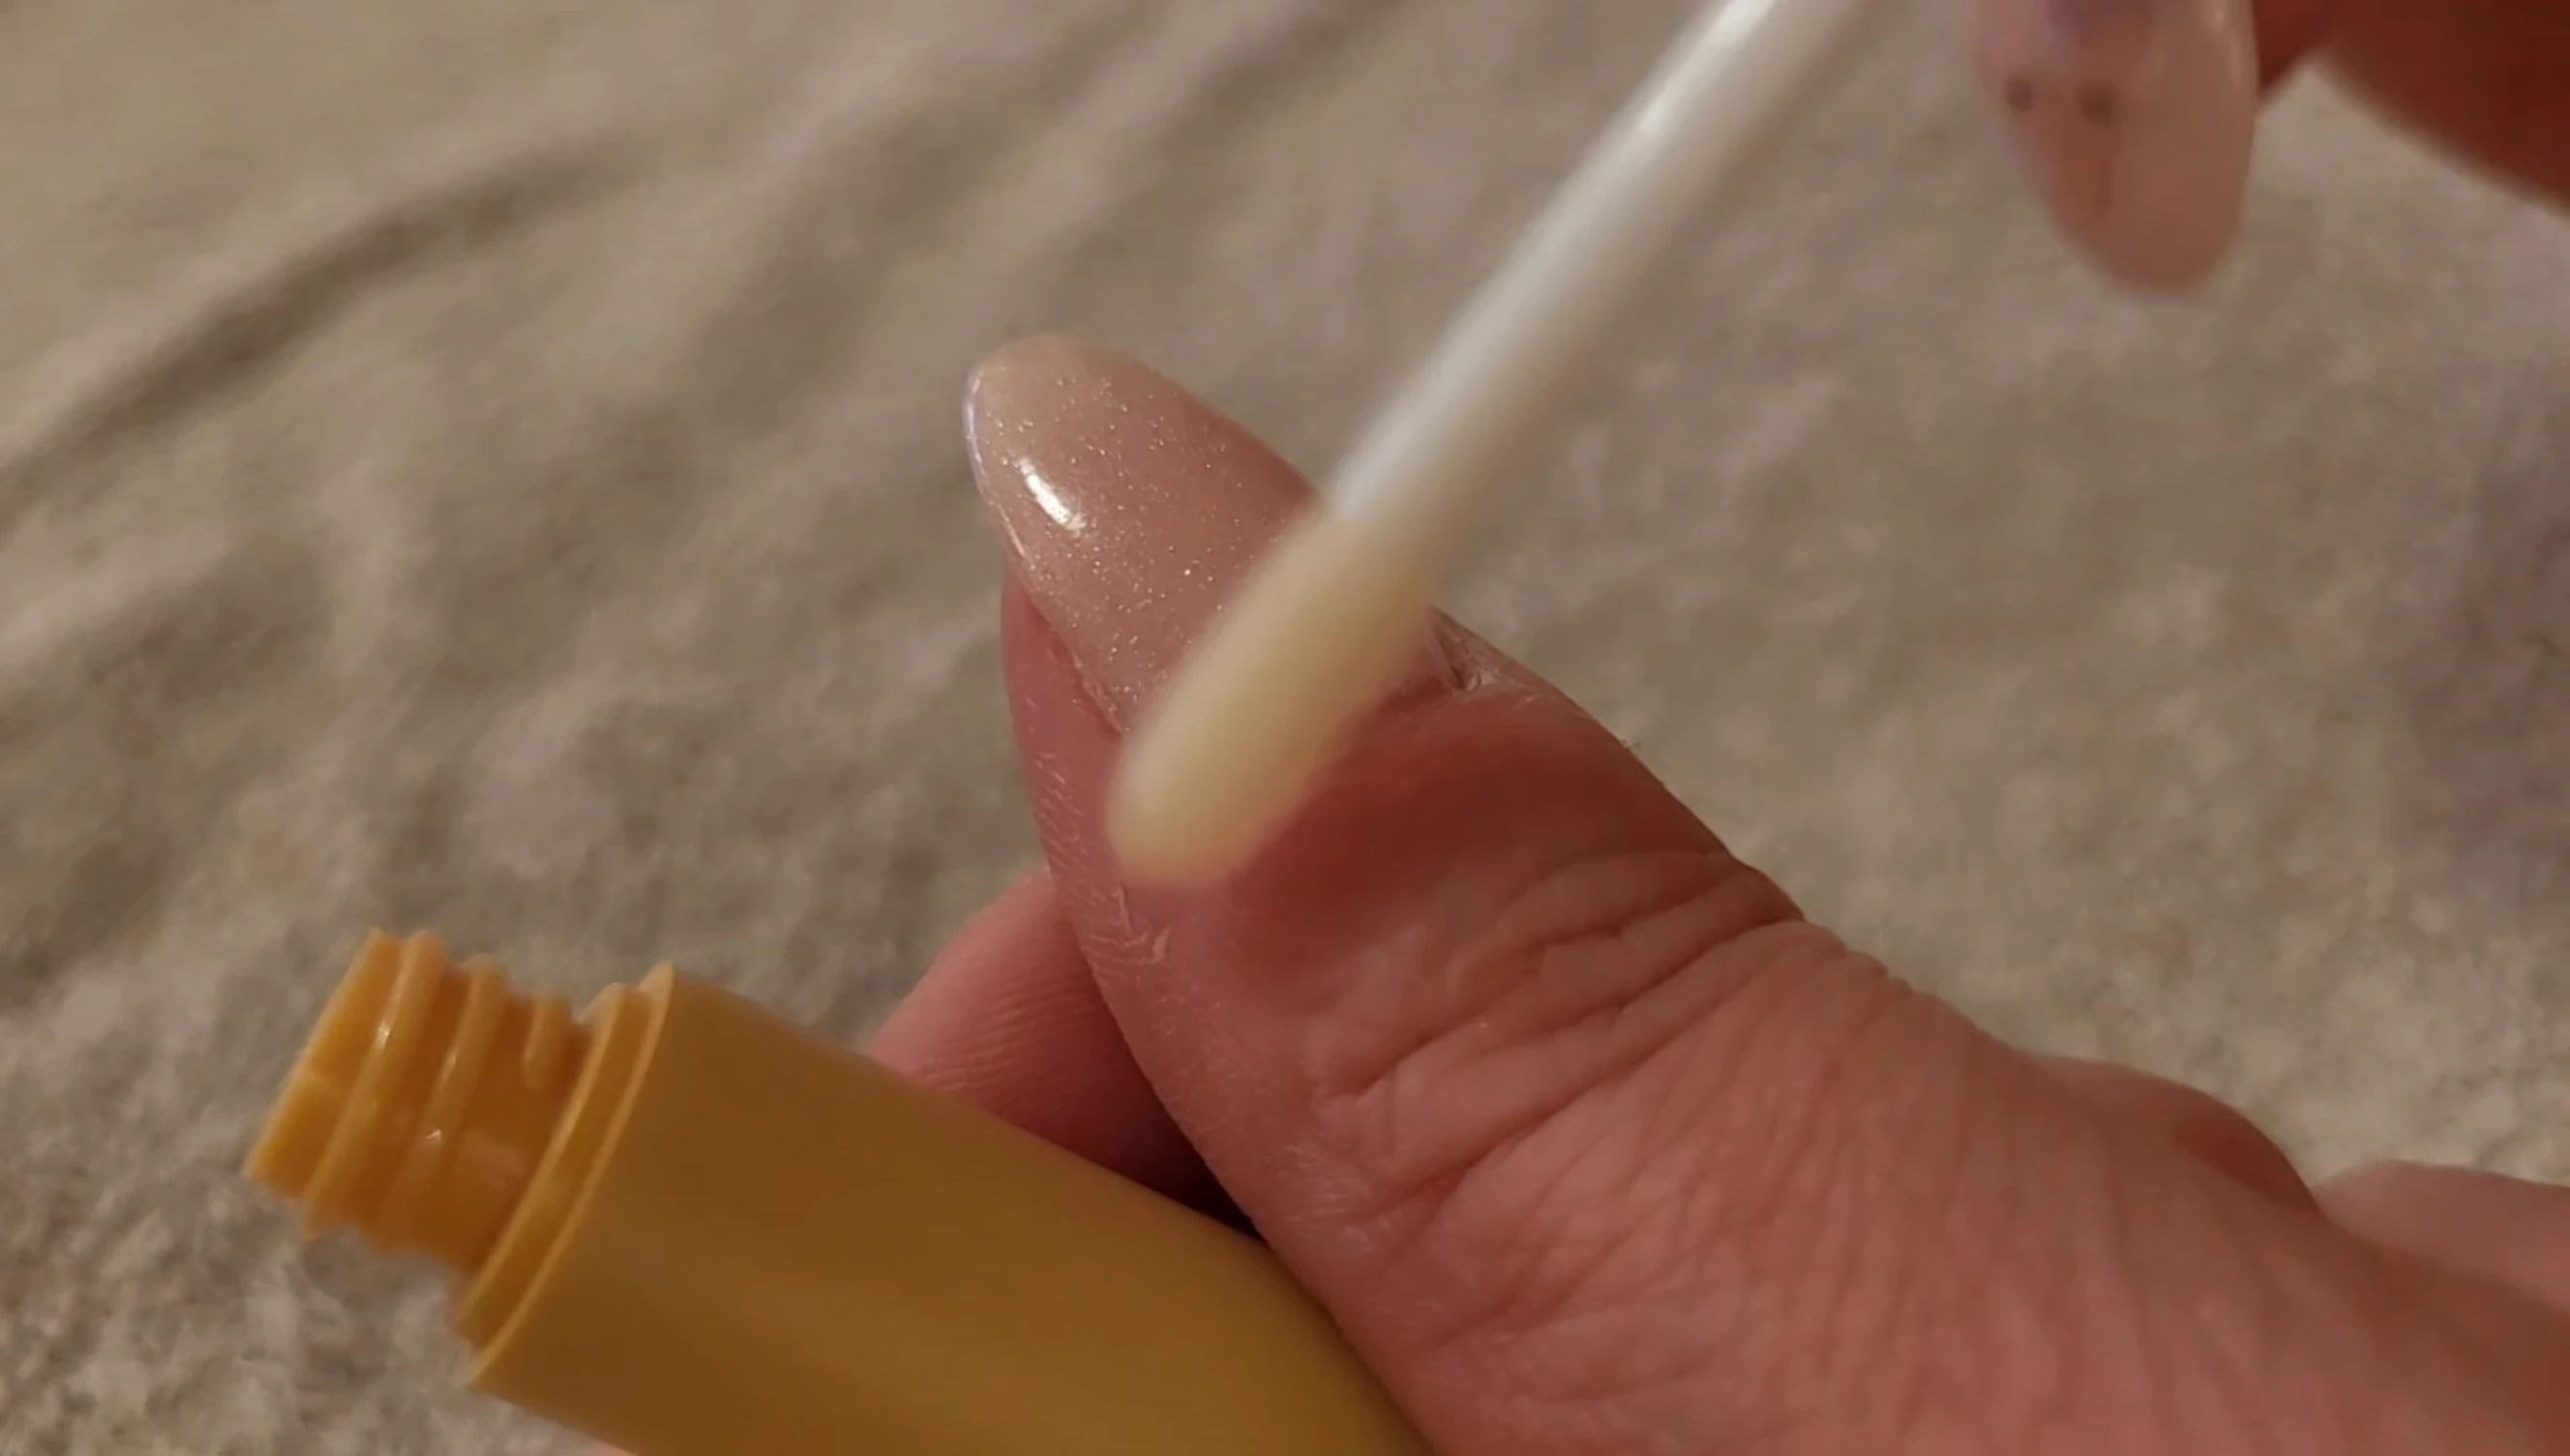
After buffing the tips to blend them seamlessly with my natural nails, I applied the base coat. This prevents staining and provides a smooth base for the color. I then dipped my nails into the chosen acrylic powders, using a thin layer to avoid flooding the cuticle.
For design, I alternated between sparkly pink and baby pink on different nails, adding a touch of glitter to one nail. I used simple Bambi and butterfly stickers to create a Disney-themed accent, completing the design with another layer of top coat.
Final Touches and Overall Impression
After the acrylic set, I carefully smoothed the nails using a sanding block, ensuring a flawless finish. Applying a final top coat added shine and longevity. A cuticle oil provided the final touch, completing the manicure.
The Sassy Saints nail kit delivers on its promise of luxury. The quality of the products, the comprehensive kit contents, and the ease of use make it ideal for both beginners and experienced DIY nail enthusiasts. I would definitely recommend this kit for creating beautiful, salon-quality acrylic nails at home.