This Saviland Builder Gel Nail Art Kit review details a beginner's experience with creating stunning, professional-looking nails at home. The reviewer found the kit incredibly comprehensive, appreciating the included detailed instruction booklet which guided them through each step of the process. The abundance of colors – from classic shades to glittery options – offered immense creative possibilities. The ease of use, particularly with the butterfly nail forms, was highlighted, emphasizing a smooth and intuitive application.The review focuses on the application process, from prepping the nails and applying the base coat, to building up the gel layers, curing, shaping, and finishing with a top coat. The reviewer found the self-leveling gel to be a key advantage, leading to even, professional results. The overall experience is presented as positive, emphasizing the kit's effectiveness in achieving a salon-quality manicure from the comfort of home, showcasing the user-friendly nature of the Saviland Builder Gel Nail Kit.
Read more: Nail Form Review: EasyFlow App and Diverse Nail Shapes
Initial Impressions & Nail Prep
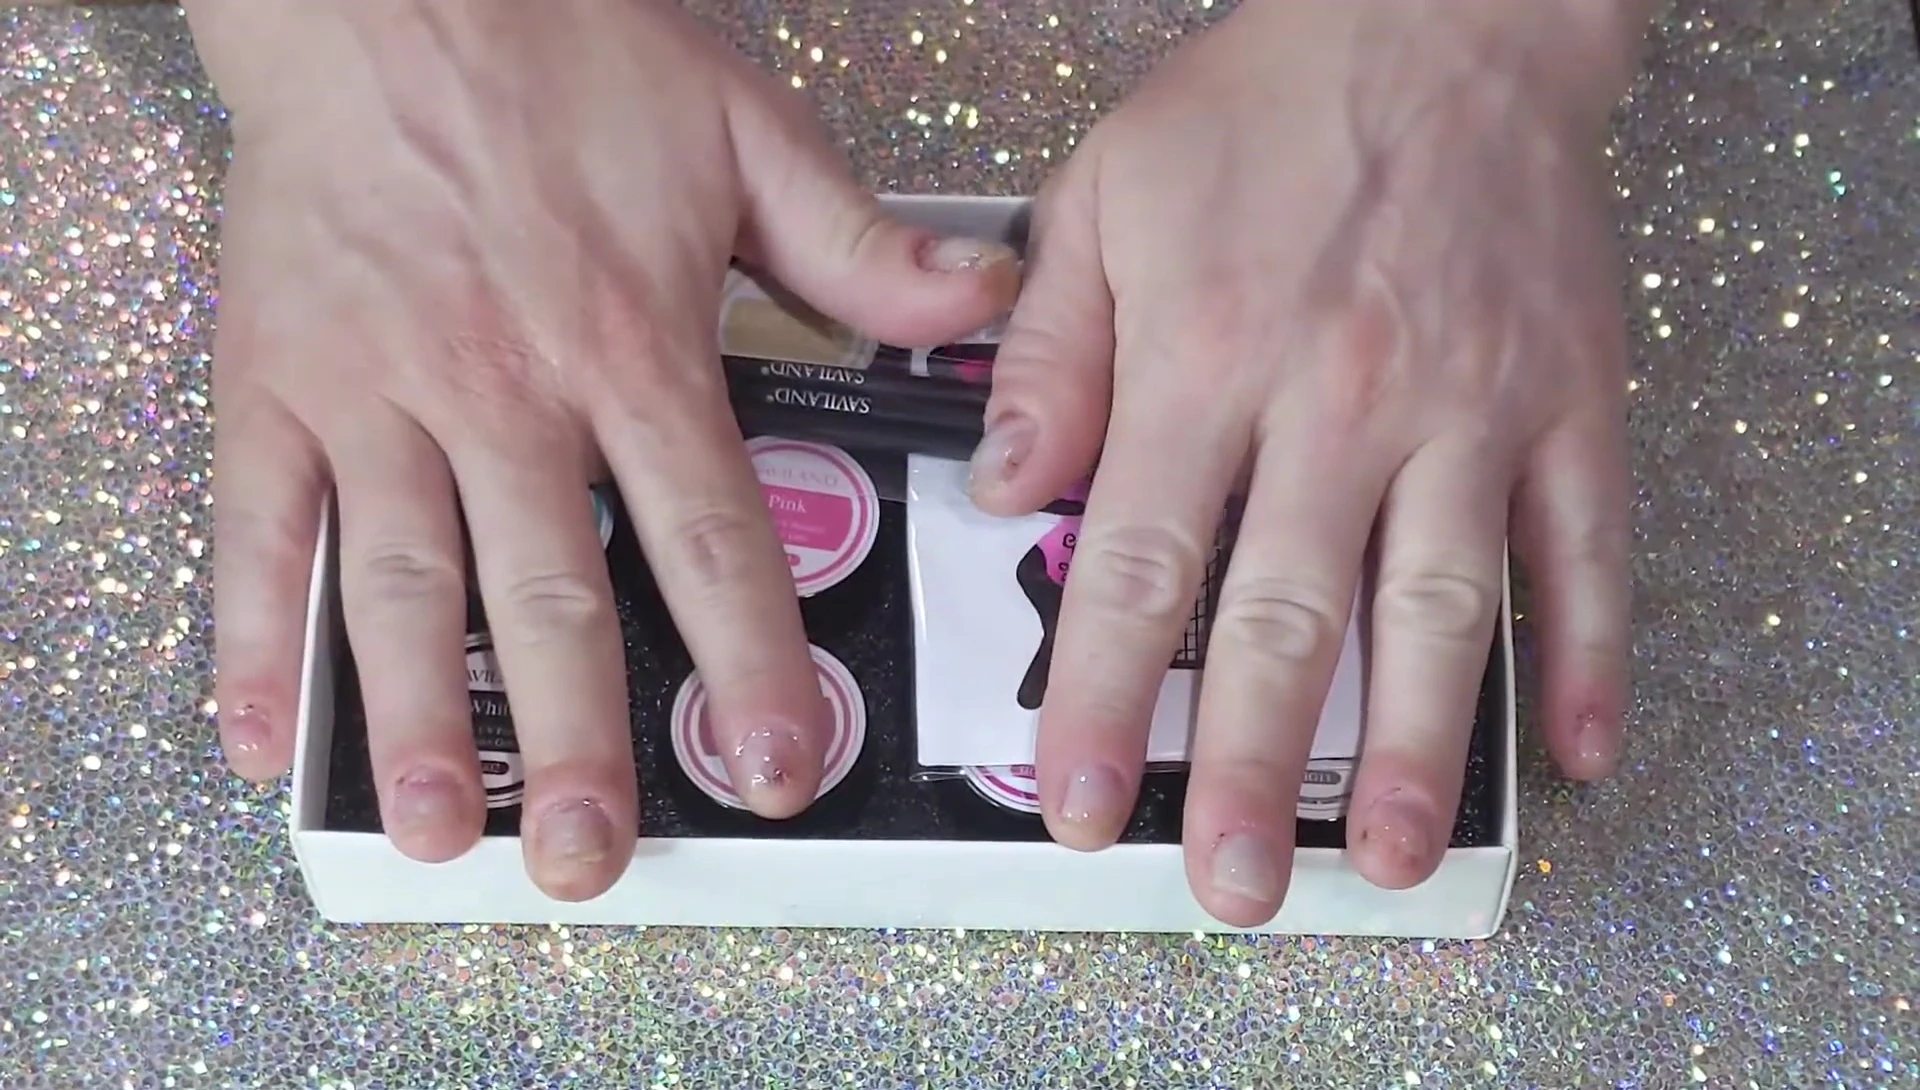
The Saviland Builder Gel Nail Art Kit arrived with a detailed instruction booklet, a welcome addition for beginners like myself. I appreciated the step-by-step guide. After removing my previous polygel nails, I prepped my natural nails, carefully filing away any remaining residue. A base coat was applied and cured according to the instructions, preparing my nails for the gel application.
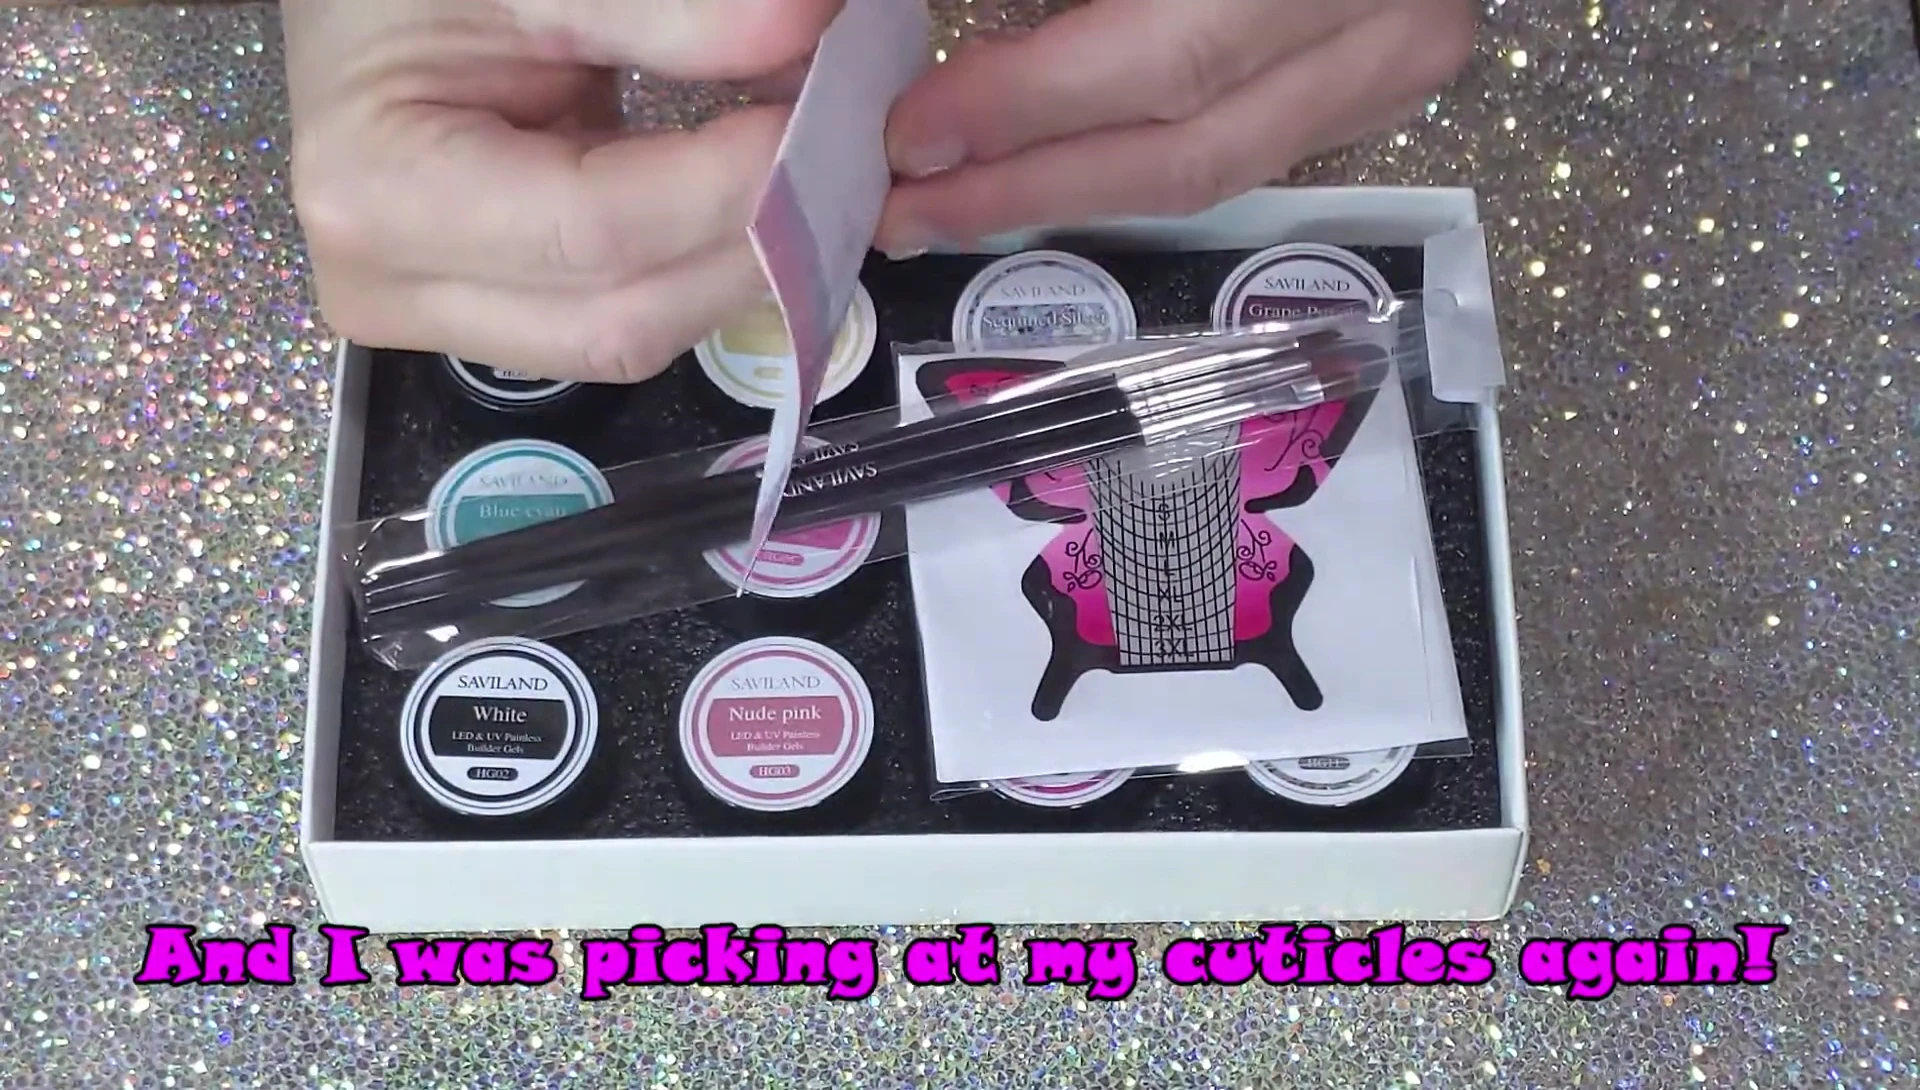
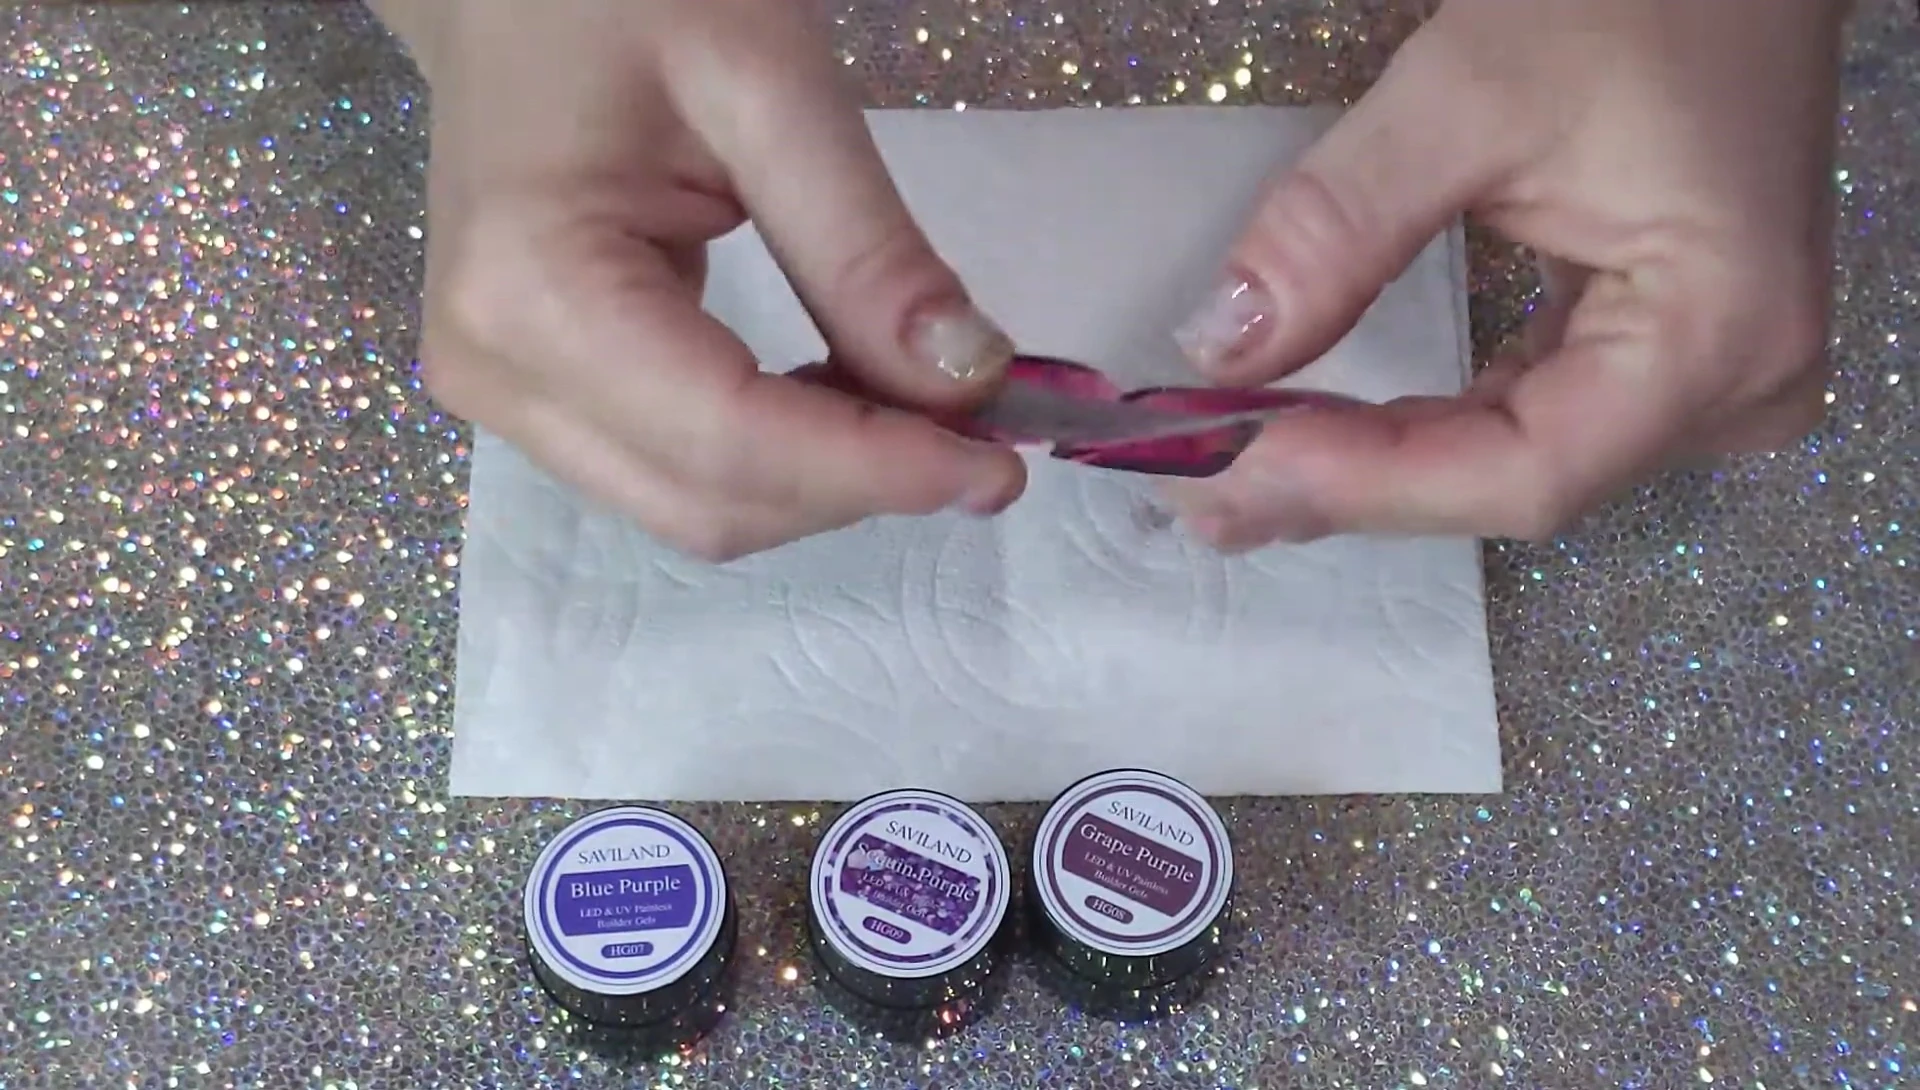
The kit includes a variety of colors – clear, light yellow, silver sequins, grape purple, purple sequins, blue purple, pink, blue, cayenne, white, nude pink, rose red, glitter gold. The sheer number of options is impressive. I decided to start with grape purple sequins, purple, and blue purple for my initial design.
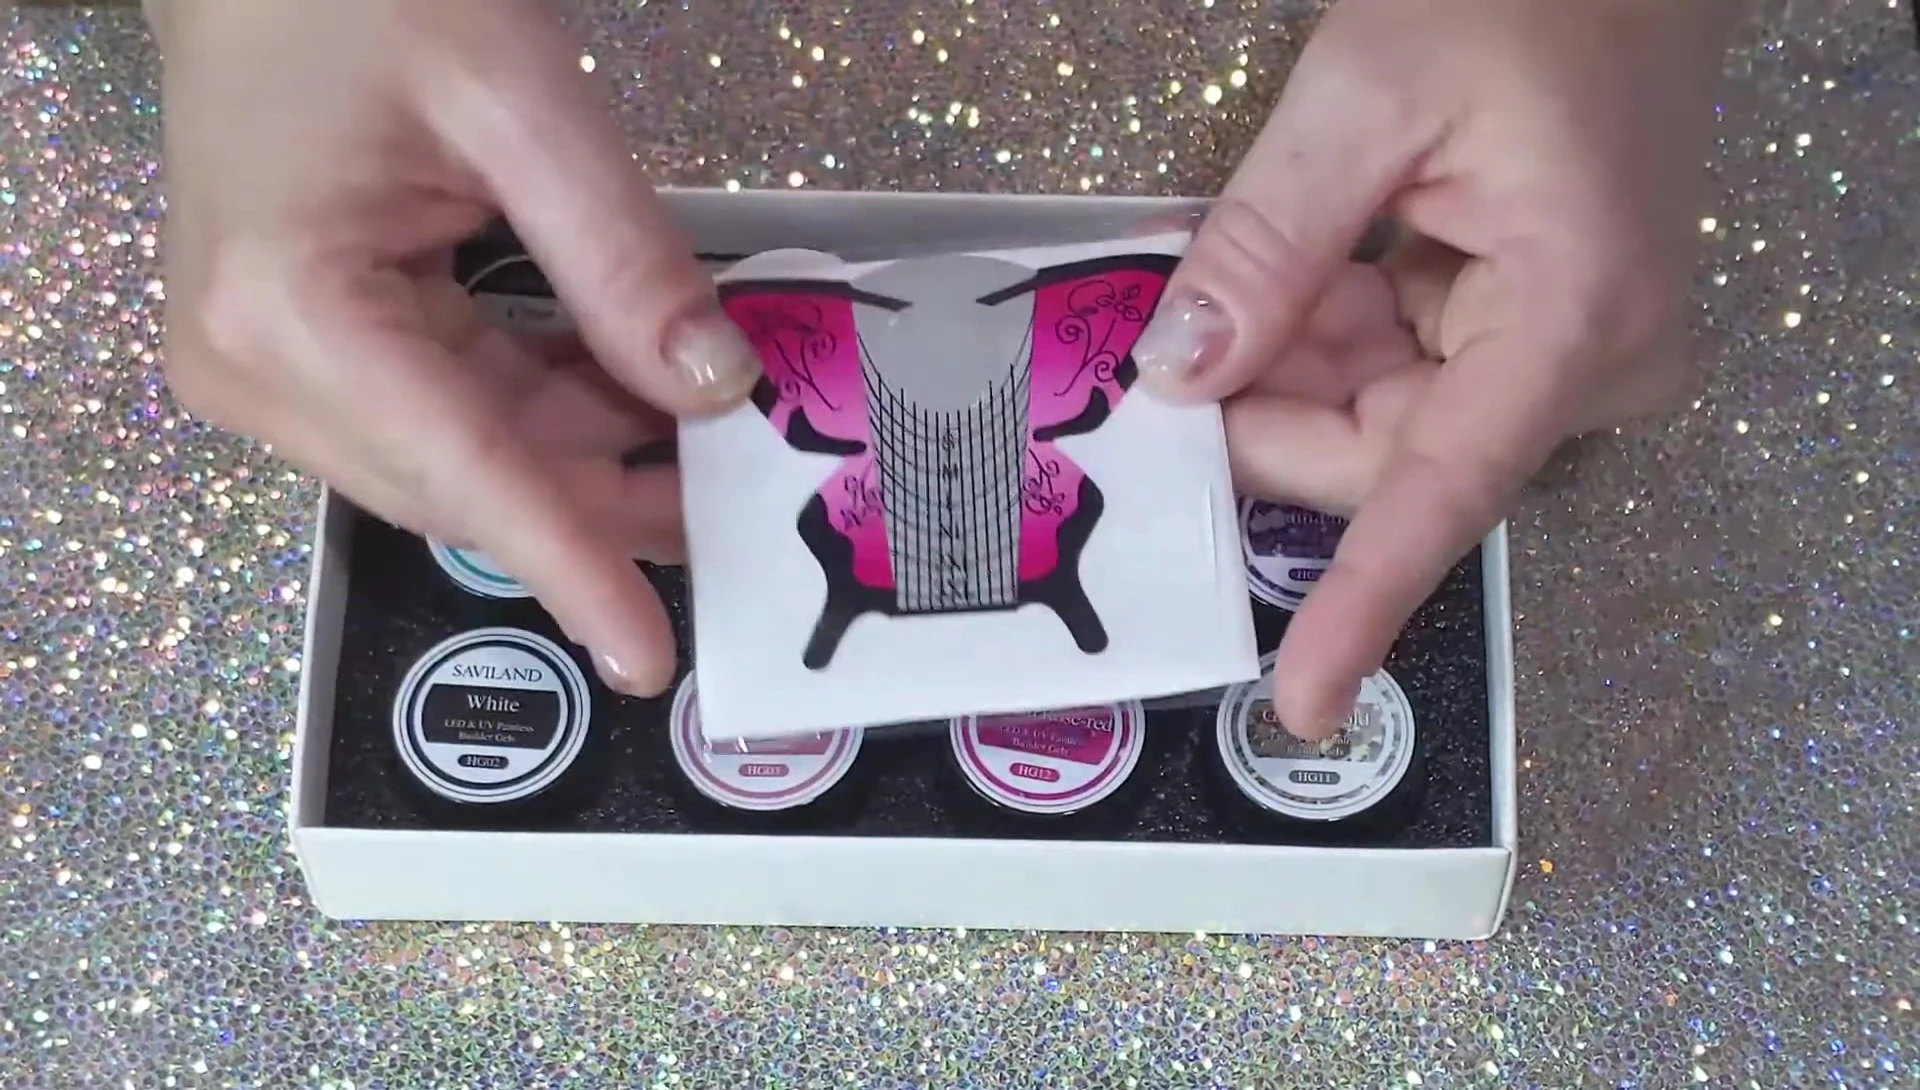
Applying the Builder Gel with Forms
The kit's butterfly nail forms were easy to use. I started with my pinky finger, carefully applying a small amount of gel to secure the form. I found it helpful to slightly bend the form to match the natural curve of my finger.
I applied the blue-purple gel, building it up in layers to create the desired thickness and shape. The gel self-leveled nicely, making for an even application. I used the smaller brush from the kit for precise application.
Curing and Shaping
Each layer of gel was cured for 120 seconds as per the instructions. After curing, I carefully removed the forms and was pleased with the initial shape. I then used a slightly dampened brush to clean up any excess gel around the cuticle area.

Next, I repeated the process for all my fingers, focusing on creating a consistent length and shape. I found this process fairly intuitive.

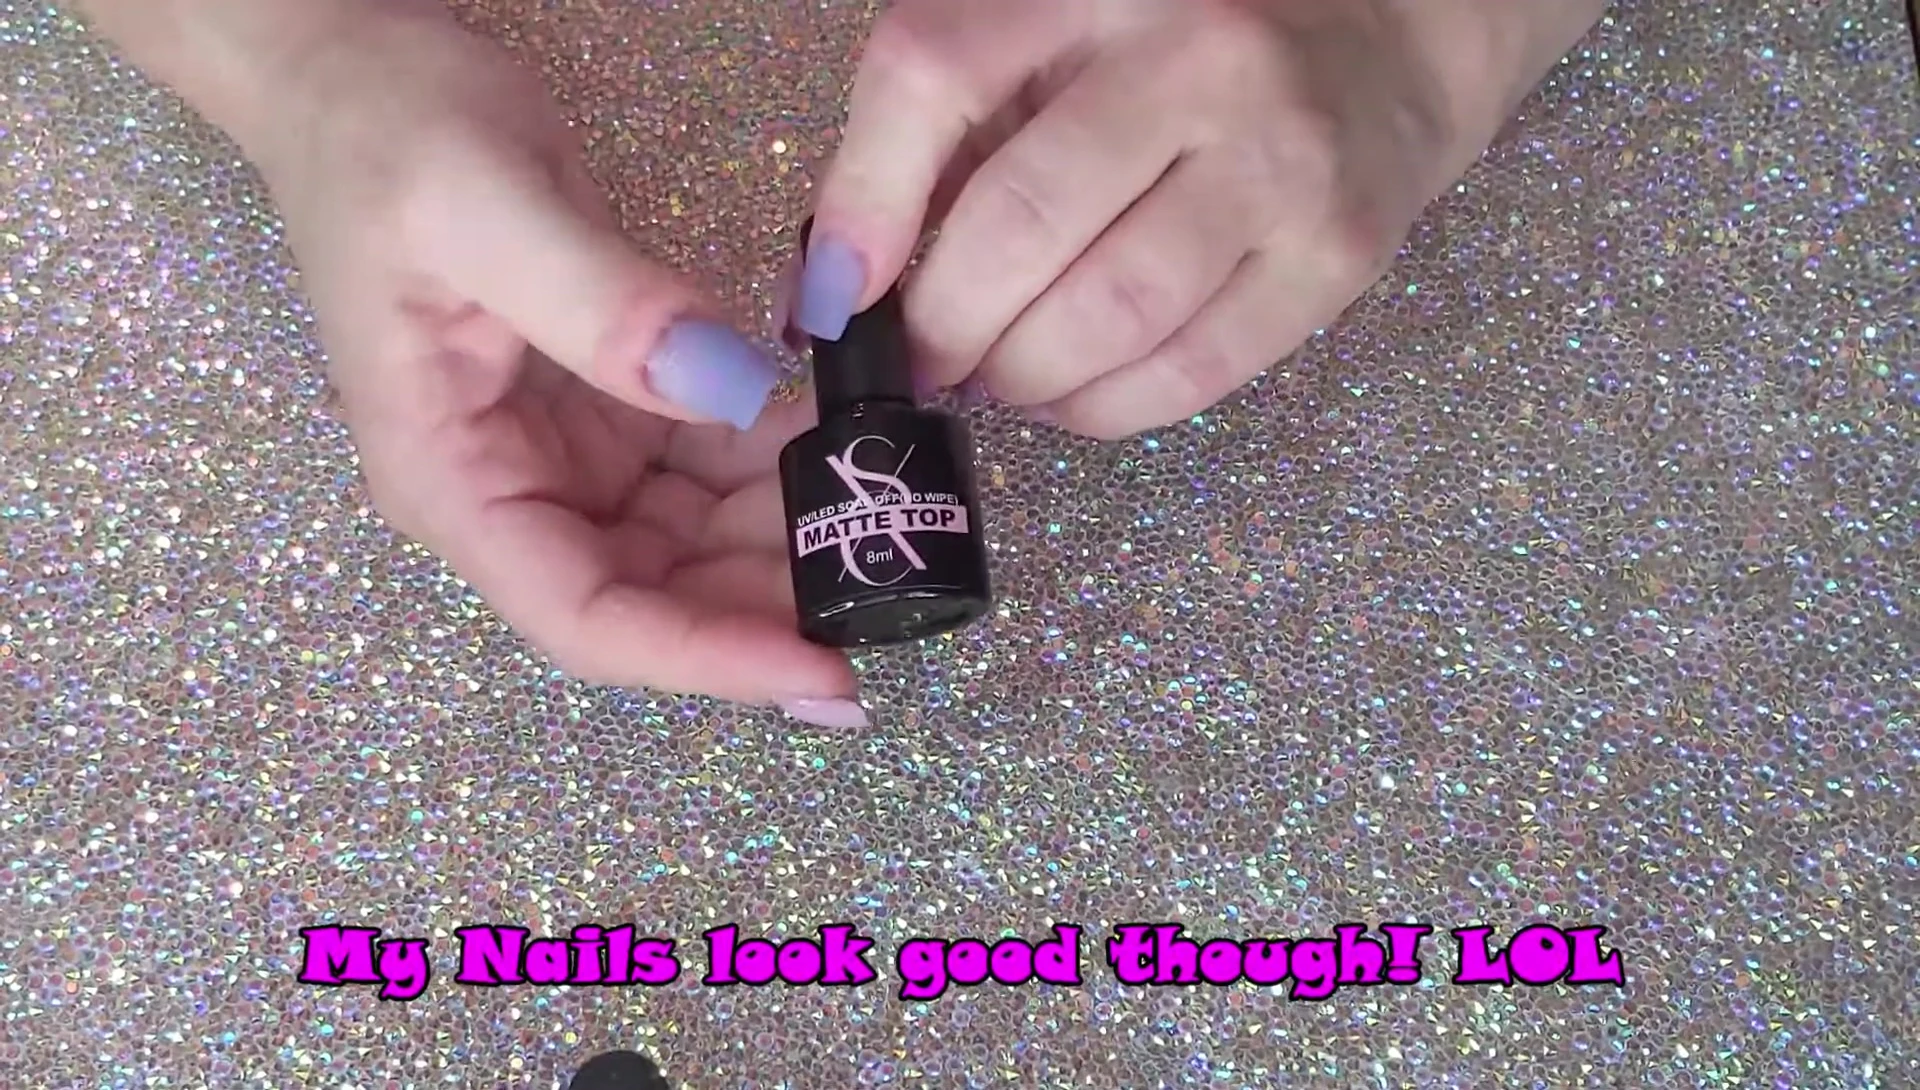
Finishing Touches and Final Thoughts
After applying the gel to all ten nails, I focused on filing and shaping for a clean, polished finish. The process of shaping required some attention to detail, but the results were worth the effort.
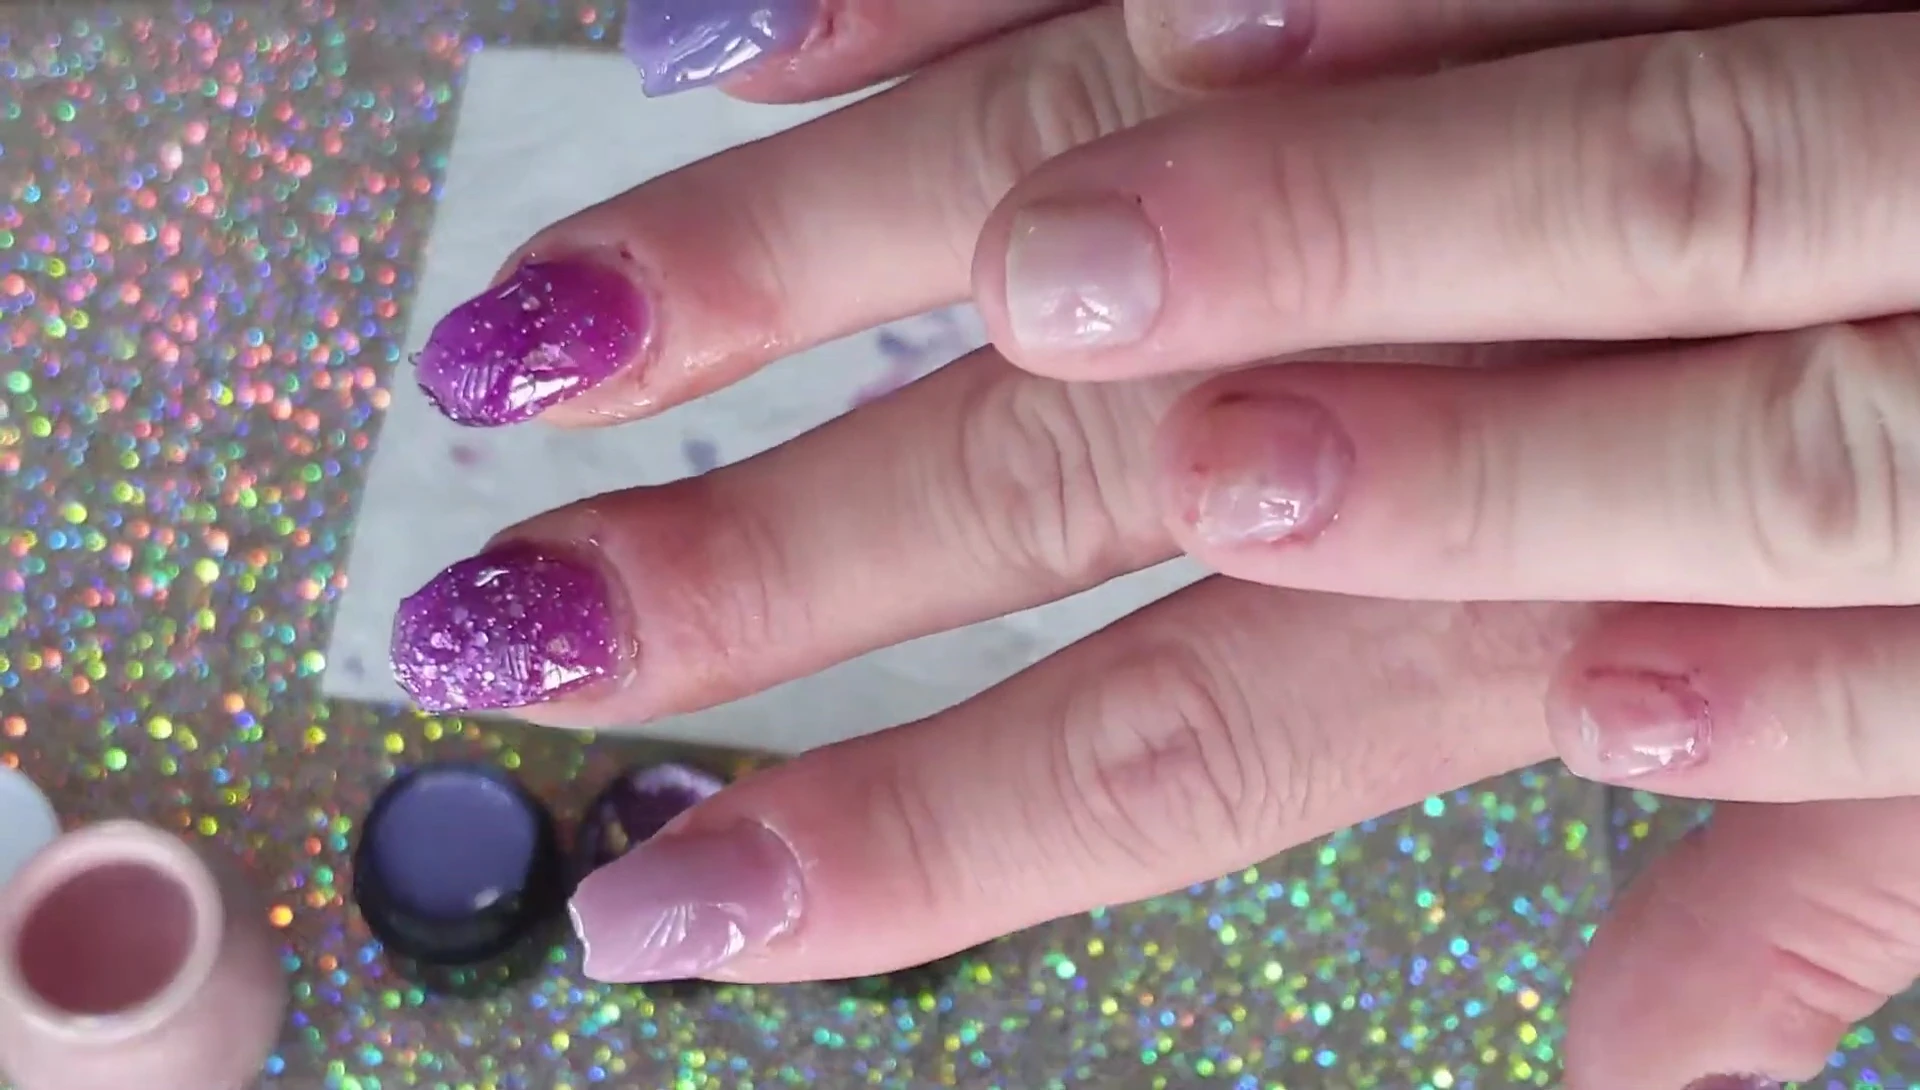
Finally, I applied a matte top coat to the solid-color nails and a regular, shiny top coat to the glittery ones. I am incredibly happy with the overall result; the nails look professional and stylish. The Saviland Builder Gel Kit provided all the necessary tools and materials for an easy, at-home application.